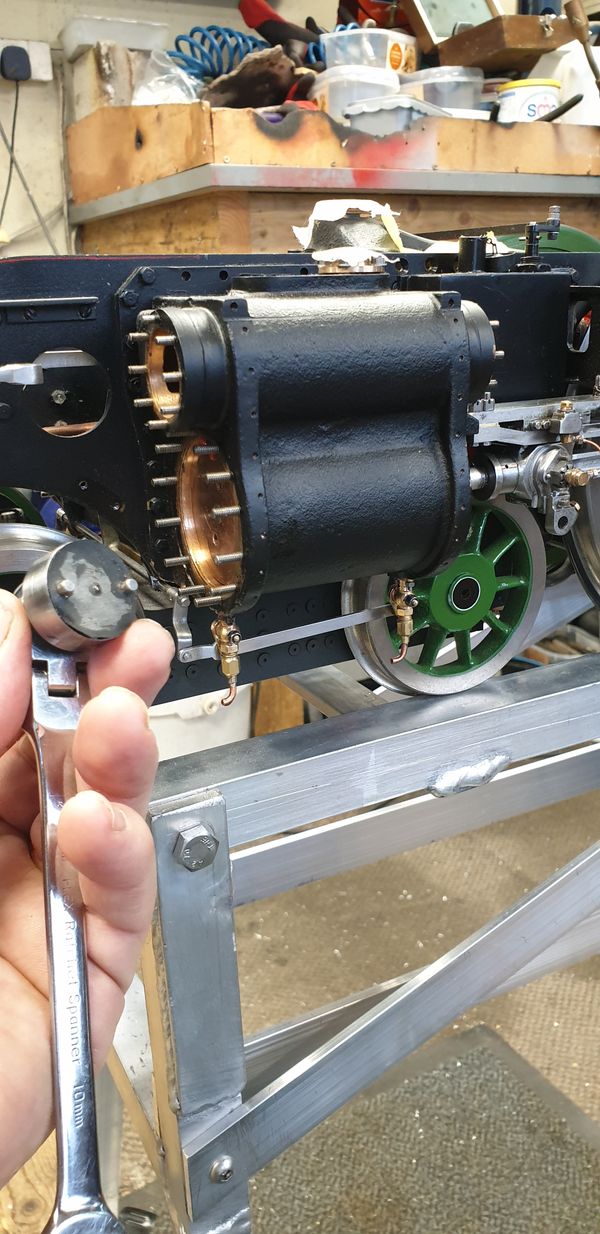
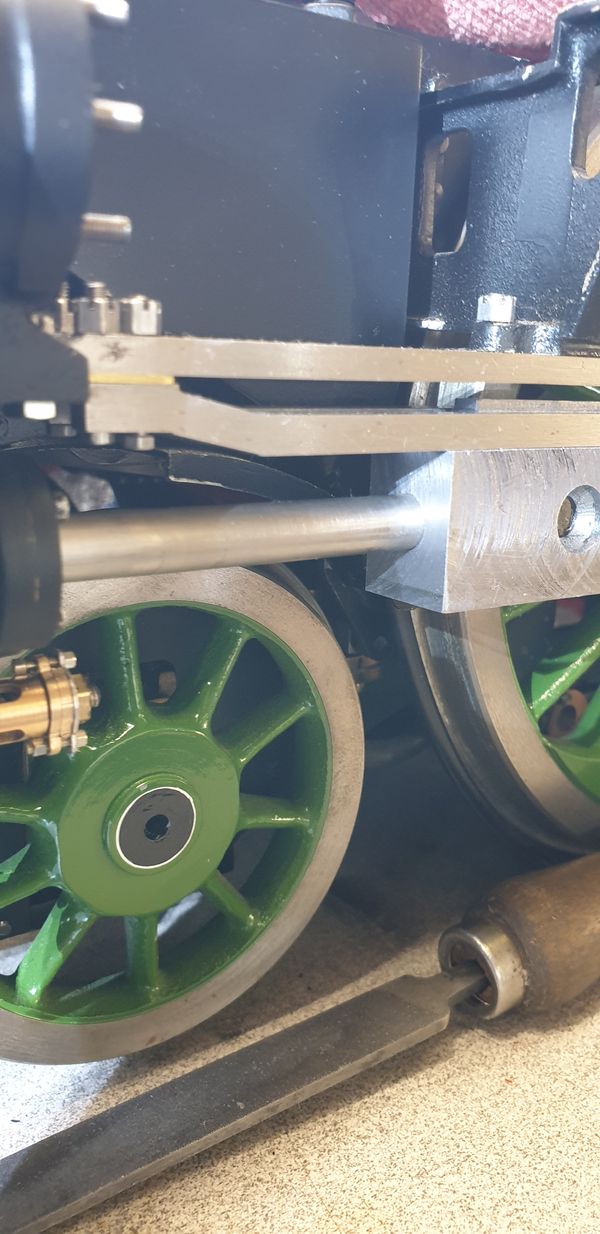
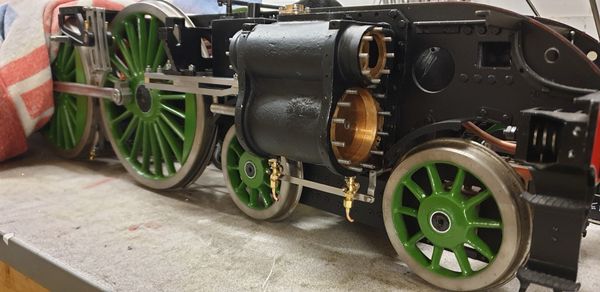
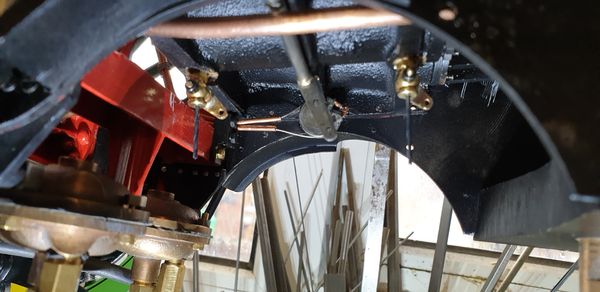
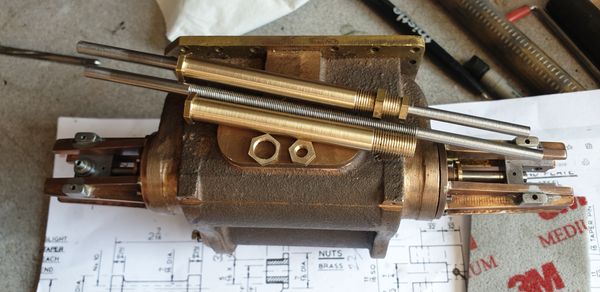
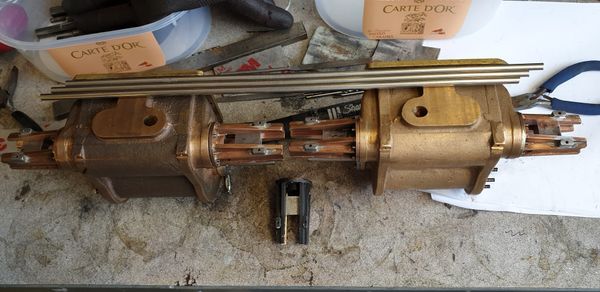
Flying Scotsman Outside Pistons Fitting Process This is another of those small milestones, that is, to fit the pistons and still have the wheels go around, any errors in the build will show up here. As
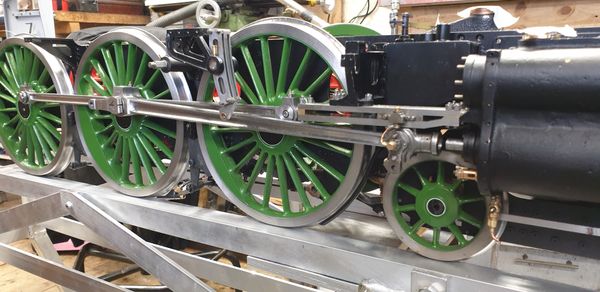
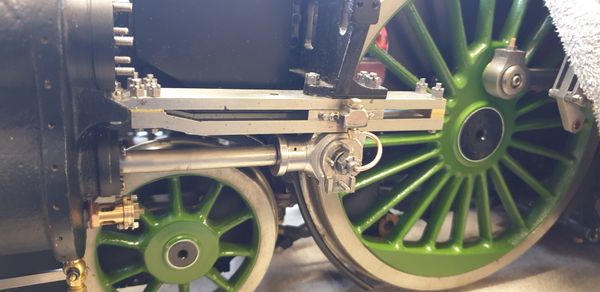
Flying Scotsman Outside Connecting Rods: Fitting This is another big step in my book, that is getting the wheels connected to the crossheads via the connecting rods, the next big step to follow being the fitting
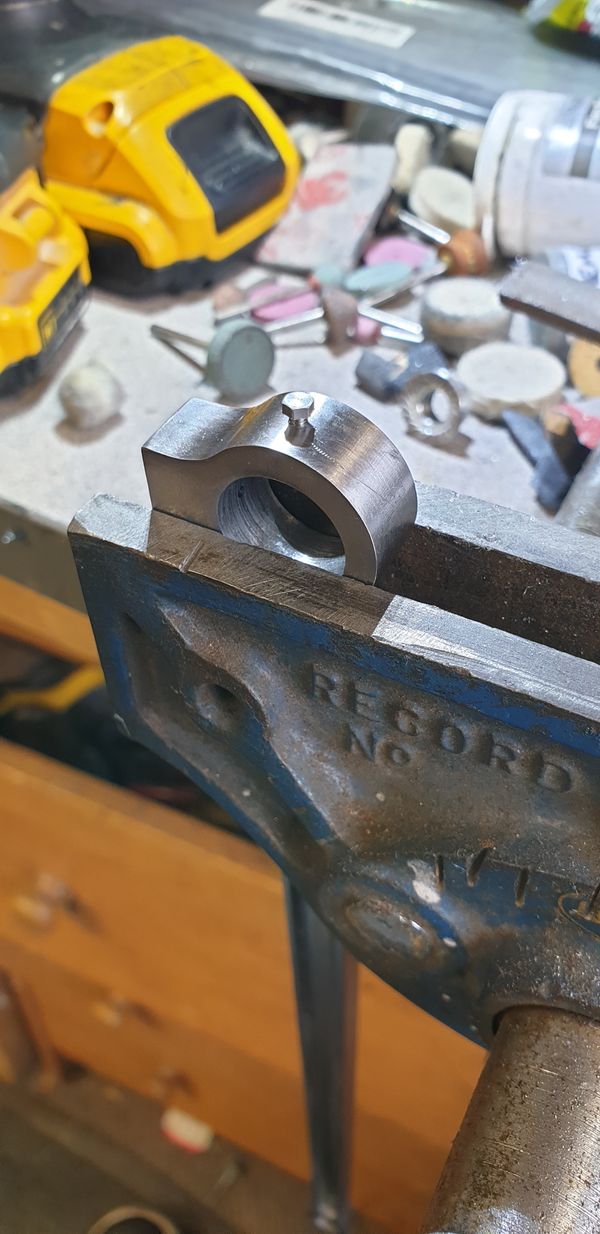
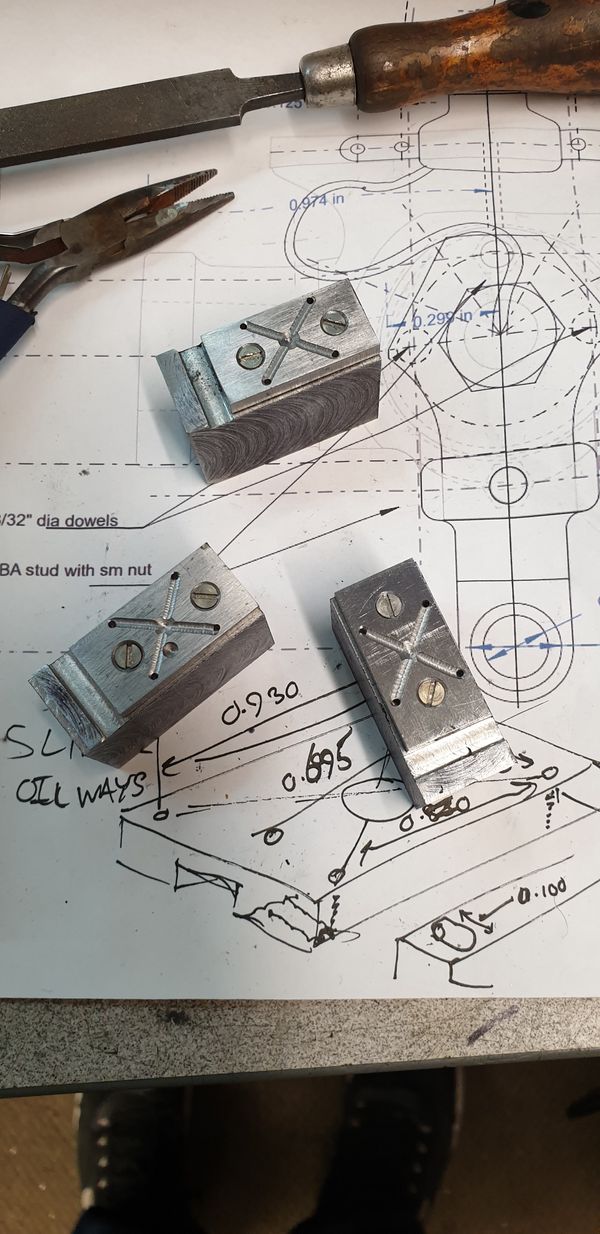
Flying Scotsman Outside Connecting Rods Part 2: Completion Next up was to machine the oil reservoirs to size, this is the last operation with the jig this way up. The carbide cutter once again made little work of
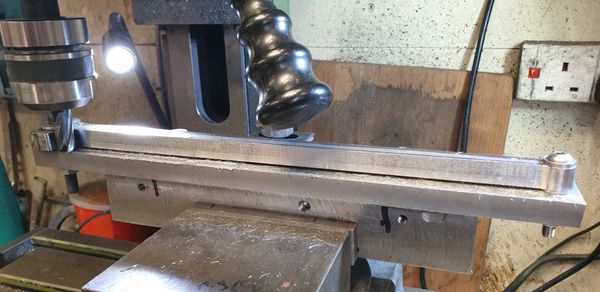
Flying Scotsman Outside Connecting Rods: Part 1 On to the outside connecting rods, these are the longest of all the motion parts, they are fairly slim too so I needed my trusty jig (block of solid steel)
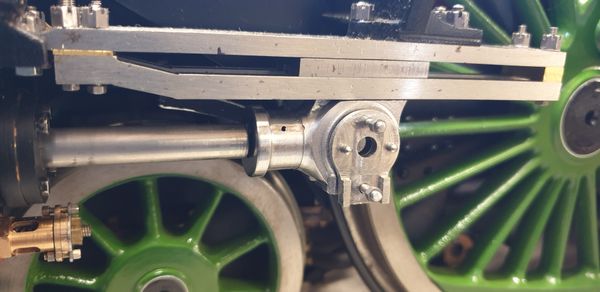
Flying Scotsman Drop Links As pointed out during the crosshead construction, the drop link design varied during 4472's career. My goal here is to try and make something that looks like the drop link
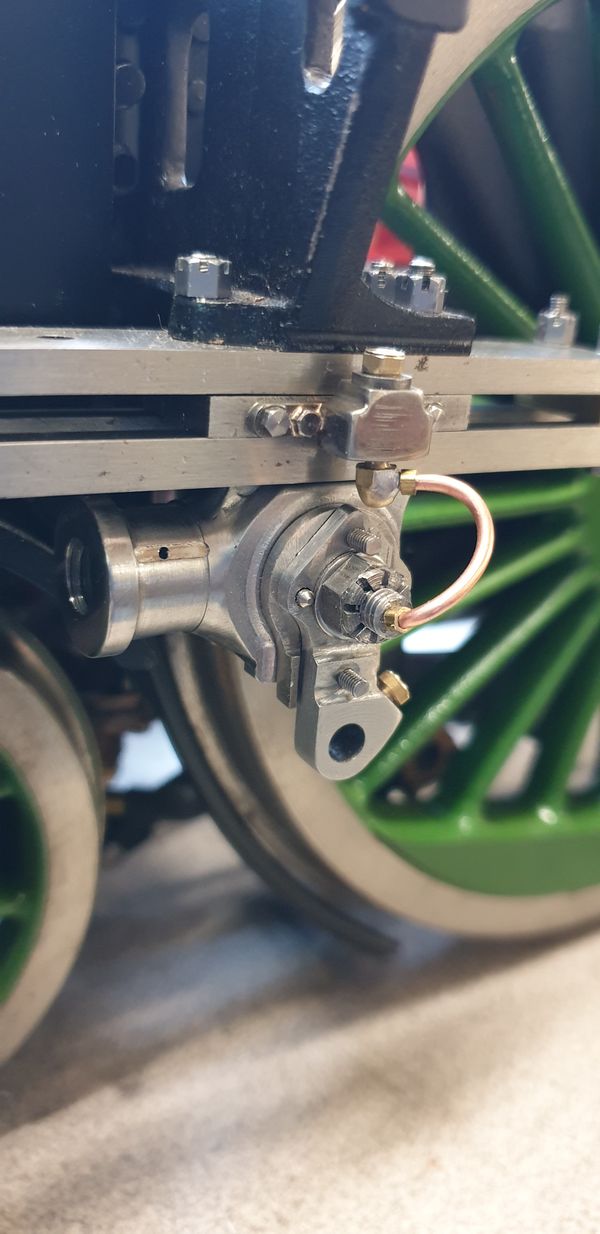
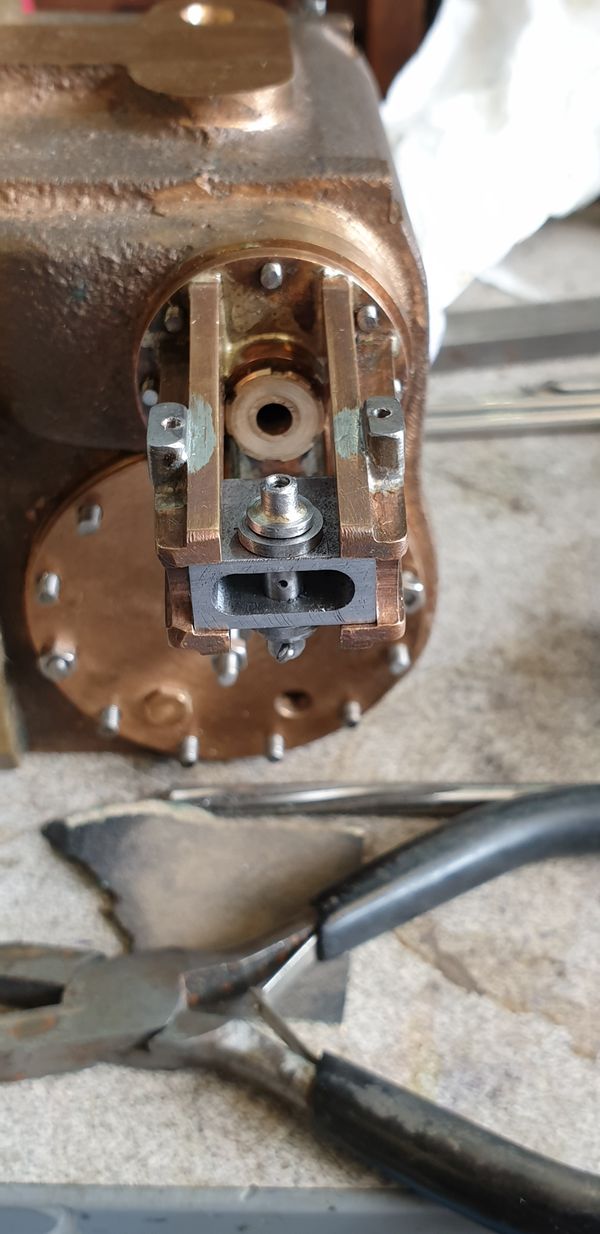
Flying Scotsman Crossheads Part 7 oiling system and Gudgeon pins As I have laid out before, 4472 (and for that matter, all Gresley A1/3's) have had a variety of different crossheads fitted during their career. The crossheads themselves are
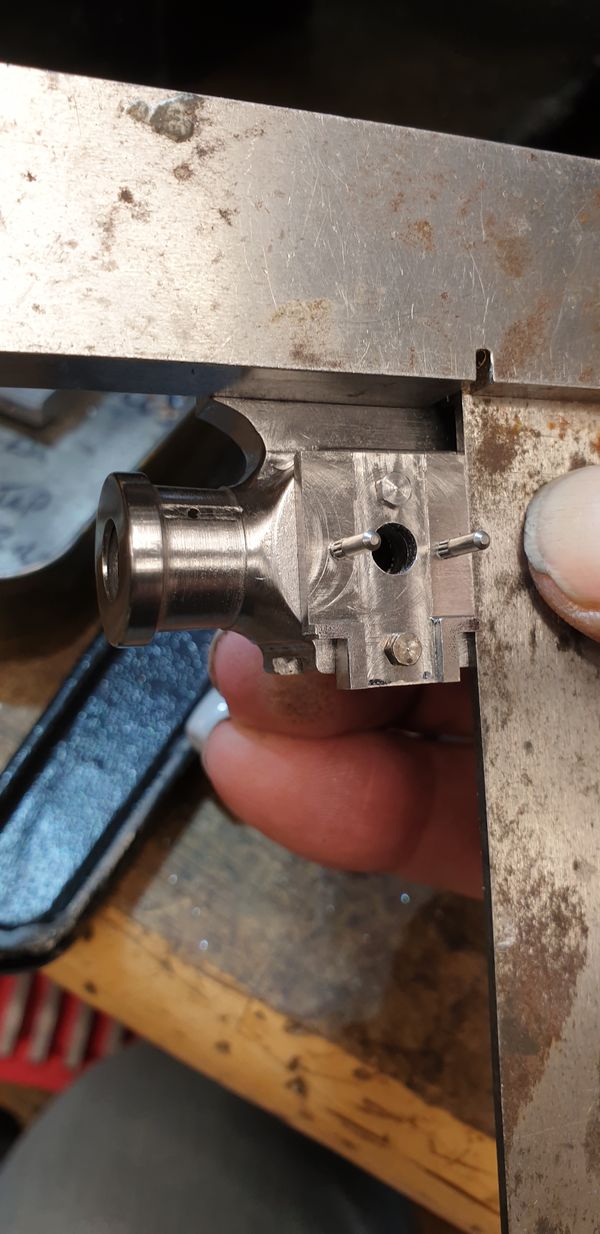
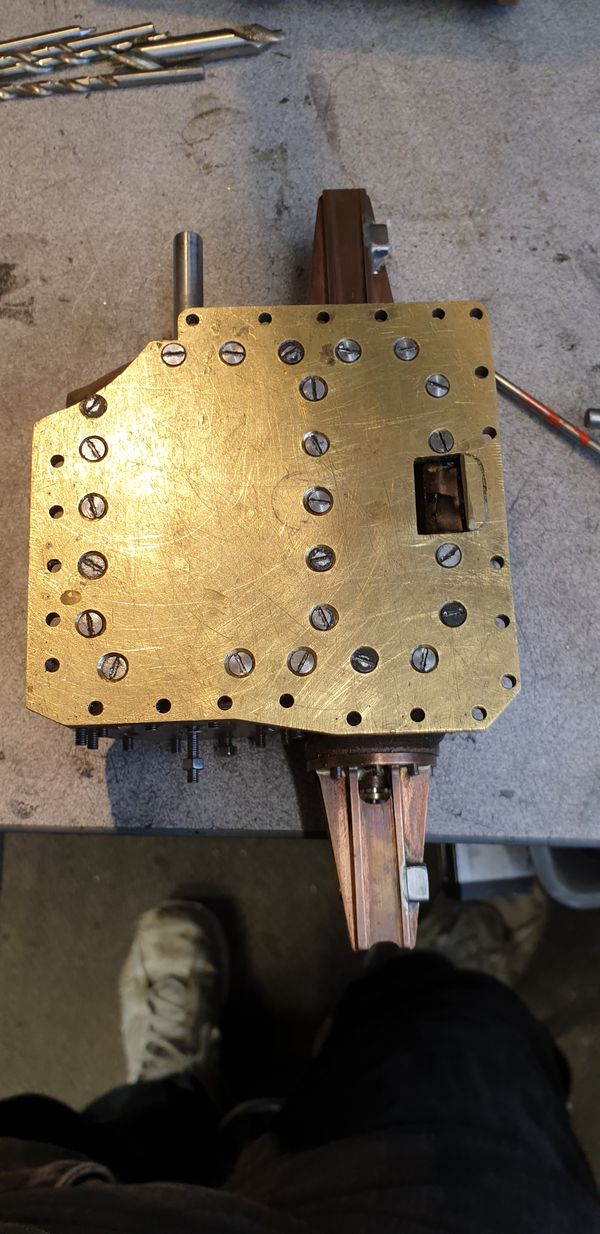
Flying Scotsman Crossheads Part 6: The completion of the main body and Drop Link mounting plate. This entry see's the completion of the main crosshead body and their mounting plates, 4 weeks solid work? The middle crosshead is a little more simplified as it has no
Flying Scotsman Crossheads Part 5 Today we see the crossheads finally take their shape at the front end, I won't say just how many hours this took to achieve, it was a lot. Last time
Flying Scotsman Crossheads part 4 I now begin the most challenging part and profile the front of the crosshead where the tapered round section meets the square section. There will be a fair bit of
Flying Scotsman Crossheads Part 3 Before starting I need to add something that I forgot to state and that's that, the crossheads are handed and this was taken into consideration when drilling the holes which
Flying Scotsman Crossheads Part 2 Continuing on with the crossheads and we have 11 pictures for this entry, I have tried to do the talking with pictures in an attempt to give a clear indication
Flying Scotsman Crossheads Part 1 Now this part is going to take some time and I guess there are a number of ways to do these either from solid or as parts. I'll be doing
Flying Scotsman Slide Bars Most of the parts for the slide bars were made some time ago and have already been covered, this entry is the final stages and fitting to the chassis. Before
Flying Scotsman Cylinder relief Valves Continuing with the various parts to fit to the cylinders, this time we have the 6 relief valves. I have followed Don's overall dimensions but added extra detail and made
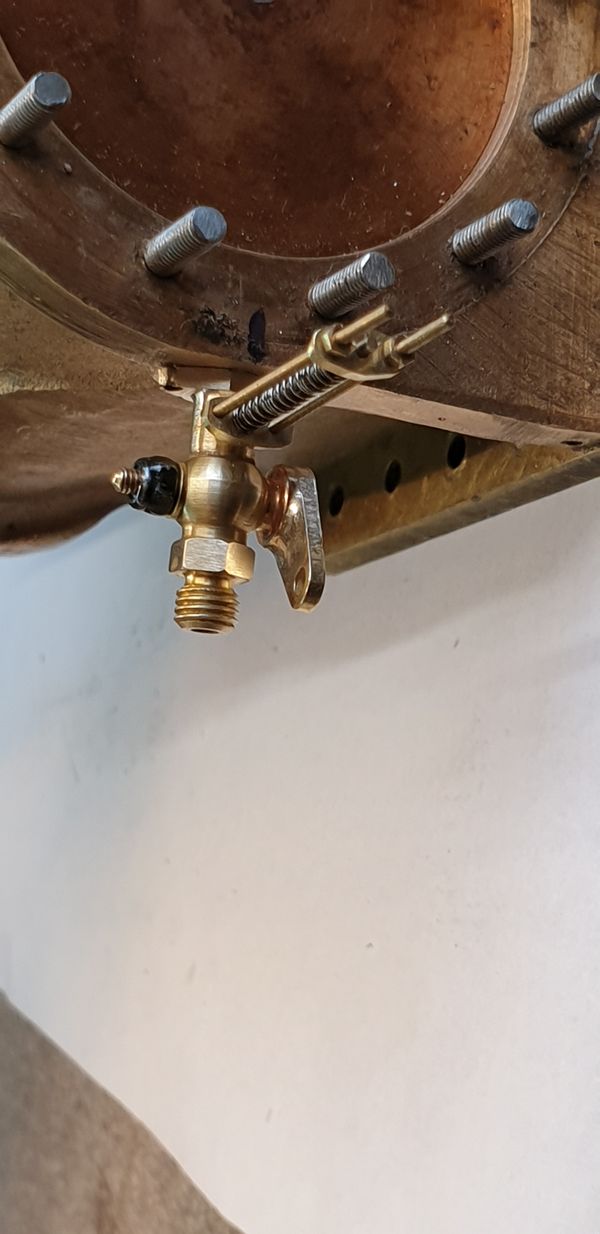
Flying Scotsman Cylinders fitted, draincocks completed, draincock linkage fabricated/fitted and tested. Last time I had made a start on the outside cylinder cross shaft and showed the trunnion positions. I then made the shaft, silver soldering it's arm in the middle
Flying Scotsman Draincock linkage part 1 The sum of the parts involved in this design are a little bewildering at times and trying to work out what can be done and in what order is no
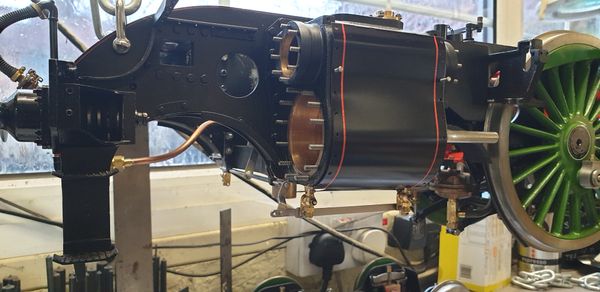
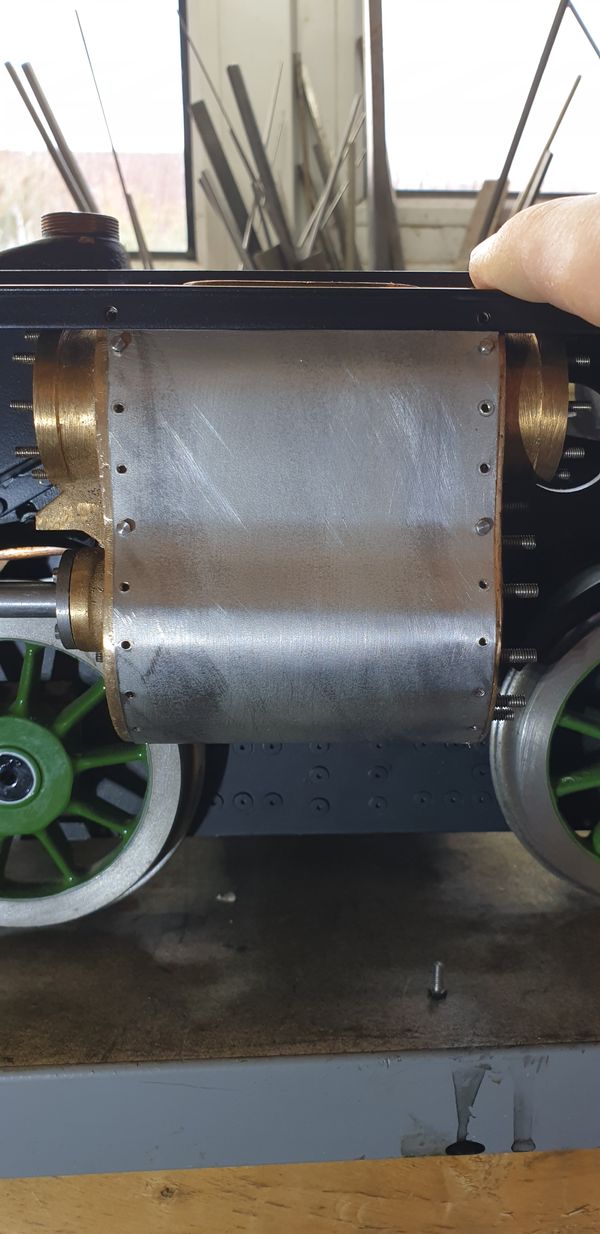
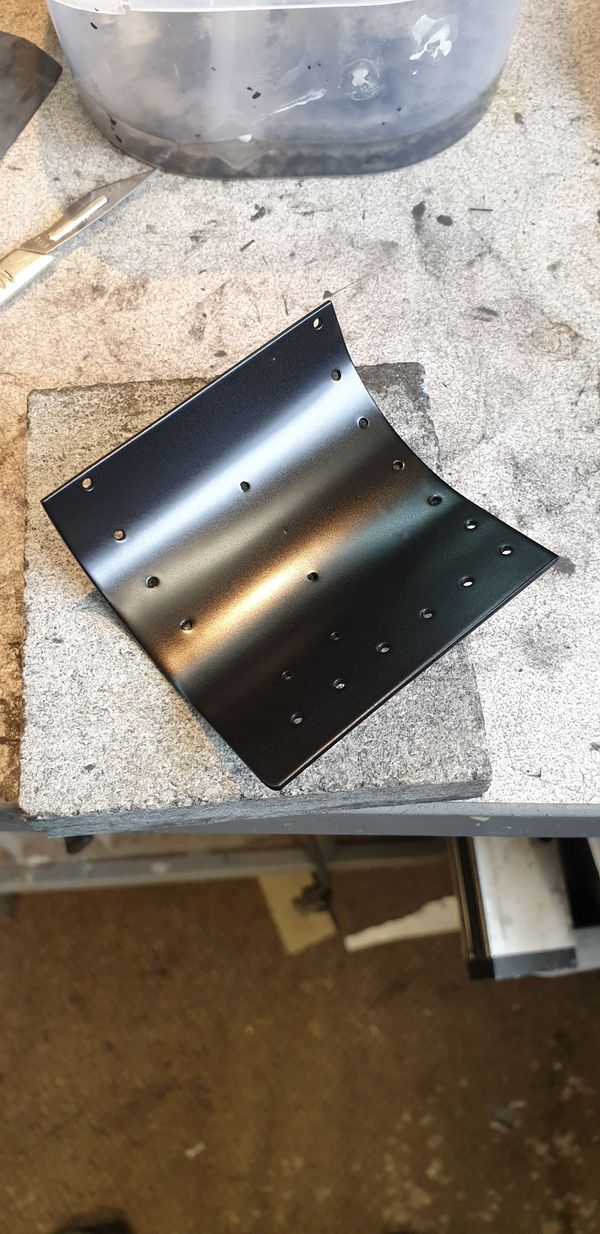
Flying Scotsman Cylinders painted, cladding fabricated, main steam pipe flanges made and final checks before fitting to the frames I've been busy over the last few days and getting very close to the final fitting of the cylinders, unless I have forgotten something, of course. First up was to
Flying Scotsman Draincocks and relief valves This entry see's me decide after close scrutiny on the final look/design of the relief valves and permanently fitting them to the draincocks. They are not fully completed yet
Flying Scotsman Outside cylinders preparing for final fitting I have left the final fitting of the valves until the connecting rods, crossheads and bearings have been made and before they can be fitted the cylinders and the slide
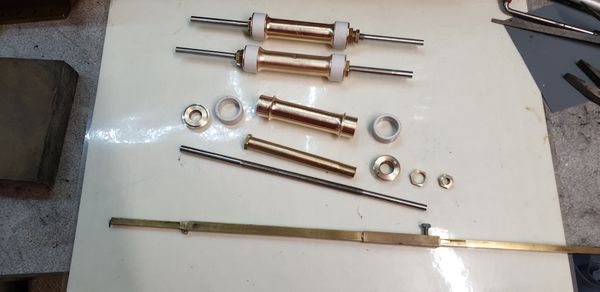
Flying Scotsman Spindles and valves part 2 This entry will be picture heavy as I try to explain Jim's design and also how I have adapted and then made it to fit my model. For those not
Flying Scotsman Spindles and valves part 1 First I'll share the drawing to Don's design, the spindle will of course be the same but the bobbin will be updated to what I believe was first drawn by
Flying Scotsman Completion of petticoat pipe and repaint of the smokebox Well I did warn you that I might not be doing the spindles/bobbins next...:) The thing is, now that I have repainted the running boards and very happy with
Flying Scotsman Repaint of running boards etc As I have stated on numerous occasions I was not at all happy with the paint finish on the running boards and smokebox/saddle, the opportunity recently arose allowing me
Flying Scotsman Piston valve- Crossheads part 2 Having machined the crosshead blanks it was then on to the more involved parts of the design. First I clocked one of the crossheads upright in the machine vice, as
Flying Scotsman Piston valve- glands,crossheads spindles and bobbins- Part 1 I'll begin by showing the drawings, the 'valve' (bobbin) will be redesigned, I haven't drawn this up yet, that will be the last item on this current list. Something to