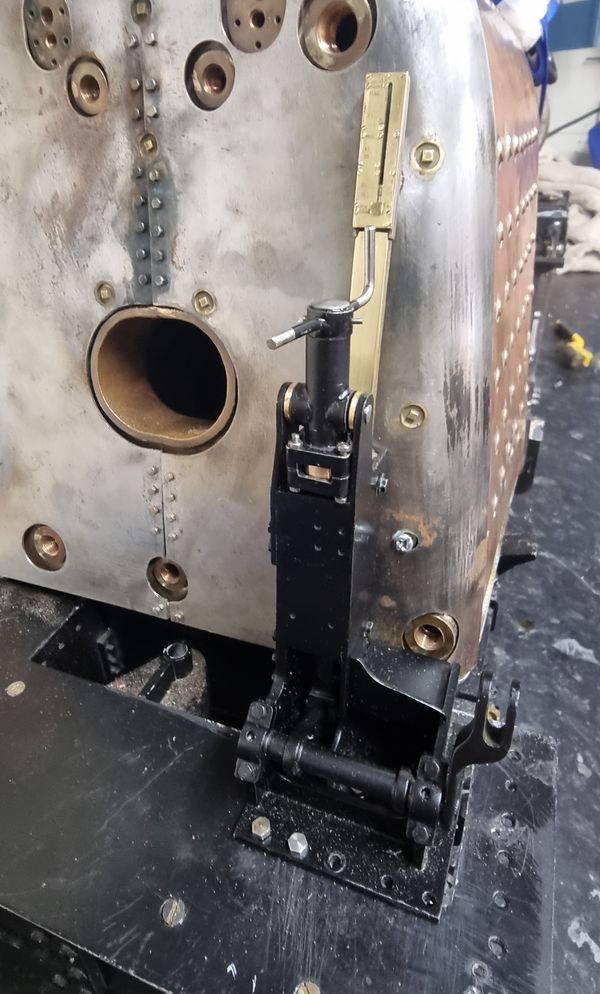
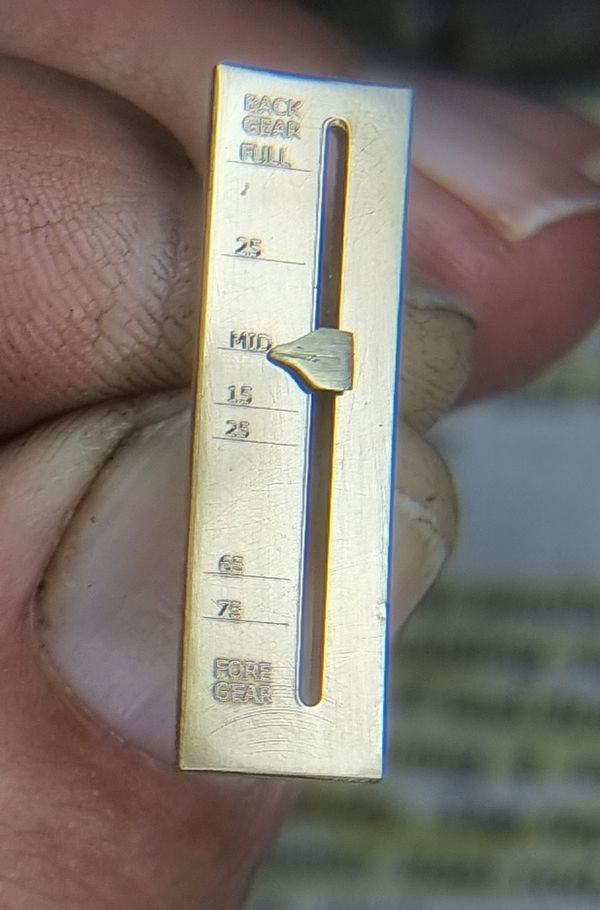
Flying Scotsman Reverser dial gauge completion. With the cleading nearing completion I felt confident enough to finish off the reverser dial gauge and its track which in part is connected or, in my case, leaning to
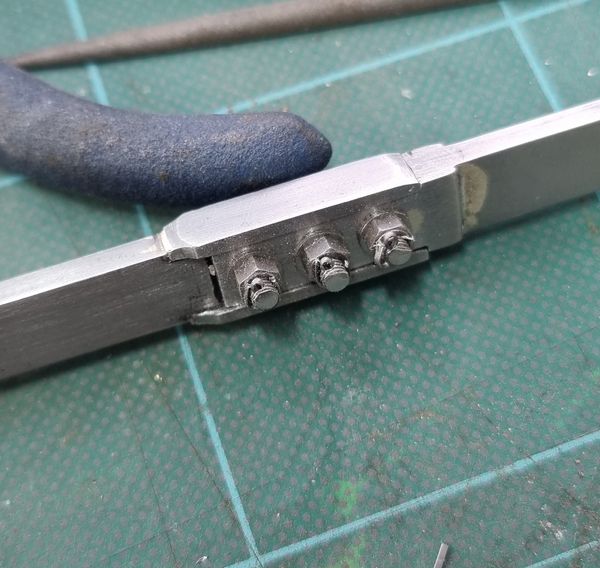
Flying Scotsman Reach Rod part 3 Last time we built the the front section of the reach rod, this time we shall tackle the rear section and the two pins required for fitting of said reach
Flying Scotsman Reach Rod part 2 Last time I said that I needed to look into the reach rod joint as Don's drawing wasn't very clear and as it turned out, not to the works drawing
Flying Scotsman Reach Rod Part 1 With the reverser nearing completion it was time to take a look at the reach rod, but before doing so, I decided it would be wise to do some checks
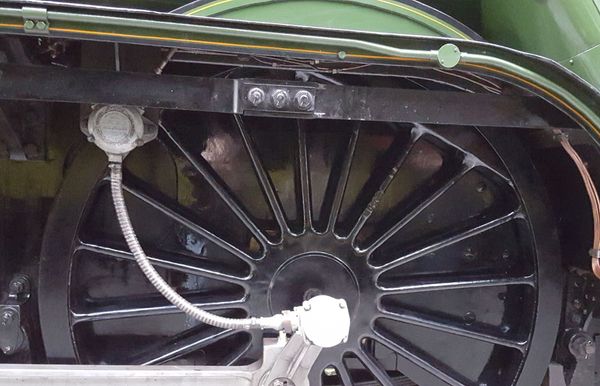
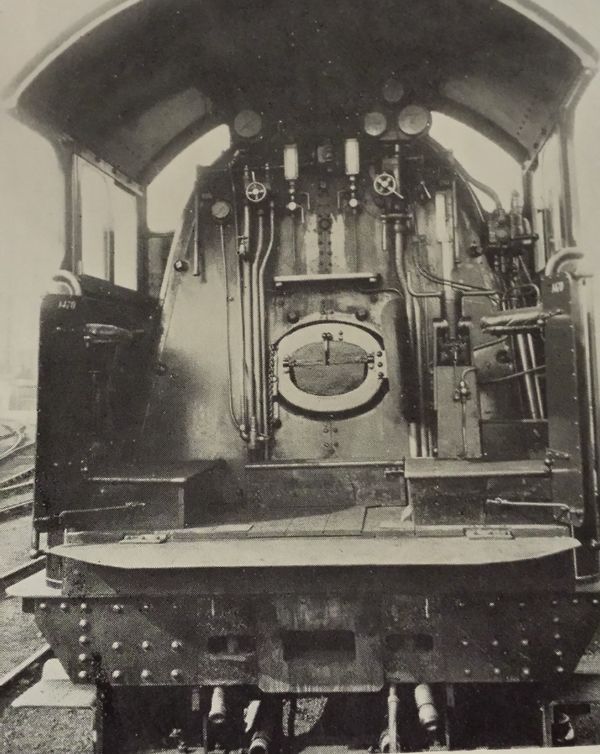
Flying Scotsman Reverser part 7 I shall begin this update with a picture from Sir Nigel Gresley's overhaul images available online, I've probably said this before, but for anyone building a Gresley pacific, A1/3
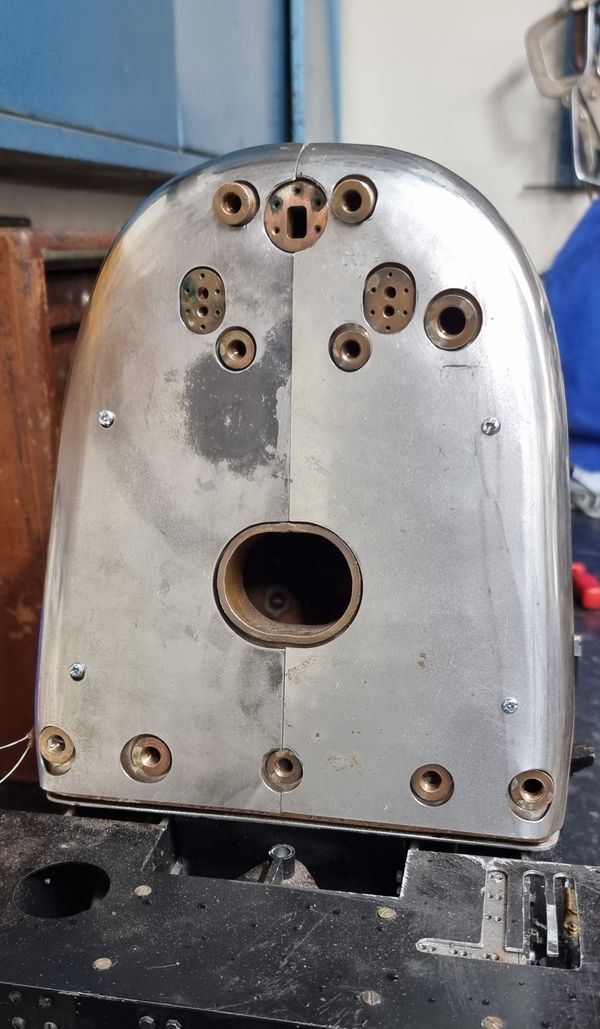
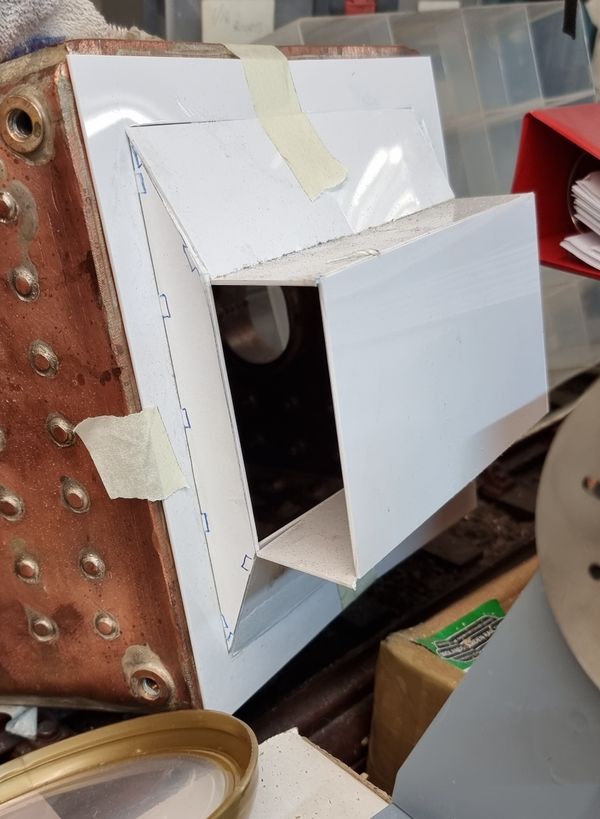
Flying Scotsman BACKHEAD CLEADING 2 Last update I said that the sleeve would be my next job (I have made a start) but forgot to mention that the backhead still needed some details so will
Flying Scotsman Backhead Cleading This is one of those 'interdependent' parts that need to be taken care of when building the reverser, or to be more precise for working out the brass indicator plate
Flying Scotsman Reverser Part 6 (+brass indicator plate) Don says " We now come to an area where everything is interdependent" Actually he says this later when reaching the construction of the sleeve, thrust plate and nut. Still, the
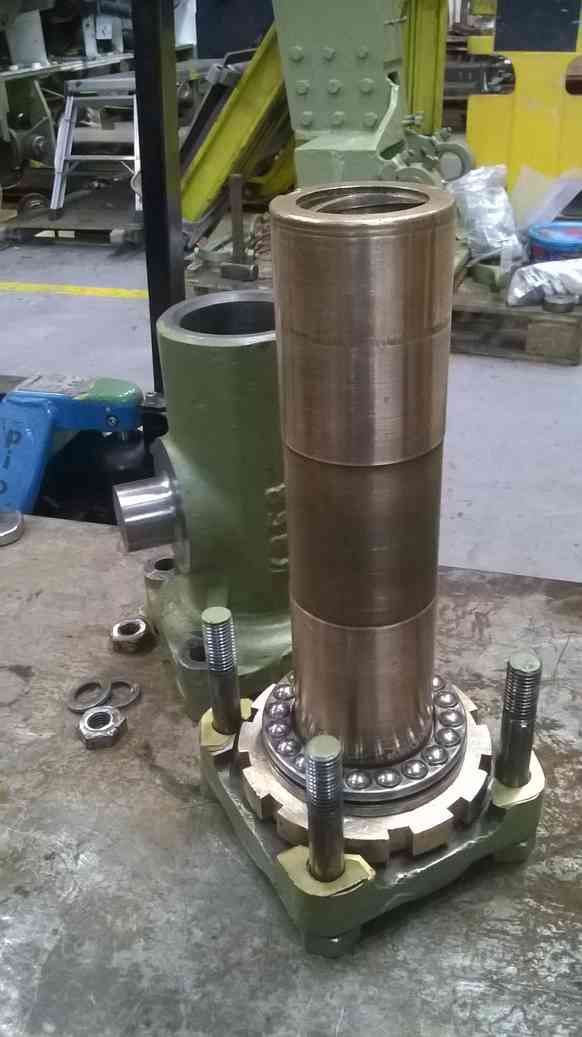
Flying Scotsman Reverser part 5 In this update I'll cover the fabrication of the reverser shaft including the extra checks that I took when assembling the parts thus ensuring no issues further down the line.
Flying Scotsman REVERSER: PART 4 Continuing from part 3 I am finally getting something assembled that looks like a Gresley reverser. I'll give a few details on the extra detail items covered in this article
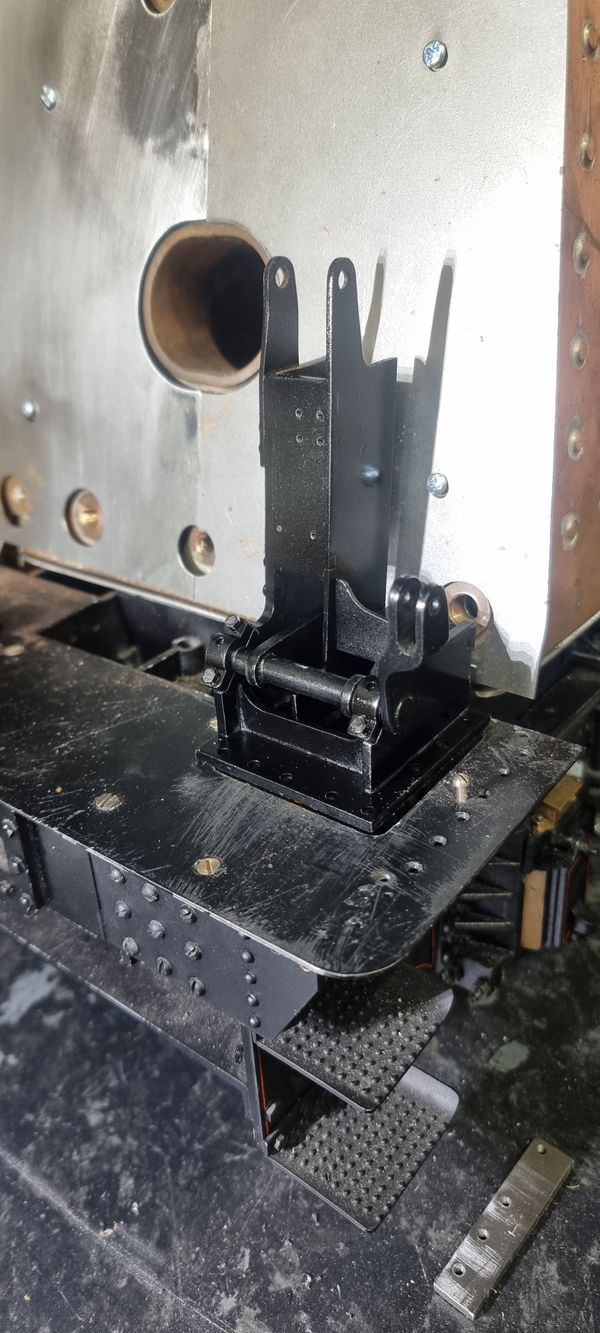
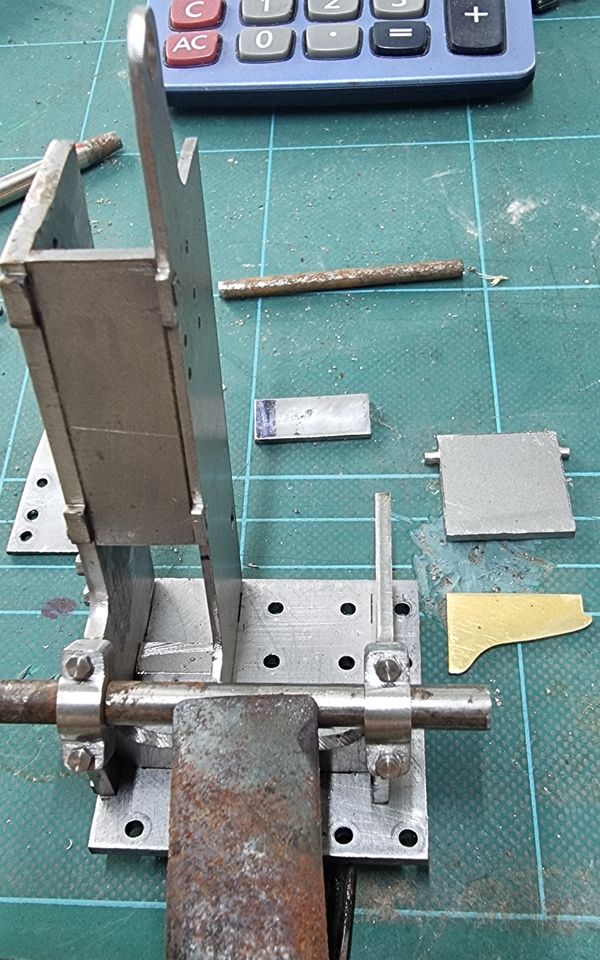
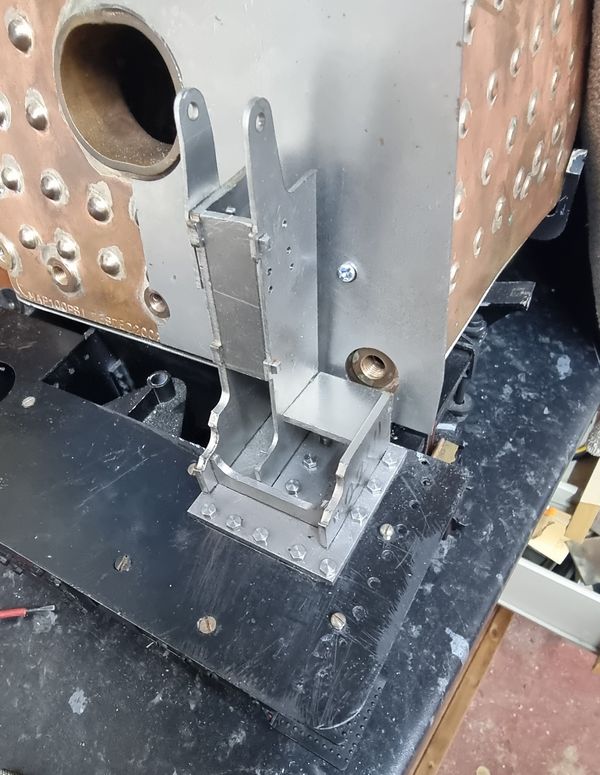
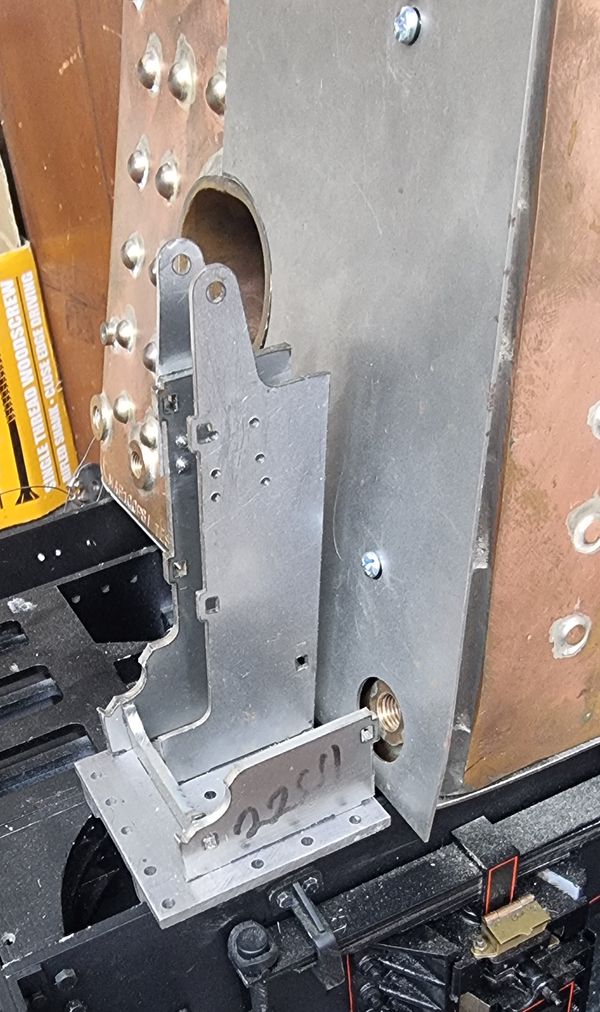
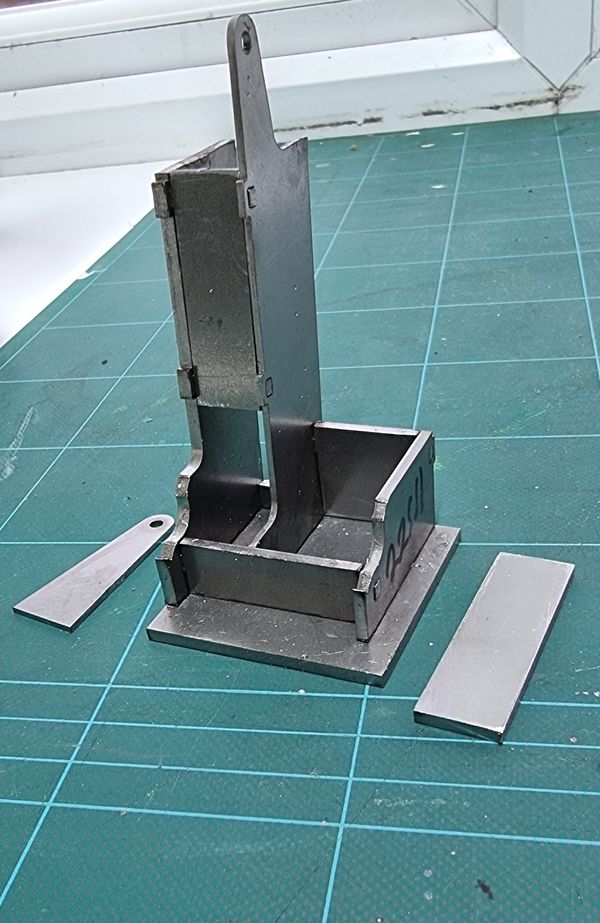
Flying Scotsman REVERSER: Part 3 STAND ASSEMBLY To Quote the great Don Young, "The stand will test both our resolve and patience" That may be so but then you add nutter's like me, and many of you
Flying Scotsman REVERSER: Part 2 In the last article, we had the reverser ready for brazing but we're not ready for that stage yet. We first need to transfer the mounting holes to the reverser
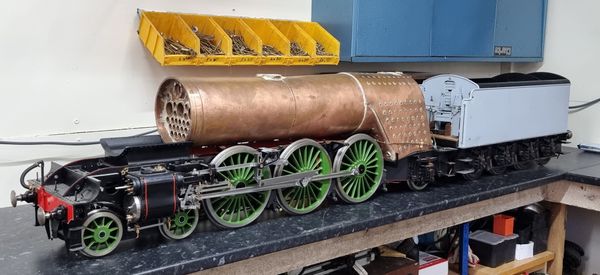
Flying Scotsman REVERSER: Part 1 Yes, I'm back on the loco, It's hard to believe that the last time I worked on the loco itself was June 2022. The workshop still has some way to
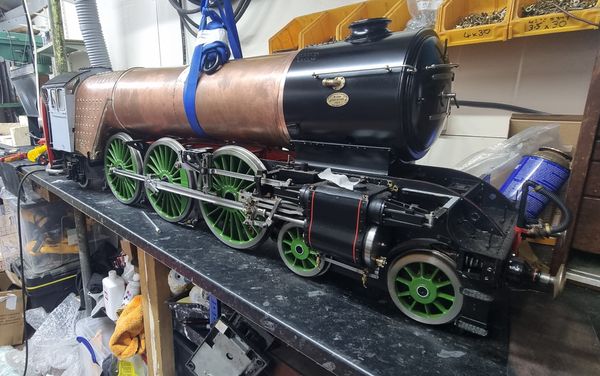
Flying Scotsman New Works: 4472 Enters her new Works I'm getting closer to being able to recommence working on 4472 again and in fact will do so before actually finishing the workshop, not so much the internal areas but
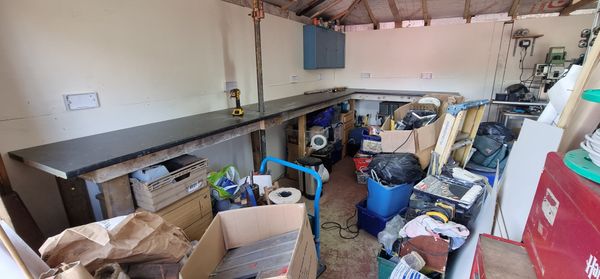
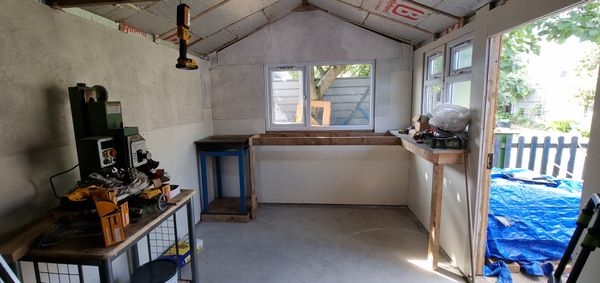
Flying Scotsman NEW WORKS: BENCH AND HOIST Having already built the smaller workbenches in the new building and now that the main area was covered in Plywood I could move on to building the larger benches which
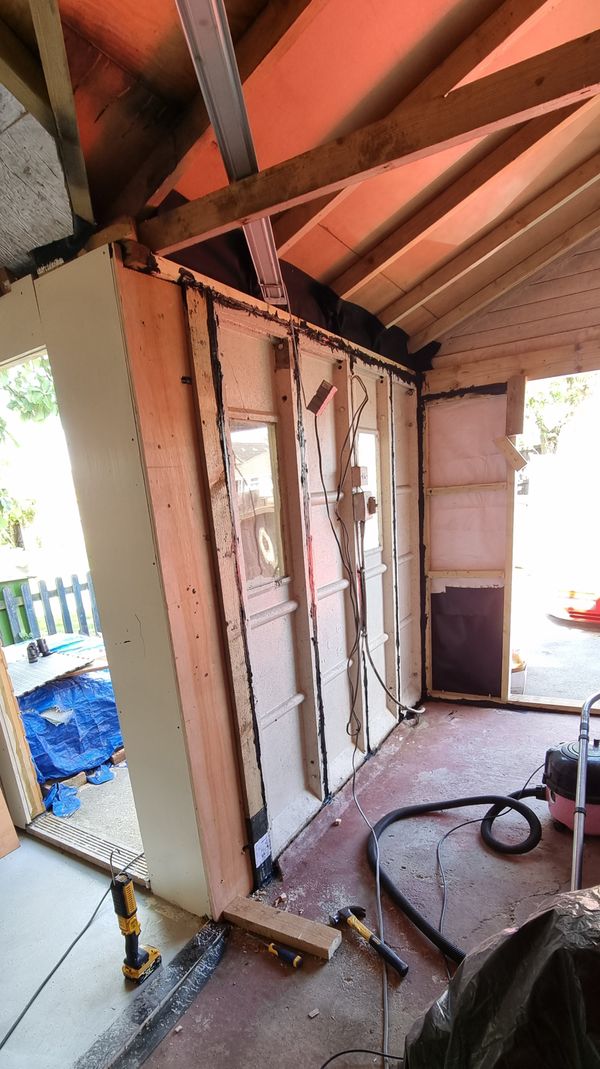
Flying Scotsman NEW WORKS: Completing the internal panelling This installment sees me completing the internal paneling and thus the workshop's structure is nearly there. The procedure is the same as for the other walls but this time I
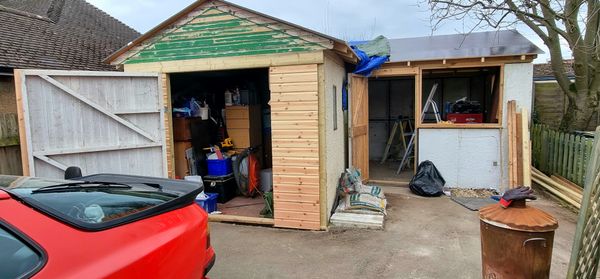
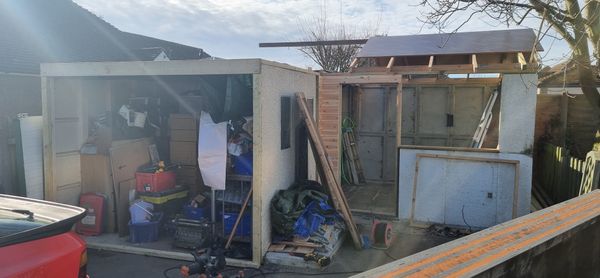
Flying Scotsman NEW WORKS: The Other Wing With the new section now at an advanced stage I turned my attention to the original garage structure. This of course meant moving everything around again but I'm getting a
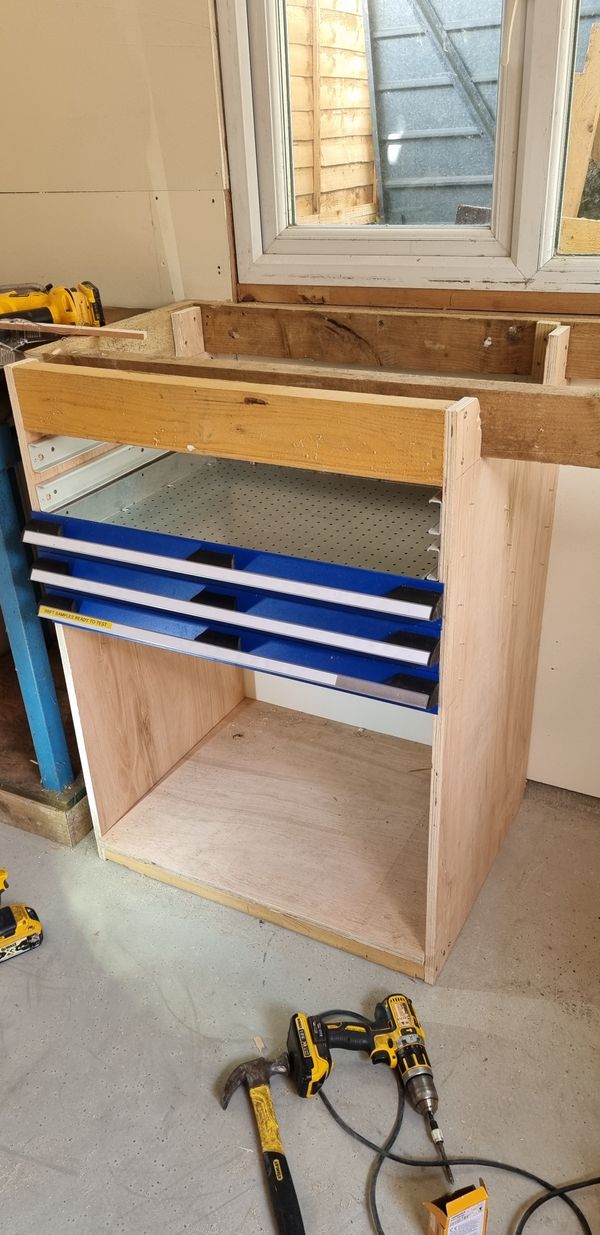
Flying Scotsman NEW WORKS: First drawers fitted Now this might seem a bit out of step and it is but sometimes one has to work around things the best that they can. for me, this means trying
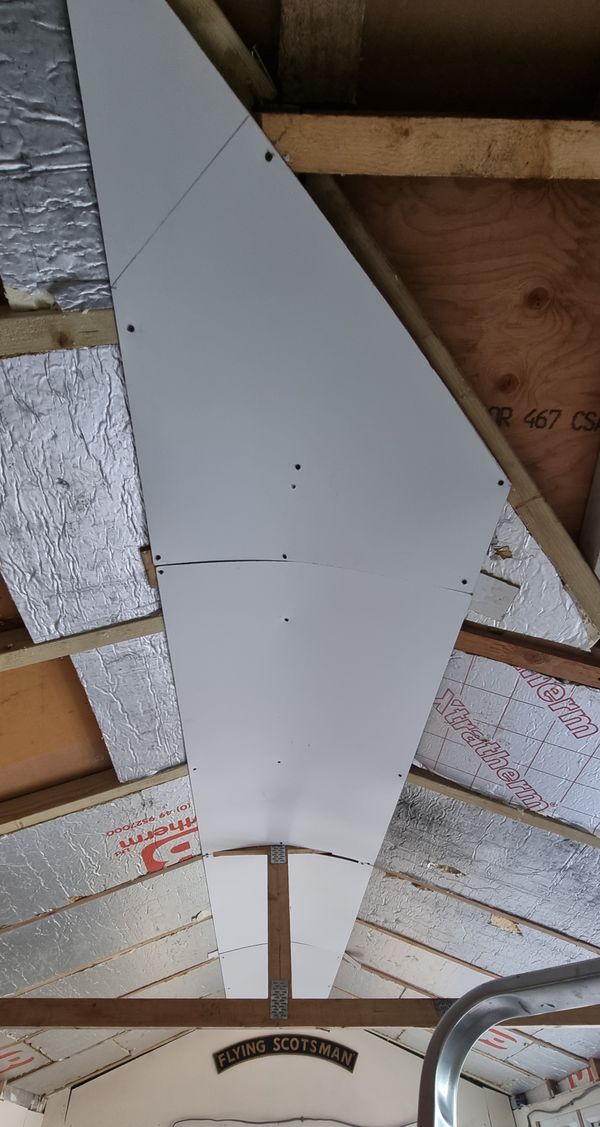
Flying Scotsman NEW WORKS: Insulating roof inside and out Next up was to insulate the roof inside and also make it waterproof from the outside. The rafters are made from 3x2 with the sheeting itself being 18mm exterior ply,
Flying Scotsman NEW WORKS: DOORS We now come to the doors and their relevant frames. For the smaller side door we have already seen the bare framework but not the more substantial front door. First
Flying Scotsman New Works: Roof framework While the mortar was left to cure over a few days I moved on to other tasks, one of which was to work out what section to build to reconnect
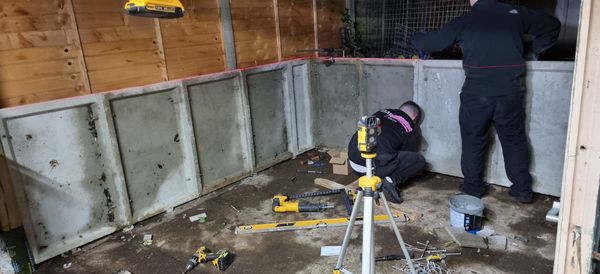
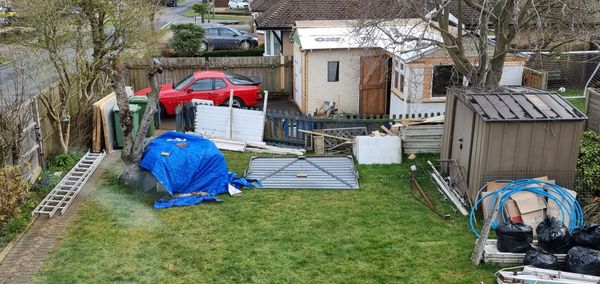
Flying Scotsman New Works: laying the groundwork With the donor garage sorted I could move on to preparing the ground for the new extension which I require to allow for more space, lessons gained from the lack
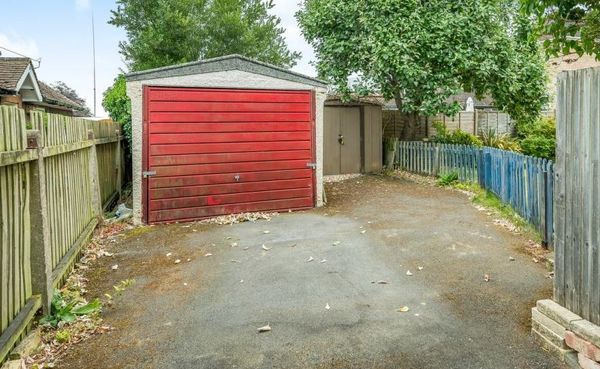
Flying Scotsman New Works location for 4472 I wondered if the building of a new workshop for 4472 might be of interest to other Model Engineers? and since I can't progress any further with the model itself,
News Just a short note to explain why no updates for some time...Health, New home and New Workshop Hi guys, it has been suggested to me that I give an update to the blog as to why the site has been so quiet since the middle of last
Flying Scotsman Ashpan The ashpan is one of those parts that need to be made to fit both the area between the frames and the shape of the foundation ring, Don says as