
Next up was to insulate the roof inside and also make it waterproof from the outside. The rafters are made from 3x2 with the sheeting itself being 18mm exterior ply, it's a pretty strong affair and more than able to take the weight of composite tiles to be fitted later, plus possible adverse weather such as snow.
Having a hip made life a little more interesting but nothing too taxing, I started with the easier end sections and then worked out the hip angles as I got to them. Using a cordless nail gun does make life easier but also a little painful wielding such a heavy tool, I was most grateful to have it though, kindly loaned from my eldest son, along with all his other tools.
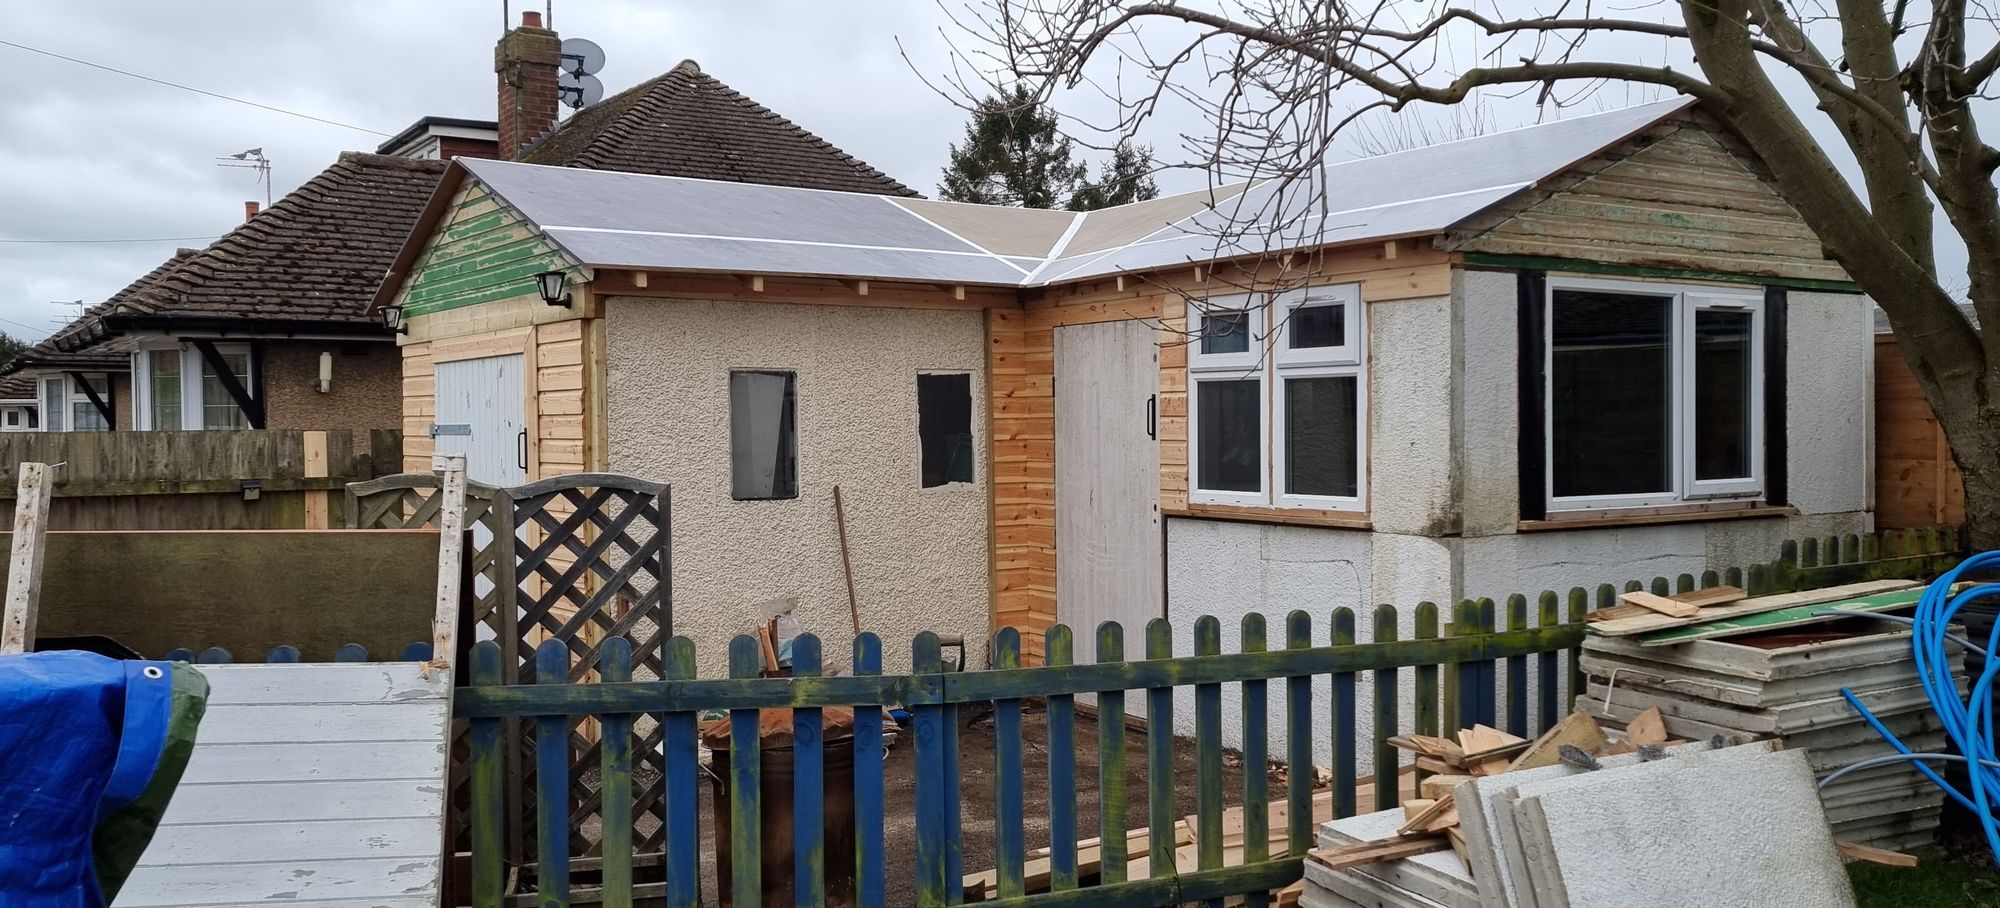
The first picture for this update shows the exterior ply sheets fitted and the joins sealed with aluminum tape, this was just to help keep any water out until the waterproof membrane had been fitted. You can see from the odd shapes that some thought needed to go into the sequence of fitting the panels. The reason for the odd shapes is that the widths of each wing are different, the new section (right) being wider than the original garage. I have allowed a wider overhang on the front area as I plan to fit downlights into the soffit boards when fitted. This photo also gives a good idea of how I first fitted the large 8'x4' sheets from the ridge and then fitted the smaller width pieces below them, followed as mentioned by the triangular sections.
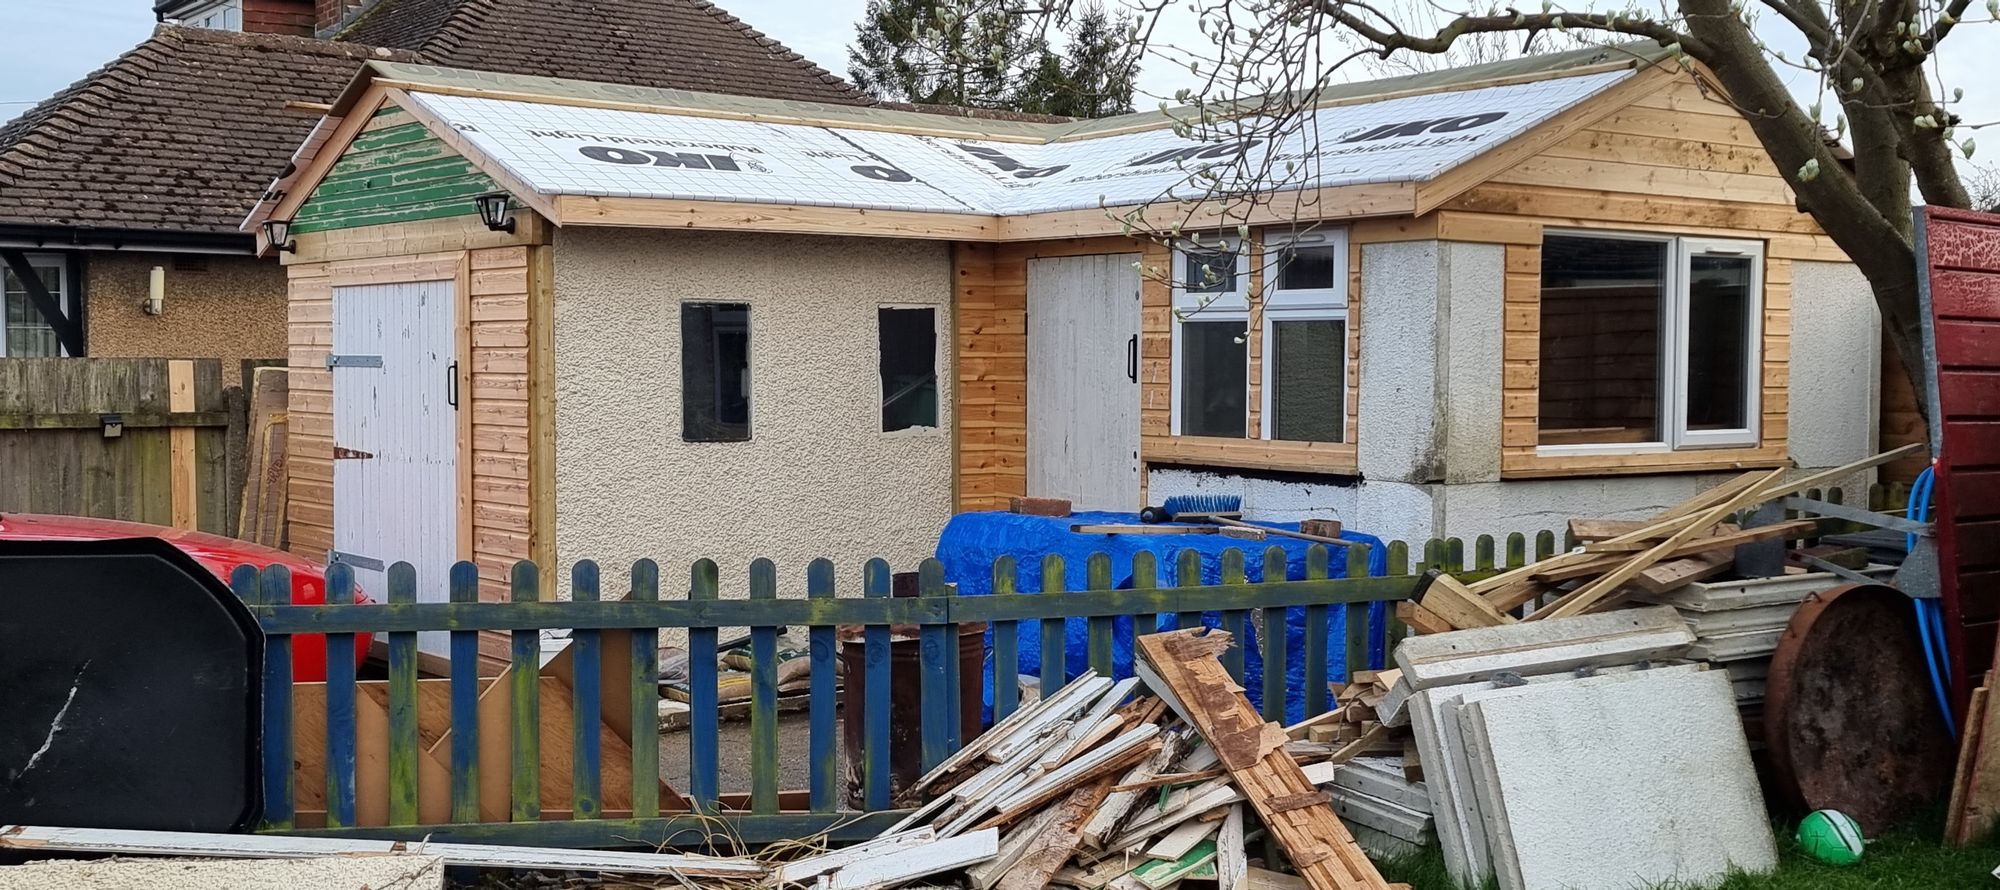
Now we come to the exterior membrane, for this, I have used the superb IKO Rubershield 120mg. This is the same material that I used for my old garage which never leaked, that had proper slate tiles whereas this will have composite, there will be no difference in protection, well not during my lifespan. note that I have two colours, the white is what was left over from many years ago on a large 2mx50m roll, the Karki stuff was picked up from Wickes, the same manufacturer, I only needed 1m wide to cover the center ridge. The membrane was secured using a staple gun where it tucked under the roof sheets and a temporary batten was screwed down over the joints, the rest of the roof will be battened properly once I have the tiles to check on their spacings. Also seen in this picture is a start on the fascia boards and also that the end window has been clad along with fresh cladding on the gable, the other gable didn't need this as the timber was in good condition.
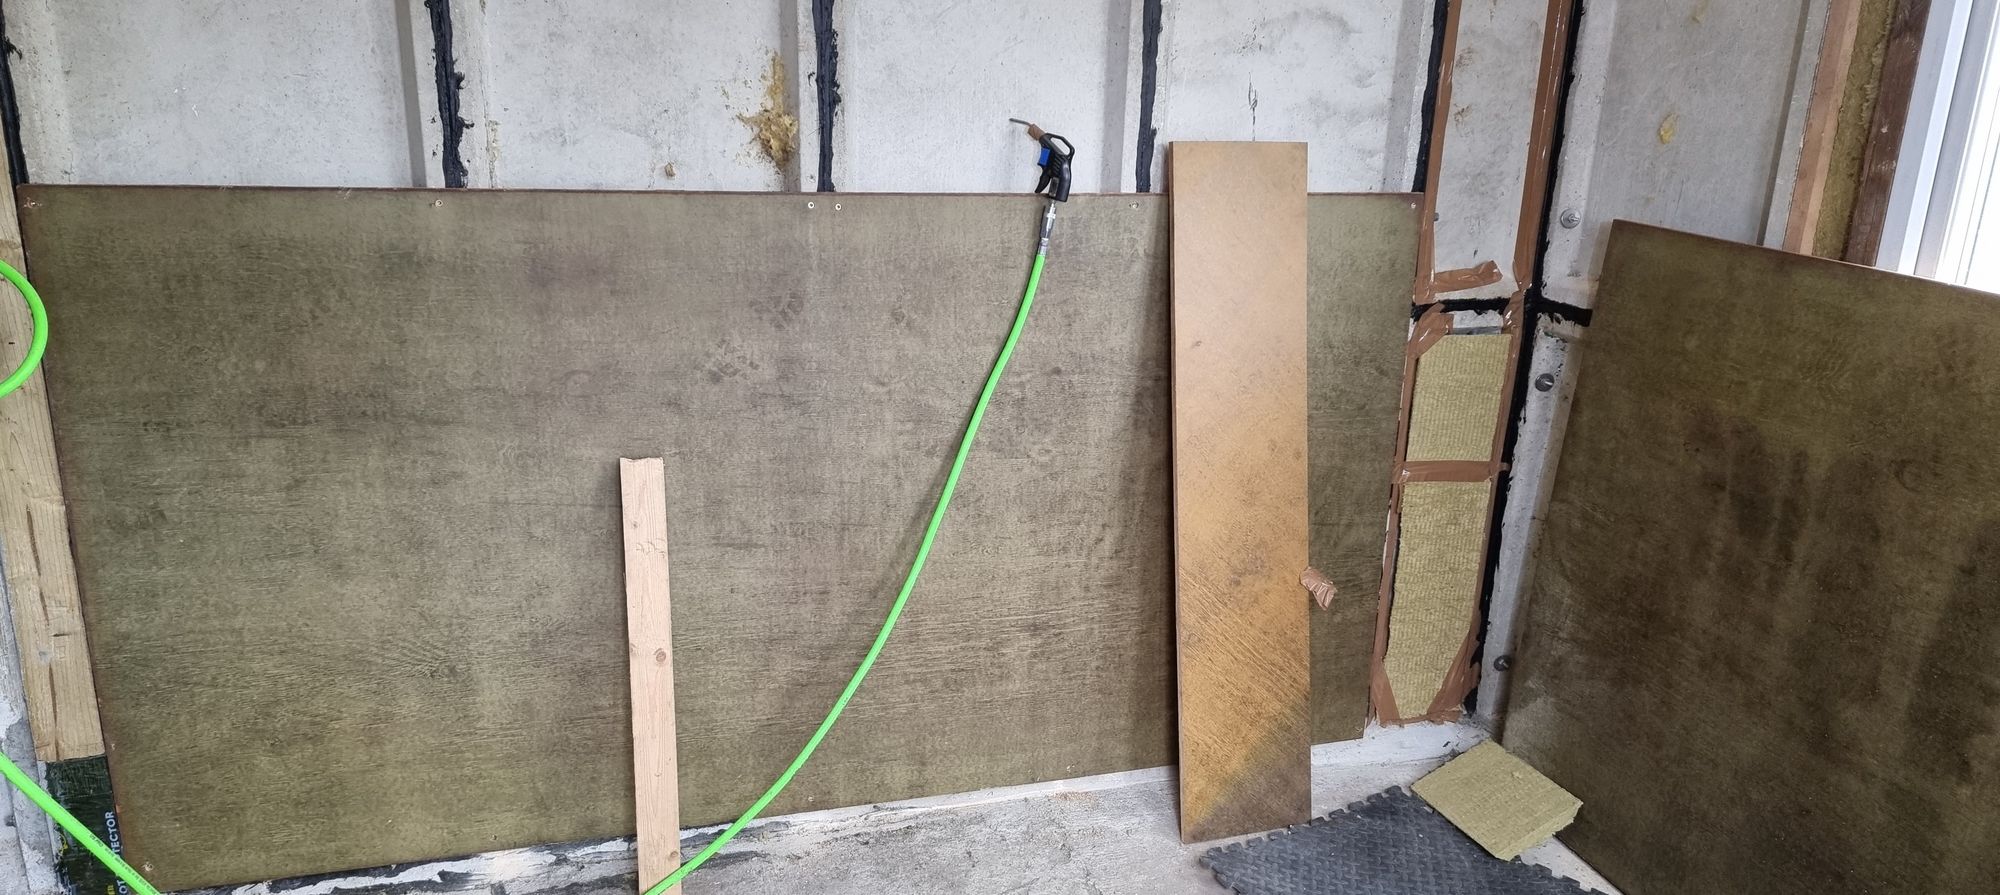
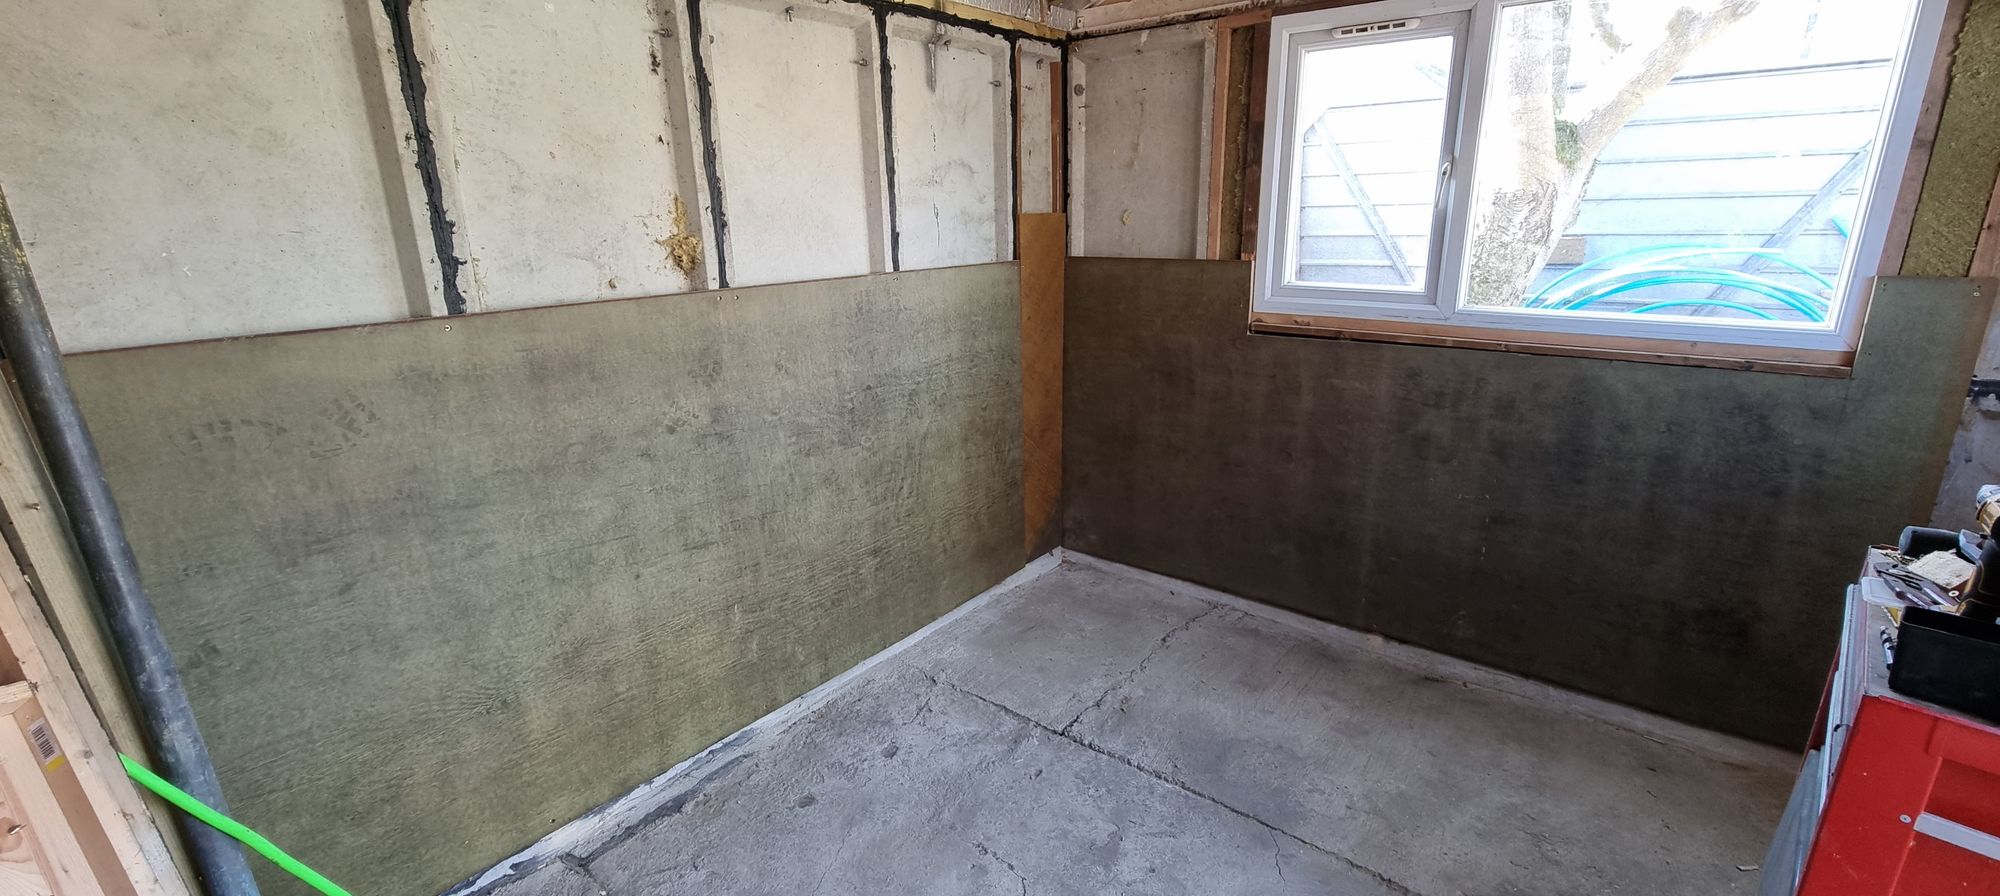
I then turned my attention back to the interior insulation and sheet cladding. I decided to use up the last 18mm ply for the new section, I still had a few and only needed 2 more sheets to cover this end, the rest of the interior will be done using 12 mm ply to save on costs, so far I hadn't needed to buy any, all being supplied via my son's contacts but that couldn't go on forever. The insulation used behind these boards is 100mm Rockwool which I needed to slice down the middle to fit the depth of the panels, a rather messy job and if doing it yourself please do wear a mask.
In this picture, we can see the first board fitted, I chose to do them this way up to save on cutting. You can see some of the Rockwool being held in by tape awaiting the next section. I used steel wall screws here, you just need to drill a hole and then screw straight into the concrete, no rawlplugs required.
Here we see the bottom level now covered, note that I have used some offcuts to again save costs.
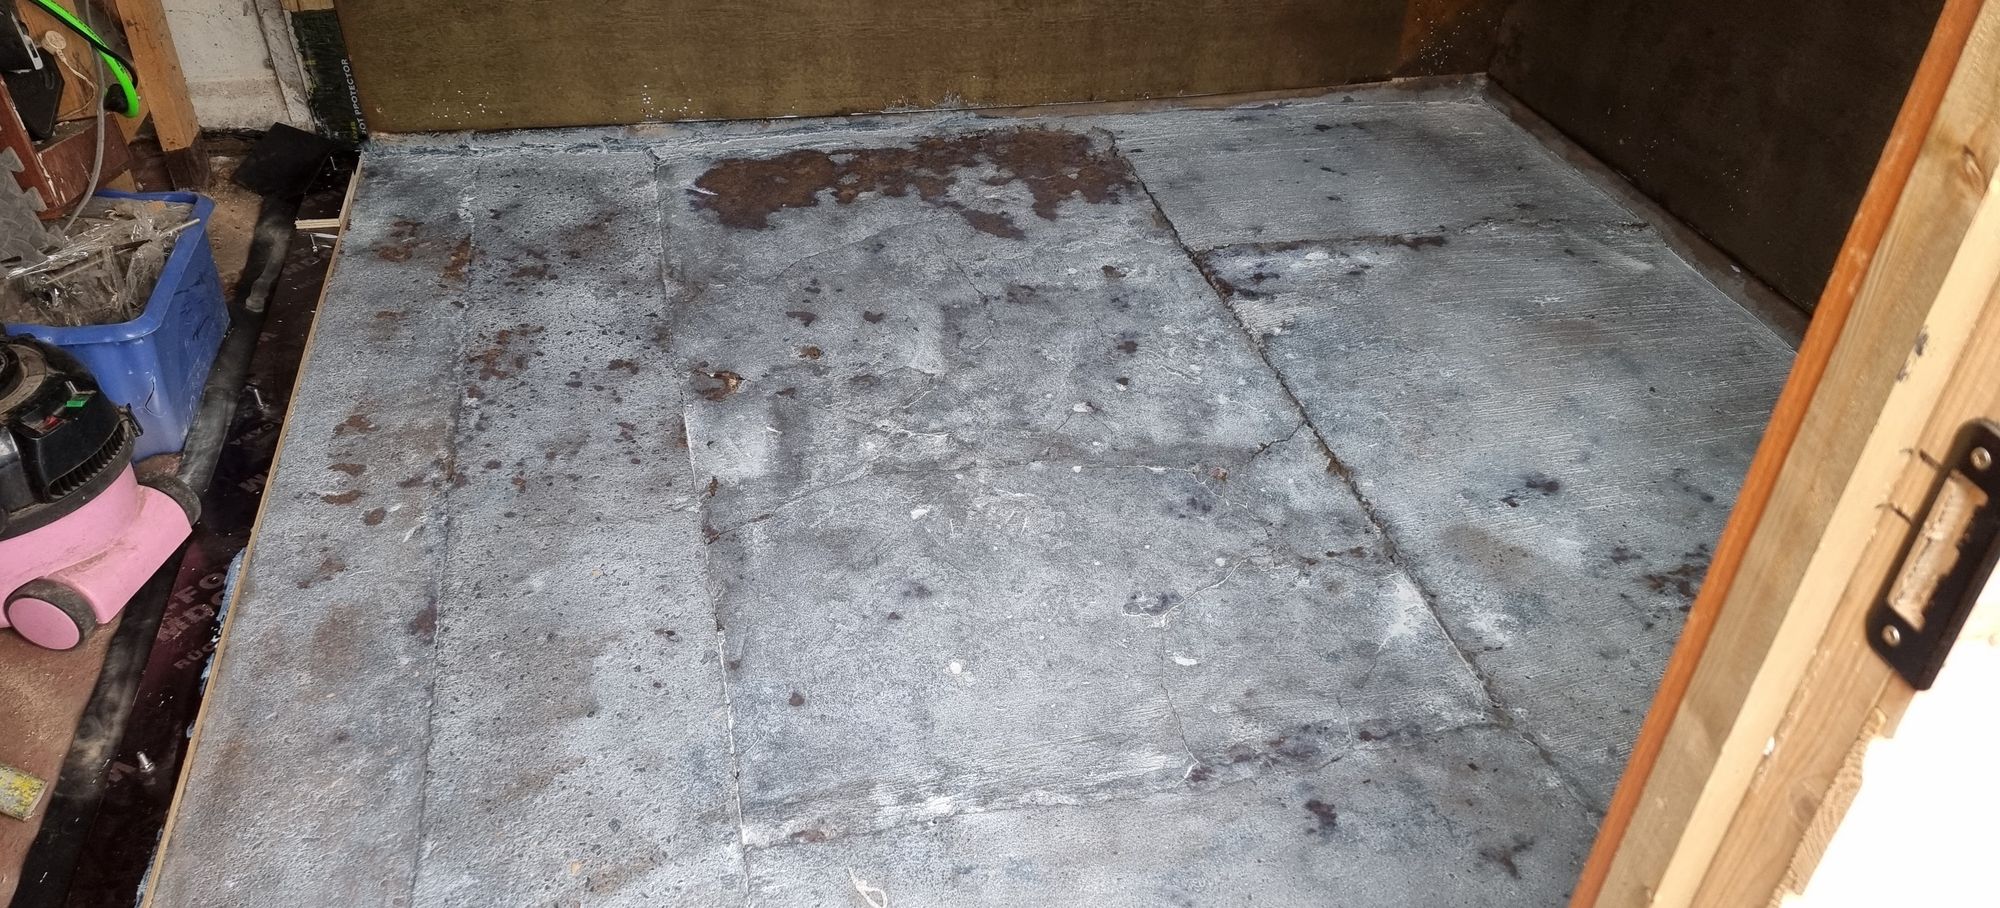
before doing the top-level boards I thought it best to get the floor level, Looking at the area involved and the fact that most of this was still full of gear I decided to do the floor in 3 stages, for now, I only needed to worry about the extension floor, so using some offcuts of the 18mm ply I bolted down to the floor a length of ply separating new from old, under this ply was also some rubber membrane to help seal it down. The picture shows the first area to be done. As far as being level is concerned, the floor tapers down to the right and also has a deeper dip in the middle. I needed a leveling compound that was strong and could cope with the different depths involved, I also needed to consider that it needed to be thick enough at its shallowest end to do its job. The answer was No More Nonsense leveling compound, this was actually suggested to me by my son's builder and also a neighbour who was currently doing a job for a client using the same material. No Nonsense is a latex compound with glass fibre strands, it can do depths from 3mm to 50mm in one go and more if later layers are added. It's also stain resistant and thus just what I needed.
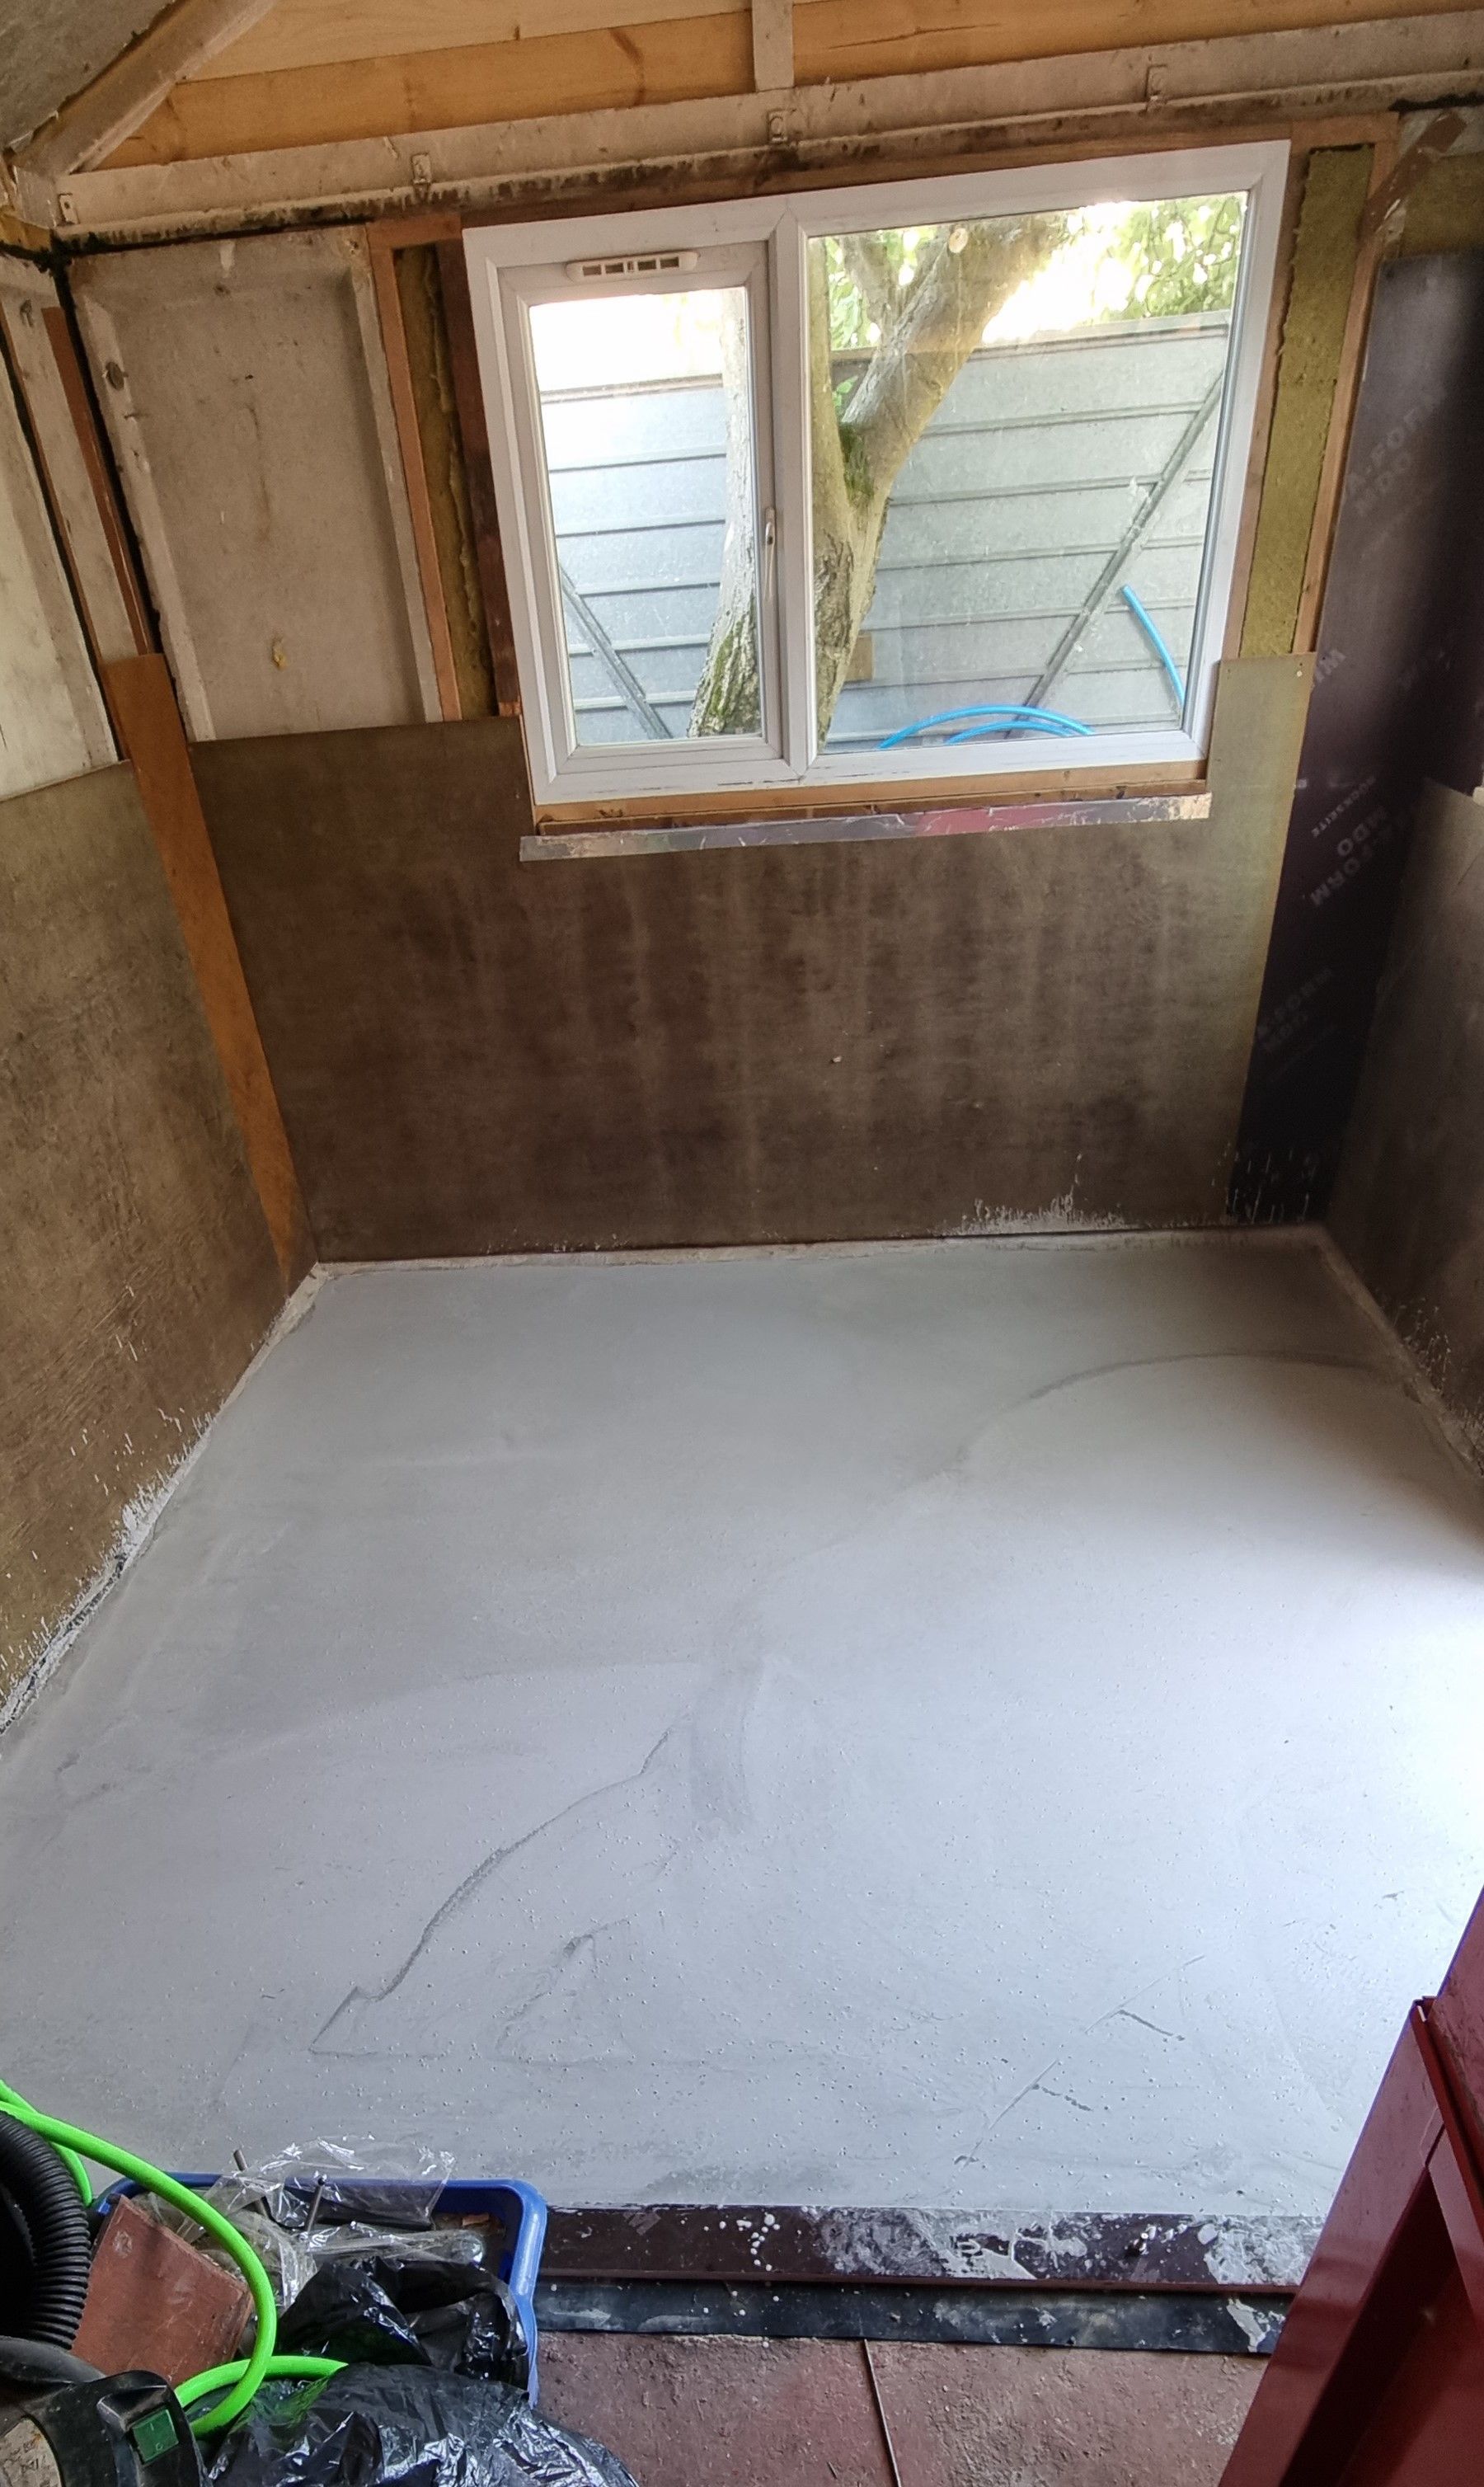
The next picture shows the area concerned with the partition board fitted, it has also been coated in an SBR primer which is waterproof, this was rollered on and left to dry but not fully, Advice was to lay the compound while the primer was still tacky.
Here's the compound when cured, I poured enough to give over 4mm at the partition (highest point left) this was so that it was thick enough to be over the minimum required.
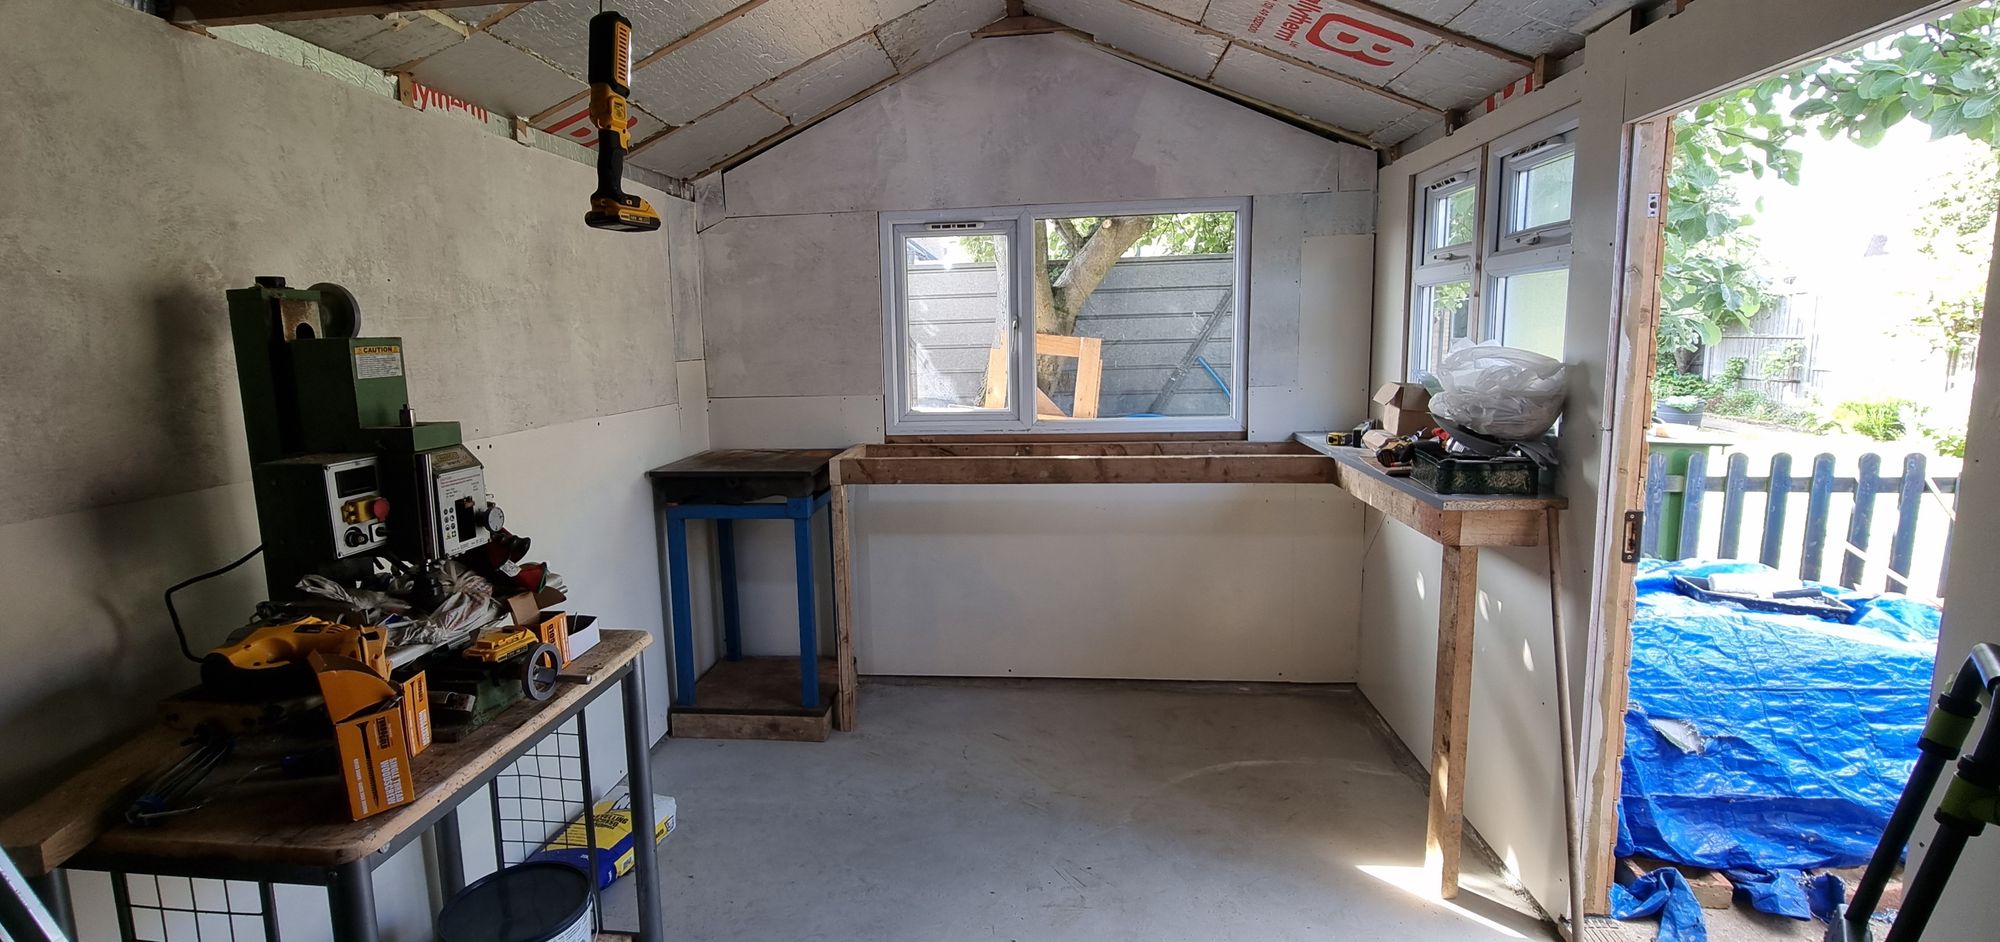
I wanted to get the bench frame up asap and thus painted the boards already fitted first. The chosen colour is magnolia in silk, nice and bright which always helps, especially for us folk with aging eyesight. Two coats did the job, the timber used for the bench frame is 4x2, and supports are still to be added. Also, note that 50mm foil-backed insulation board has been fitted between the roof rafters and that the end gable has now been clad in new timber.
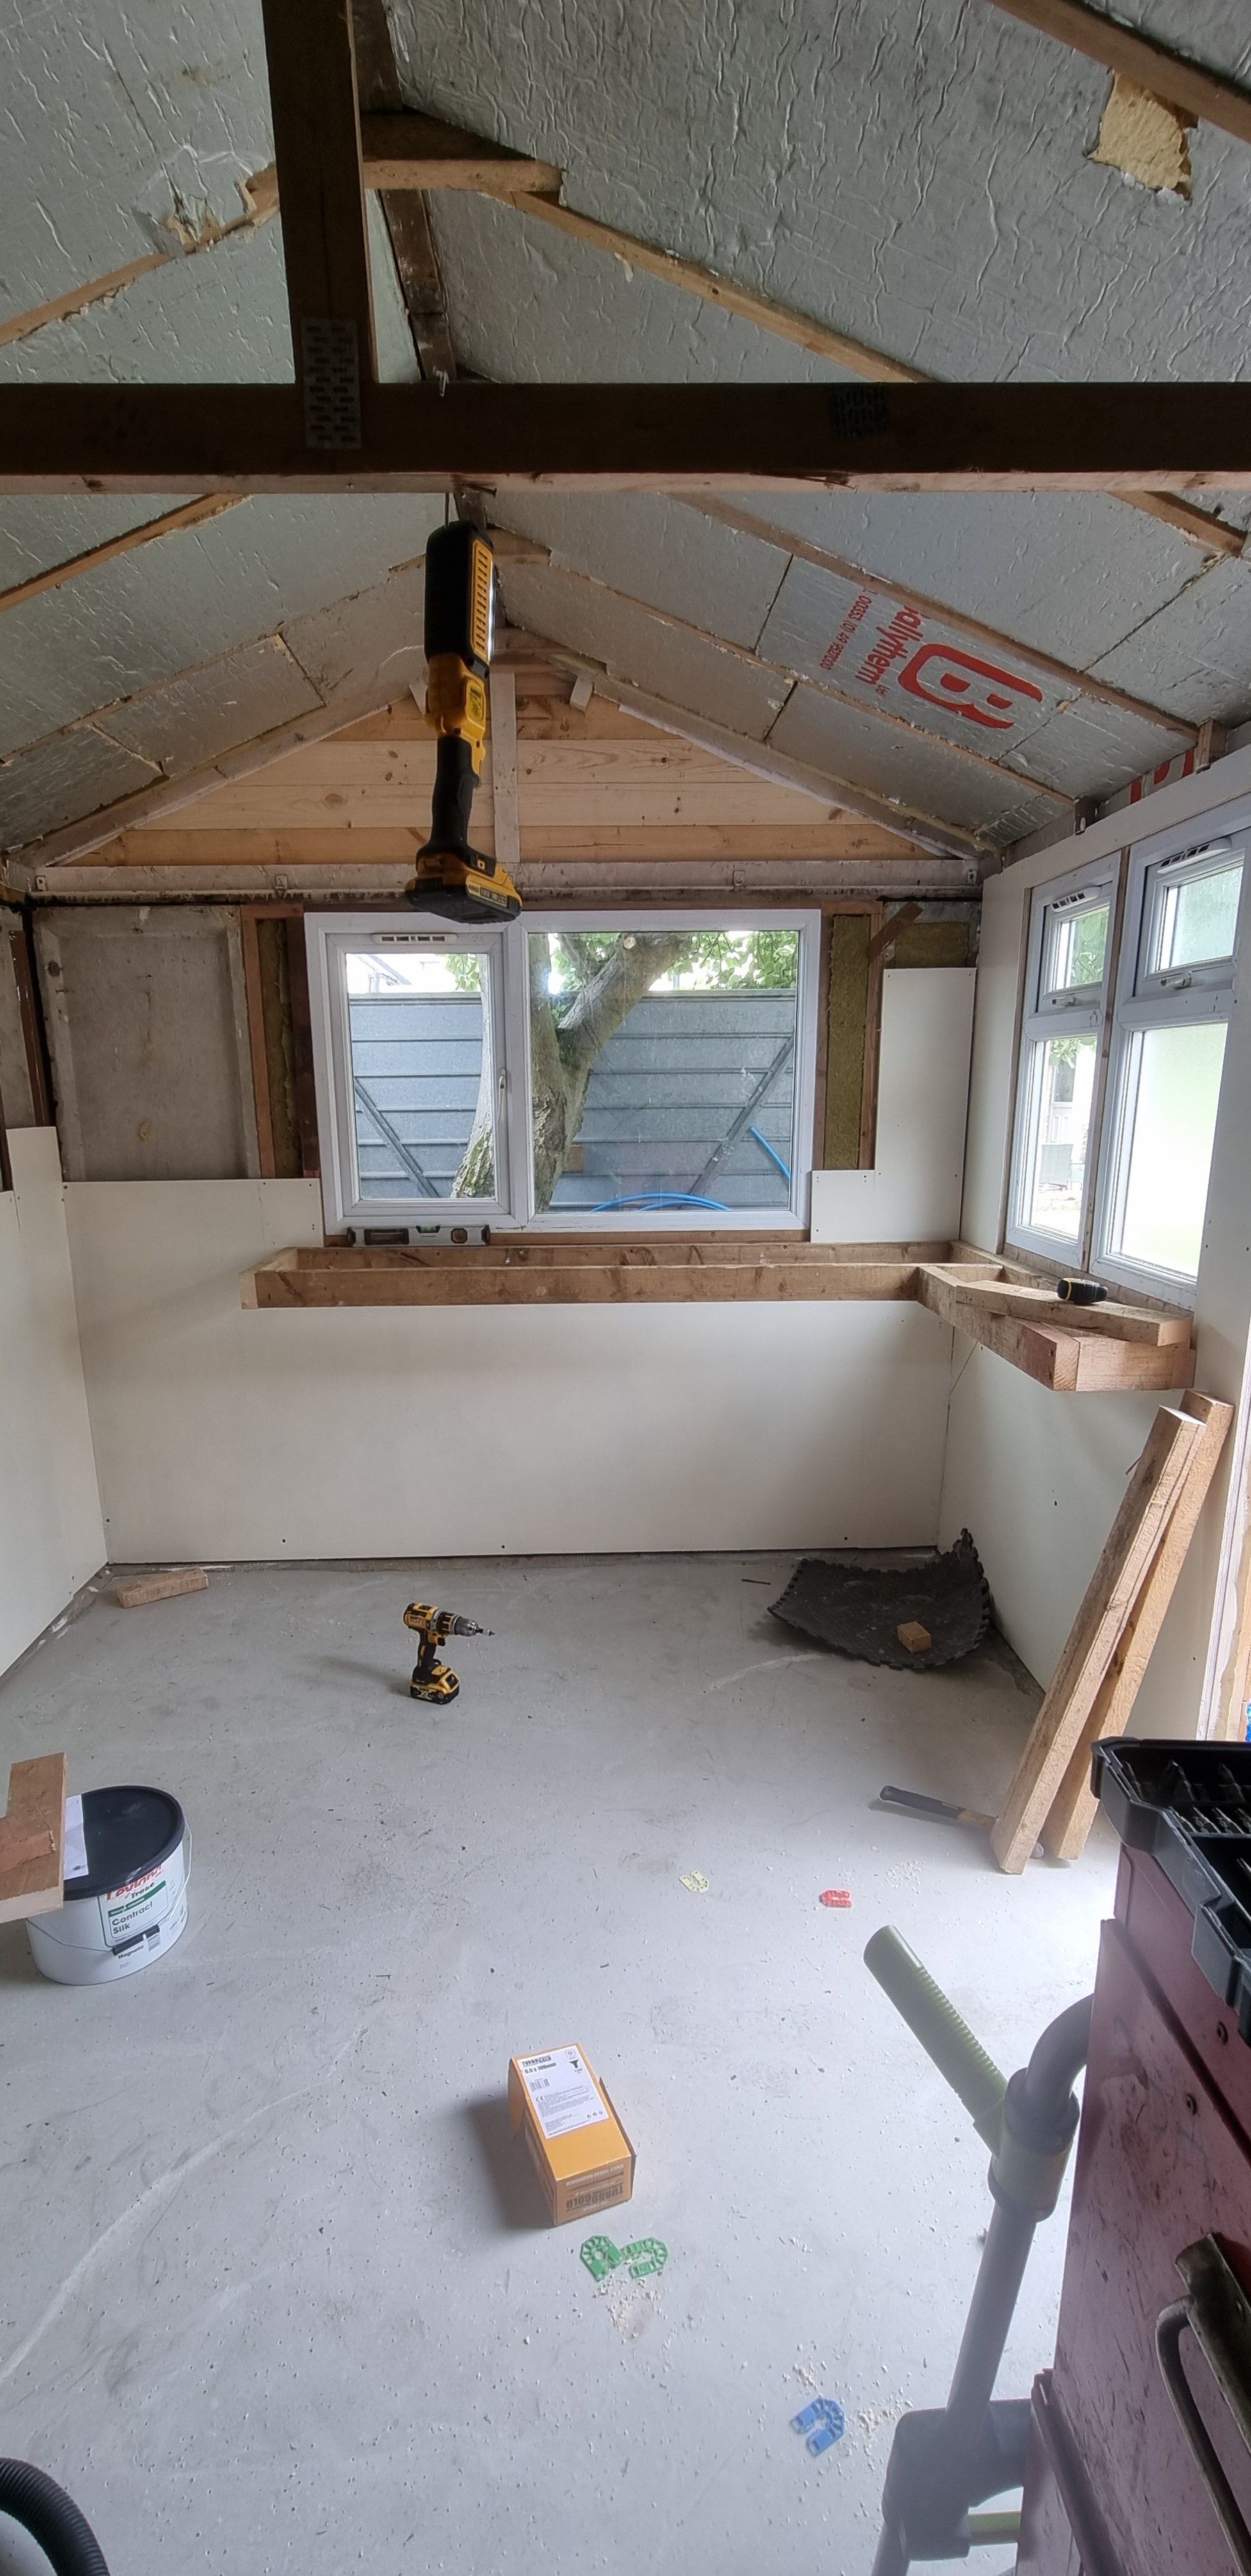
It was then time to add the upper boards including one for the gable which has been insulated with offcuts of Rockwool. The surface plate has been mounted in one corner and checked for being level.


The last picture for today, the bench now has a top on the right-hand side and also temporary legs in case I lean on it. The mill stand has also been placed into the room but has not been serviced/cleaned yet. The upper boards have also received their first coat of paint.
Next time I'll make a start on making some drawers to fit under the new bench.