
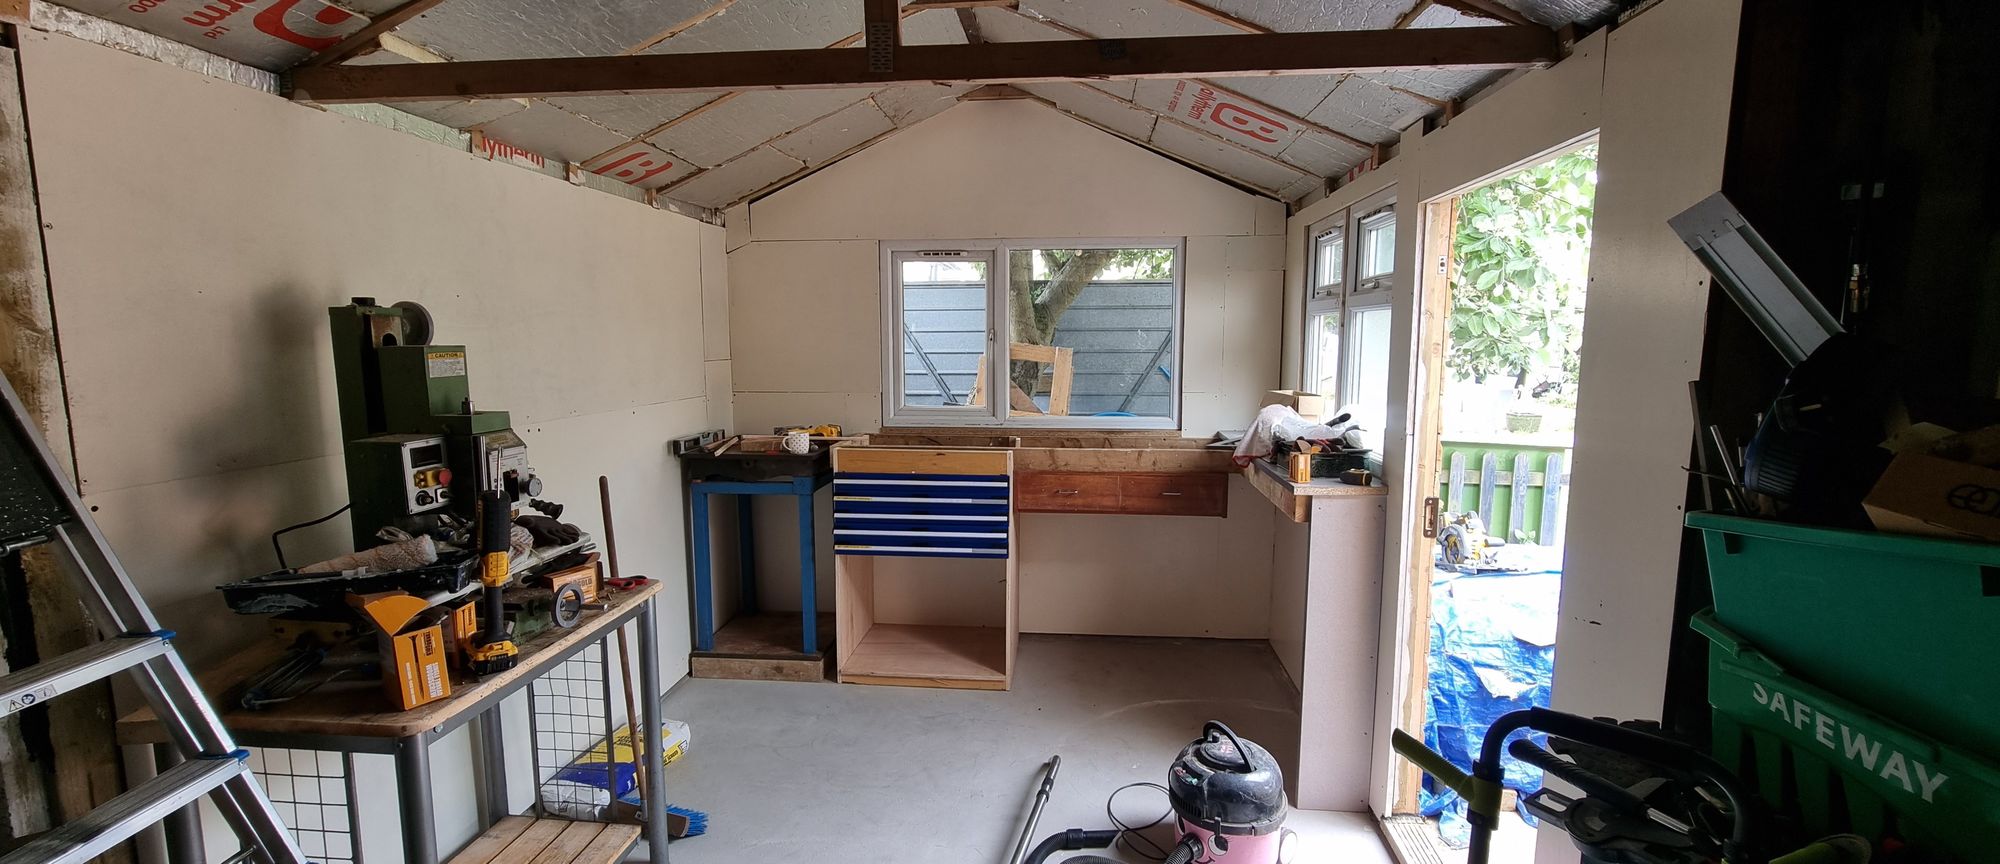
Now this might seem a bit out of step and it is but sometimes one has to work around things the best that they can. for me, this means trying to build a workshop that is already full of everything from the old. I am basically building in 3 stages, new extension, rear, and front of the original garage, this is so that I can clear the area being worked on without having to move stuff out of the building into the elements. Therefore I have decided to build some of the drawers so that I can empty some of the old units brought with me which can then be scrapped to give me more room, at least that's what I'm trying to accomplish.
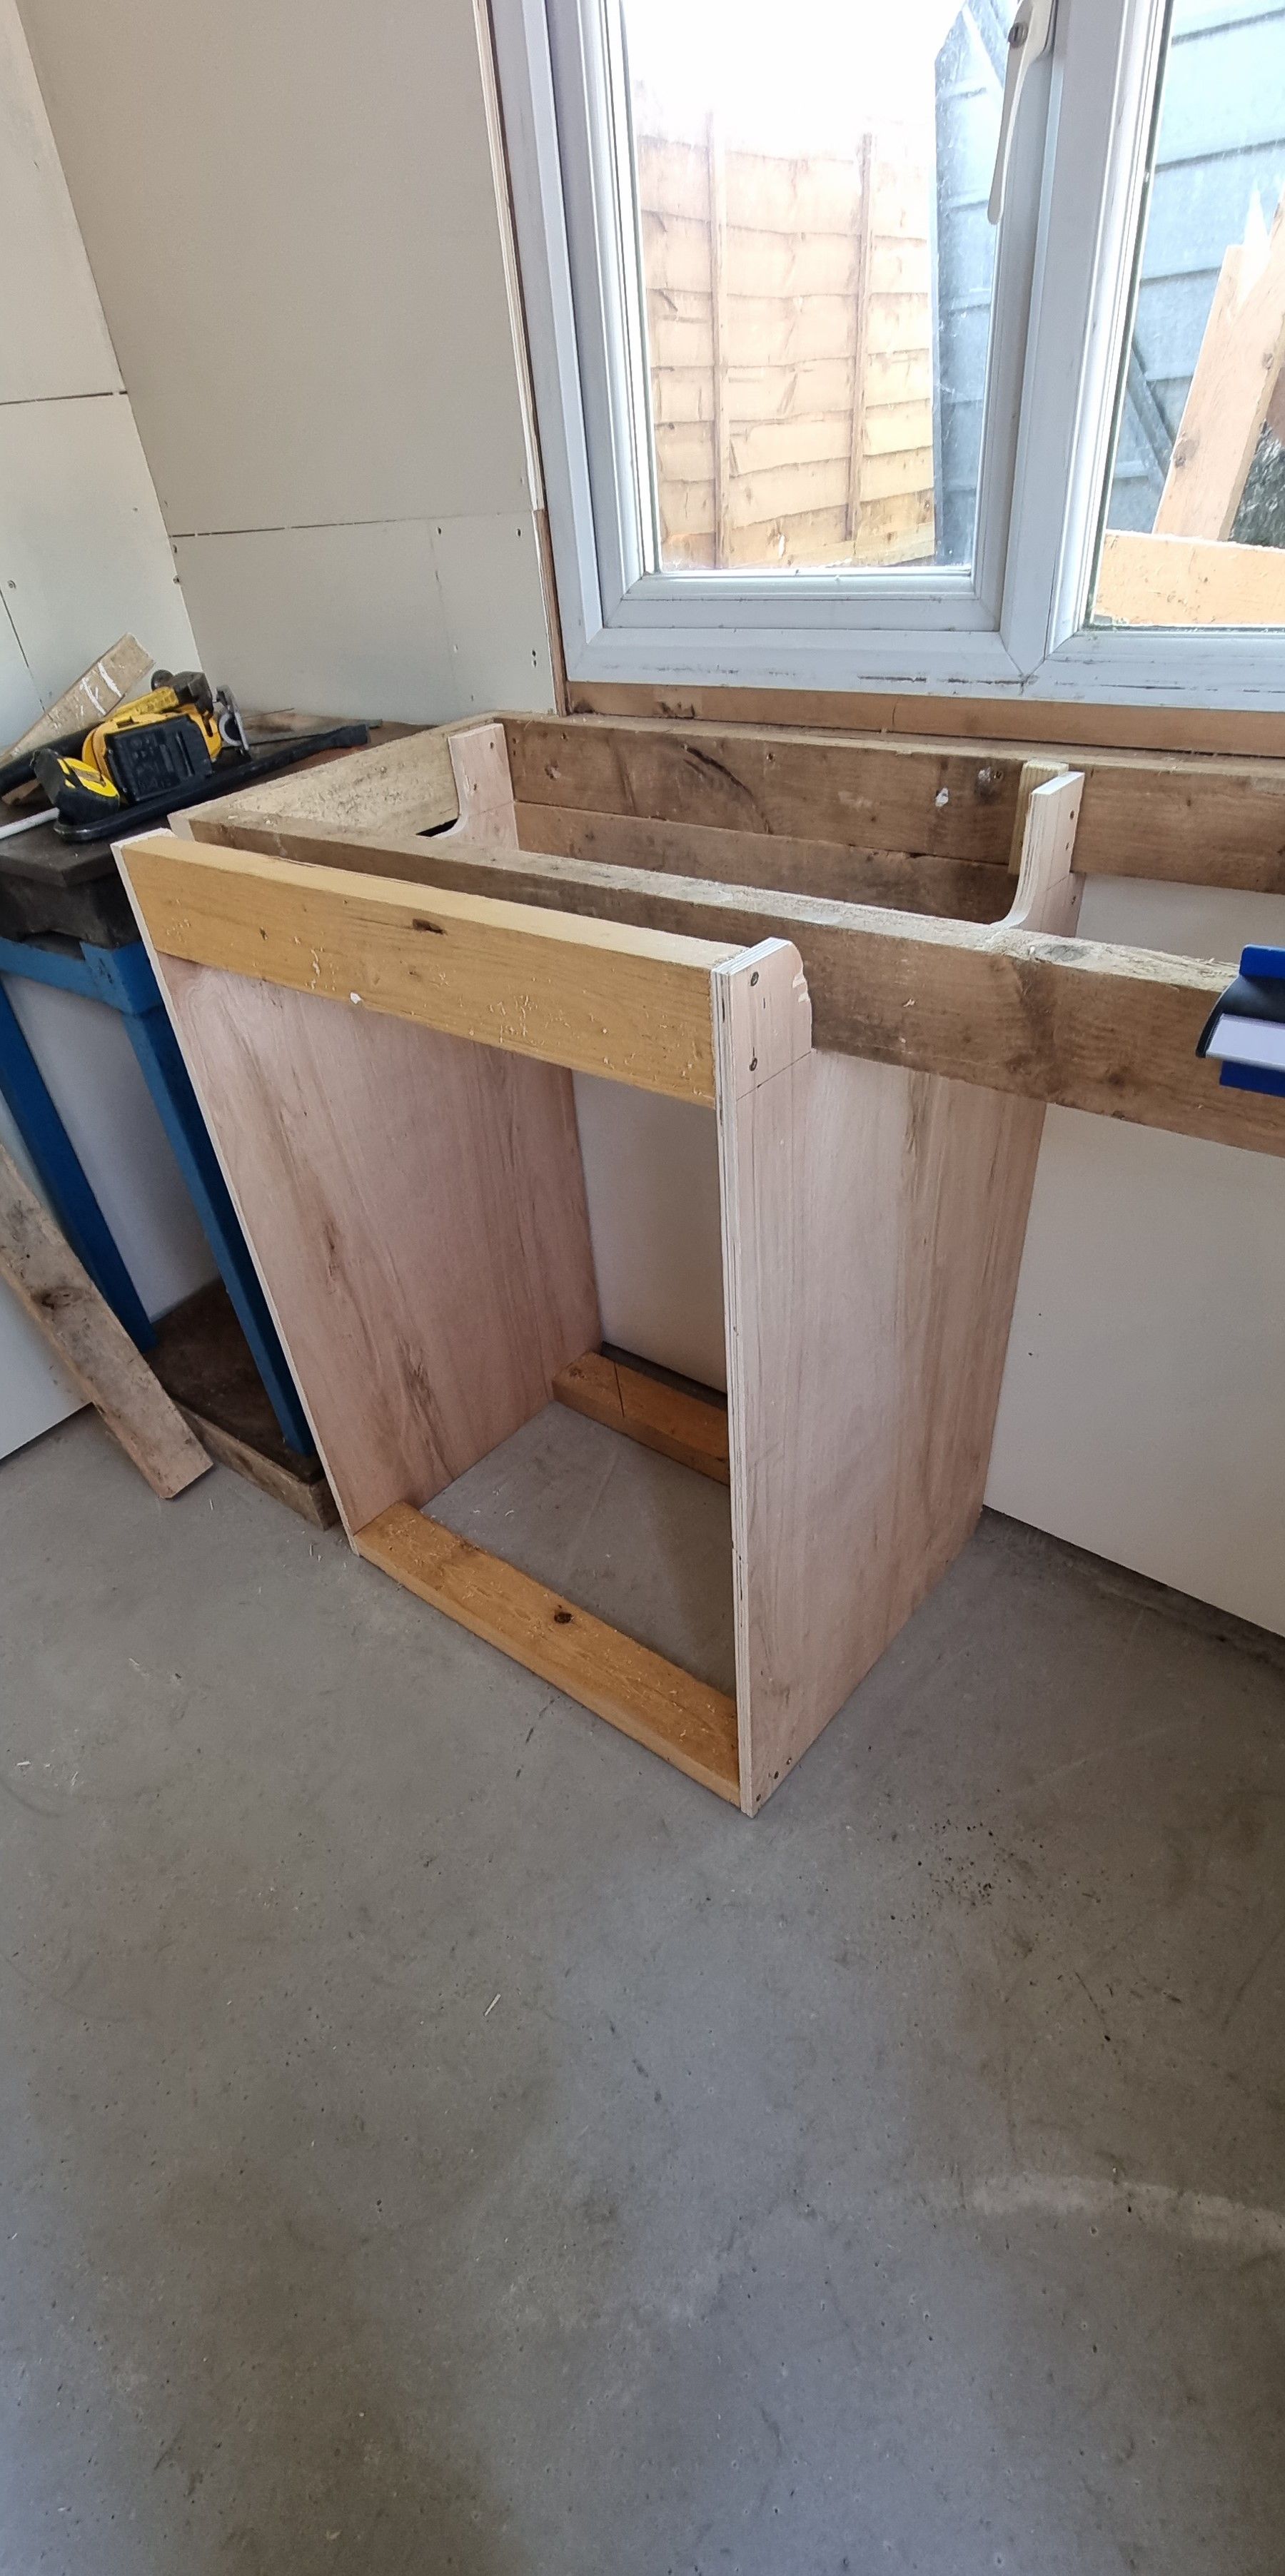
To begin with I'll tackle making some drawers using parts that my youngest son saved when his work relocated from their old location to a new one. I gained some nice goodies during this time for which I'm most grateful. First up is a set of shallow drawers for tooling etc. These are heavy-duty items so perfect for the job, I began by making a wooden carcass from 3/4 plywood, this will also act as the end support for this end of the bench.
the first picture shows the carcass, note that I removed some material from the top sides of the carcass so that I could maneuver it under the frame and then screw it into it. Note also that the front of the carcass sits out proud of the bench frame, this is so that when the worktop sits on top I will have an overhang which will be useful when clamping anything to the top.
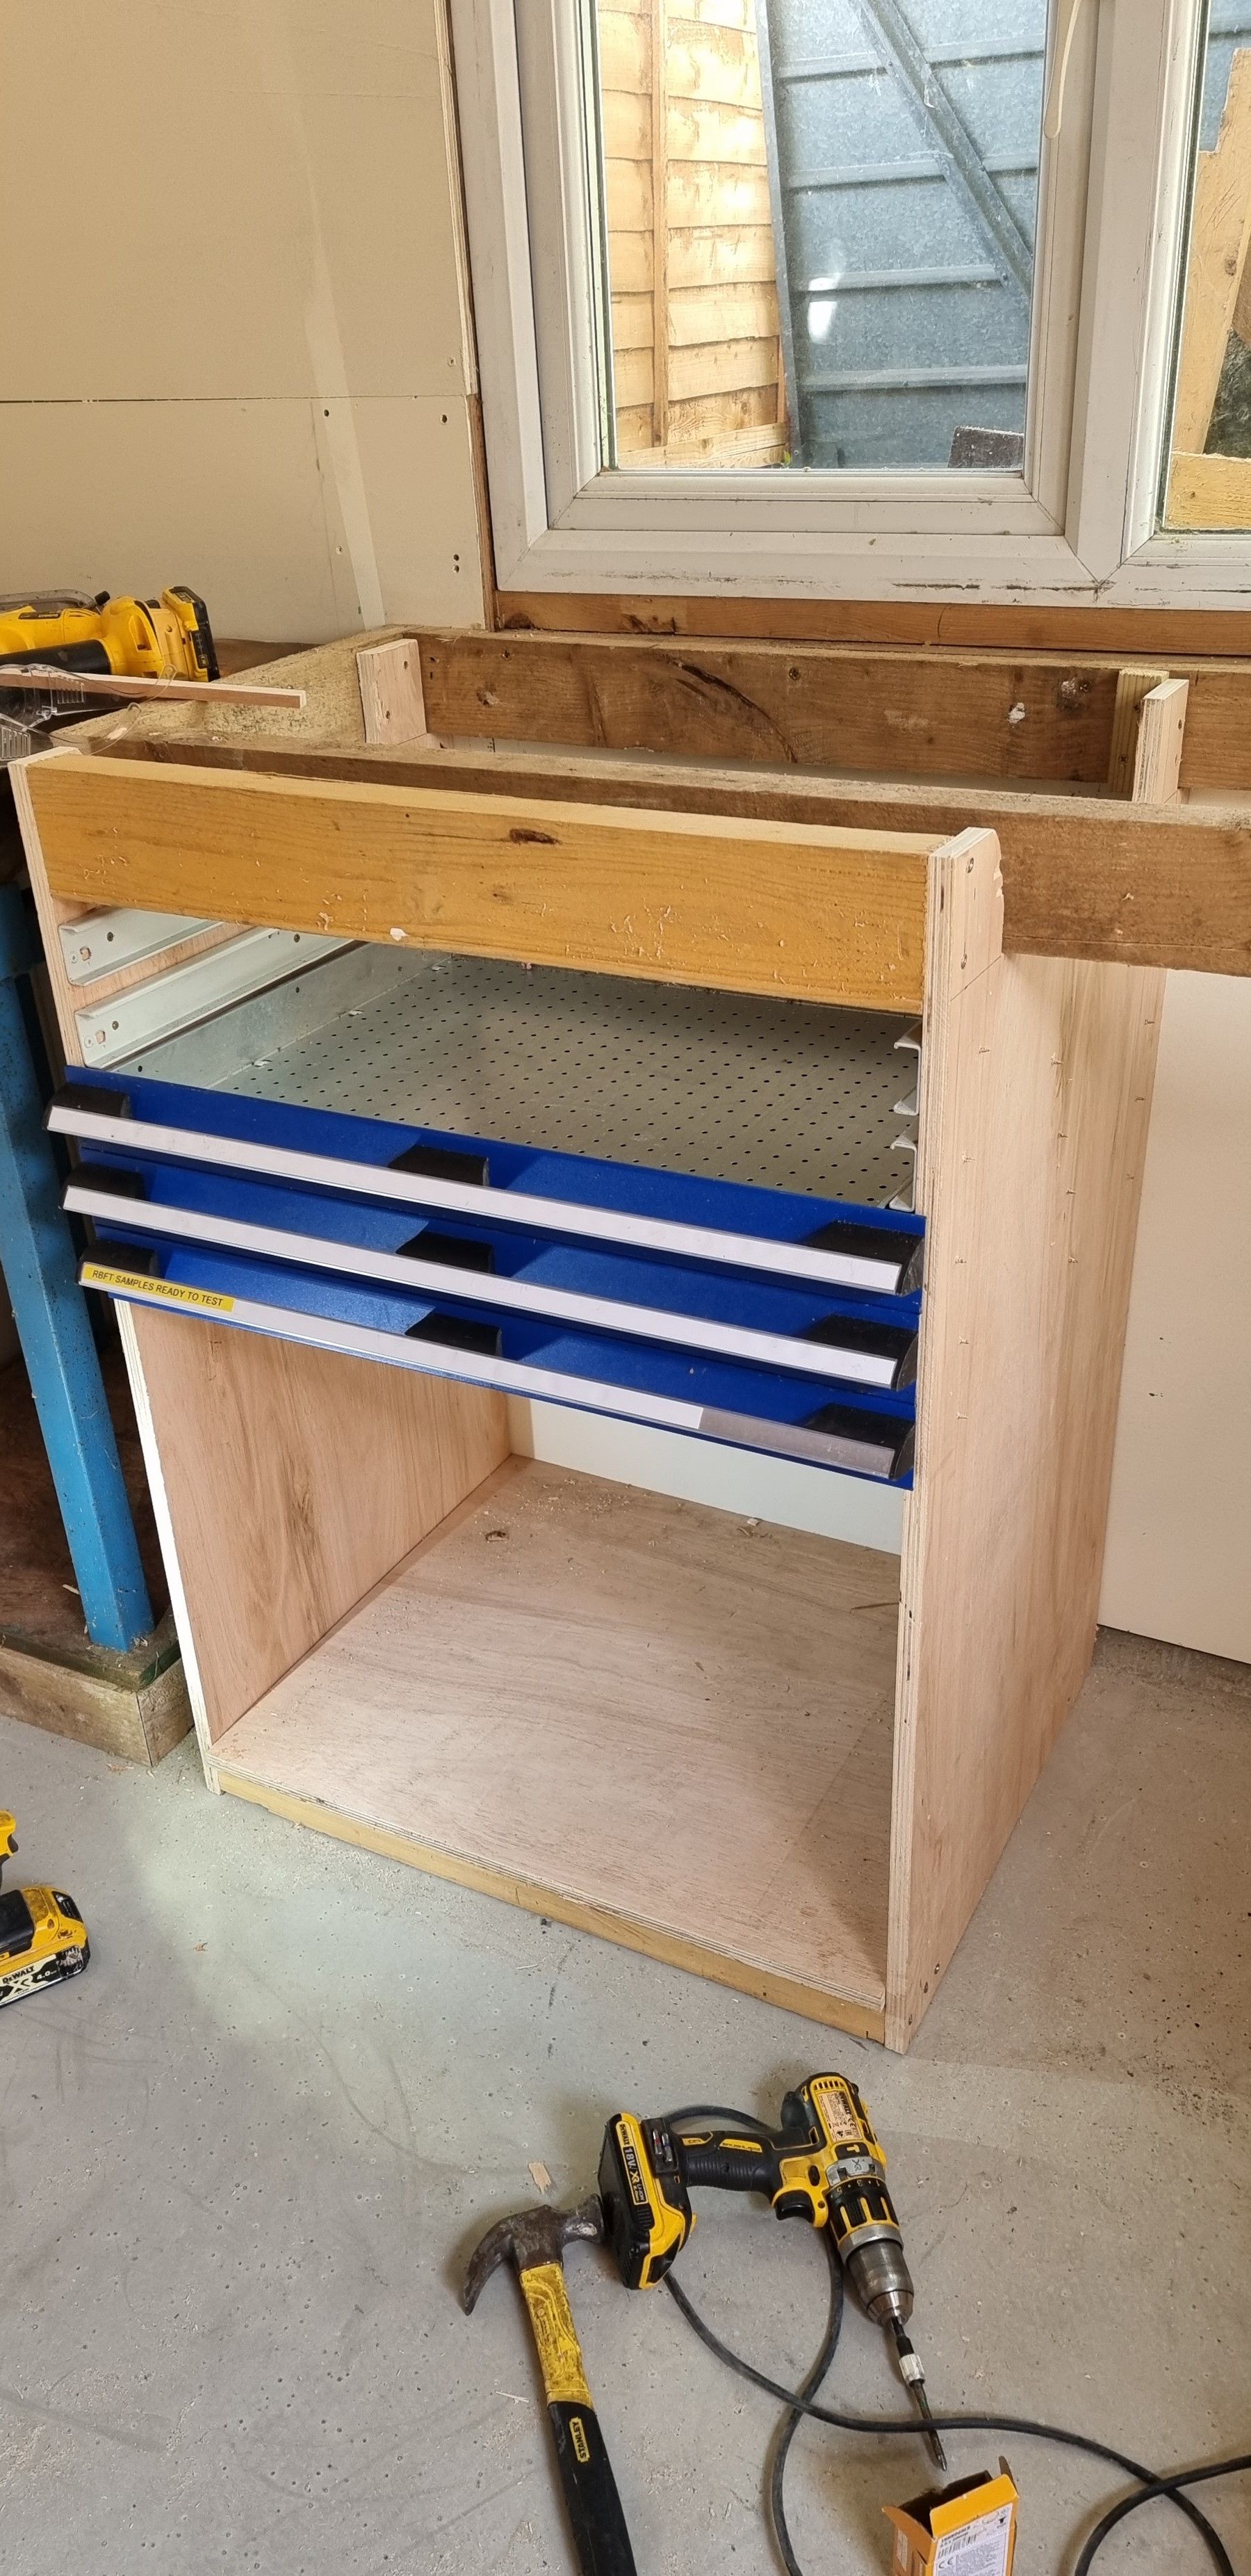
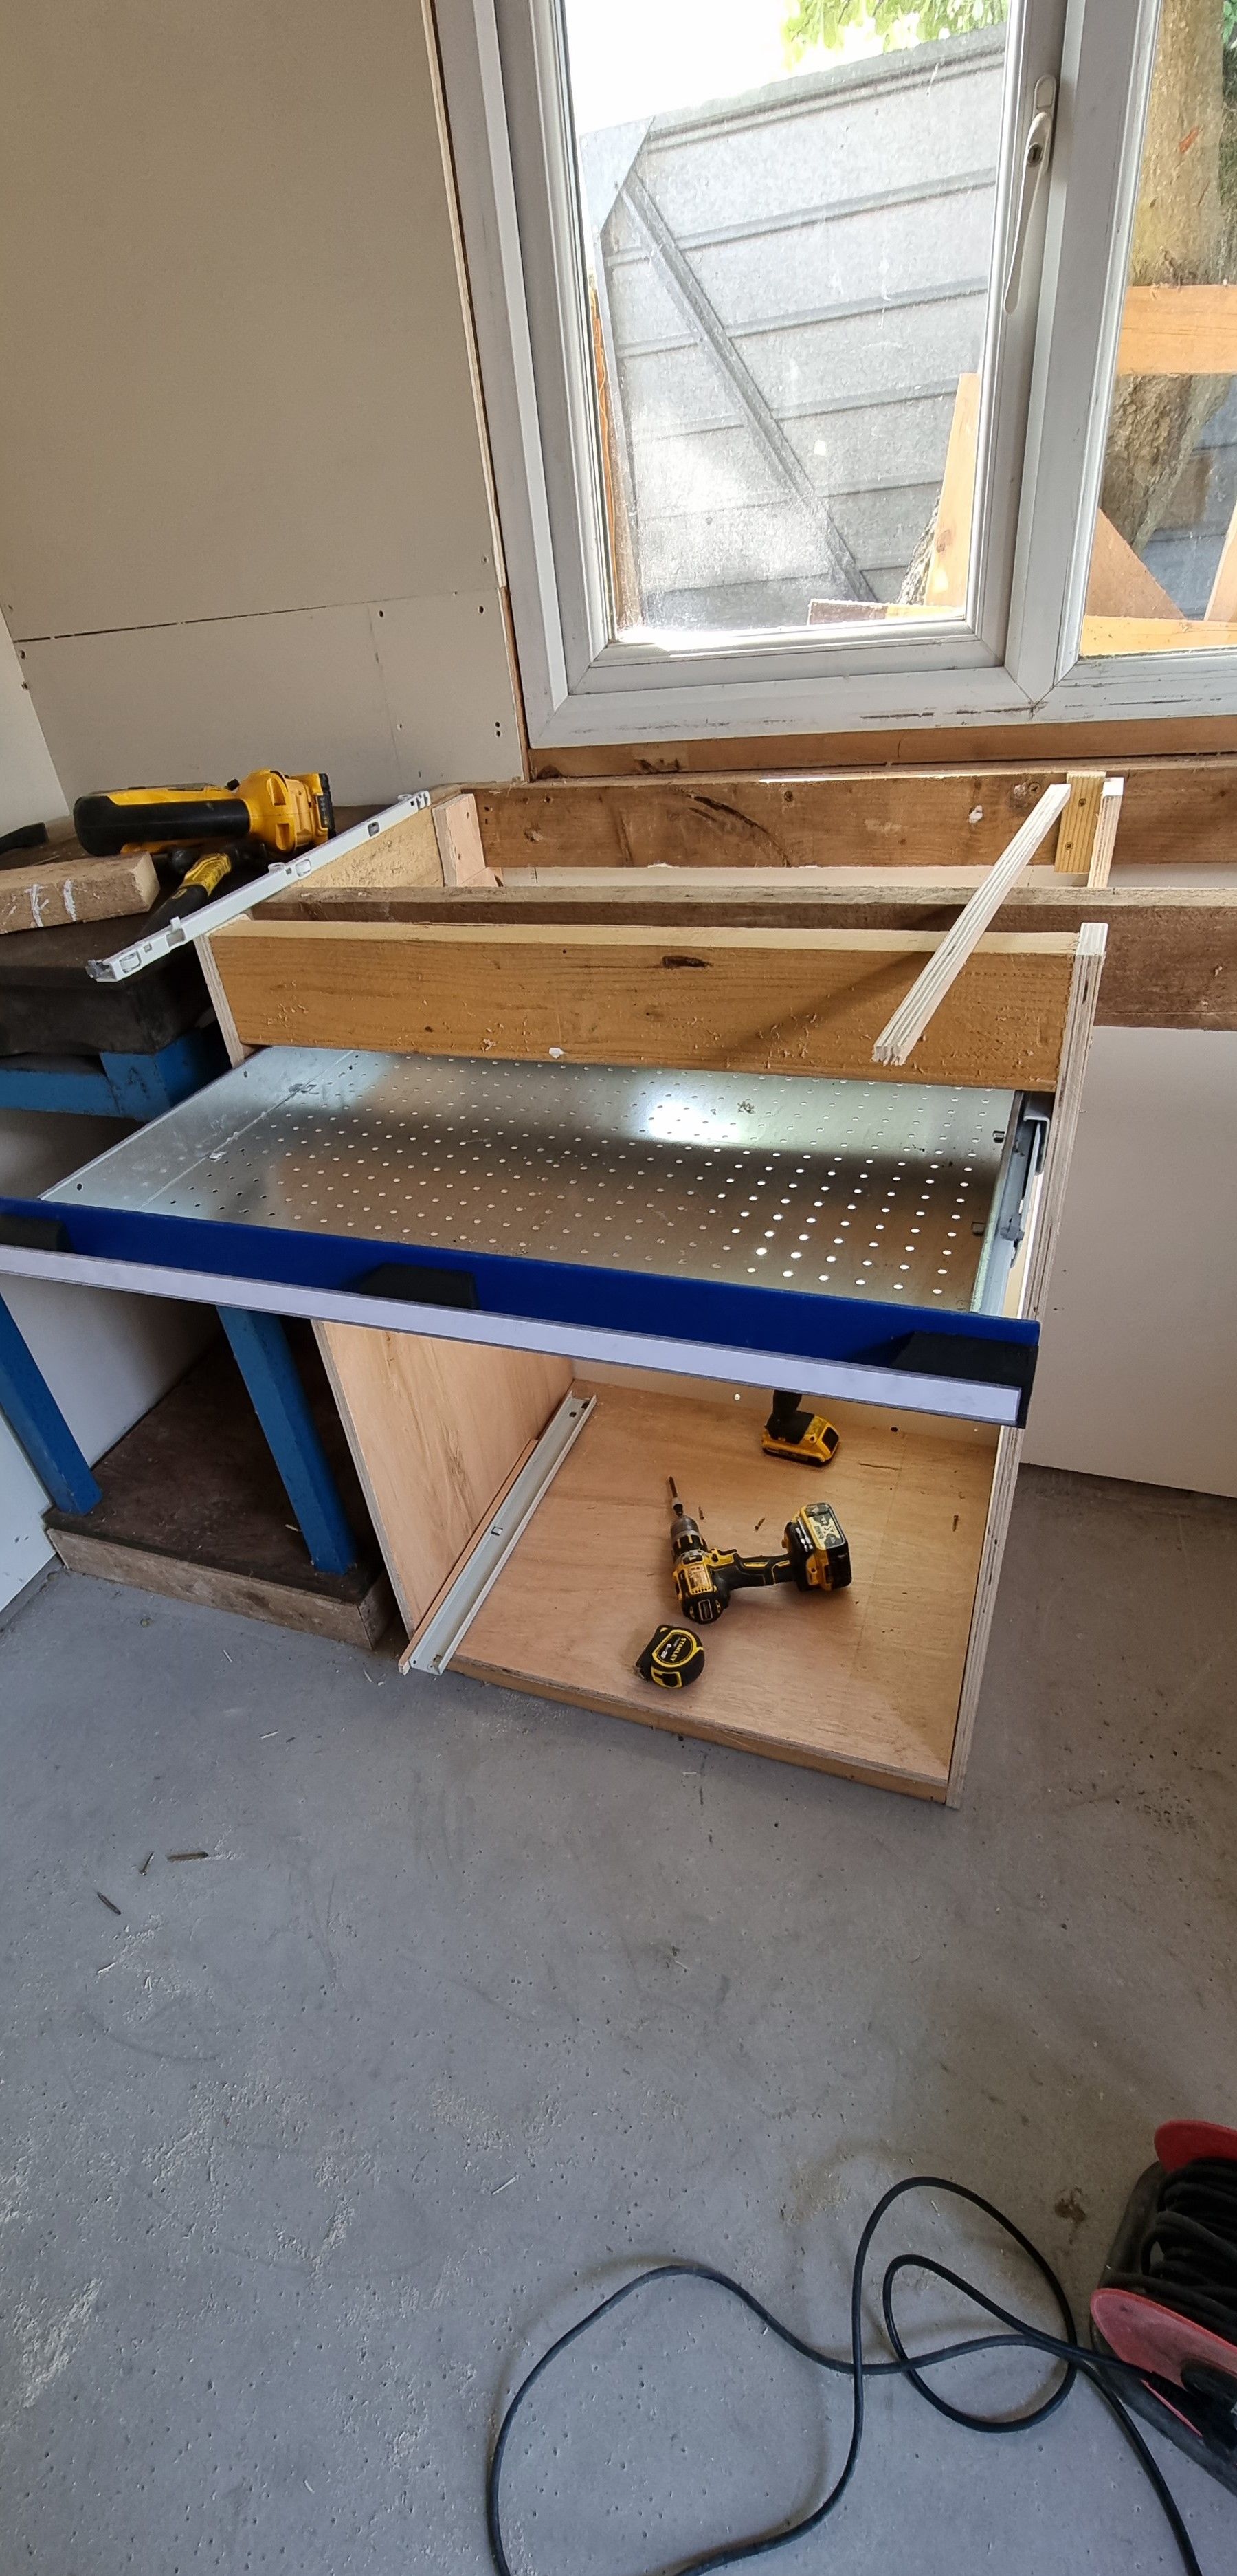
The first drawer in place
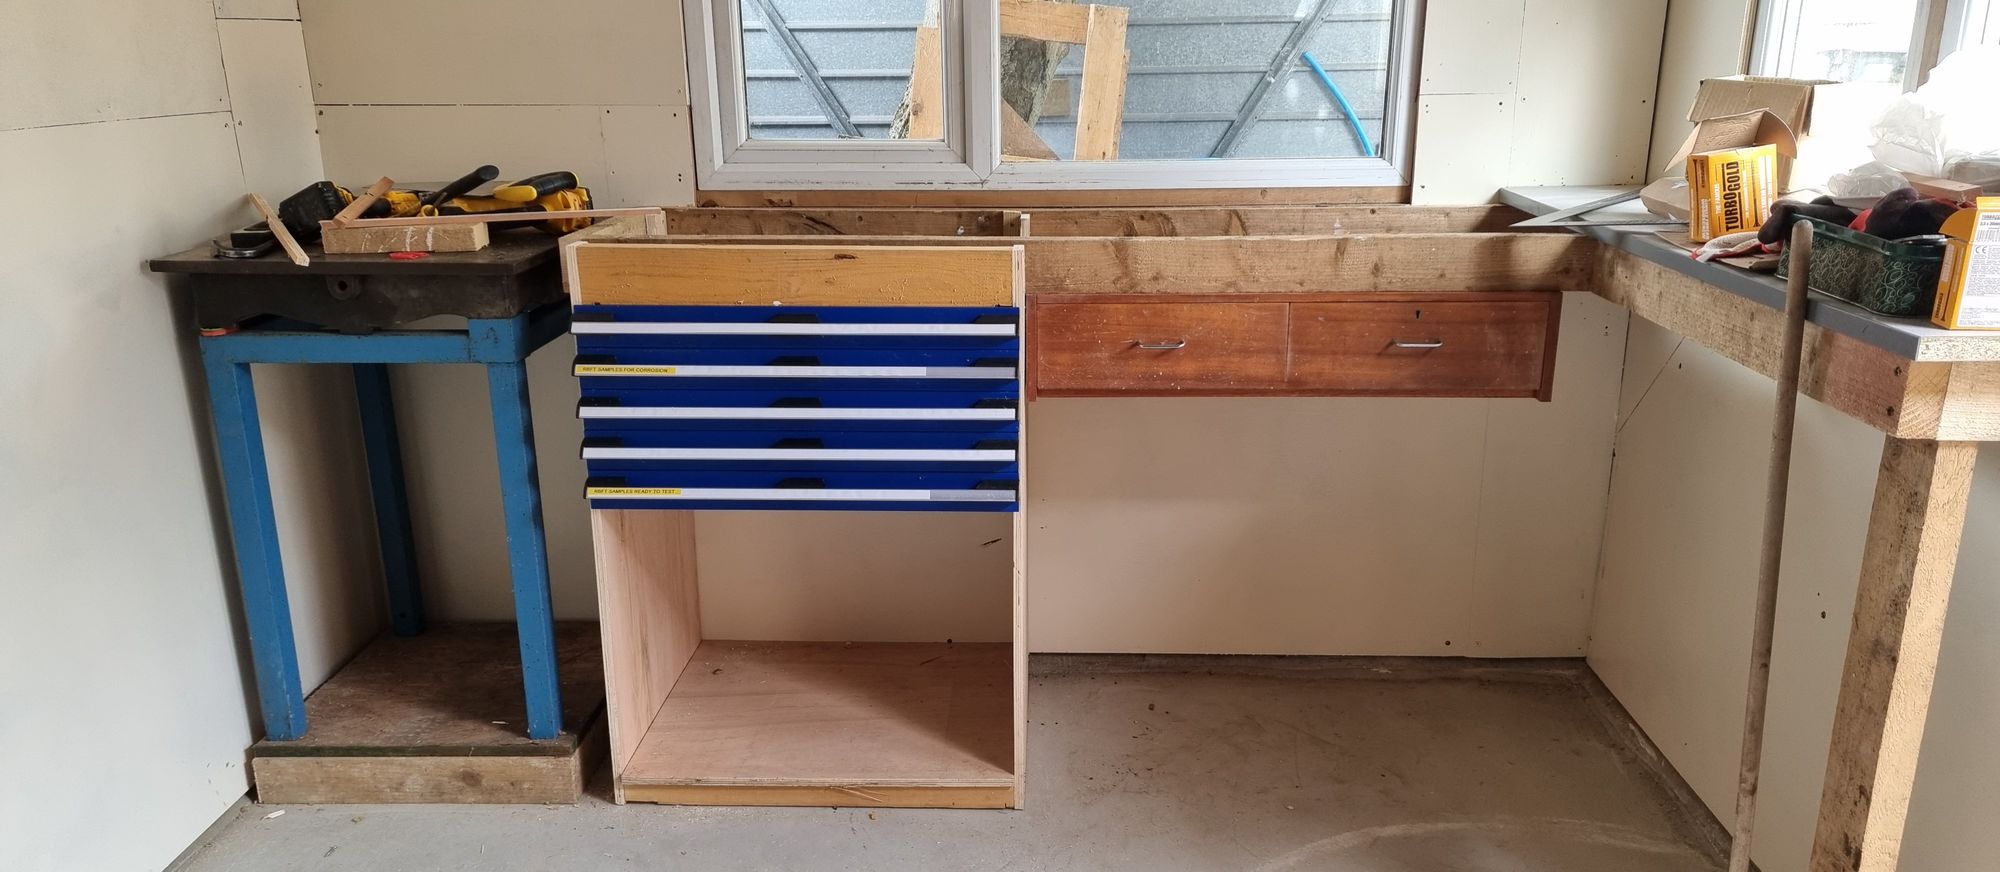
I have fitted 5 drawers, I have more but thought they could be used elsewhere and also that having some storage area below these 5 drawers would come in handy once I have decided on what goes where. You will also see that I also have added two wooden drawers to the right and left enough space below for sitting under. These drawers were part of a chest that had been left by the previous owner in the garage with a few tools in it. I didn't want to keep the drawers as was but have made use of the two smaller drawers by cutting them off the chest and then screwing the resulting unit to the bottom of the frame, this has worked out very well and gives me two deep useful drawers, I'll work out what to put in them later.
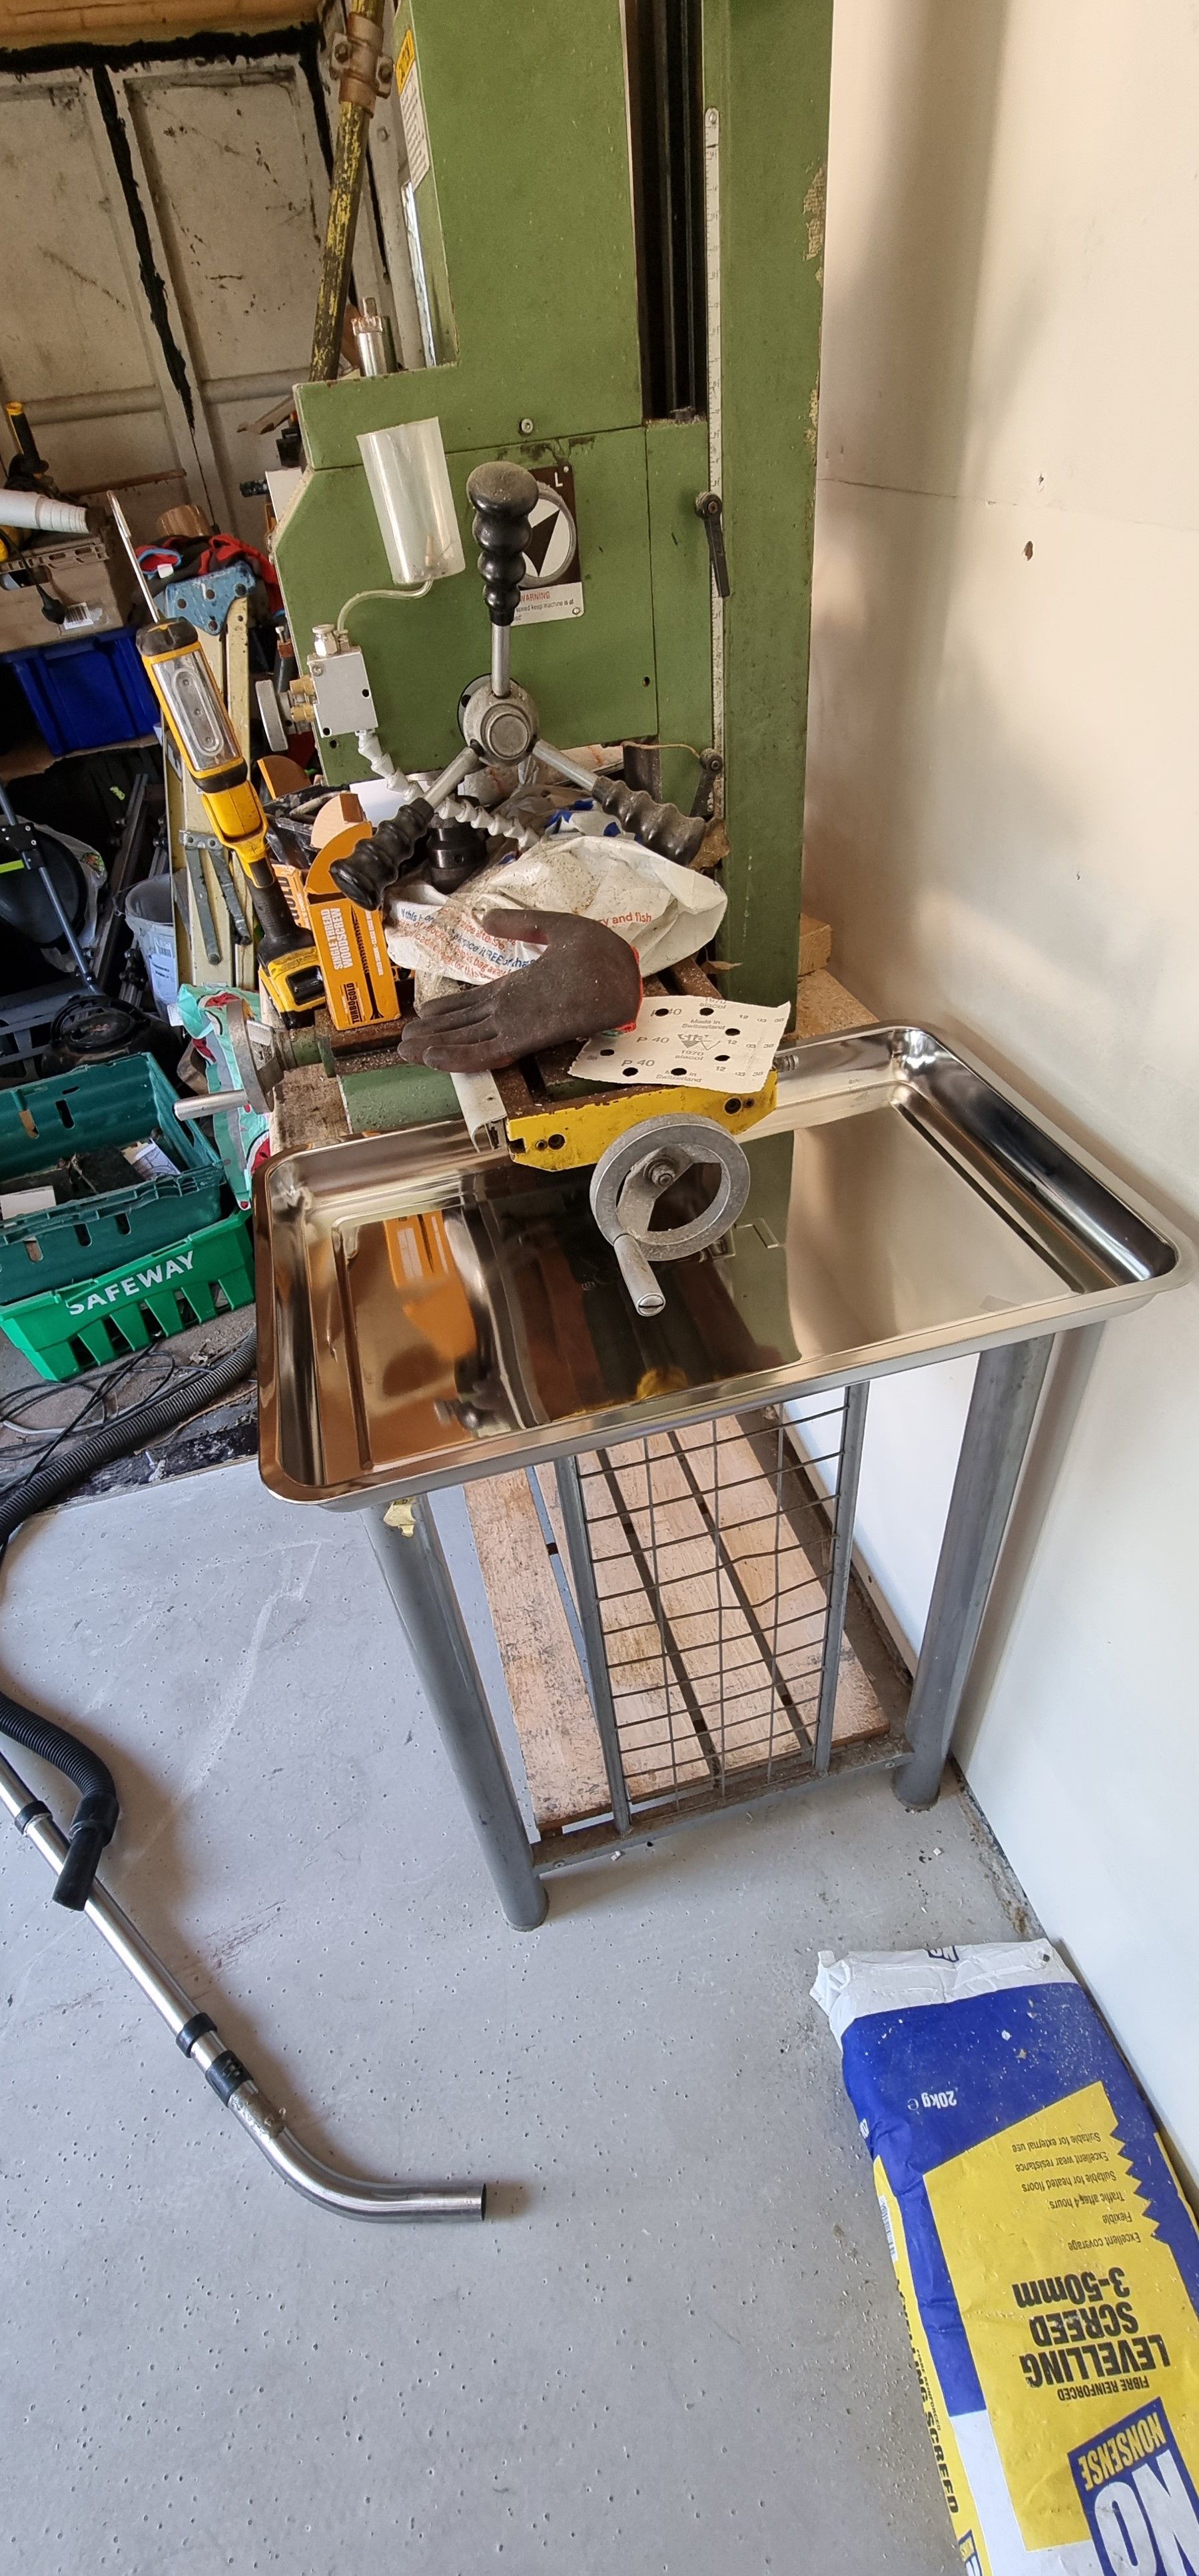
Some further developments, I now have the mill in the approx area where it's going to live, it will be slightly to the left of where it is now but I can't do this until I have leveled the floor in that area.
In the past the mill has never had an oil tray, I have rectified this by adding a cheap oil drip tray which is large enough for the job in hand, this is a much cheaper alternative to a purpose-made tray. I have placed the tray alongside the mill, once the boys are over I'll ask them to lift the mill for me to place the tray under and drill through.
More soon