

We now come to the doors and their relevant frames. For the smaller side door we have already seen the bare framework but not the more substantial front door.
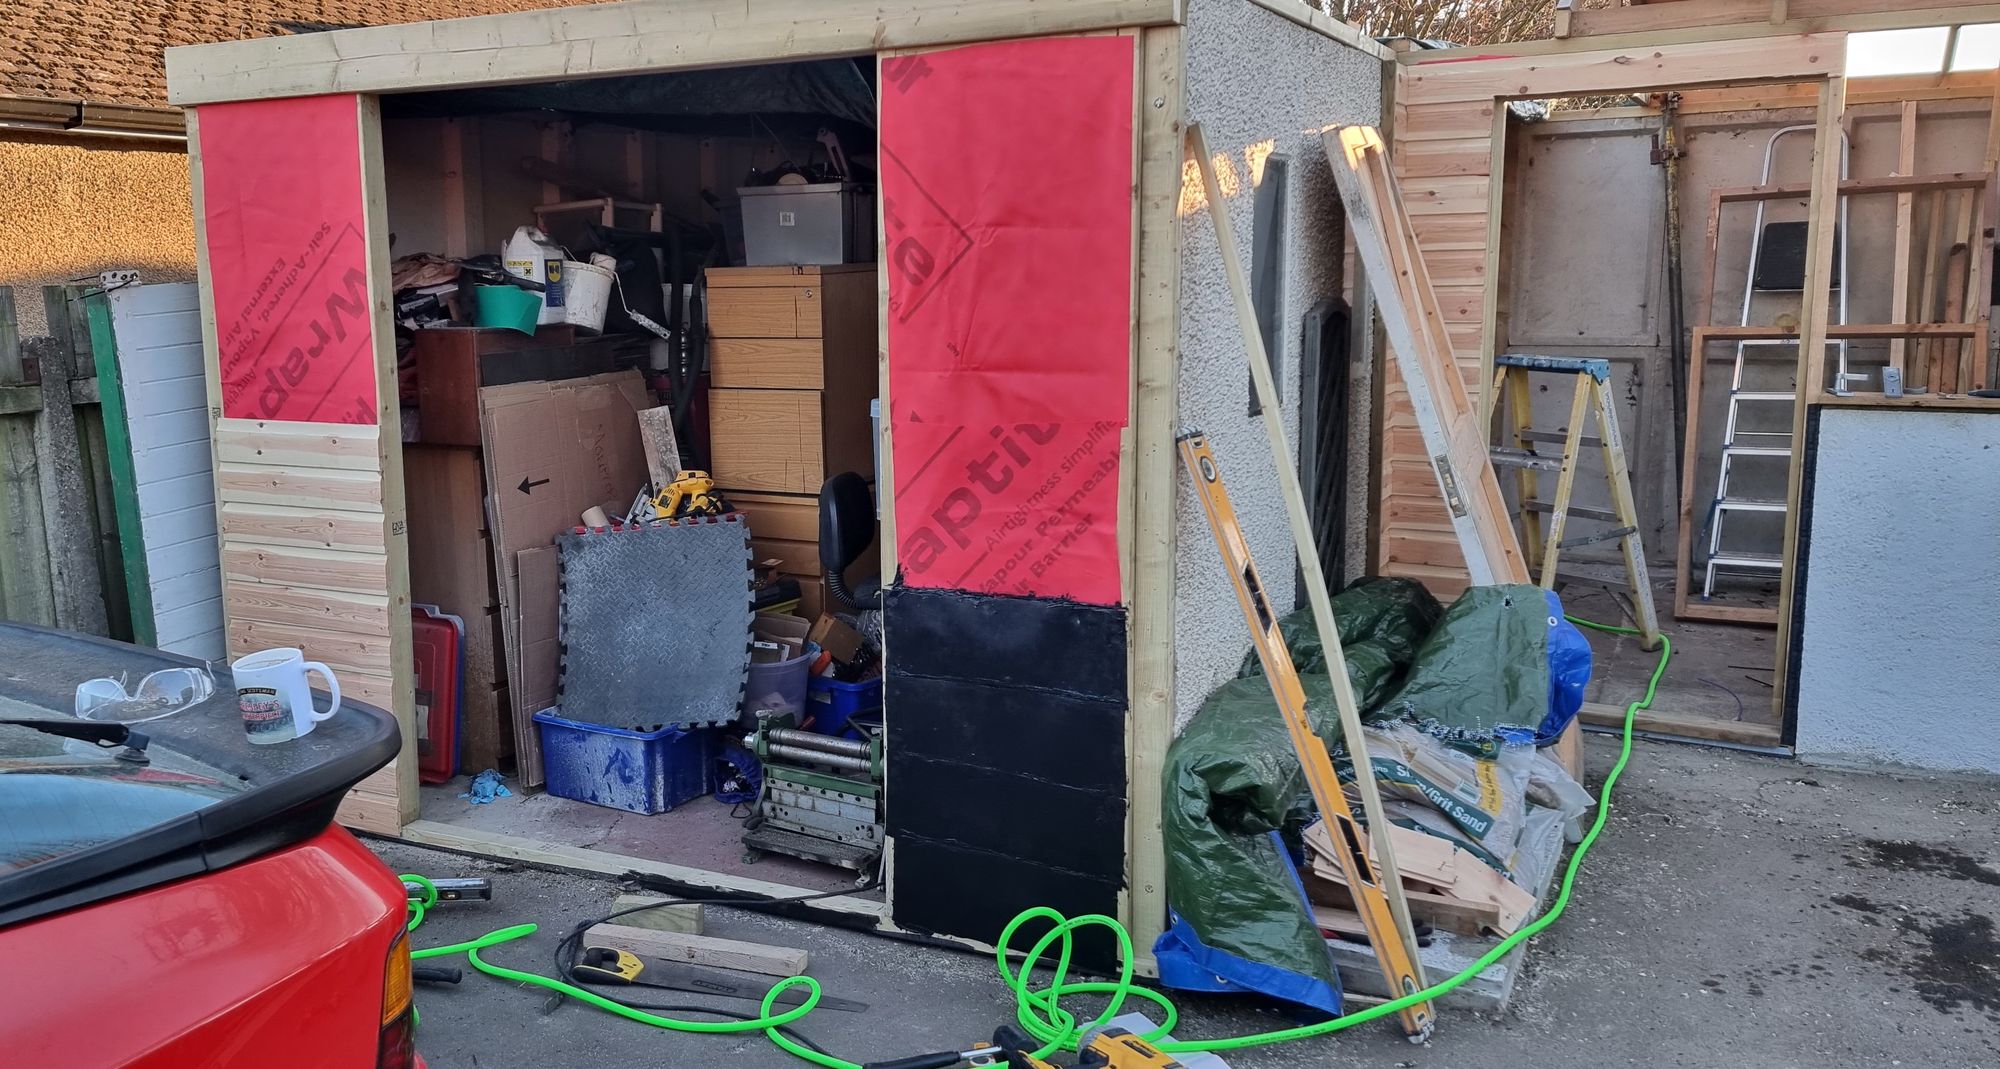
First I built the frame, sides from 3 x 2, and the top beam was 2 lengths of 6 x 2 which was doubled up to make a beam 6 x 4, this beam supports the front truss when fitted later. Both door frames have a length of timber below a step which is wrapped in a waterproof membrane, there is also a membrane stretched over the frame before it's covered in cladding, Rockwall insulation will be inserted into the spaces in the frame before it's later covered with 19mm plywood.
The picture below gives some idea of what's involved, you can see the membrane behind the partially clad frame, note also that the small door frame has also now been clad and thus making the building one and will thus be secure for the first time once the doors and windows are fitted.
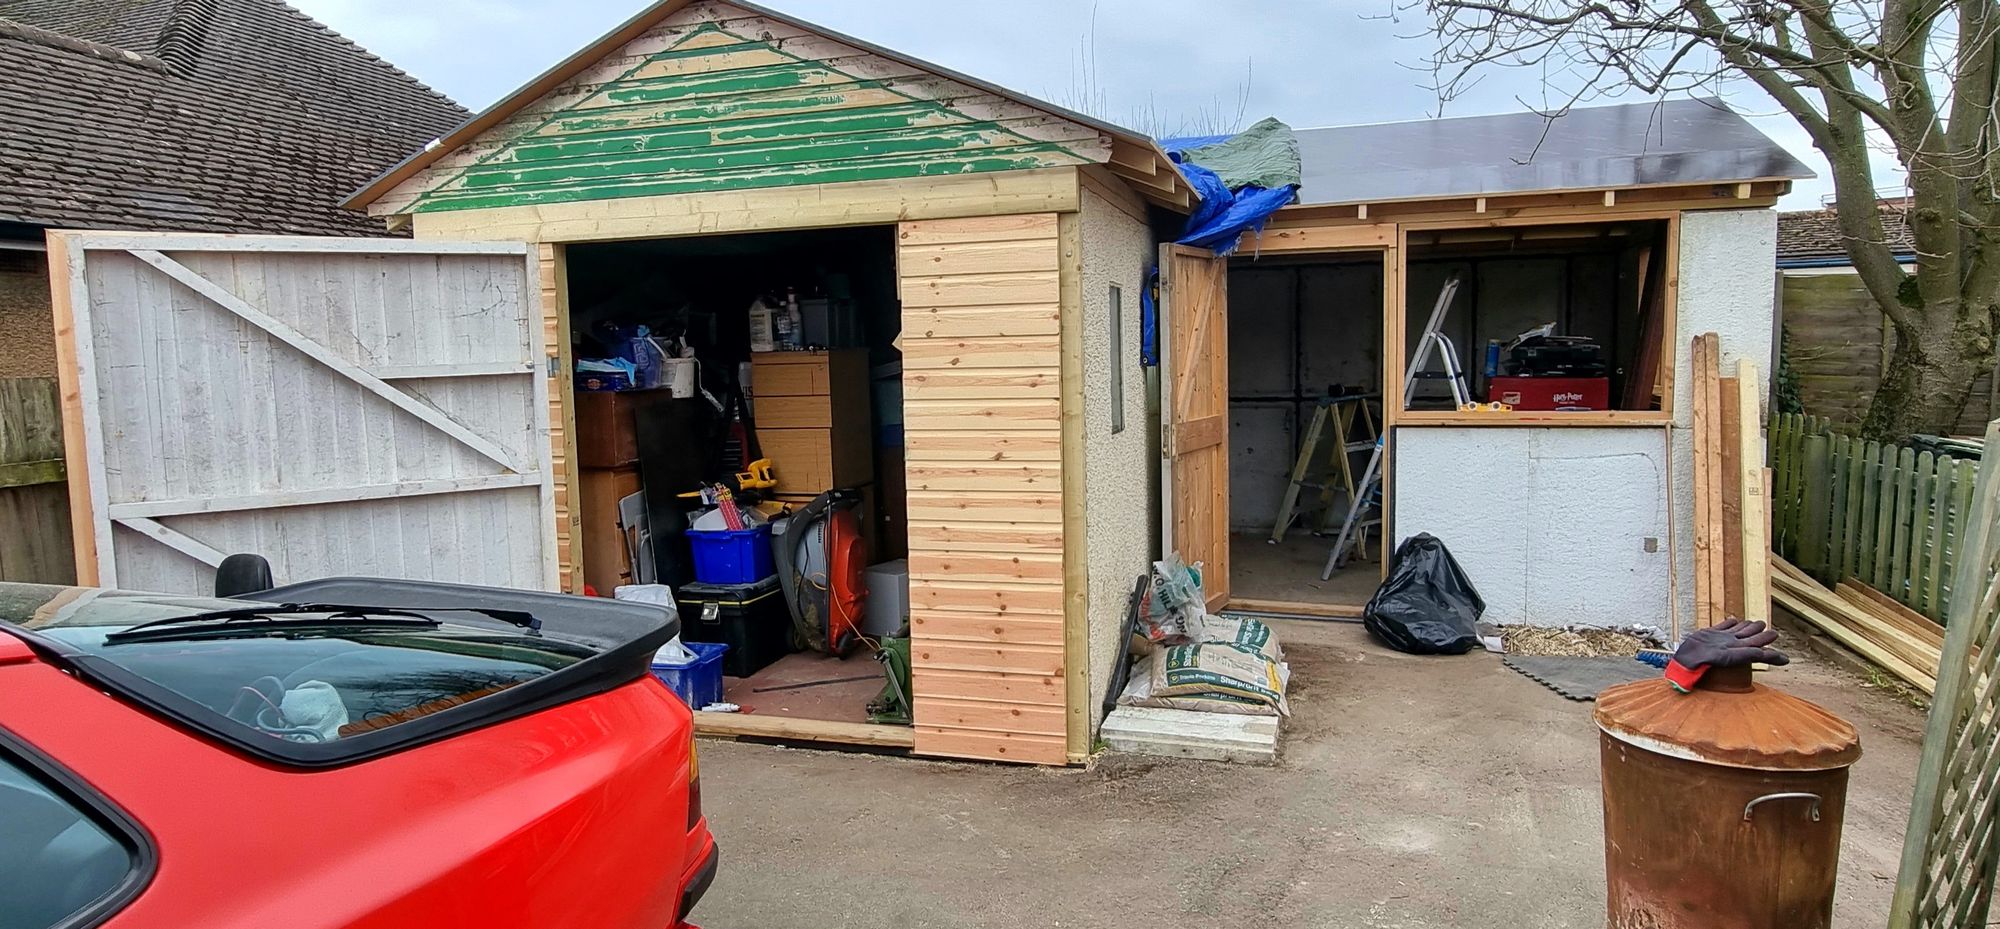
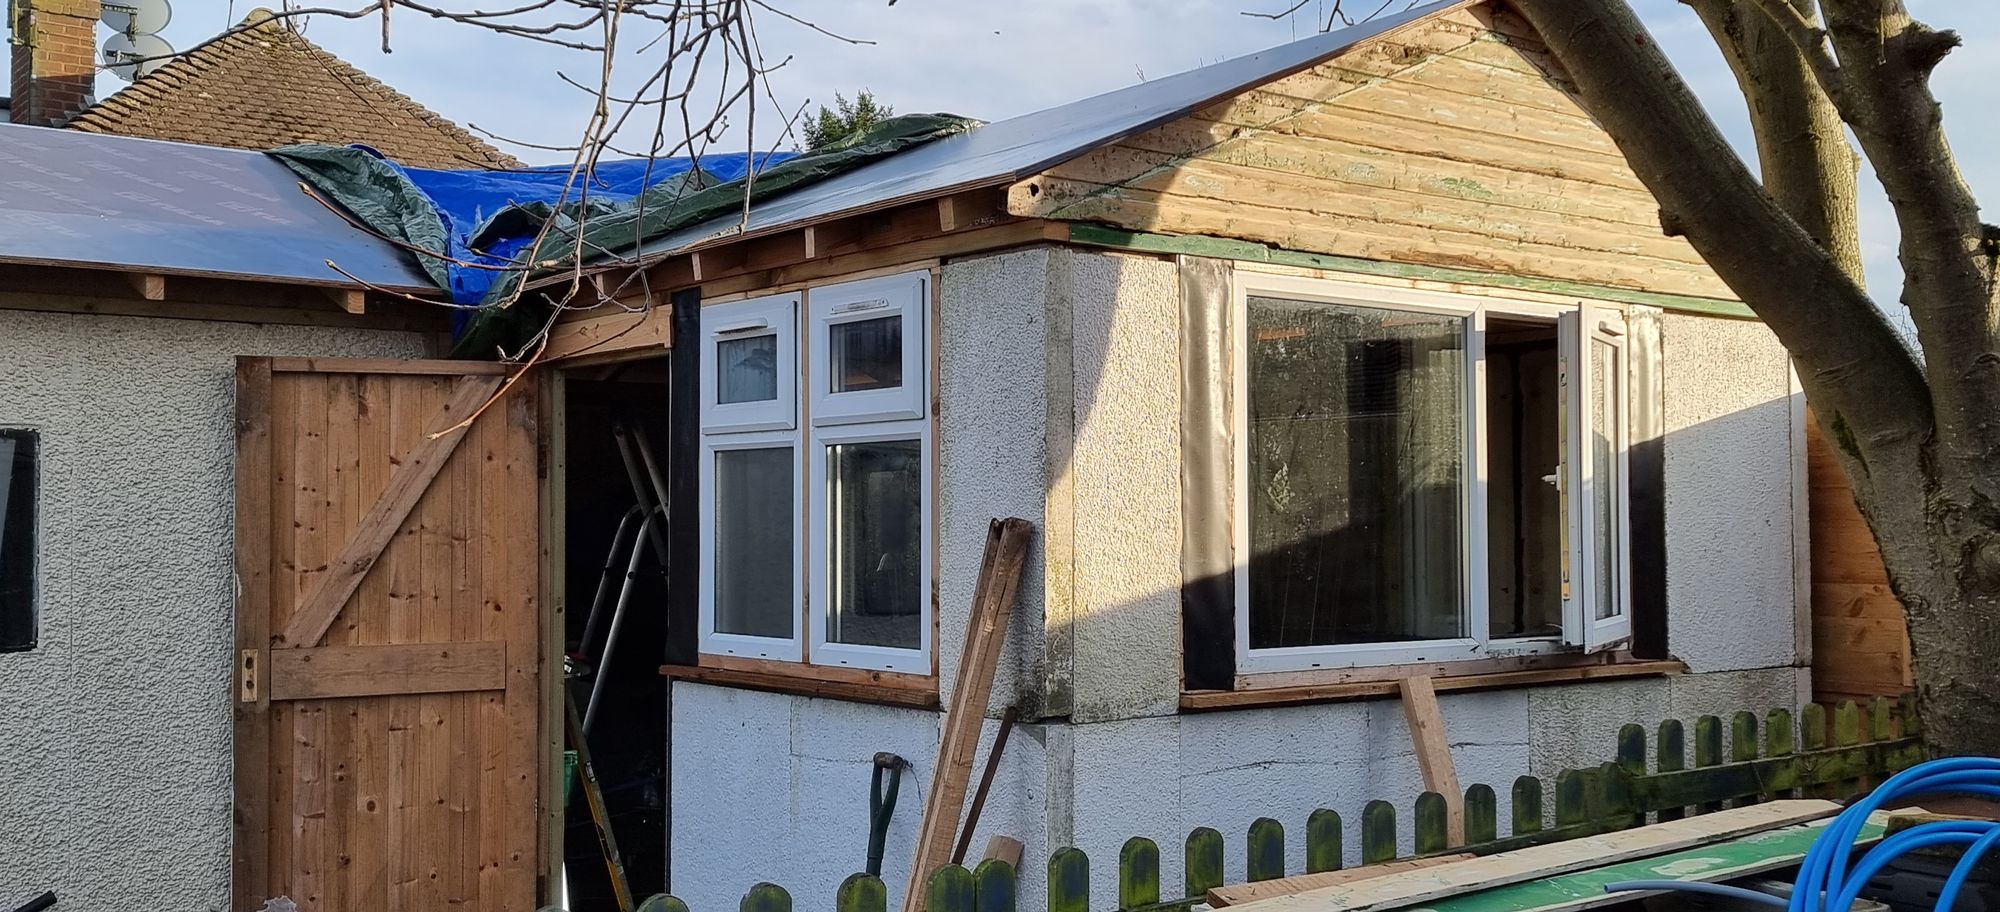
Here we see that both doors are now fitted, (along with the roof) the large door is one of the donor doors which has been shortened in height and had extra strengthening timbers added for the new hinges to bolt too. You can just see that the top and side of this door have cladding added which overlaps the opening joint, this is to reduce draft and keep the warmth in during winter, there will be insulation material fitted to the inside of this cladding so that it seals against the door frame, more on this later. window frames have also been added and the sizes noted while I look for suitable windows to fit.
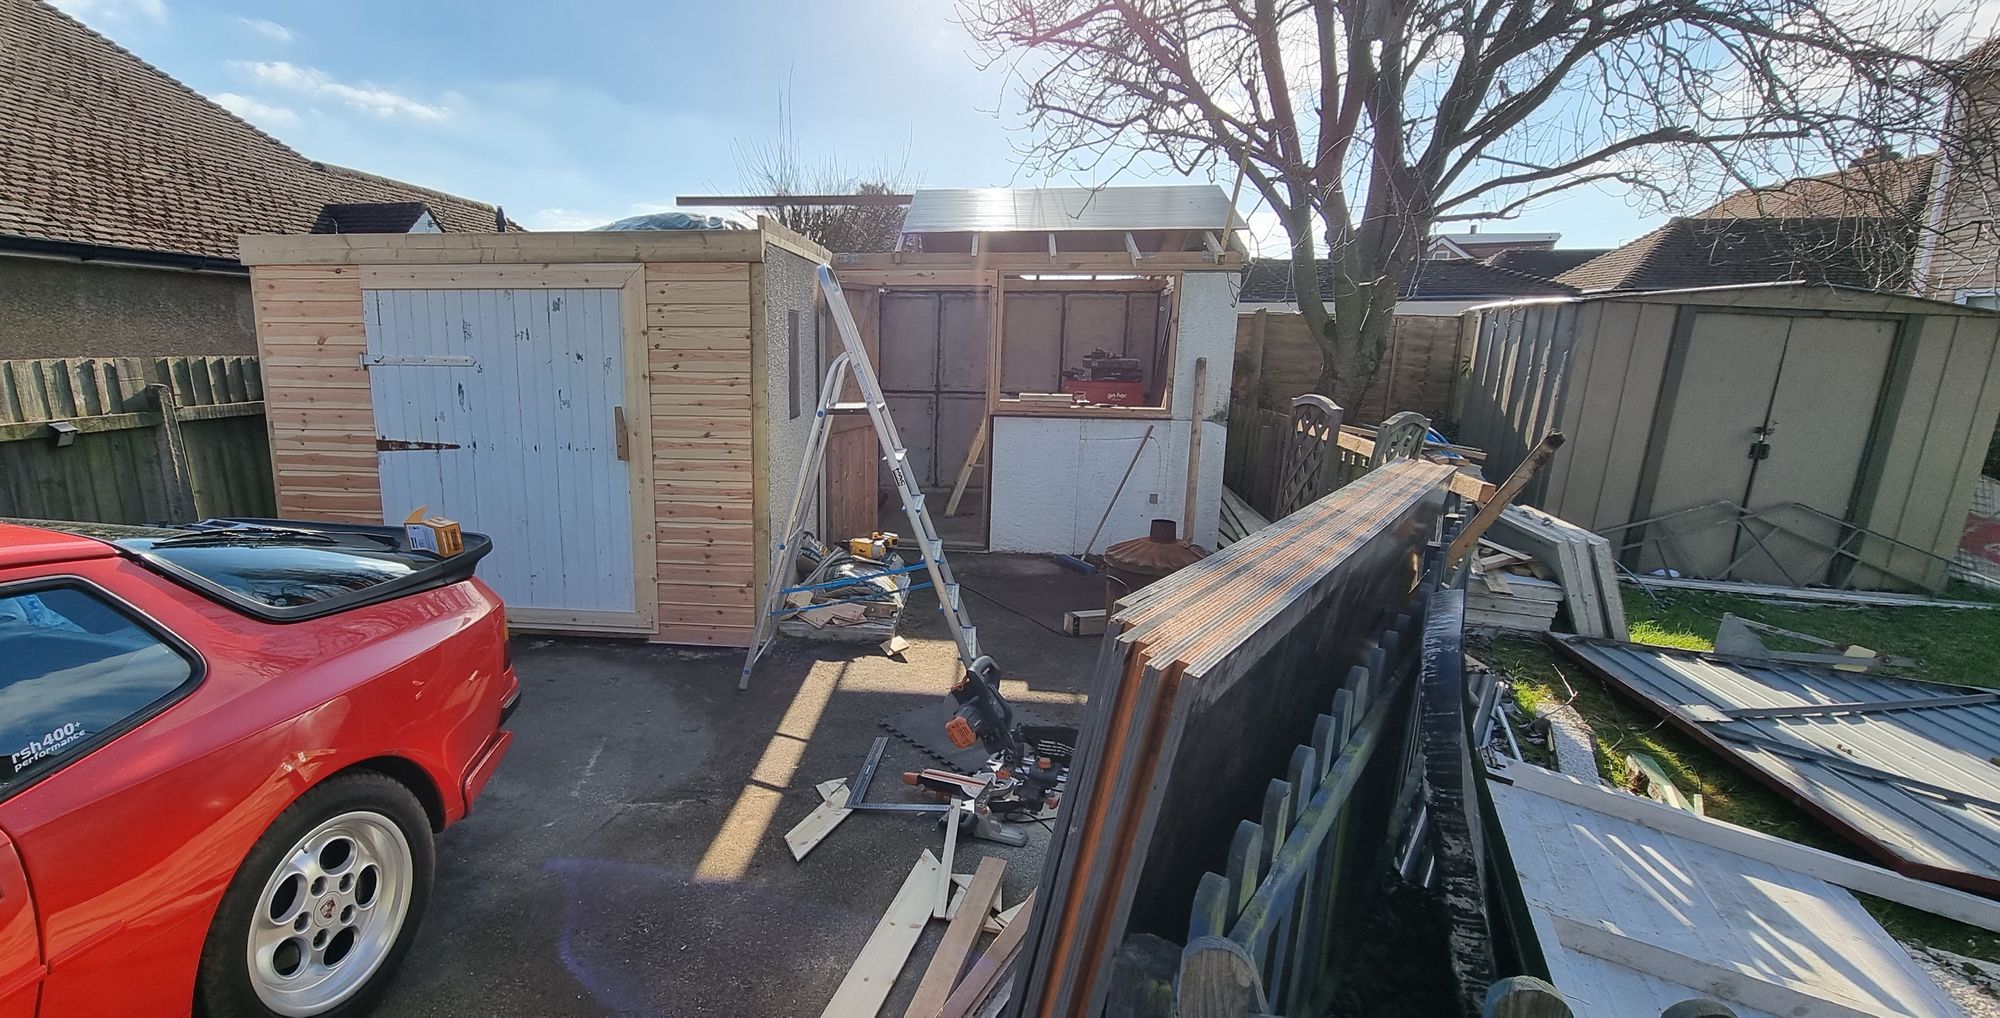
I have included this photo which is out of sequence but it's a good one to show what I meant by the cladding around the door opening. You can also see the new hinges, I'm using two instead of the original 3, these are much heavier gauge metal and able to hold more weight. This might be a good time to say a word or two about security, something that has been on my mind throughout this build. Doors are always the weak spot, more so here as you'd need a serious bit of kit to get through the concrete panels if one so tried that route, and even if that was managed there's still the 19mm plywood to tackle. I took the decision that the largest door can only be opened from the inside, it will have a strong beam across the opening, a bit like that seen on a castle door. The hinge plates are covered by the cladding but even if that was removed the door can not be opened as it sits within the opening and would have to be pulled directly outwards which isn't possible with the interior 4 x 2 beam. no point in ripping the cladding off to get to the beam as the interior of the frame will be covered with 19mm plywood, not something that can be broken through without power tools and by then the security camera would have alerted me, in fact, the alert would sound as soon as someone entered the property and their every movement would be captured on film.
The smaller door is also well-protected with 3 locks for extra security
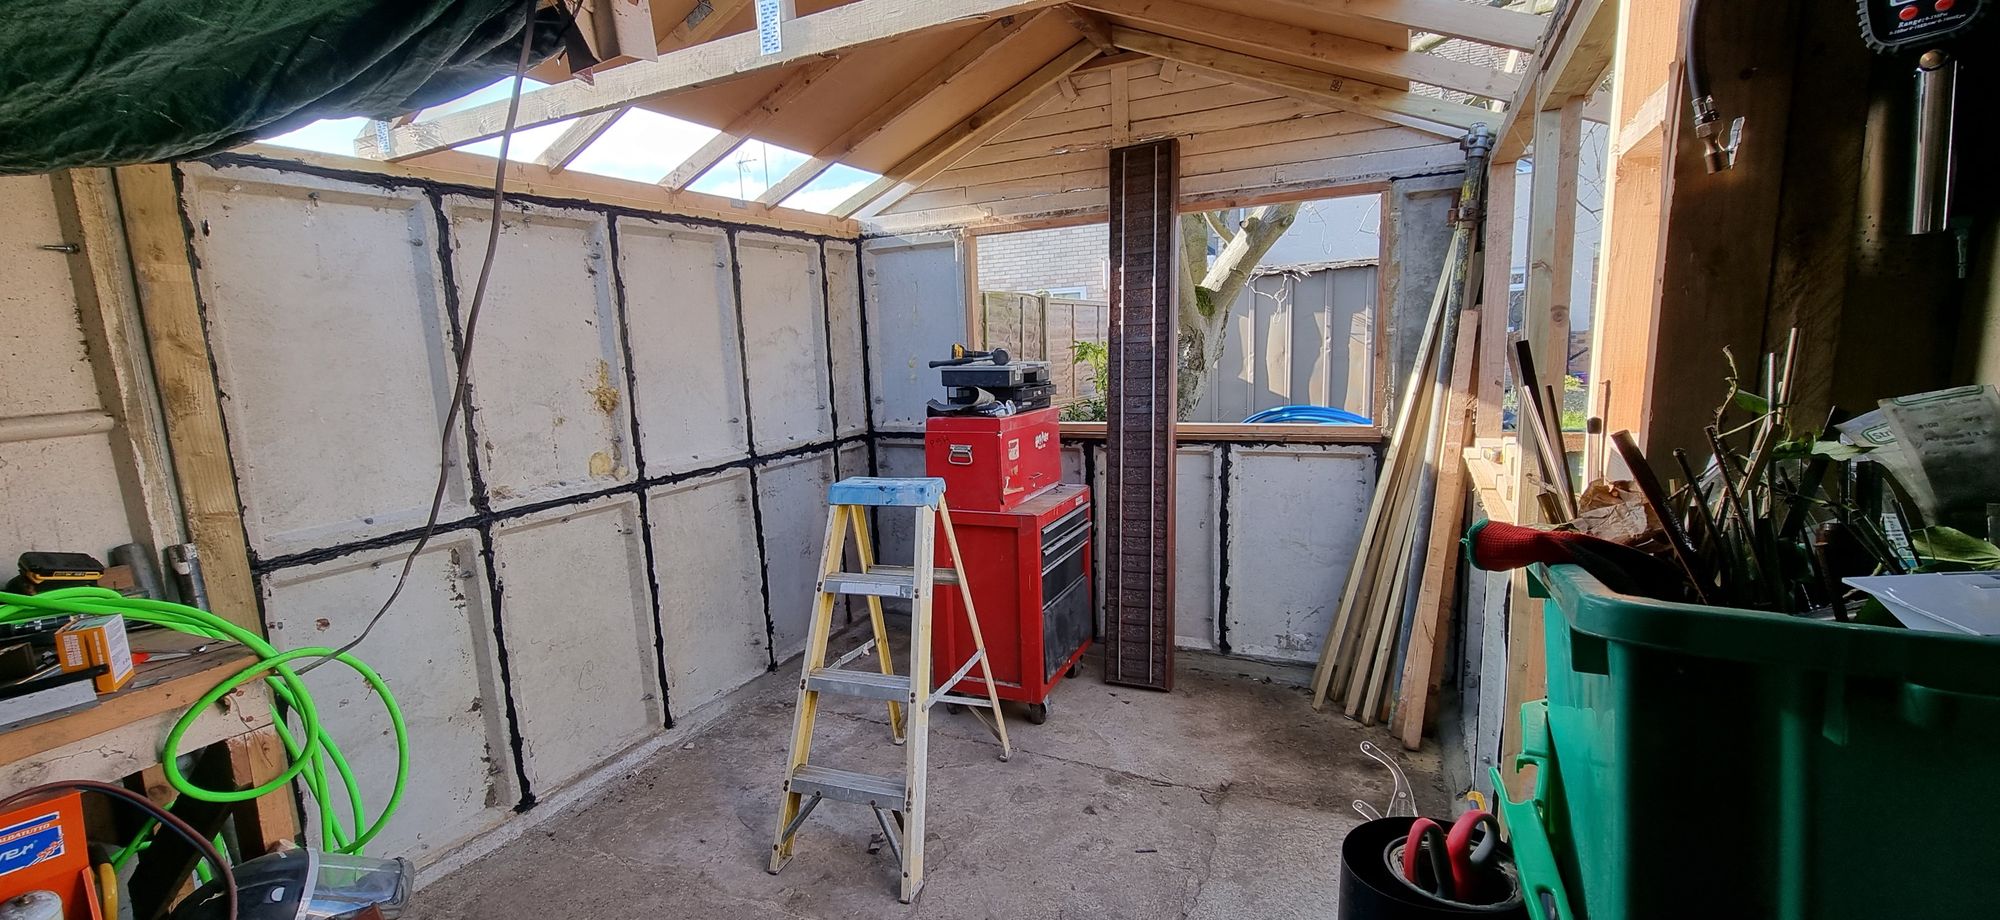
Returning to the inside, I made a start on the industrial mastic sealing of all panel gaps, this stuff is ultra-strong, and I wouldn't like to be the one who tries to dismantle this building in the future. Note the 6 x 6 treated fence post which was used to join the two different types of panels together. The bottom join will also be sealed before the leveling compound is laid.
Last item for a secure building is the windows, having fitted frames around the openings I was left with the following sizes, 1760 x 900 and 1150 x 900. I was helped greatly here by another of my son's friends who was in the middle of doing a house that included new windows, he kindly sorted out some which would fit my openings, they were fairly close just requiring a little more timberwork to be added as can be seen here.
Next time we'll take a look at insulating the roof, both inside and out.