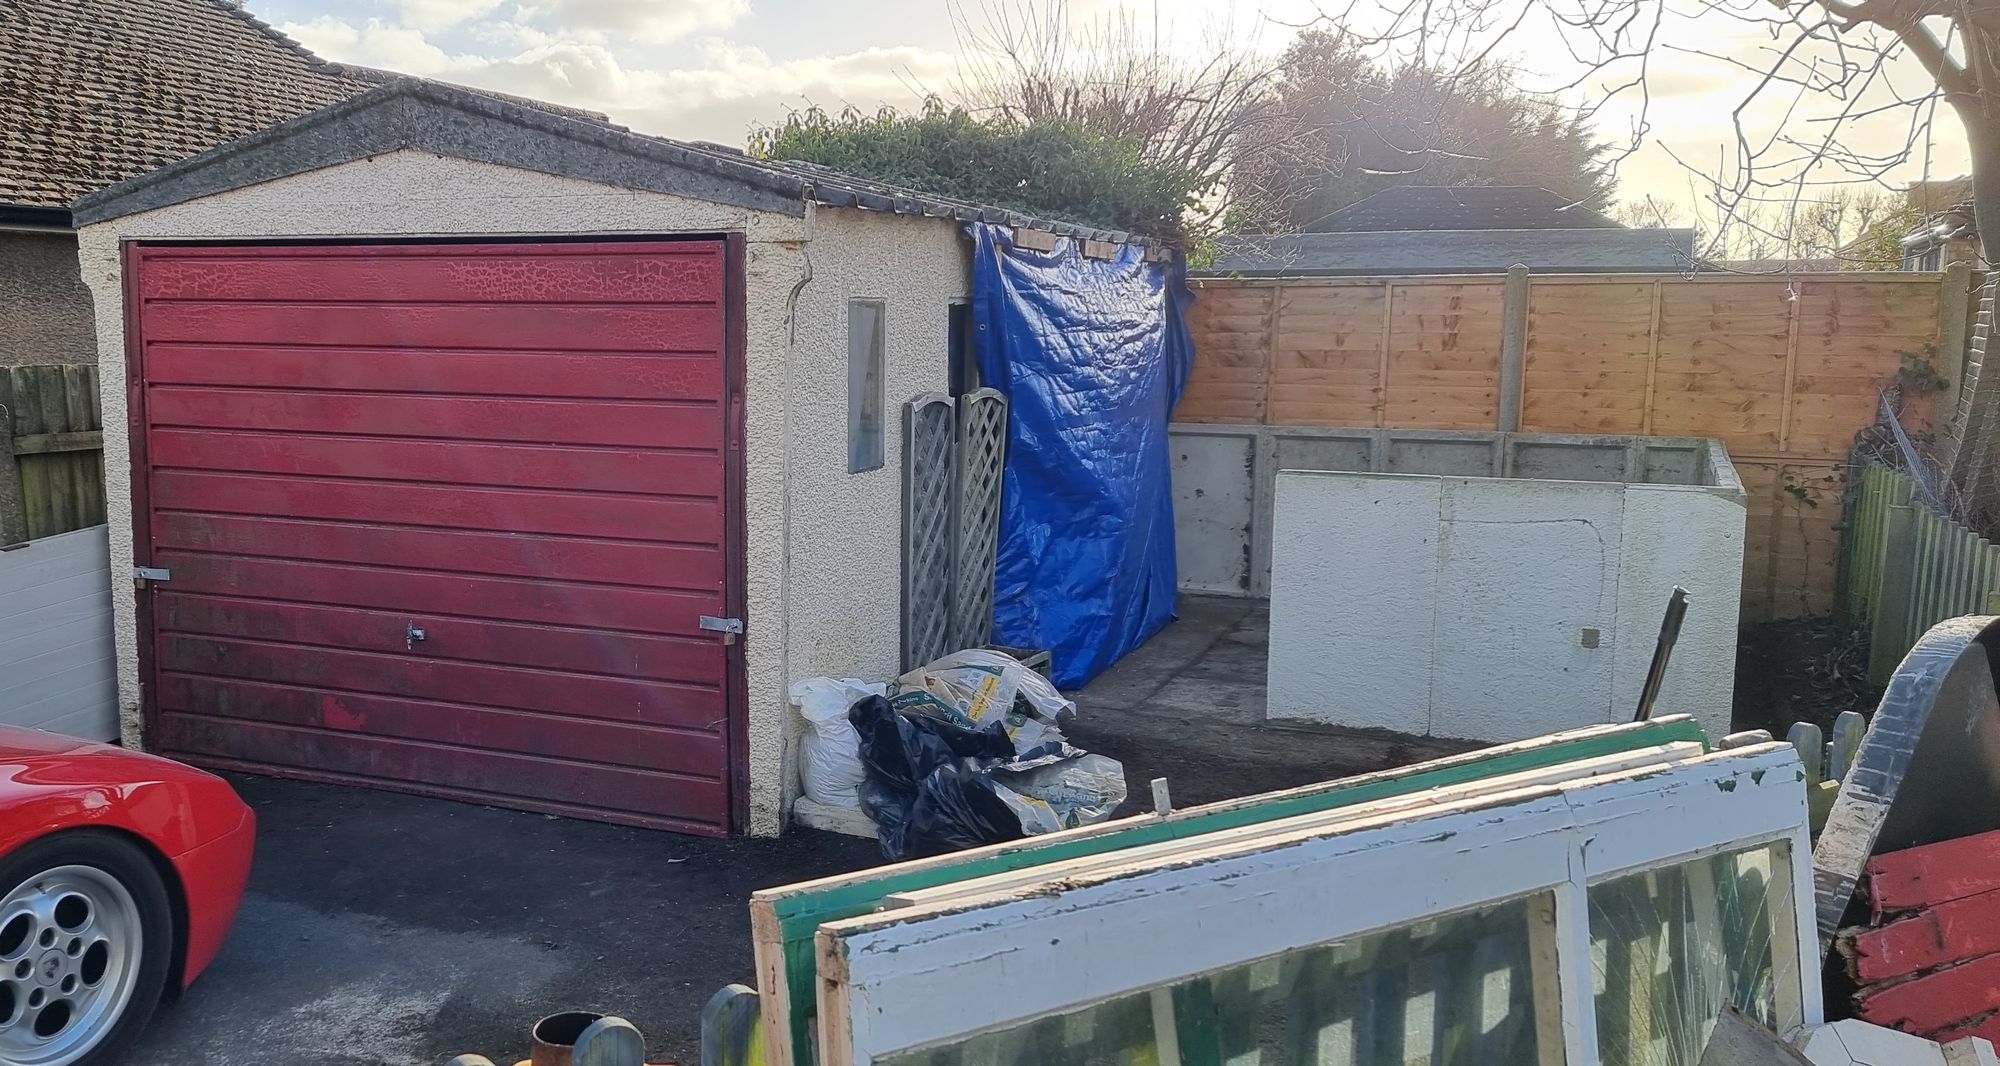
With the donor garage sorted I could move on to preparing the ground for the new extension which I require to allow for more space, lessons gained from the lack of space in the old one as new tools had been added over the years. I also wanted to allow room for more tools in the future and most importantly a door large enough for bigger machines if I ever get lucky enough to own one, the old place only had a standard household sized door.
I begun by moving the metal shed from beside the garage and dug up the tarmac that had been underneath, it was good to discover that beneath the tarmac was a layer of concrete which is more than good enough to build the extension on.
The first picture shows the area after the tarmac had been cleared showing the concrete base, not level but strong enough to build on.
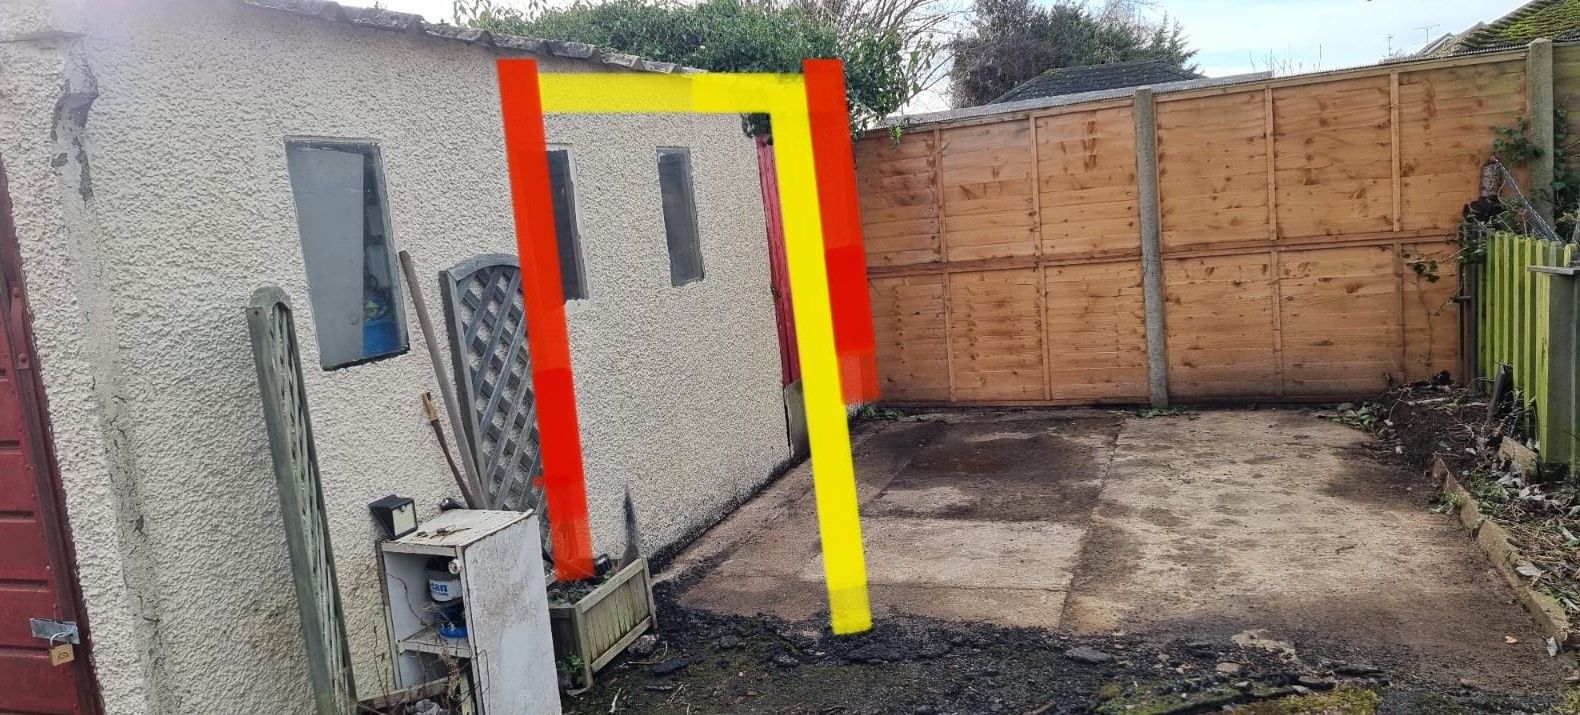
I used a similar picture to plot out my plan for the new building and how it would connect to the old. The red lines show how much of the existing garage needs to be removed and the yellow is approx. where a small door will be fitted.
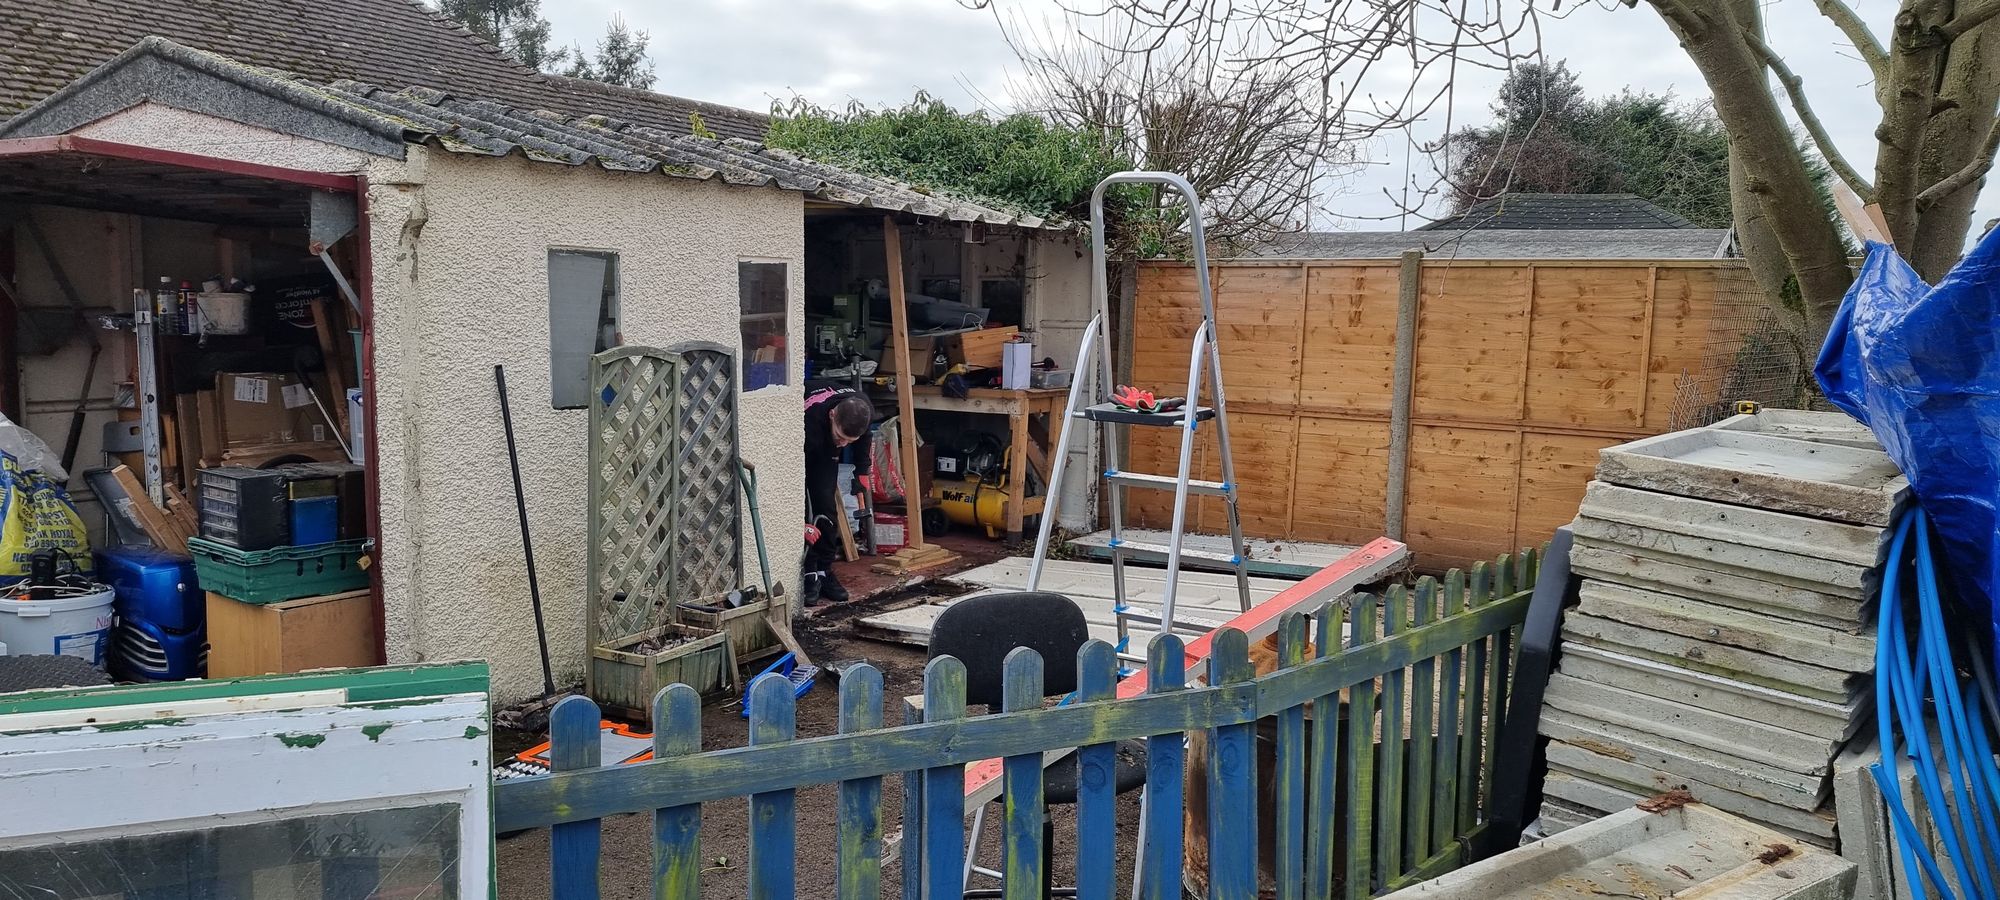
Next job was to remove the offending panels to make the resulting building a one piece L shaped unit. This involved removing 4 panels plus the door to give an opening of just over 3 meter's. Note that a length of timber has been used to keep the roof up and also that the donor garage is now on site awaiting erection. As you can see from this picture the garage is very full which makes things a little more difficult trying to work around everything.
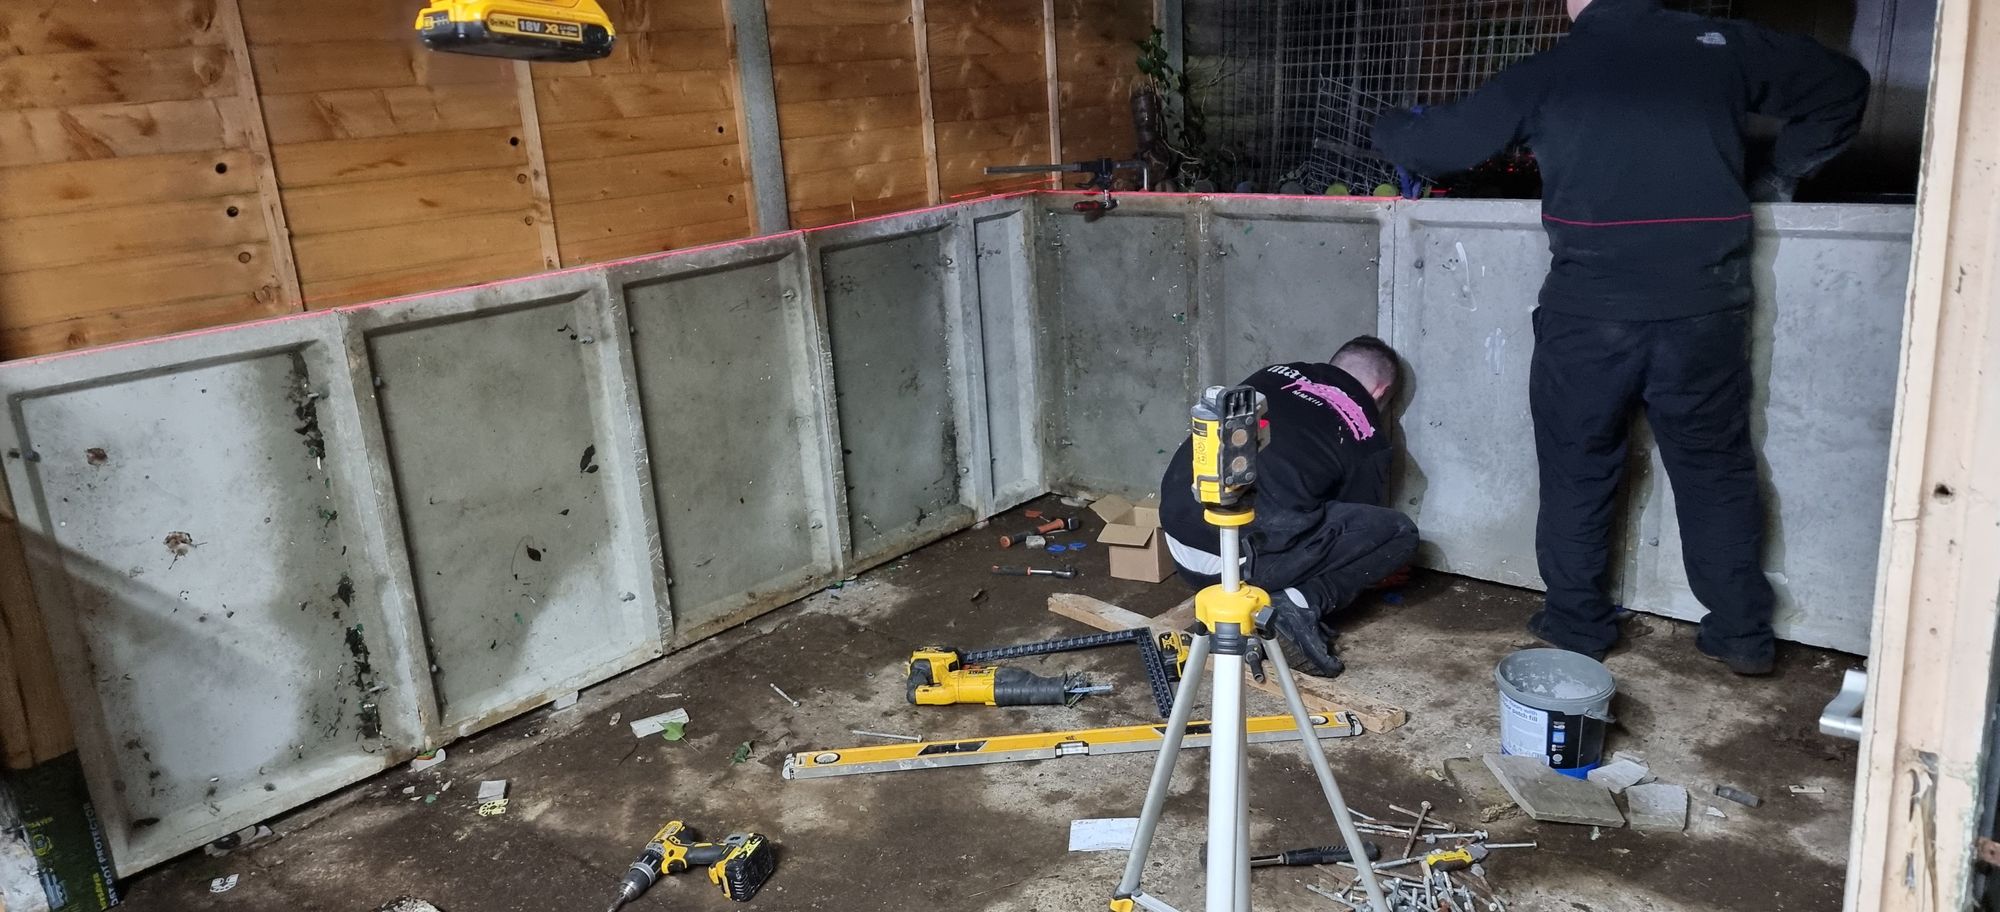
It was then time to start the build, the ground was checked for how level it was and we were happy to see that the ground sloped gently away from the existing building. The reason for being happy is that it's easier when working from the existing building to build up the deficit in height using plastic spacers prior to a mortar mix being placed around/under the new panels. A couple of things to point out, the existing panels (one piece) are slightly higher (25mm) than the donor half panels that come out at 2 meters when fitted on top of each other, these are also wider but none of this matters, nor does it matter the the bolt holes to join the panels are spaced differently. The reason that these differences aren't a problem is that the two types of panels will be joined together using 6 inch square treated fence posts.
This picture shows the bottom layer of panels being erected, you can see the packing used under them and just in view to the left is one of the fence posts already bolted to the existing building and now the new panels bolted to it. The prosses used for to bolt the first panel checking for height so that when the next panel is set on top it aligns with the existing top, we then bolt each subsequent panel to each other keeping everything level with the use of a laser level. Remembering to fit the corner panels at the right time, you can see the laser running along the top of the panels.

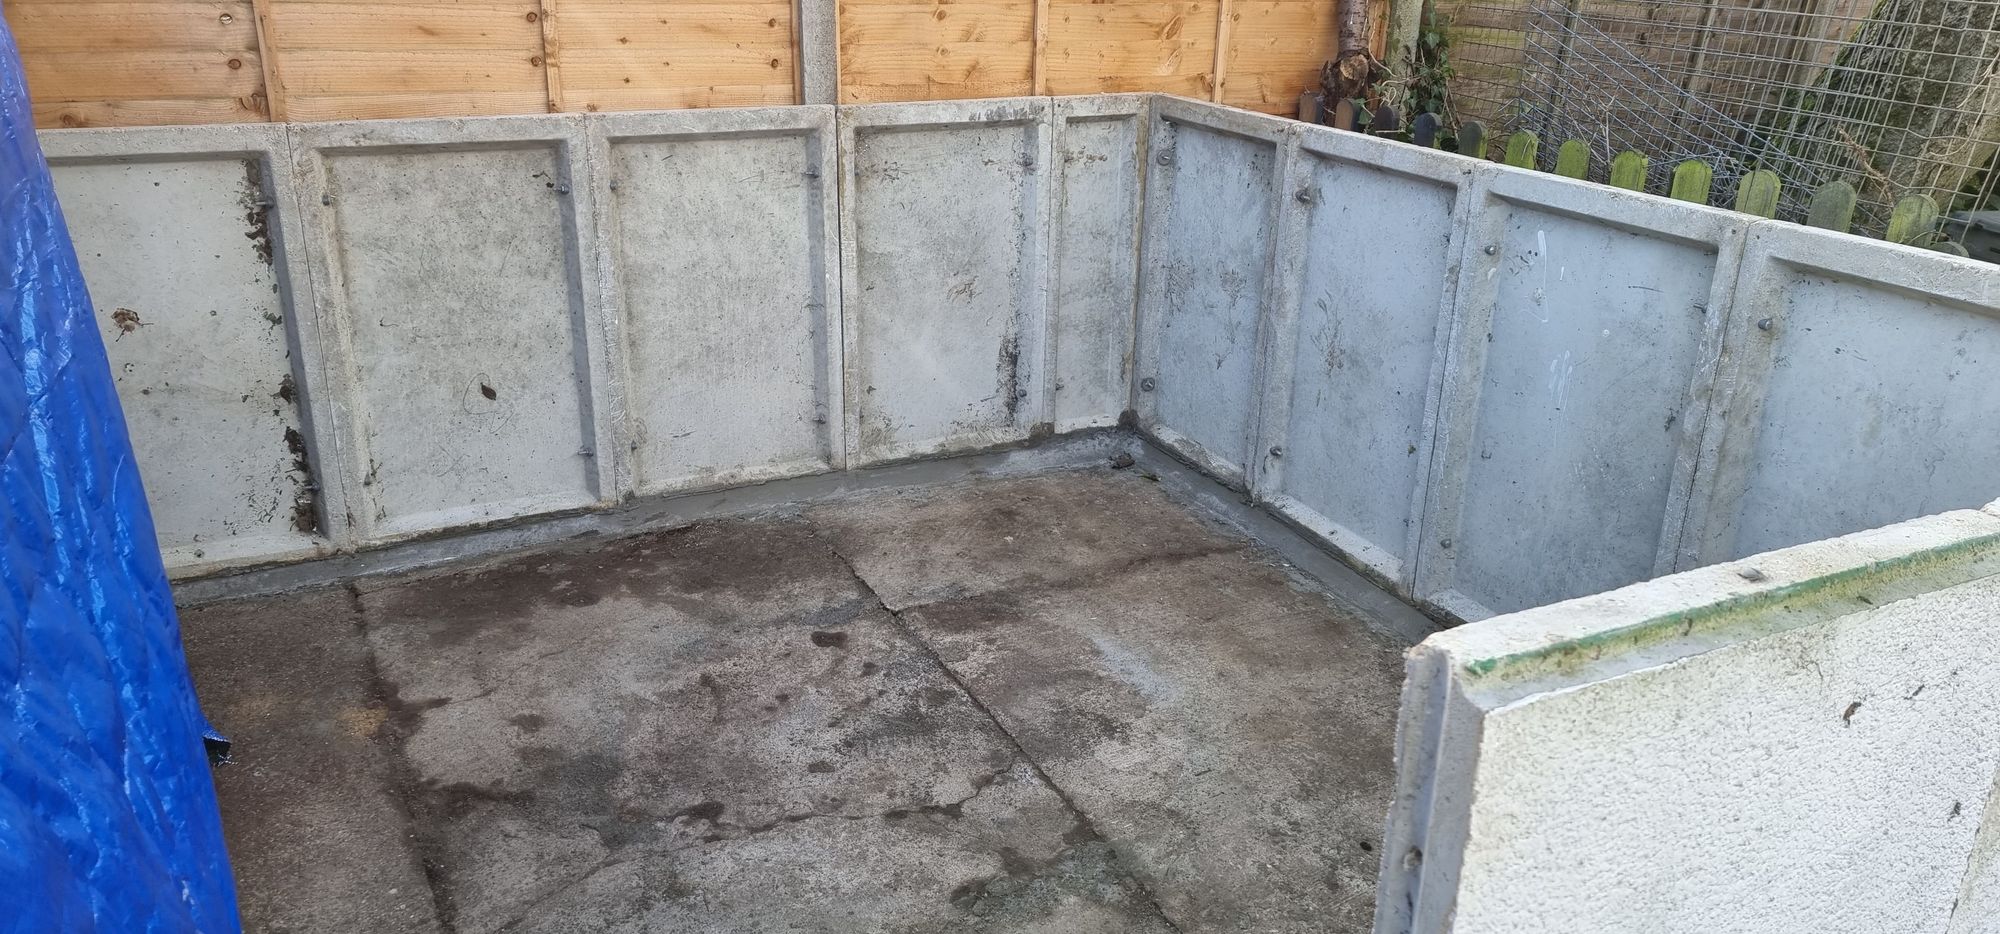
This shows the panels the next morning after the mortar had been laid which you need to leave a few days before doing the next stage which for me would be installing the next layer of panels. This picture helps show the mortar which gets thicker to the right and also the bolts which join the panels together, there are also bolt holes in the middle of the top and bottom webs for bolting the next layer.
The last picture for now shows the general layout so far which gives a good idea of the size, the new section is approx. 3 meters square.