
This installment sees me completing the internal paneling and thus the workshop's structure is nearly there. The procedure is the same as for the other walls but this time I have made the decision to leave the floor as it is to save some time. The original garage floor is pretty level and in good shape, it does have some cracks but none too deep, I can patch these up for now (well later) using the same compound but mixing it thicker and using it as a paste/filler. The main reason for doing this is to save me from having to keep moving all that heavy gear, something that I really shouldn't be doing, the added bonus is that I can get back to the loco a little sooner, I may paint the entire floor later to tidy things up.
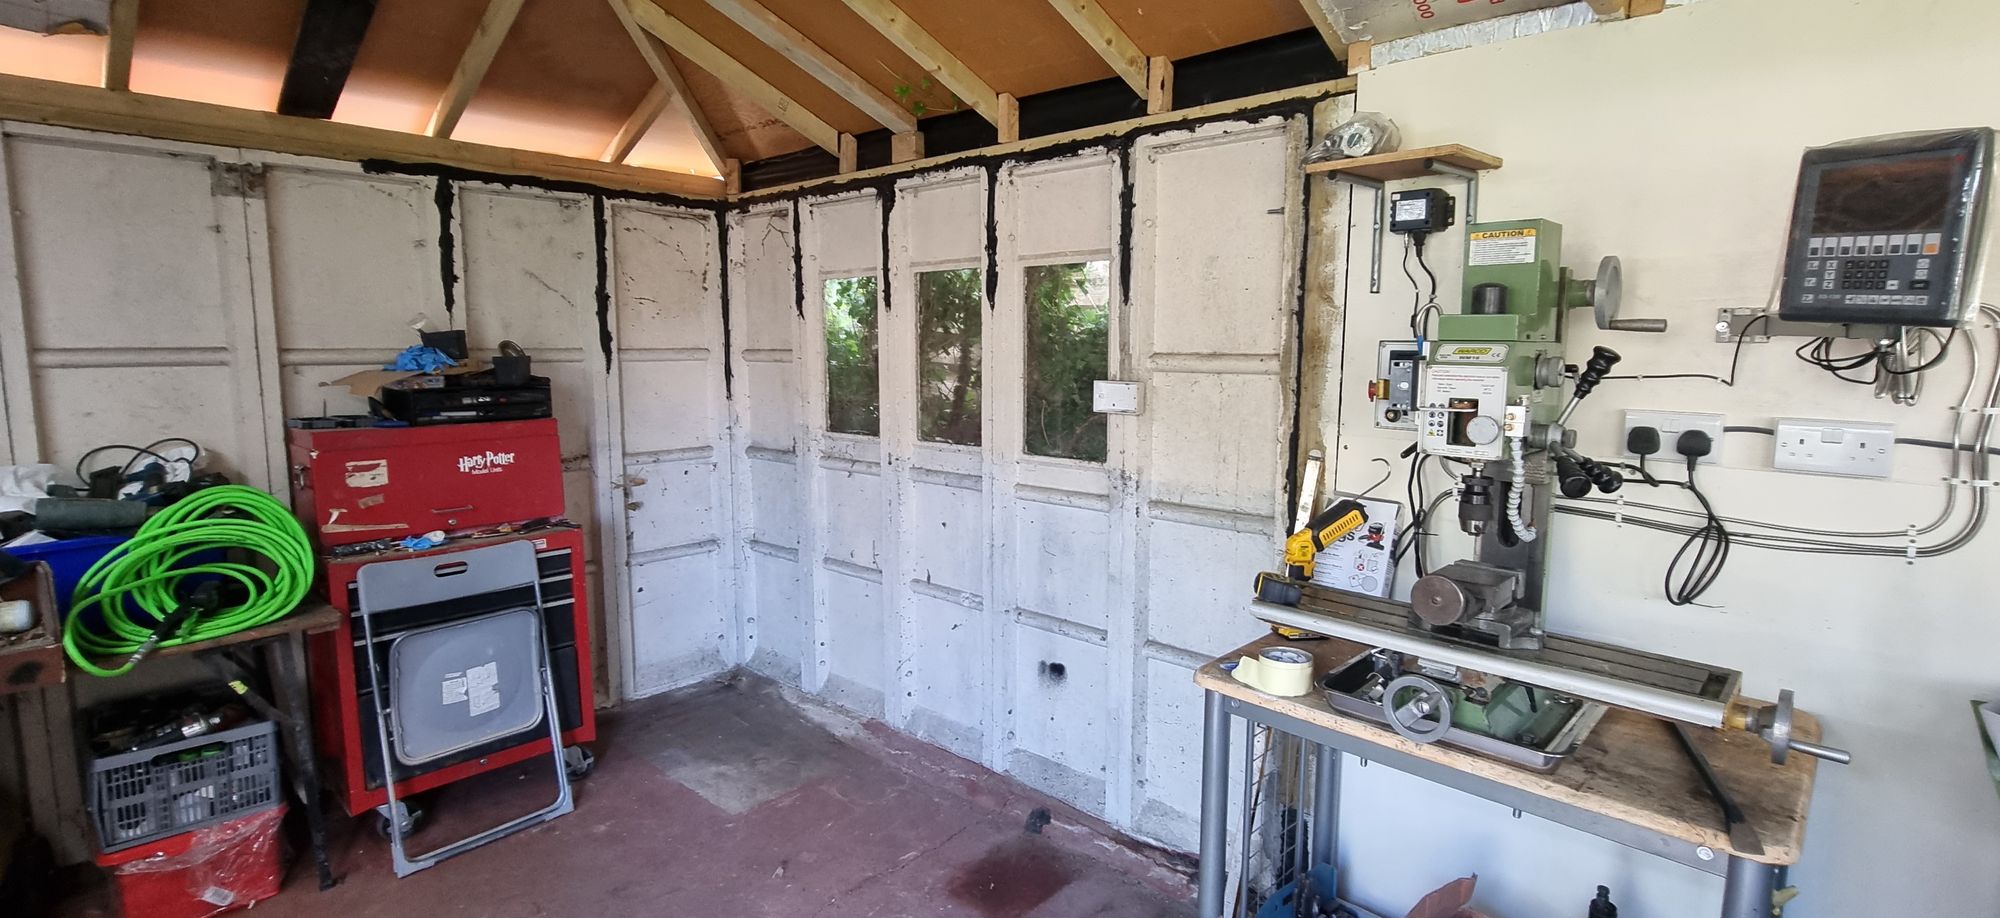
The first picture shows the general area that we are talking about has been cleared ready to work on.
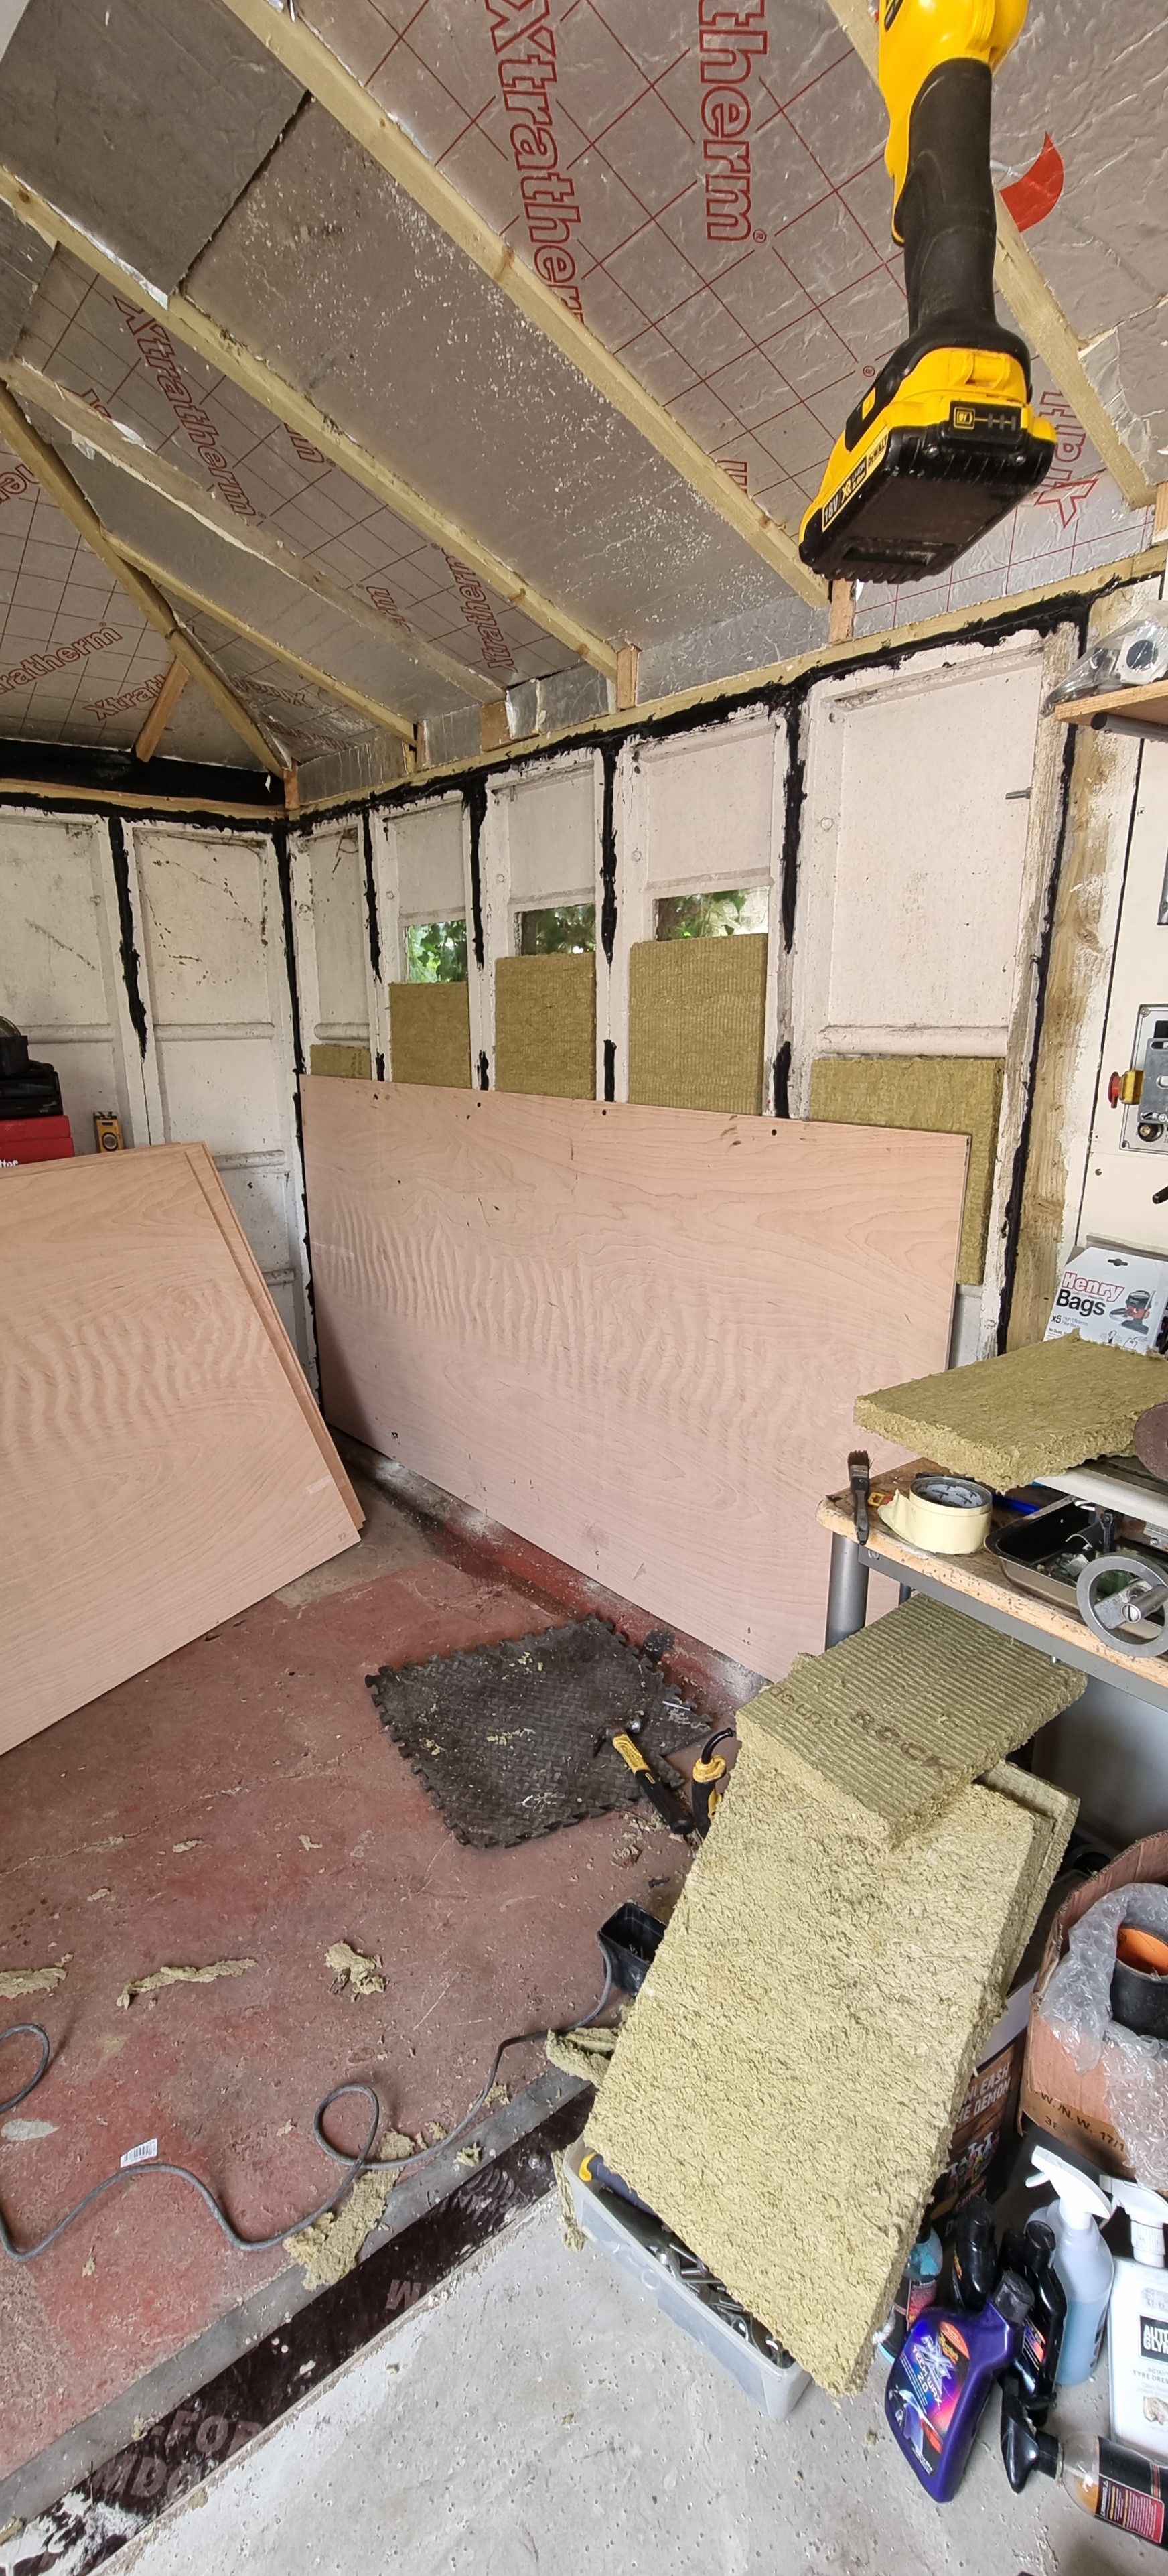
As can be seen in this next picture I am covering over the 3 small windows along the boundary wall, not really losing much light as the boundary fence is close to the windows. This also gives me more wall to attach things to ( I may fit the TV here), this may well become the main assembly area for all model engineering work with the new section (already covered) bench/window area being used for close detail modeling and soldering work where I'll need lots of natural light. Again the panel seams have been sealed and the Rockwall insulation cut to fit. Also, note that the roof insulation is fitted too.
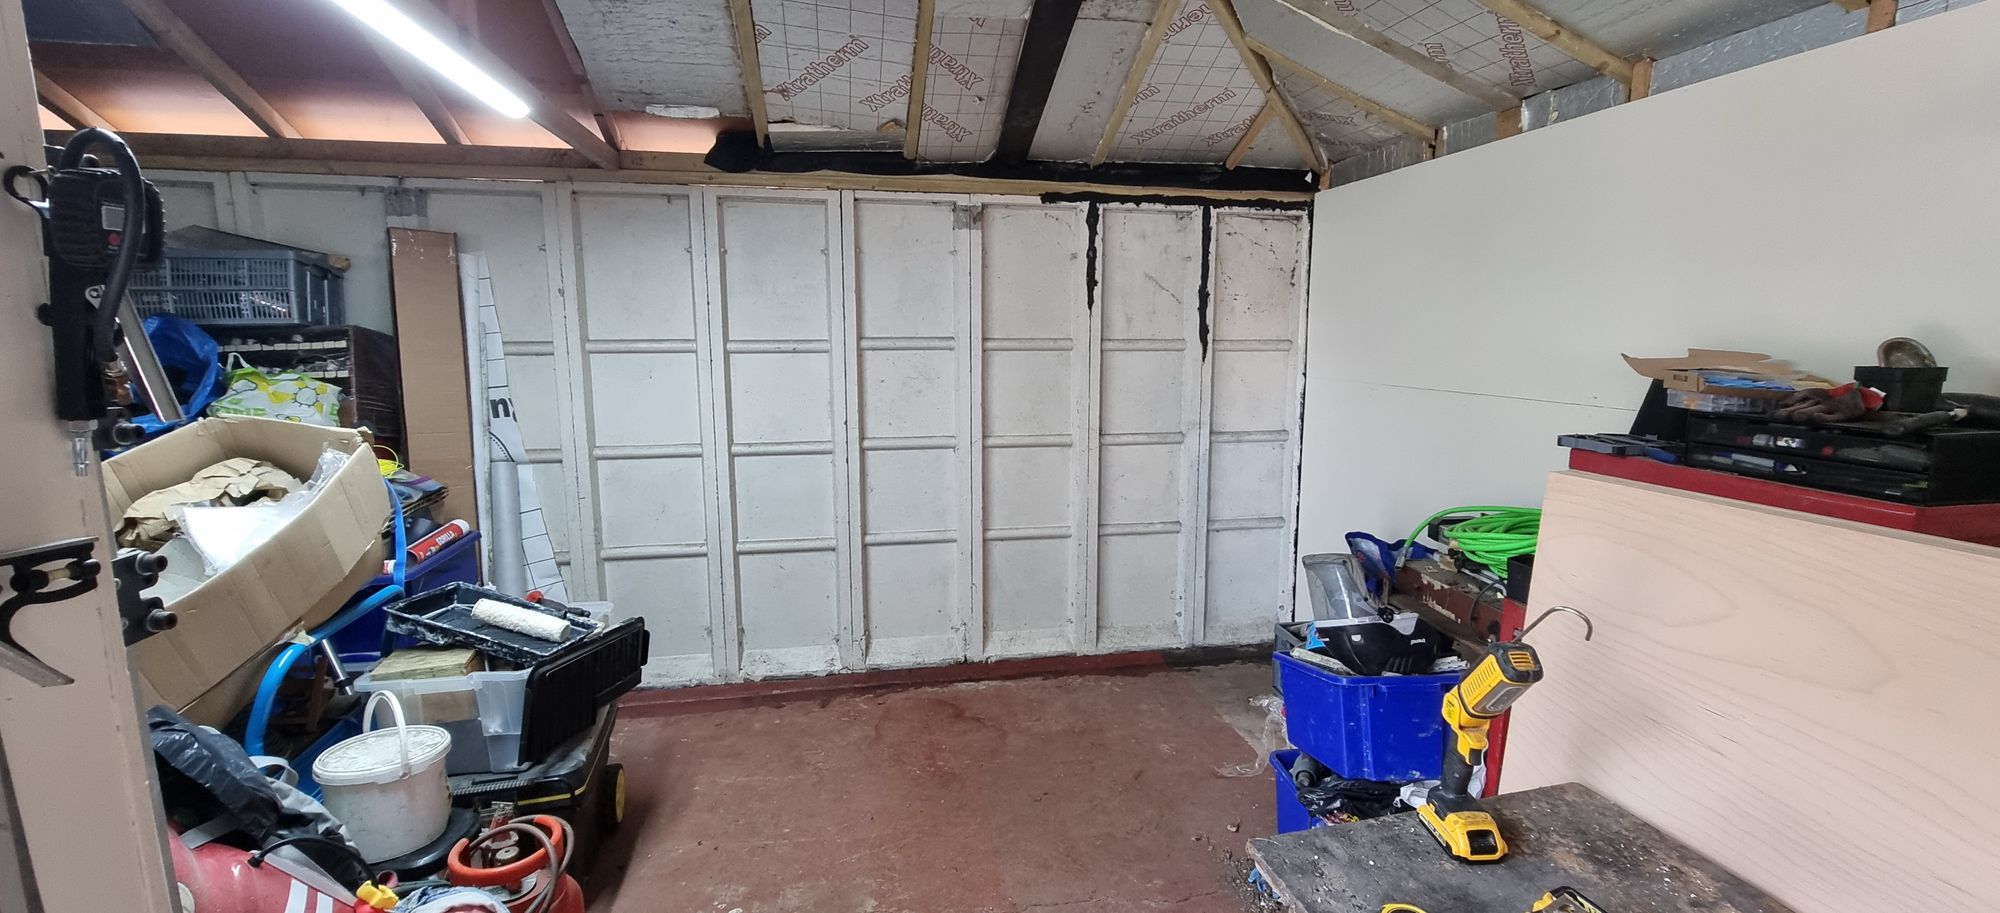
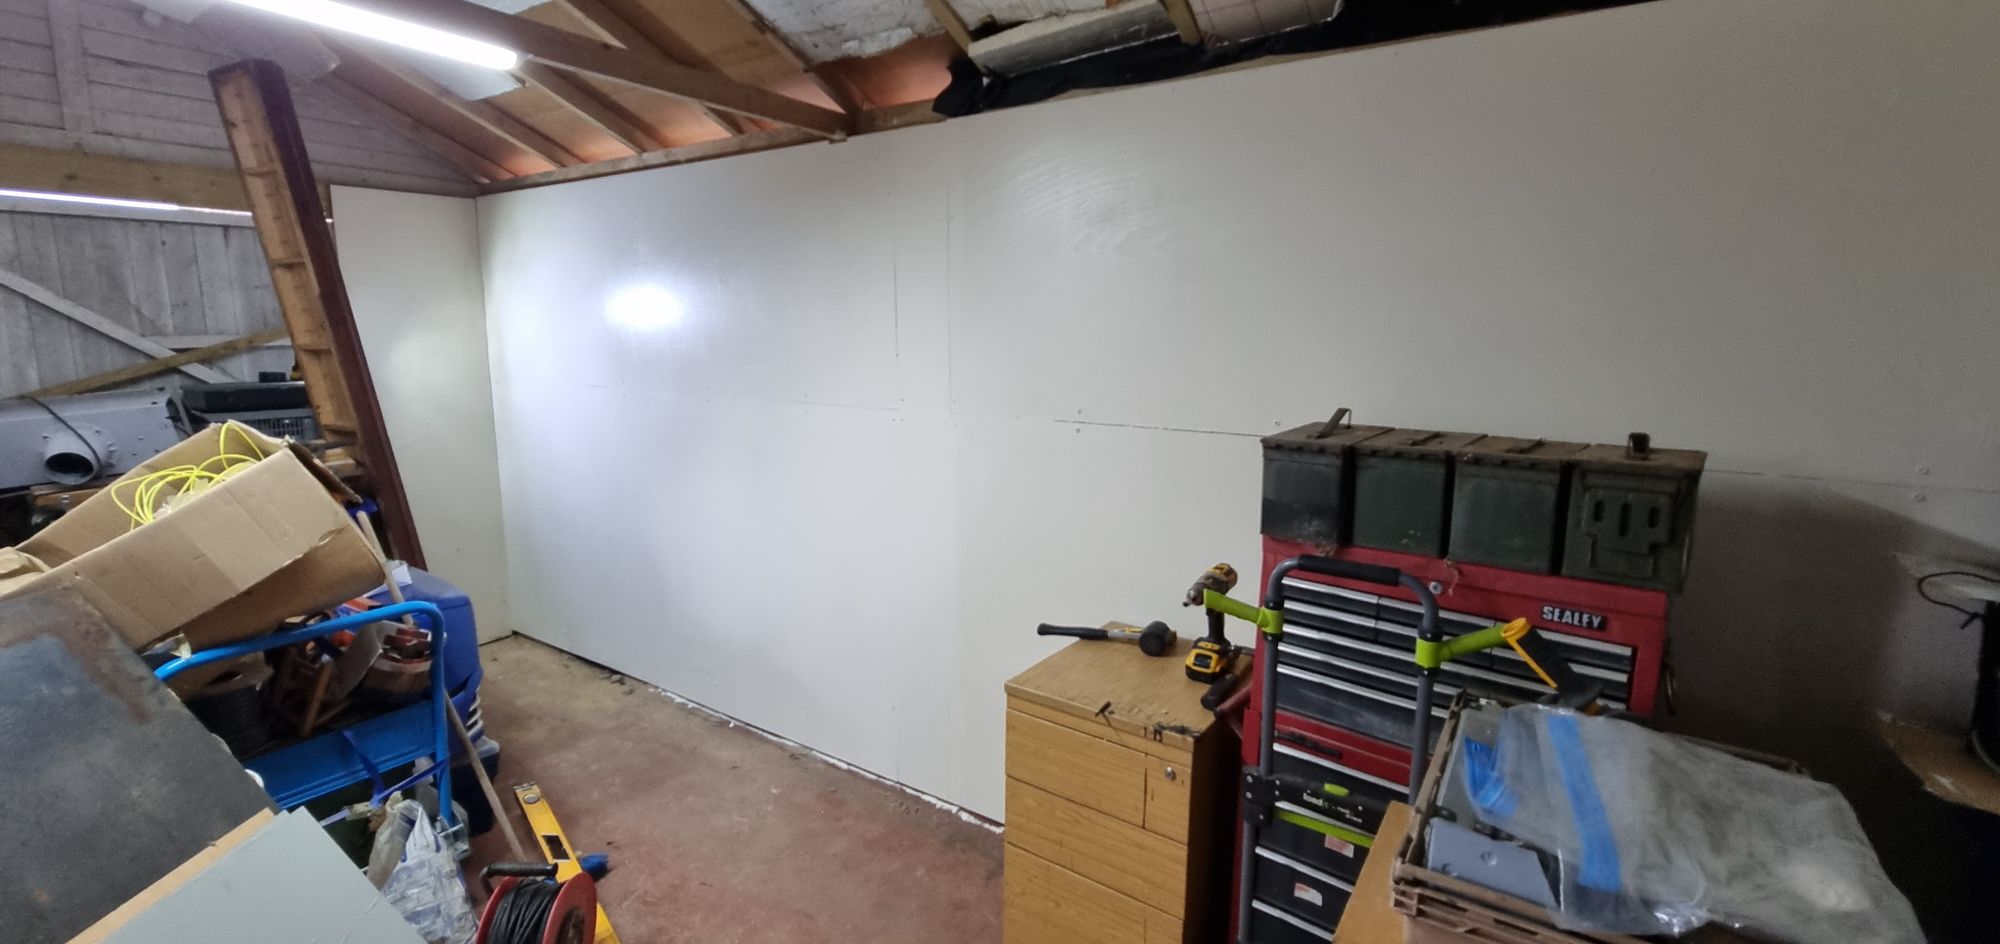
With the boundary wall completed including two coats of paint, this left just the longest (5+ meter) wall to do. After once again moving everything out of the way and giving the area a good clean I made a start on fitting the membrane between wall and roof, half of which is shown in the next picture. It was a bit long-winded but to keep everything inside and away from any bad weather, I fitted two 8 x 4 ply sheets first, painted and then moved what gear was left in my way to where I had just been and then paneled the final wall area. The following two pictures show this. Note in the second that I have also paneled the front side wall on both sides of the door, the middle section above the door will also be covered thus sealing the doorway once insulated with suitable draught insulation.
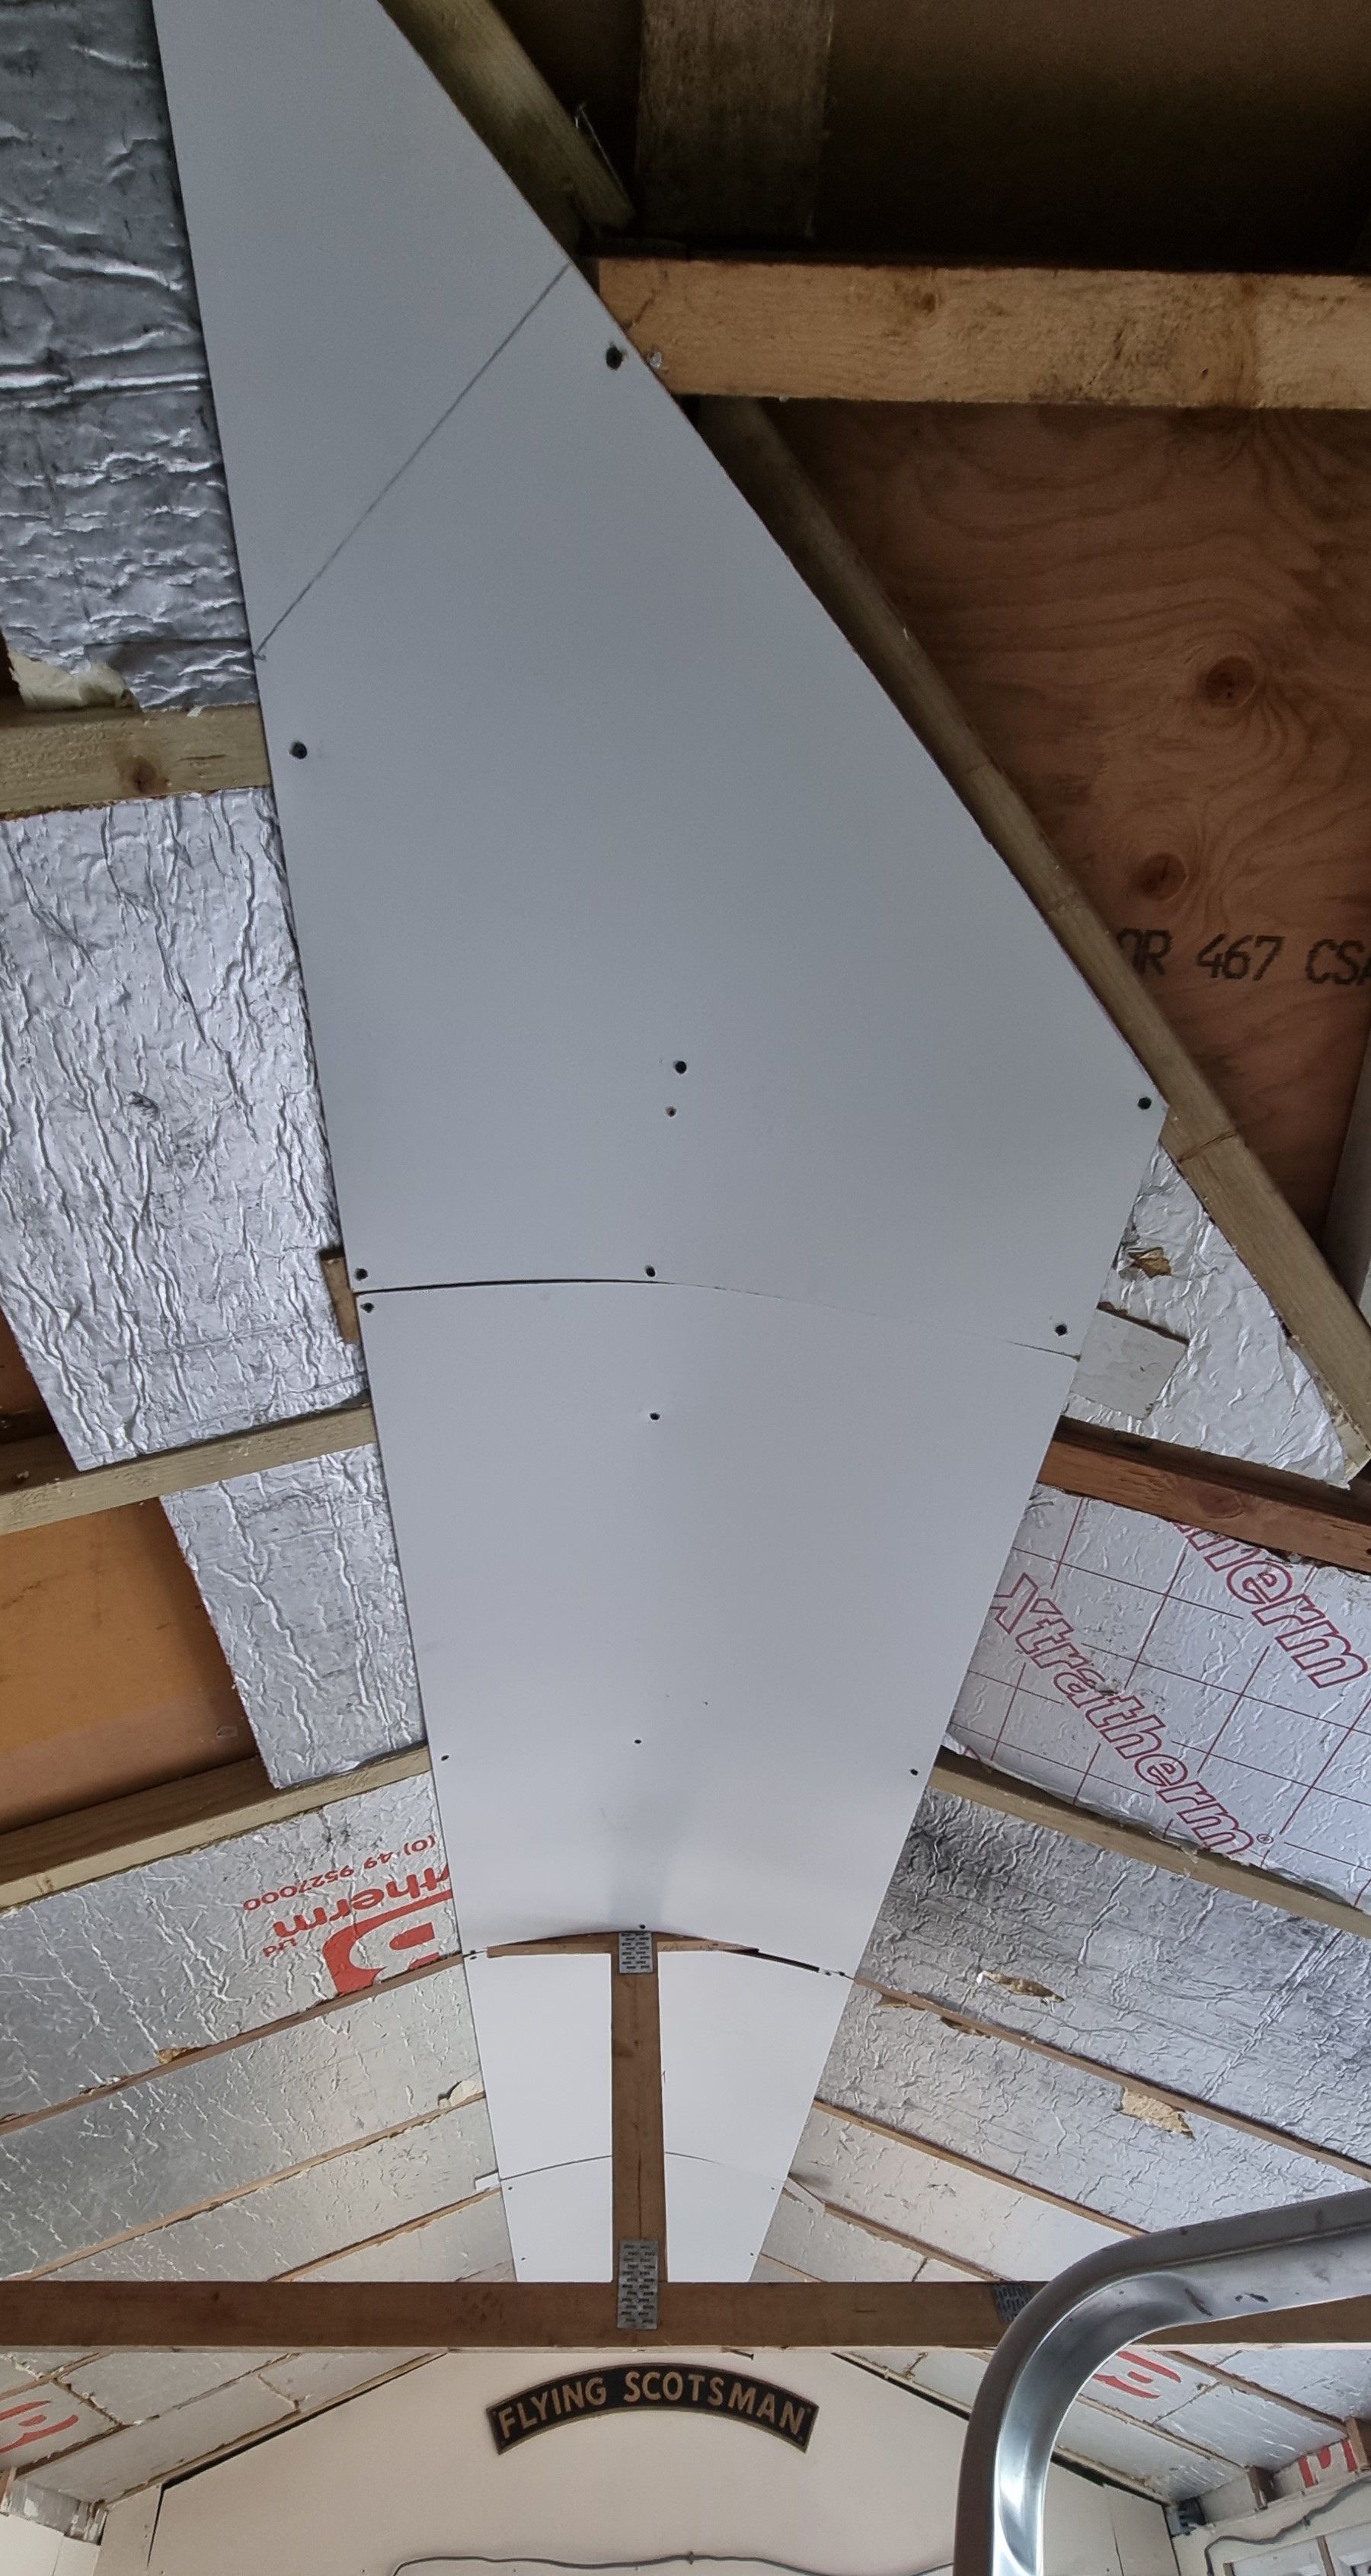
I have also been taking a look at what to cover the roof in for the best amount of light and that's not too heavy to make life a little easier. I decided to use a white-backed hardboard and curve it at the top to help direct as much light downwards as possible. The picture shows the center section in progress, I'll cover the sides in 8 x 4 sheets later. The plan is to run LED lights down the middle of the roof, there will be 4 lights along the roof, 2 x 6 ft, 1 x 5 ft, and 1 x 4 ft, this will fill the length of the underside of the roof. There will be a further 2 x 6ft lights lower down directly over the main working areas, I'll be using bright daylight LED lighting, this will become clearer later.