

To Quote the great Don Young, "The stand will test both our resolve and patience" That may be so but then you add nutter's like me, and many of you other builders out there who add extra detail to the equation, that at times can test the patience of a saint, I suspect that the reverser will be such an item. Anyway, on with the craziness, before getting to brazing the reverser assembly together I first needed to decide on how the base would meet the cab floor, two options, carefully cut the floor around the base or mount through it. Cutting around the reverser might make removing the cab floor easier but to do that you'd first have to remove a lot more parts anyway, it would also leave the front right-hand corner unsupported, so not an option. So, do I plot the holes with precision or do I make life easier, and cut large slots or even remove the middle section entirely? Don states that the reverser on the prototype was very stiff, fellow builders of Gresley Pacific's have also warned me of this so I will not remove the middle section but cut slots so that the reverser base has more support underneath. The reason for choosing slots over slightly larger holes for clearance is purely a 'just in case' scenario where I might, for some reason need to work on something on the fly...you know, when at the track with limited resources.
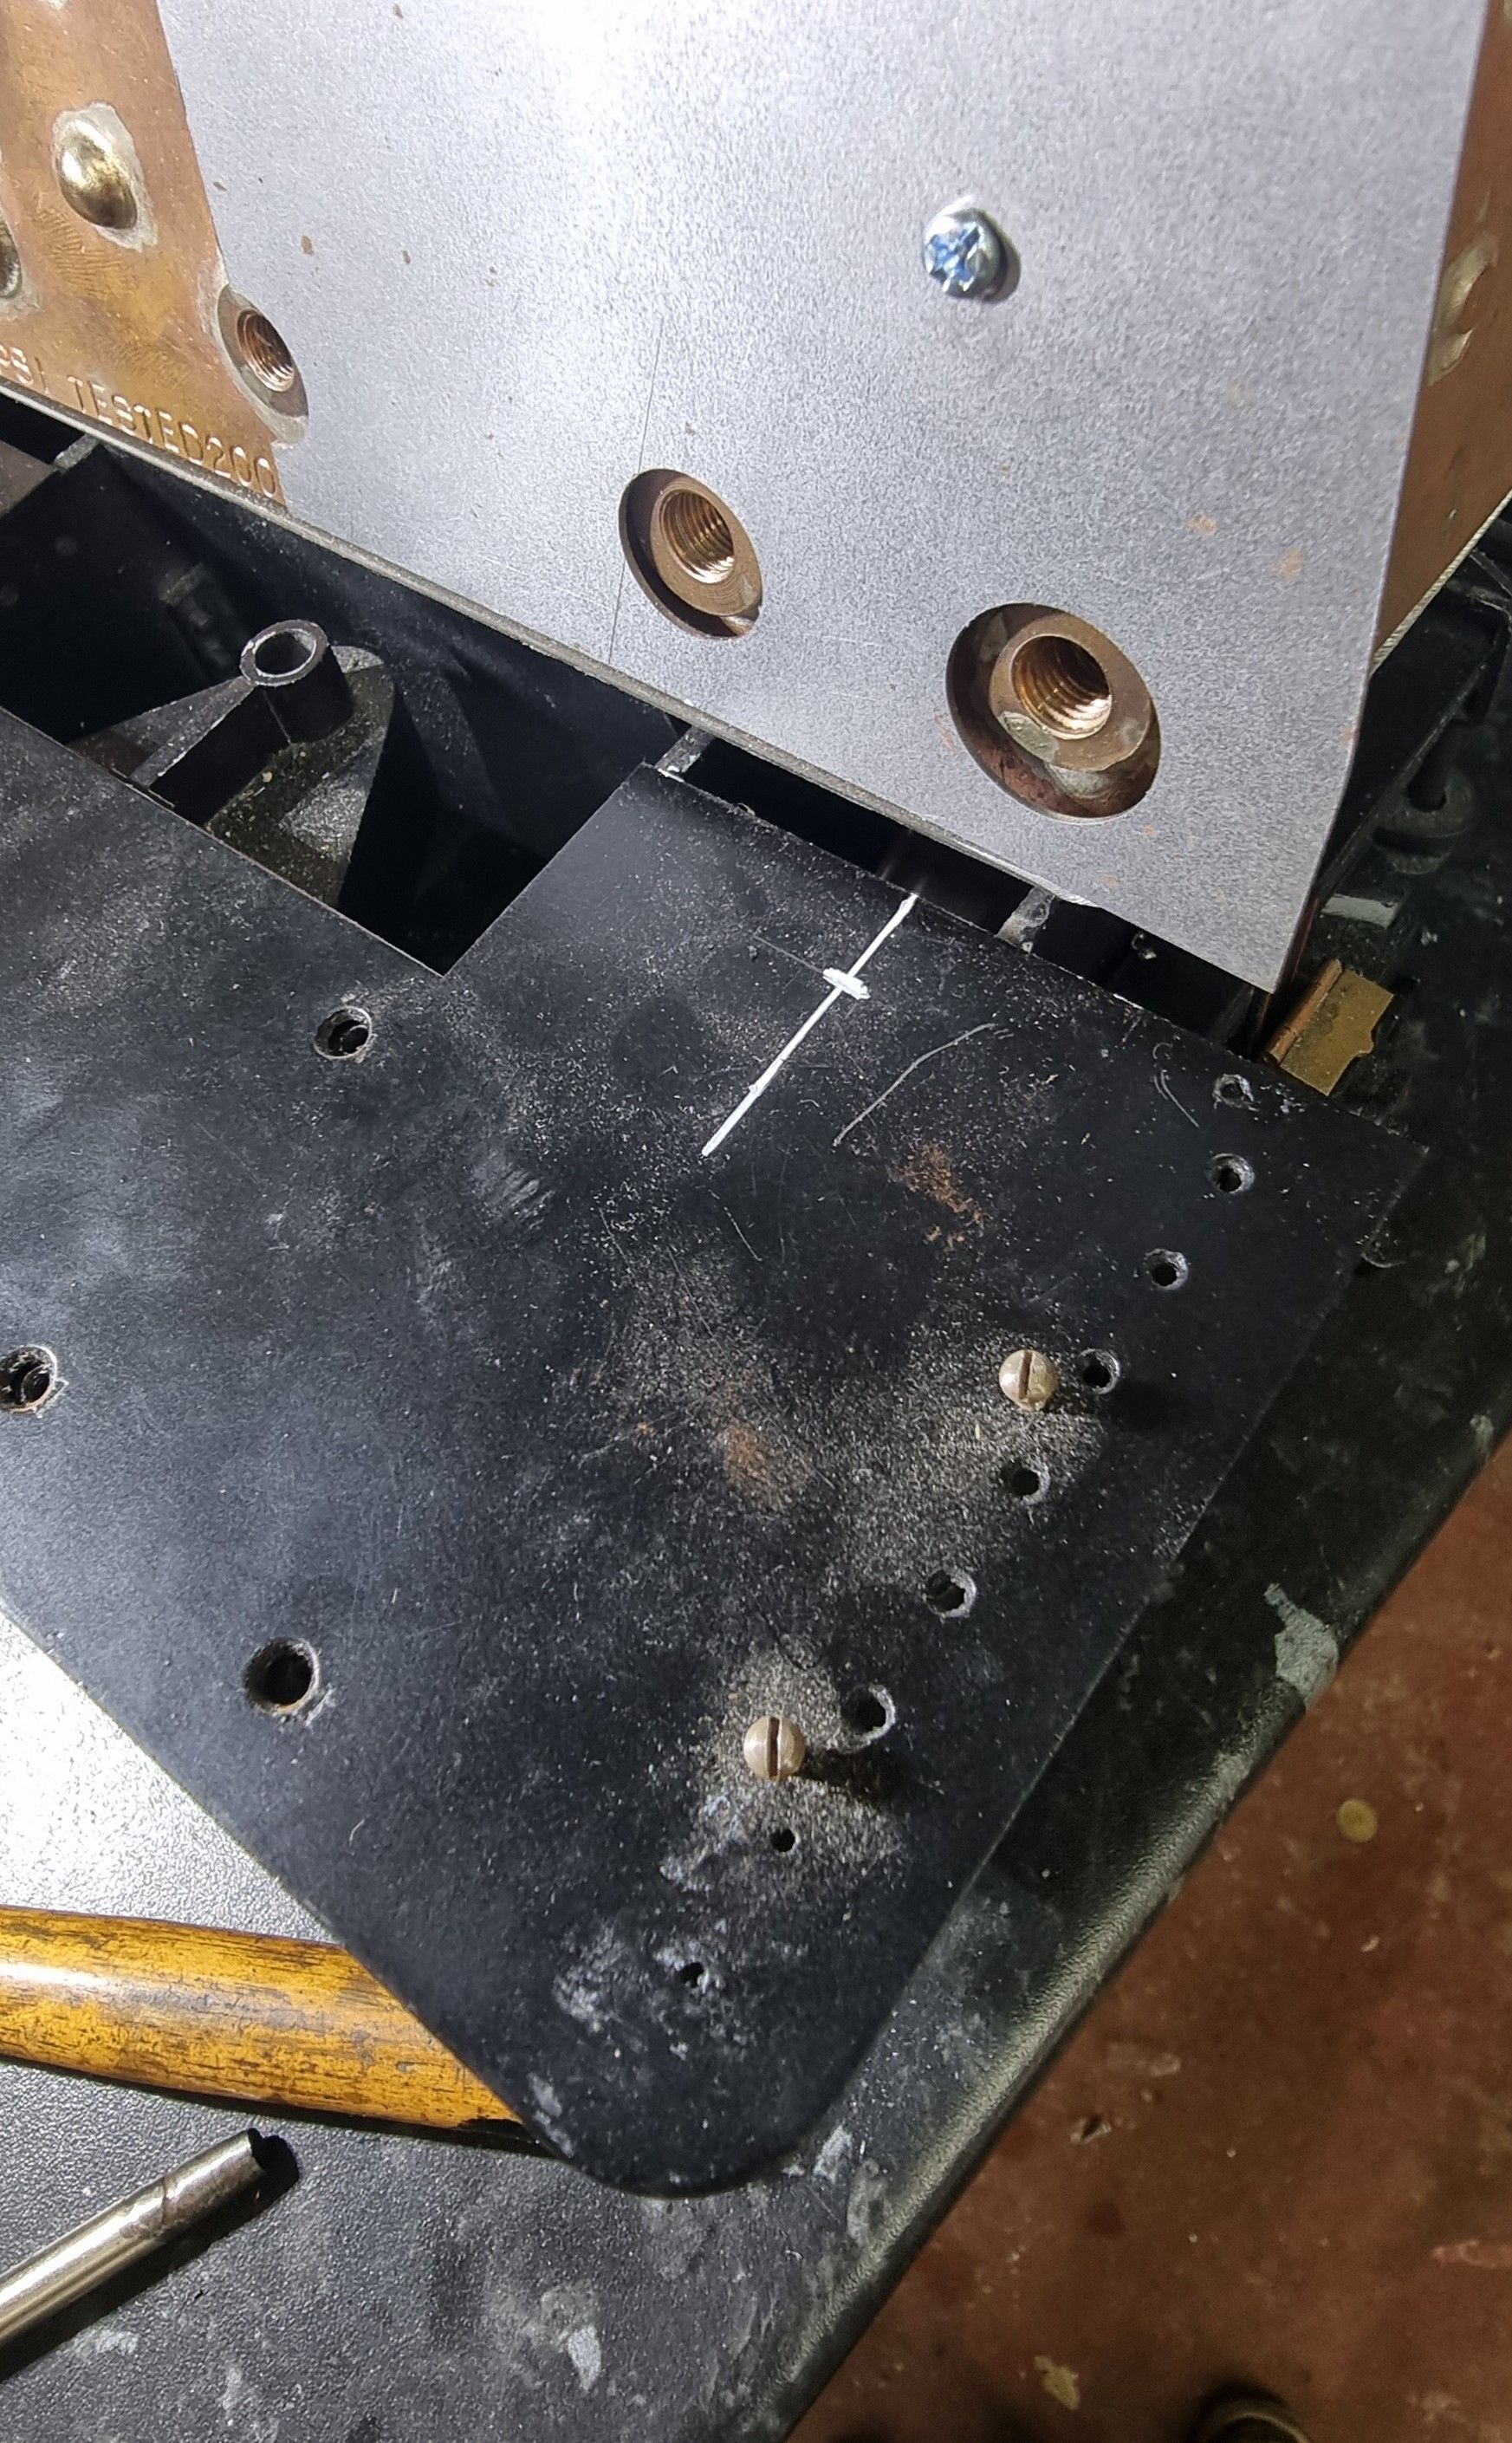
Enough rambling, on to the job at hand, before cutting anything I lined up the floor and approx marked where to start machining. After taking a few measurements I marked where the hole in the top right centre of the base will be (not the doubler), the picture shows where I will set the DRO to zero when held in the machine vice.
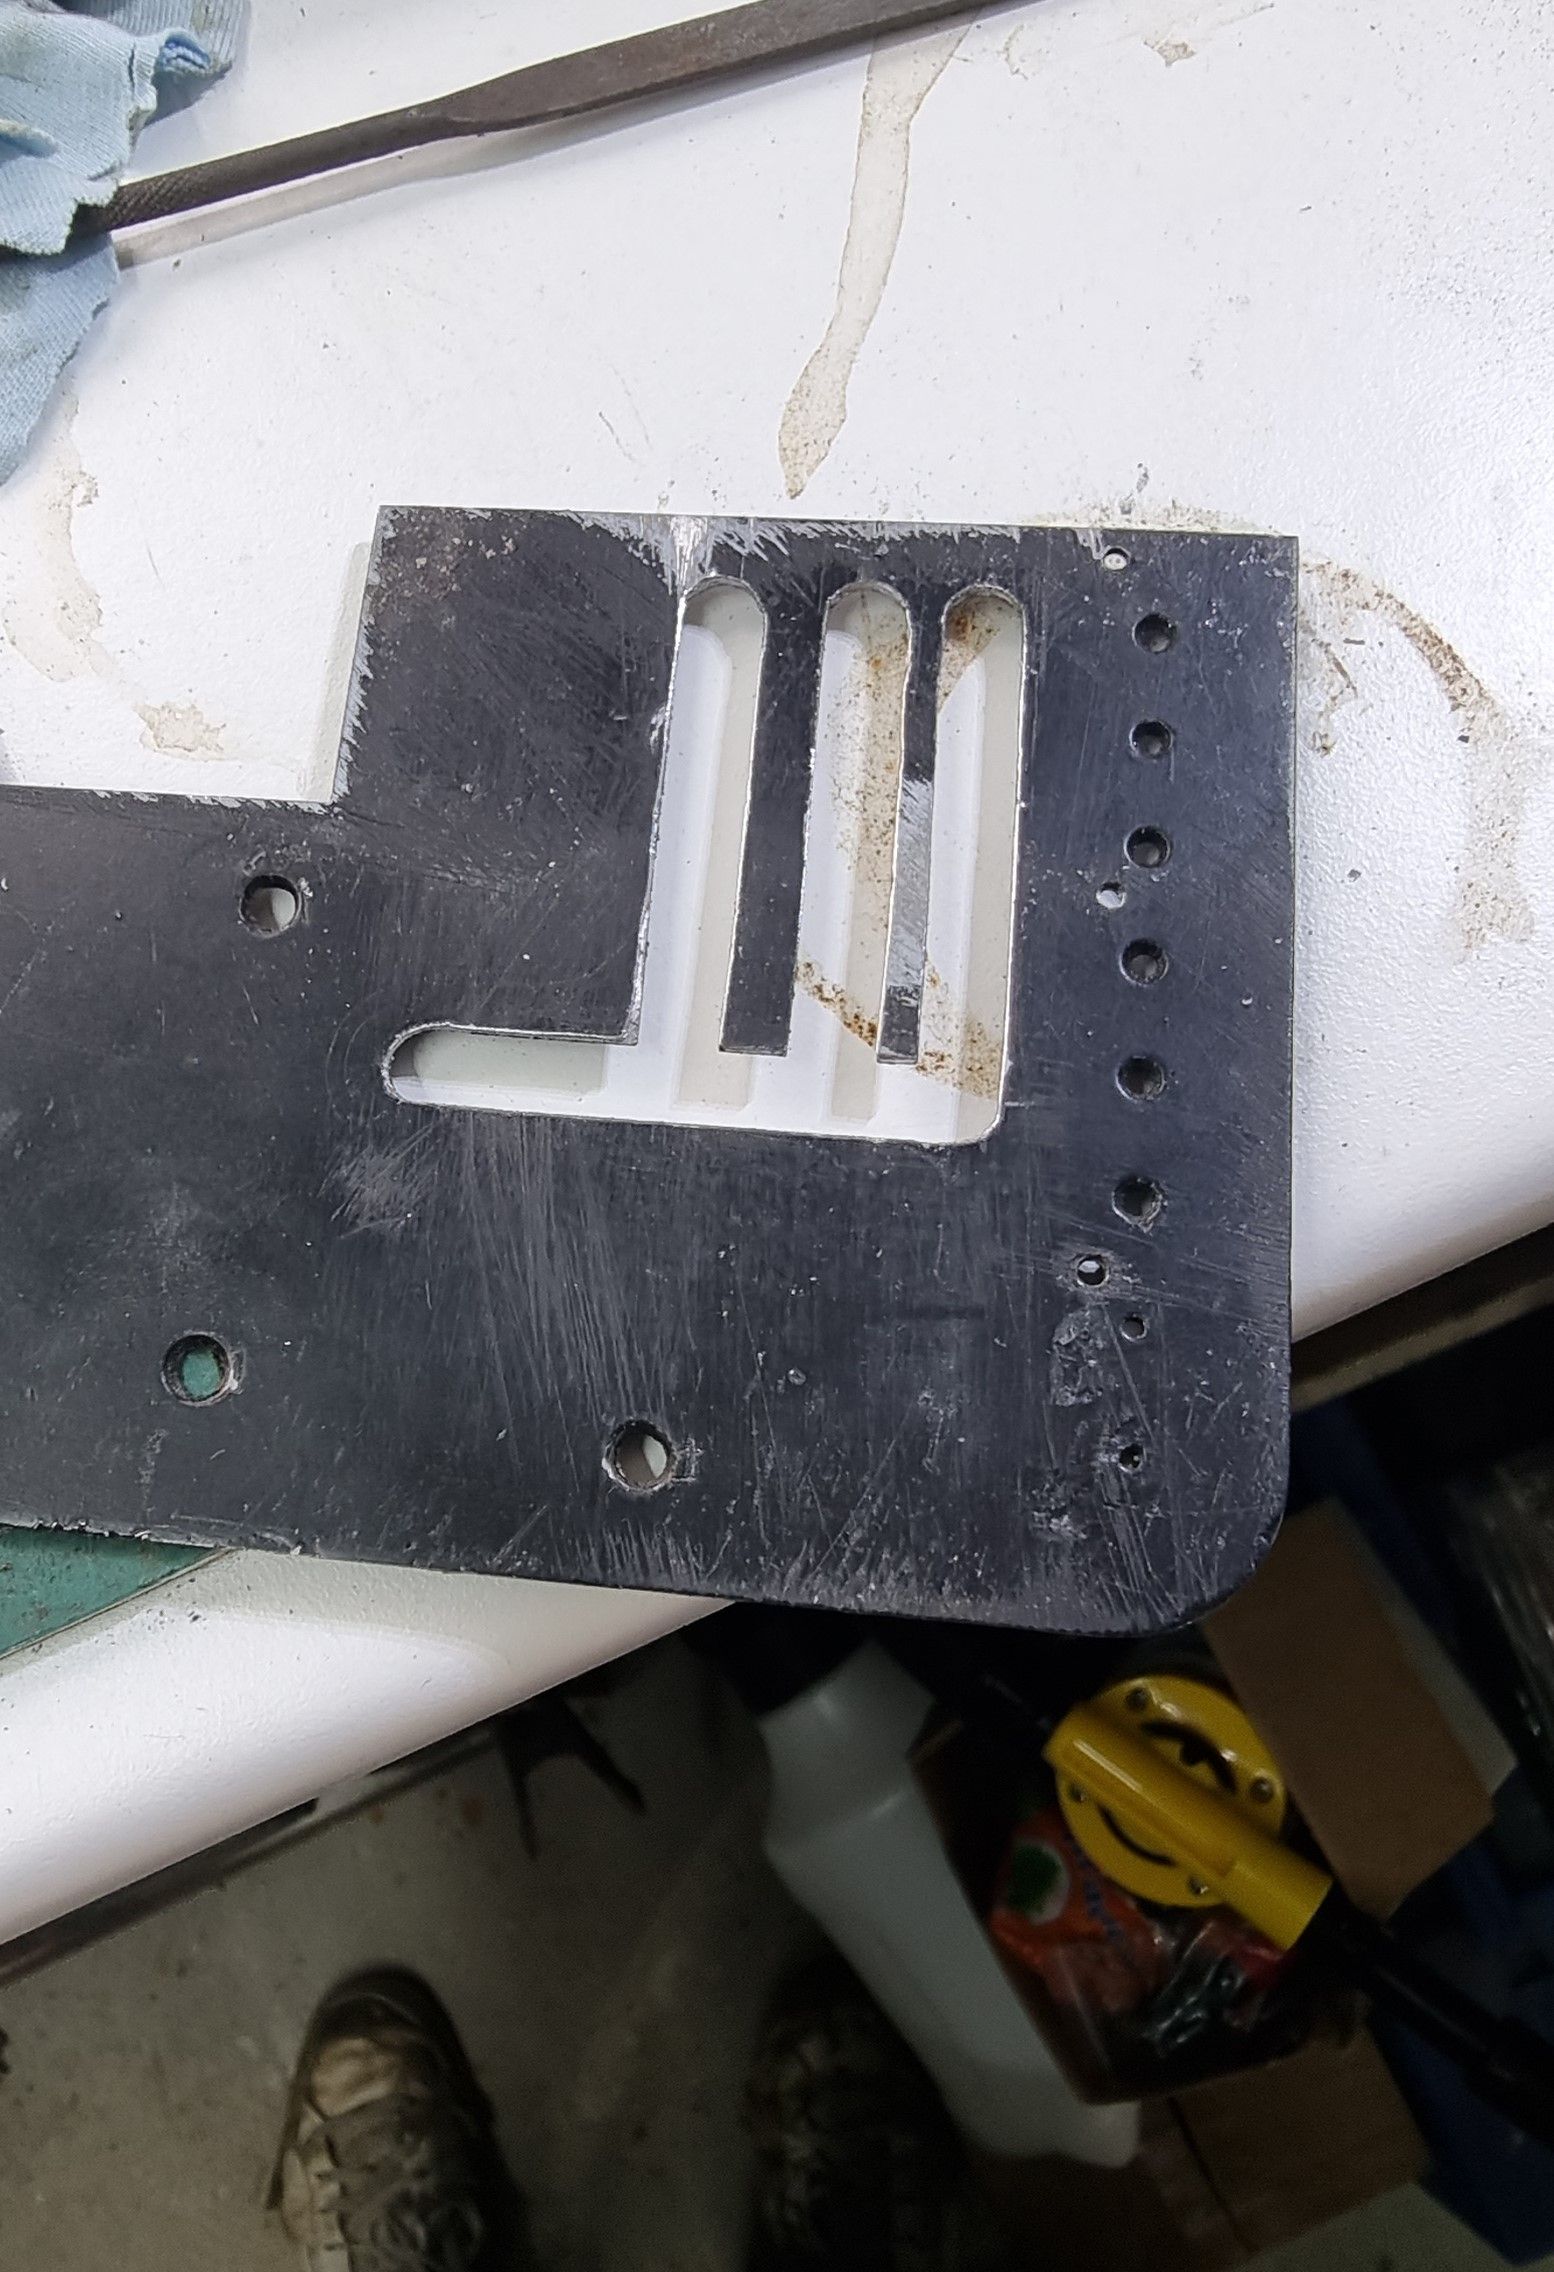
After chain drilling rows of holes I used an endmill cutter (perhaps a little too large) to create slots which gave me far more clearance than I should ever need, my reverser now has a gear gate..:)
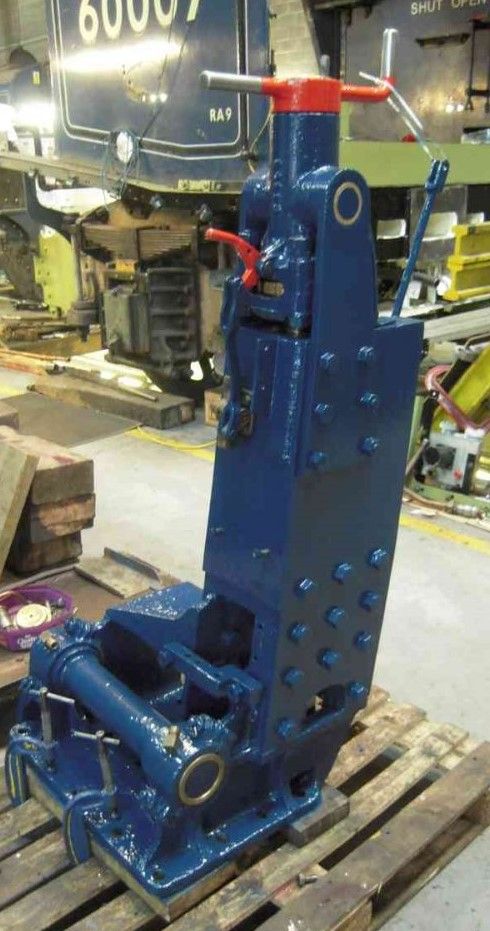
Do you recall me mentioning a cunning plan for following the prototype more closely but still being able to get access to the mounting bolts? Well, I plan to have the shelf, that sits above the bolts hinged so I can get at them. The photo below borrowed from SNG shows this shelf which also has a front shield to it, I'll add that later along with other parts. This photo is also useful for something else although not just yet, it just happens to show the indicator arm still attached giving a good idea of its angle and height, this info will become handy very soon.
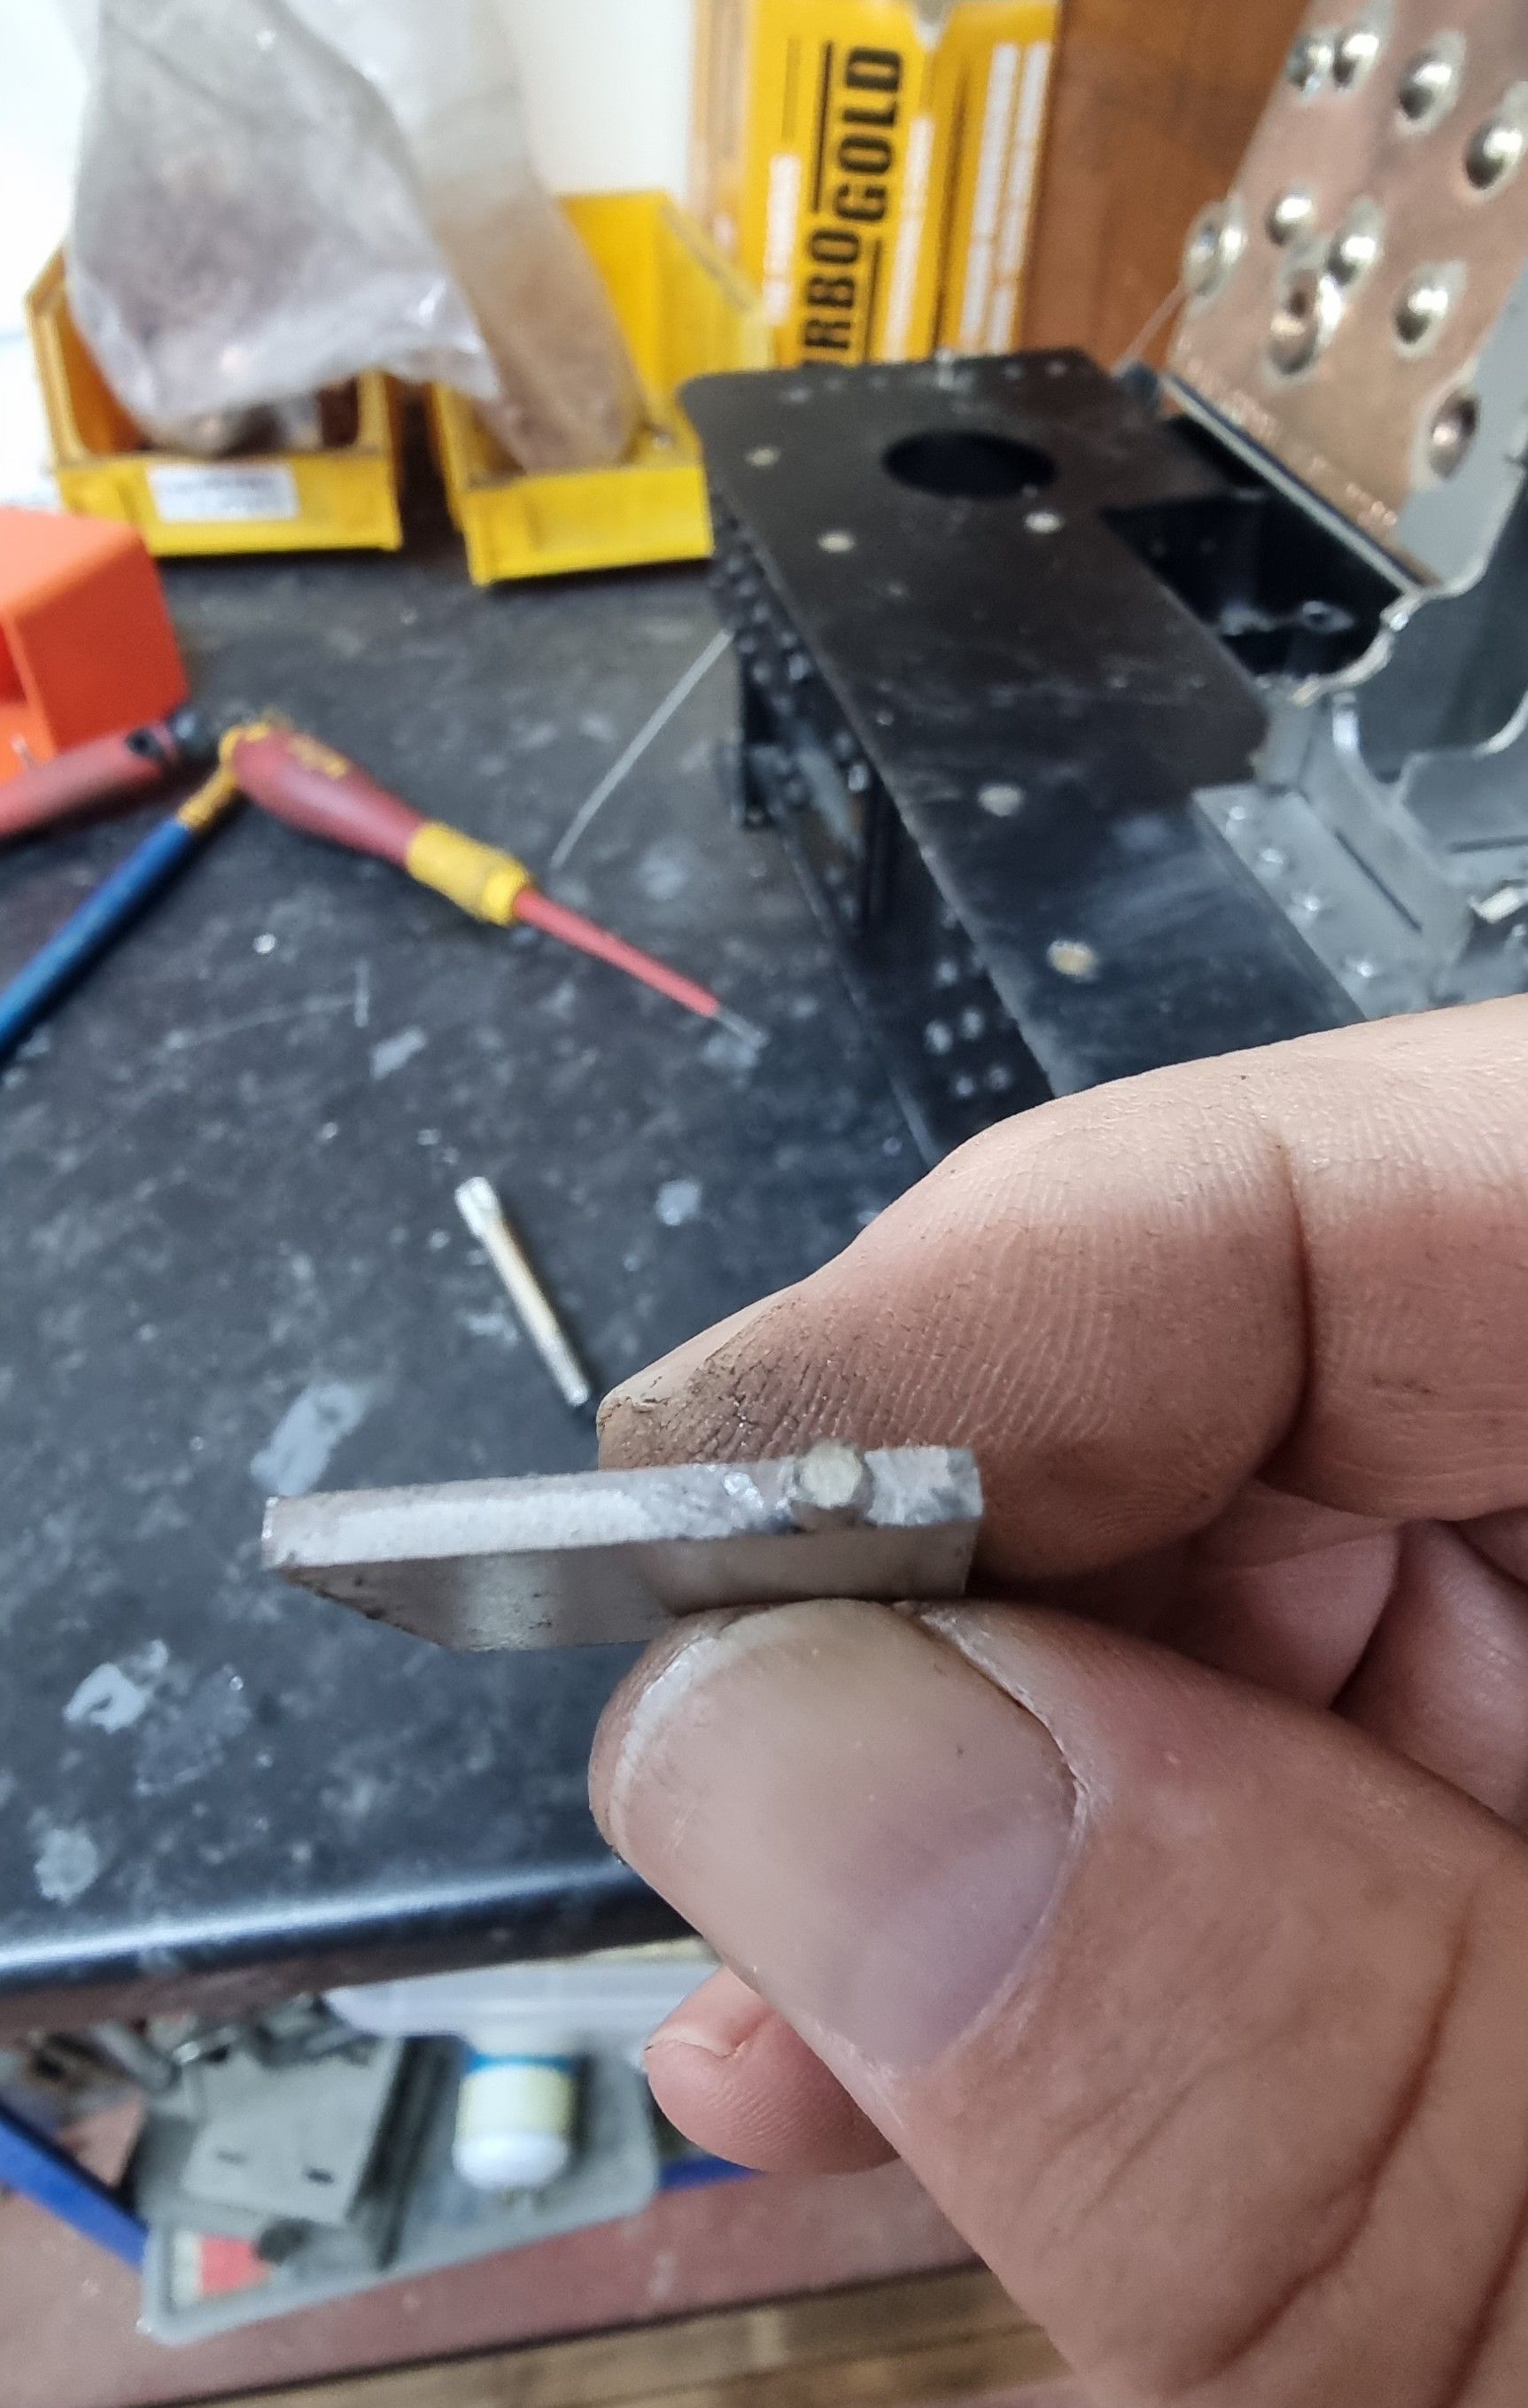
My mod simply involves filing the shelf fitting tabs round so that the shelf becomes hinged, simple.
I then did a test fit of the assembly so far, here the shelf is seen in its lowered position. Also clear here is that the washout plug will need the reverser removed first for access to be able to clean this corner of the boiler, not really a problem as such an operation won't be done that often.

And here I show the shelf raised with a box spanner on one of the more difficult bolts to reach, it would IMHO be too difficult to reach, with the shelf fixed.
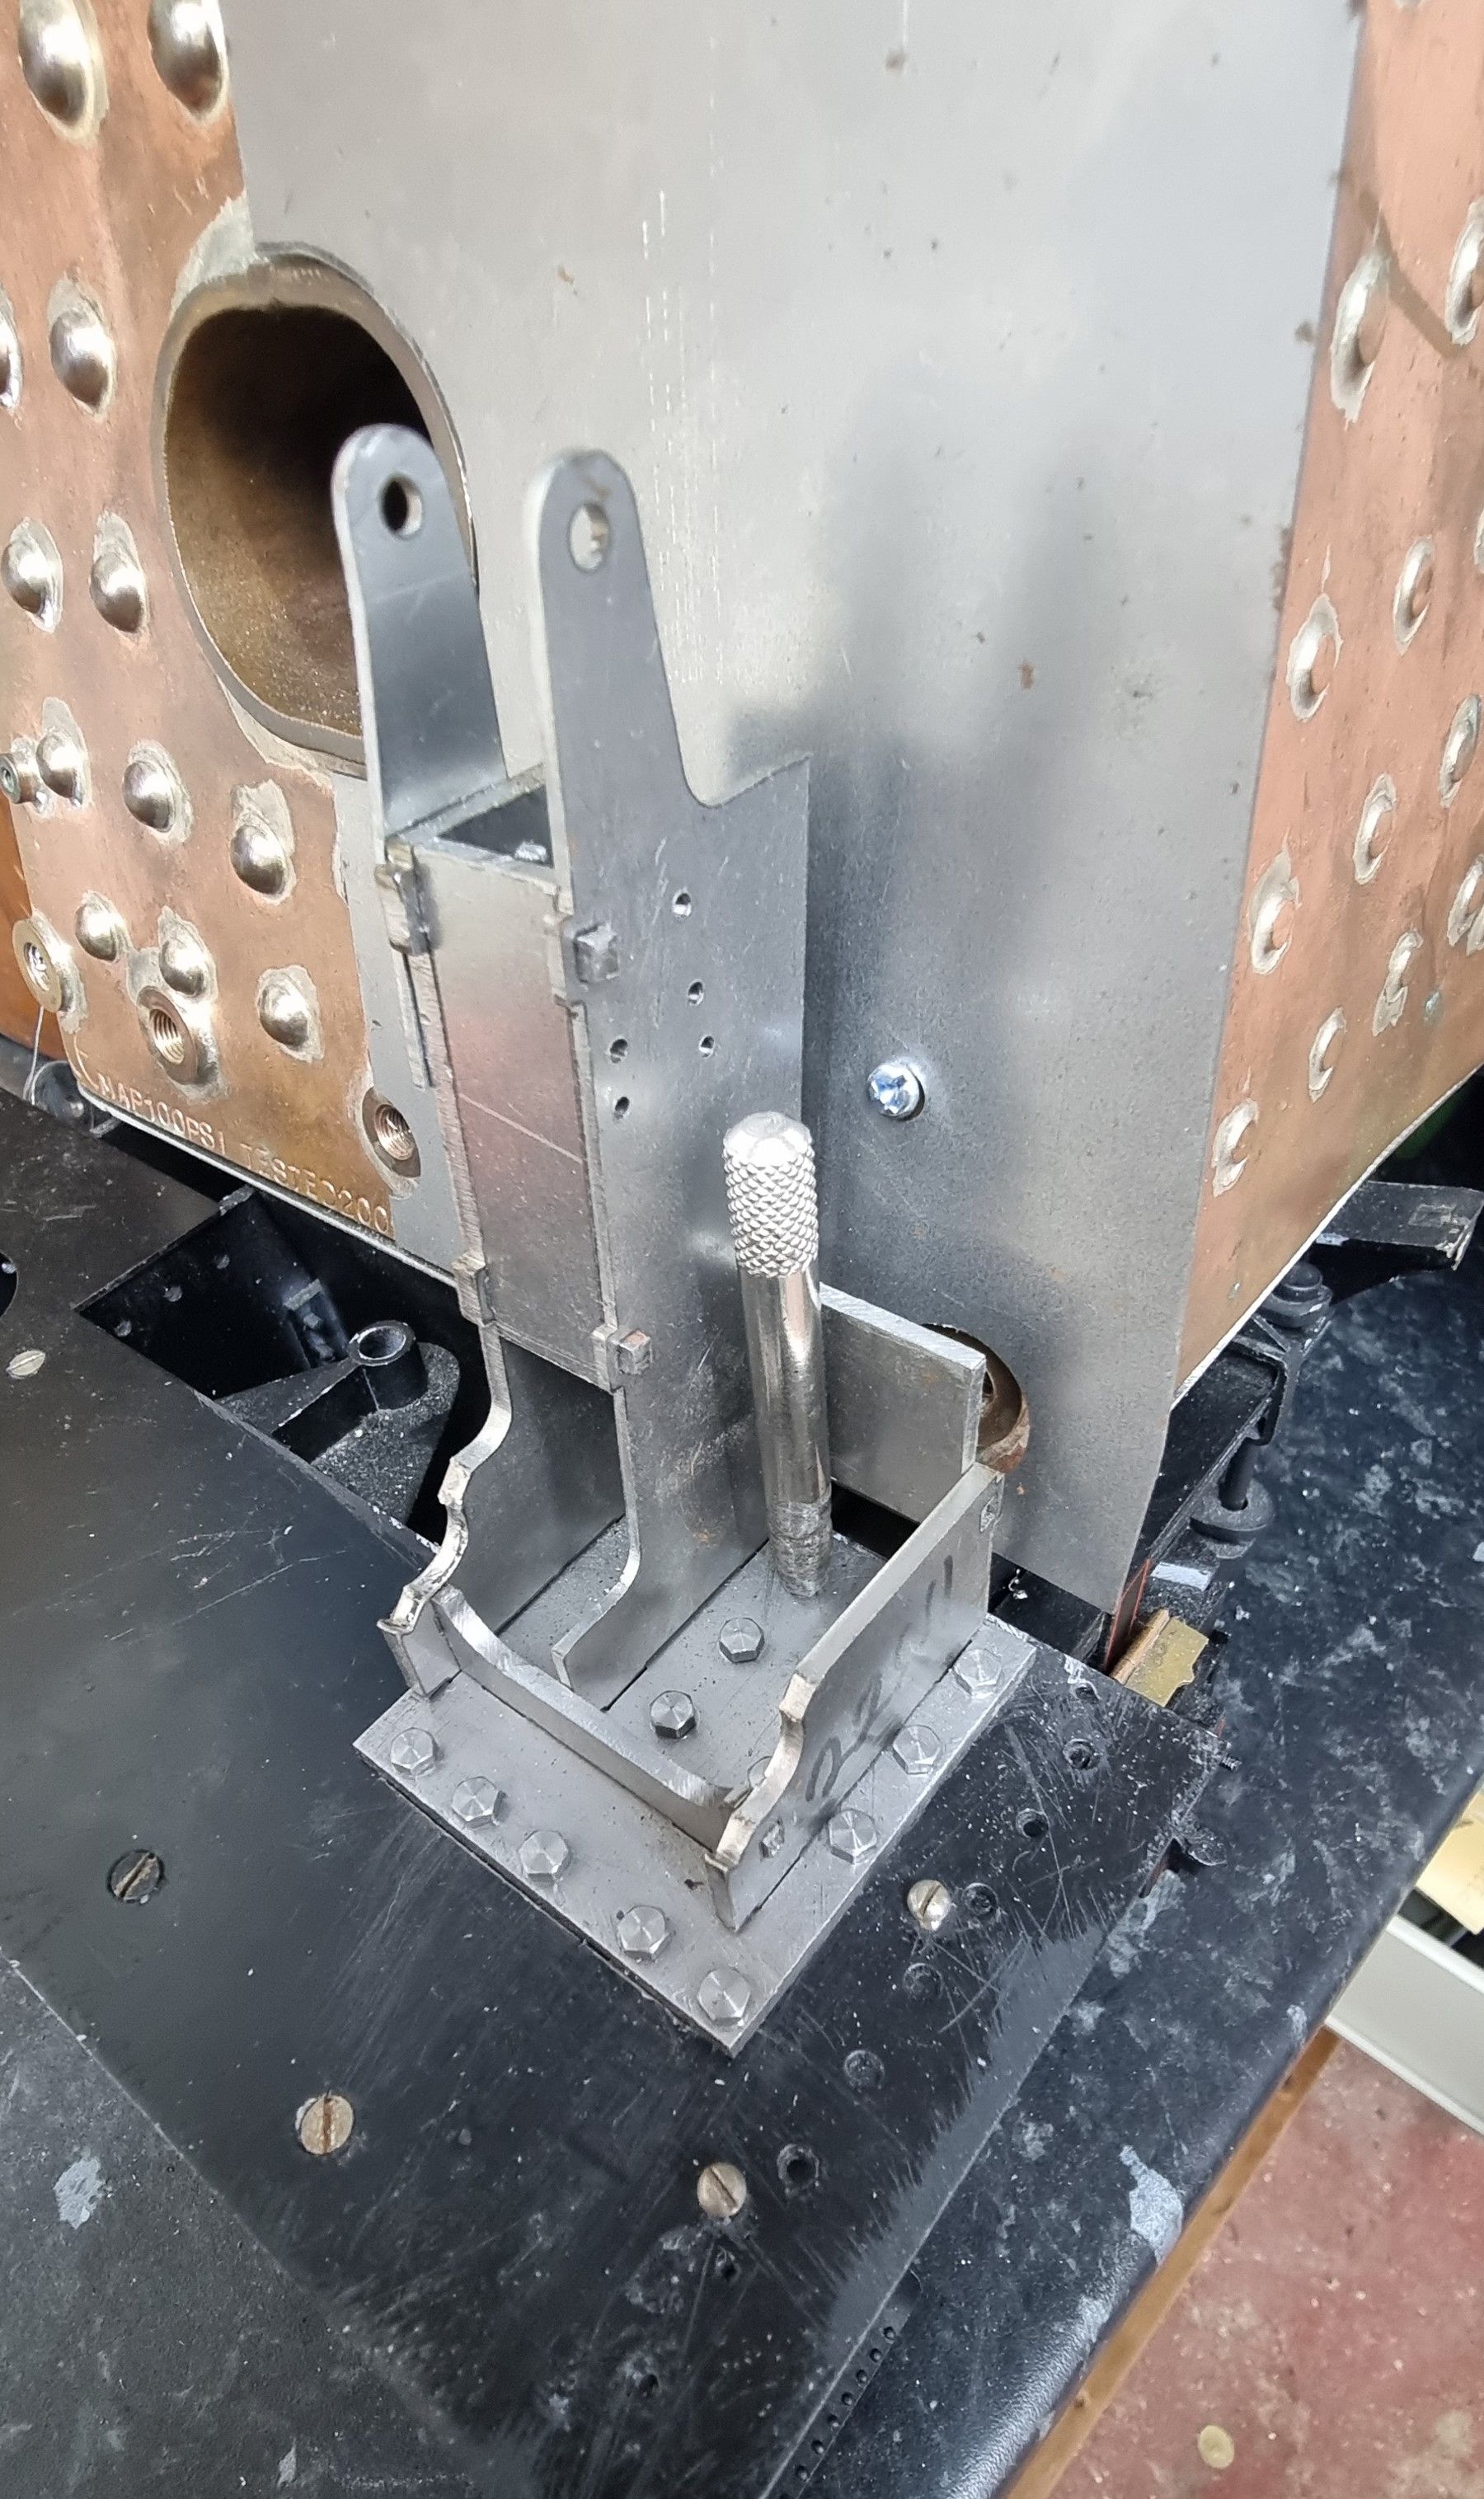
some details to note, I will add a rear wall below the shelf to put back the strength that I have removed by making the shelf changeable, I will need to omit the 8BA bolts on this side to allow the shelf to hinge, these bolts will be difficult to see here anyway once the cab is on, I will still place the bolts to the other side though.
All being well, the next update will finally show the stand brazed together with some of the extra details applied.