
Well I did warn you that I might not be doing the spindles/bobbins next...:) The thing is, now that I have repainted the running boards and very happy with the finish, I thought that I best do the smokebox too and tick that box off the list too. The problem here though is that I still hadn't finished the petticoat pipe and that really wanted to be done and fitted at the same time. Therefore this rather longer than usual entry will cover the pipe completion and the smokebox getting it's new coat of paint.
Petticoat pipe first:
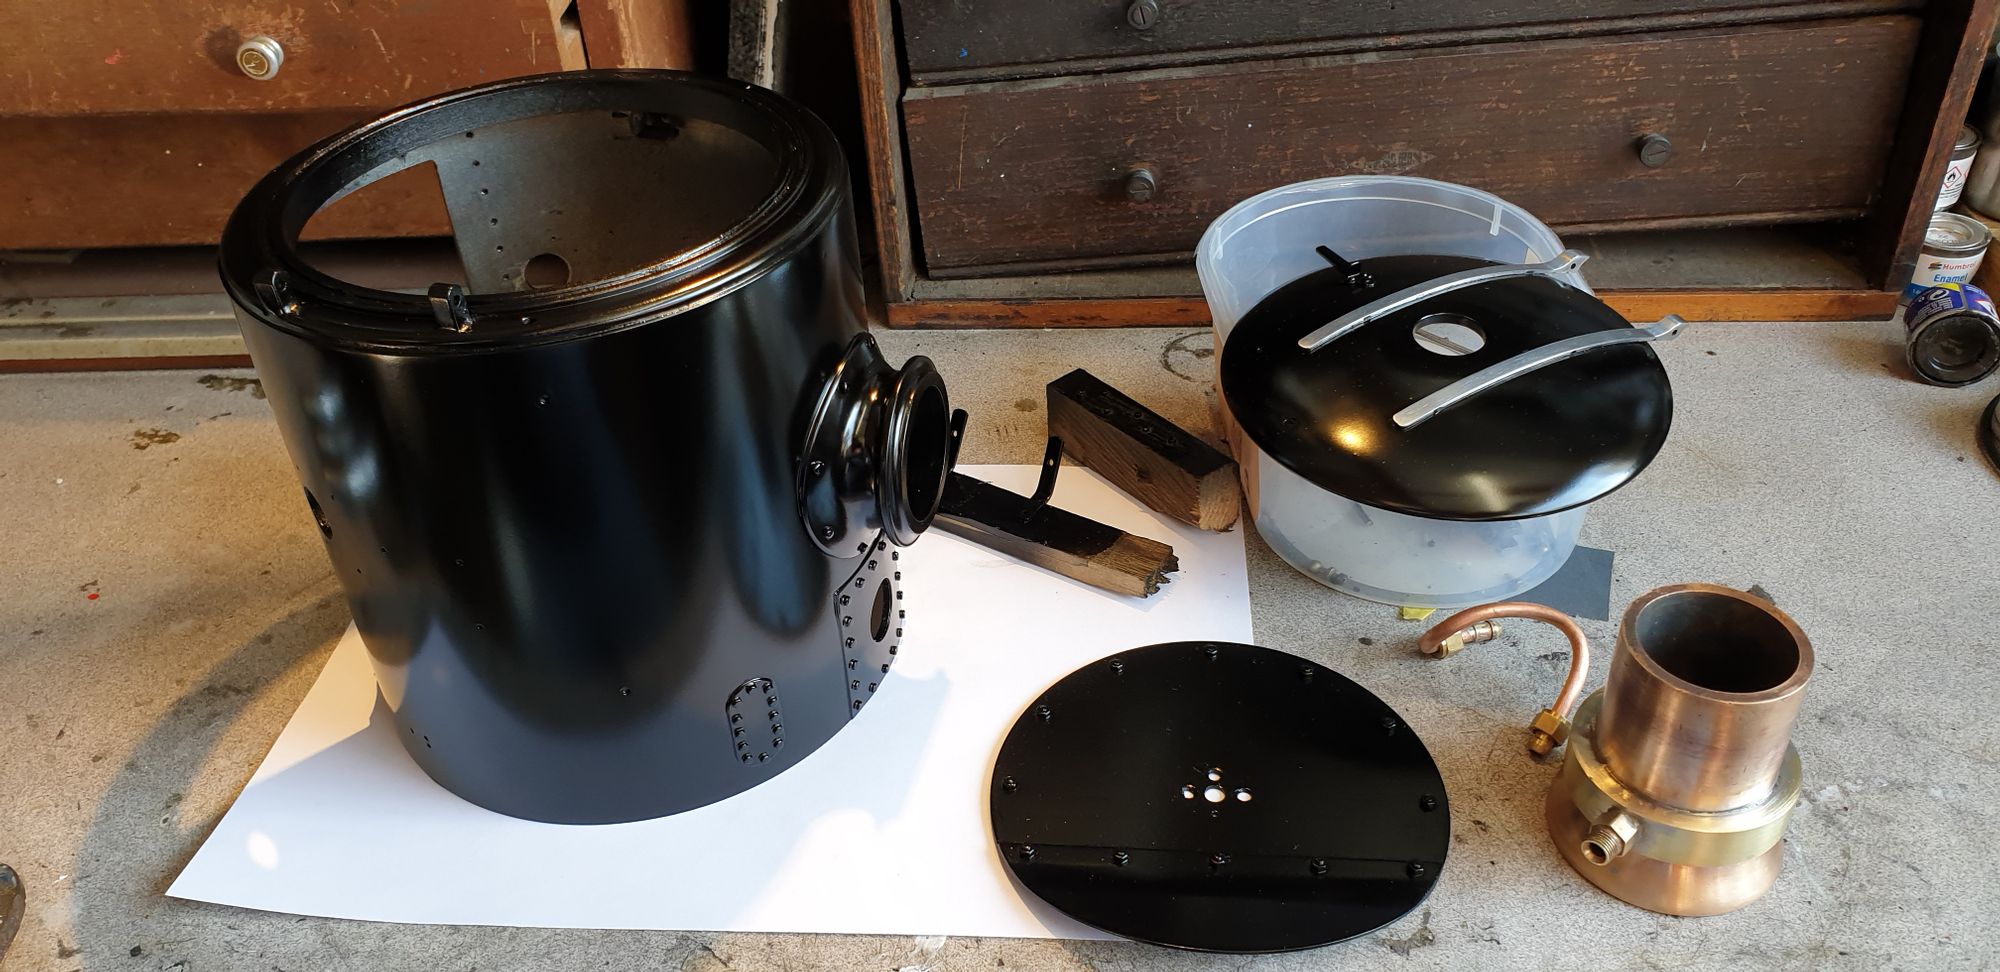
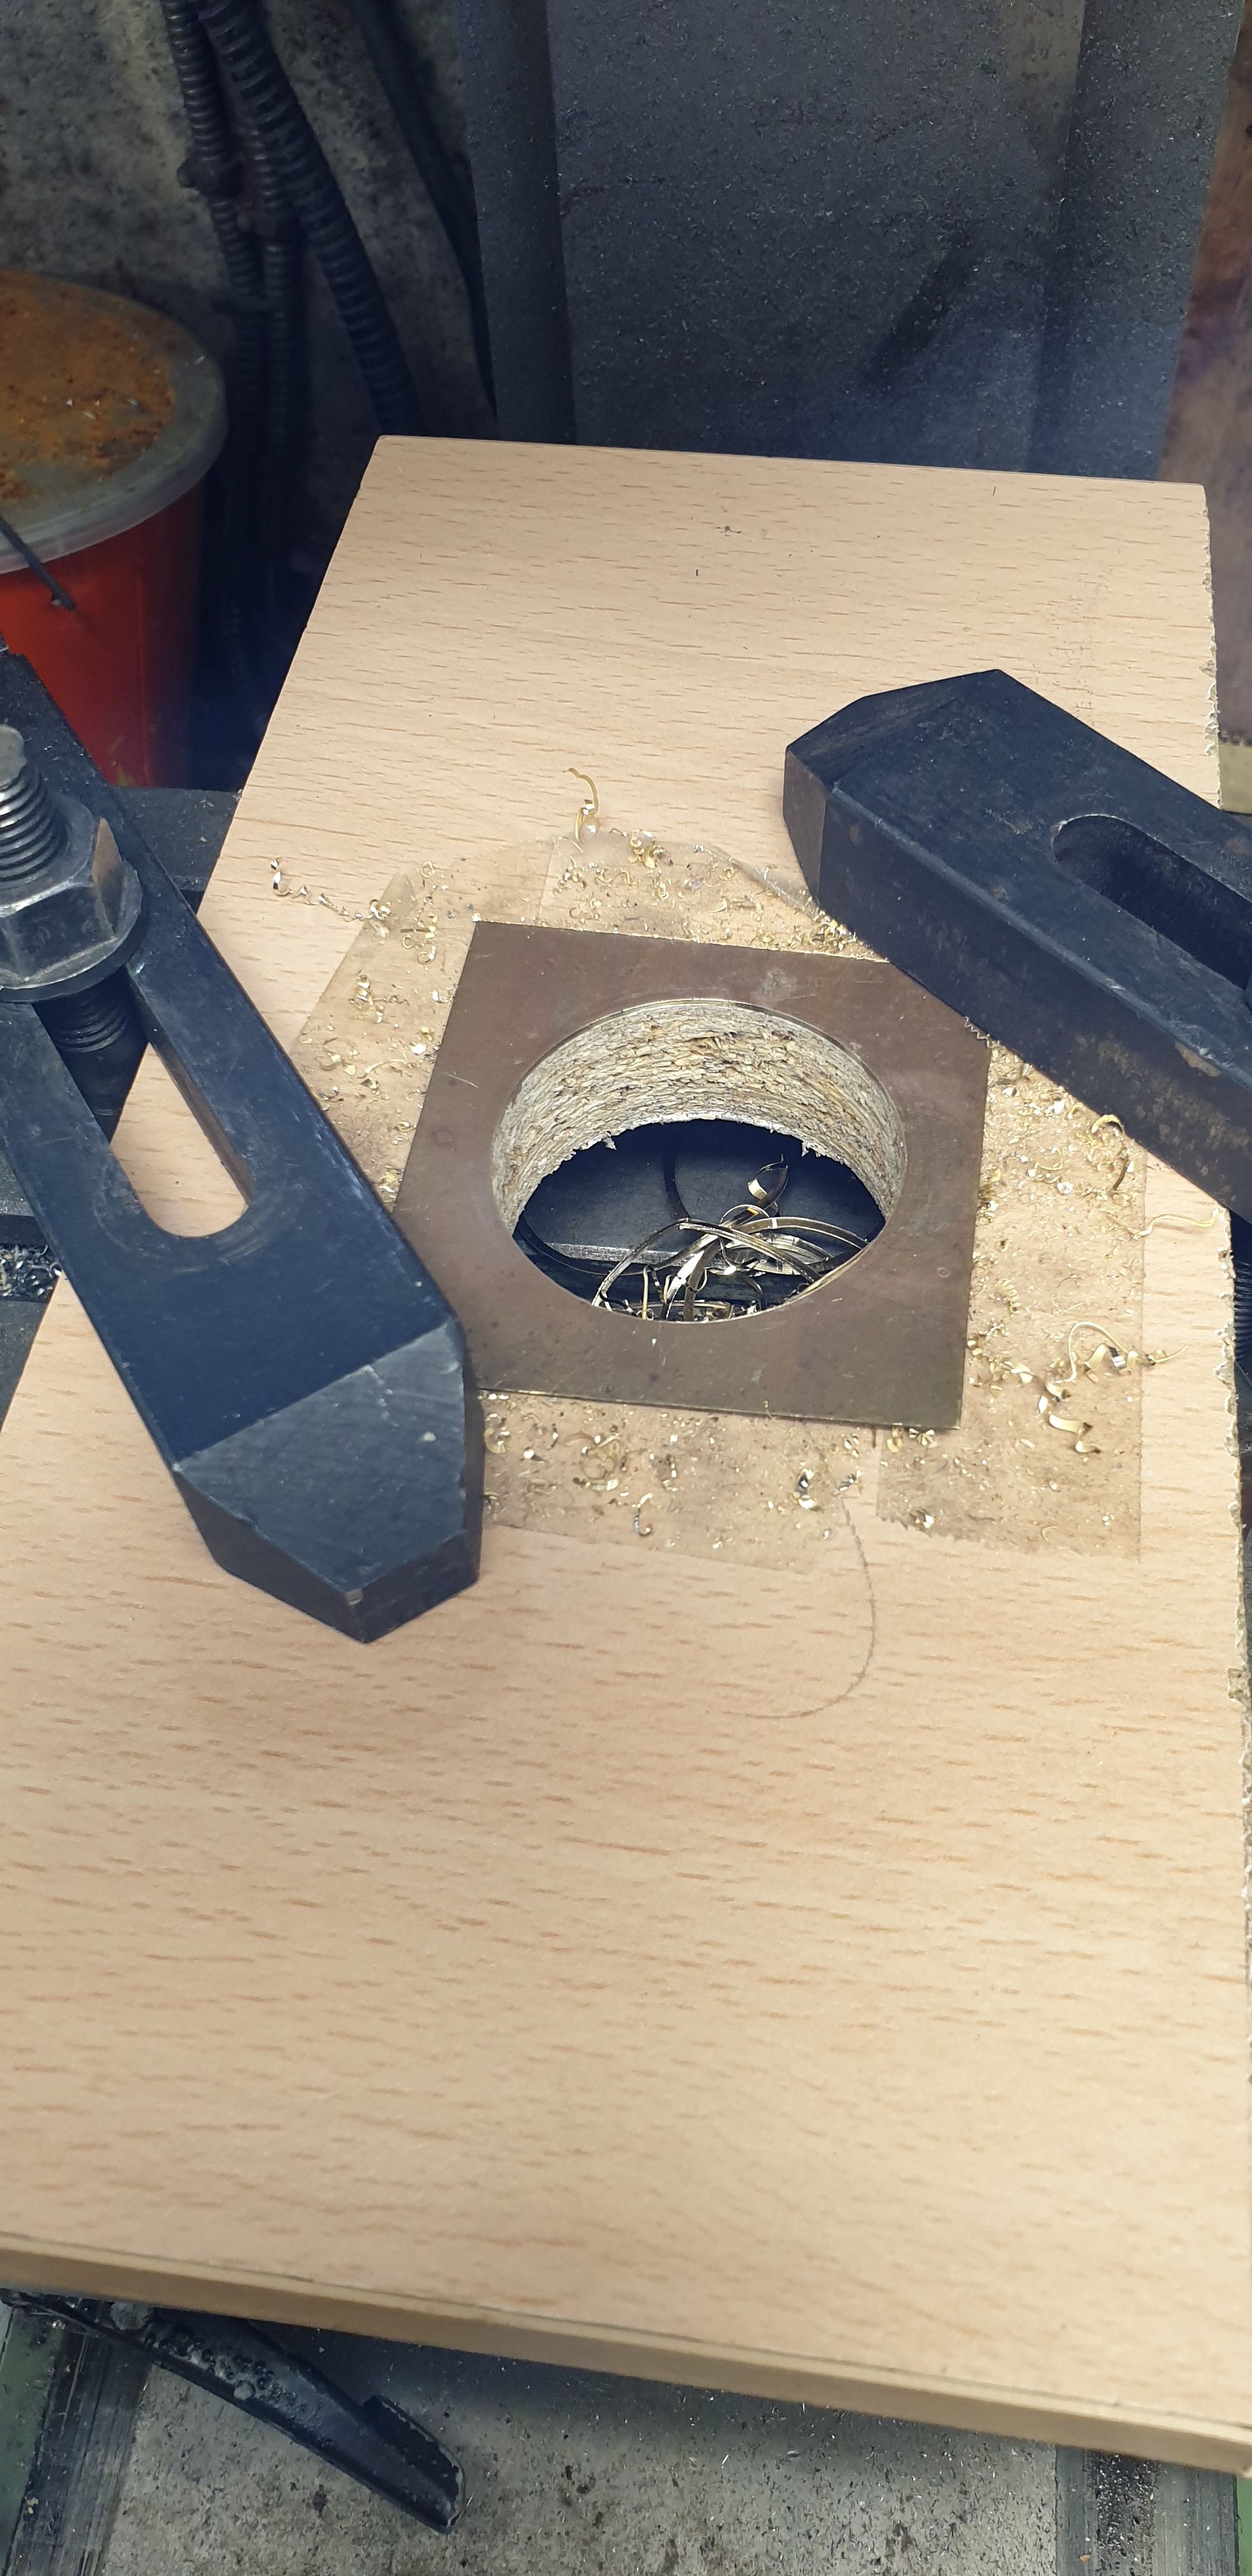
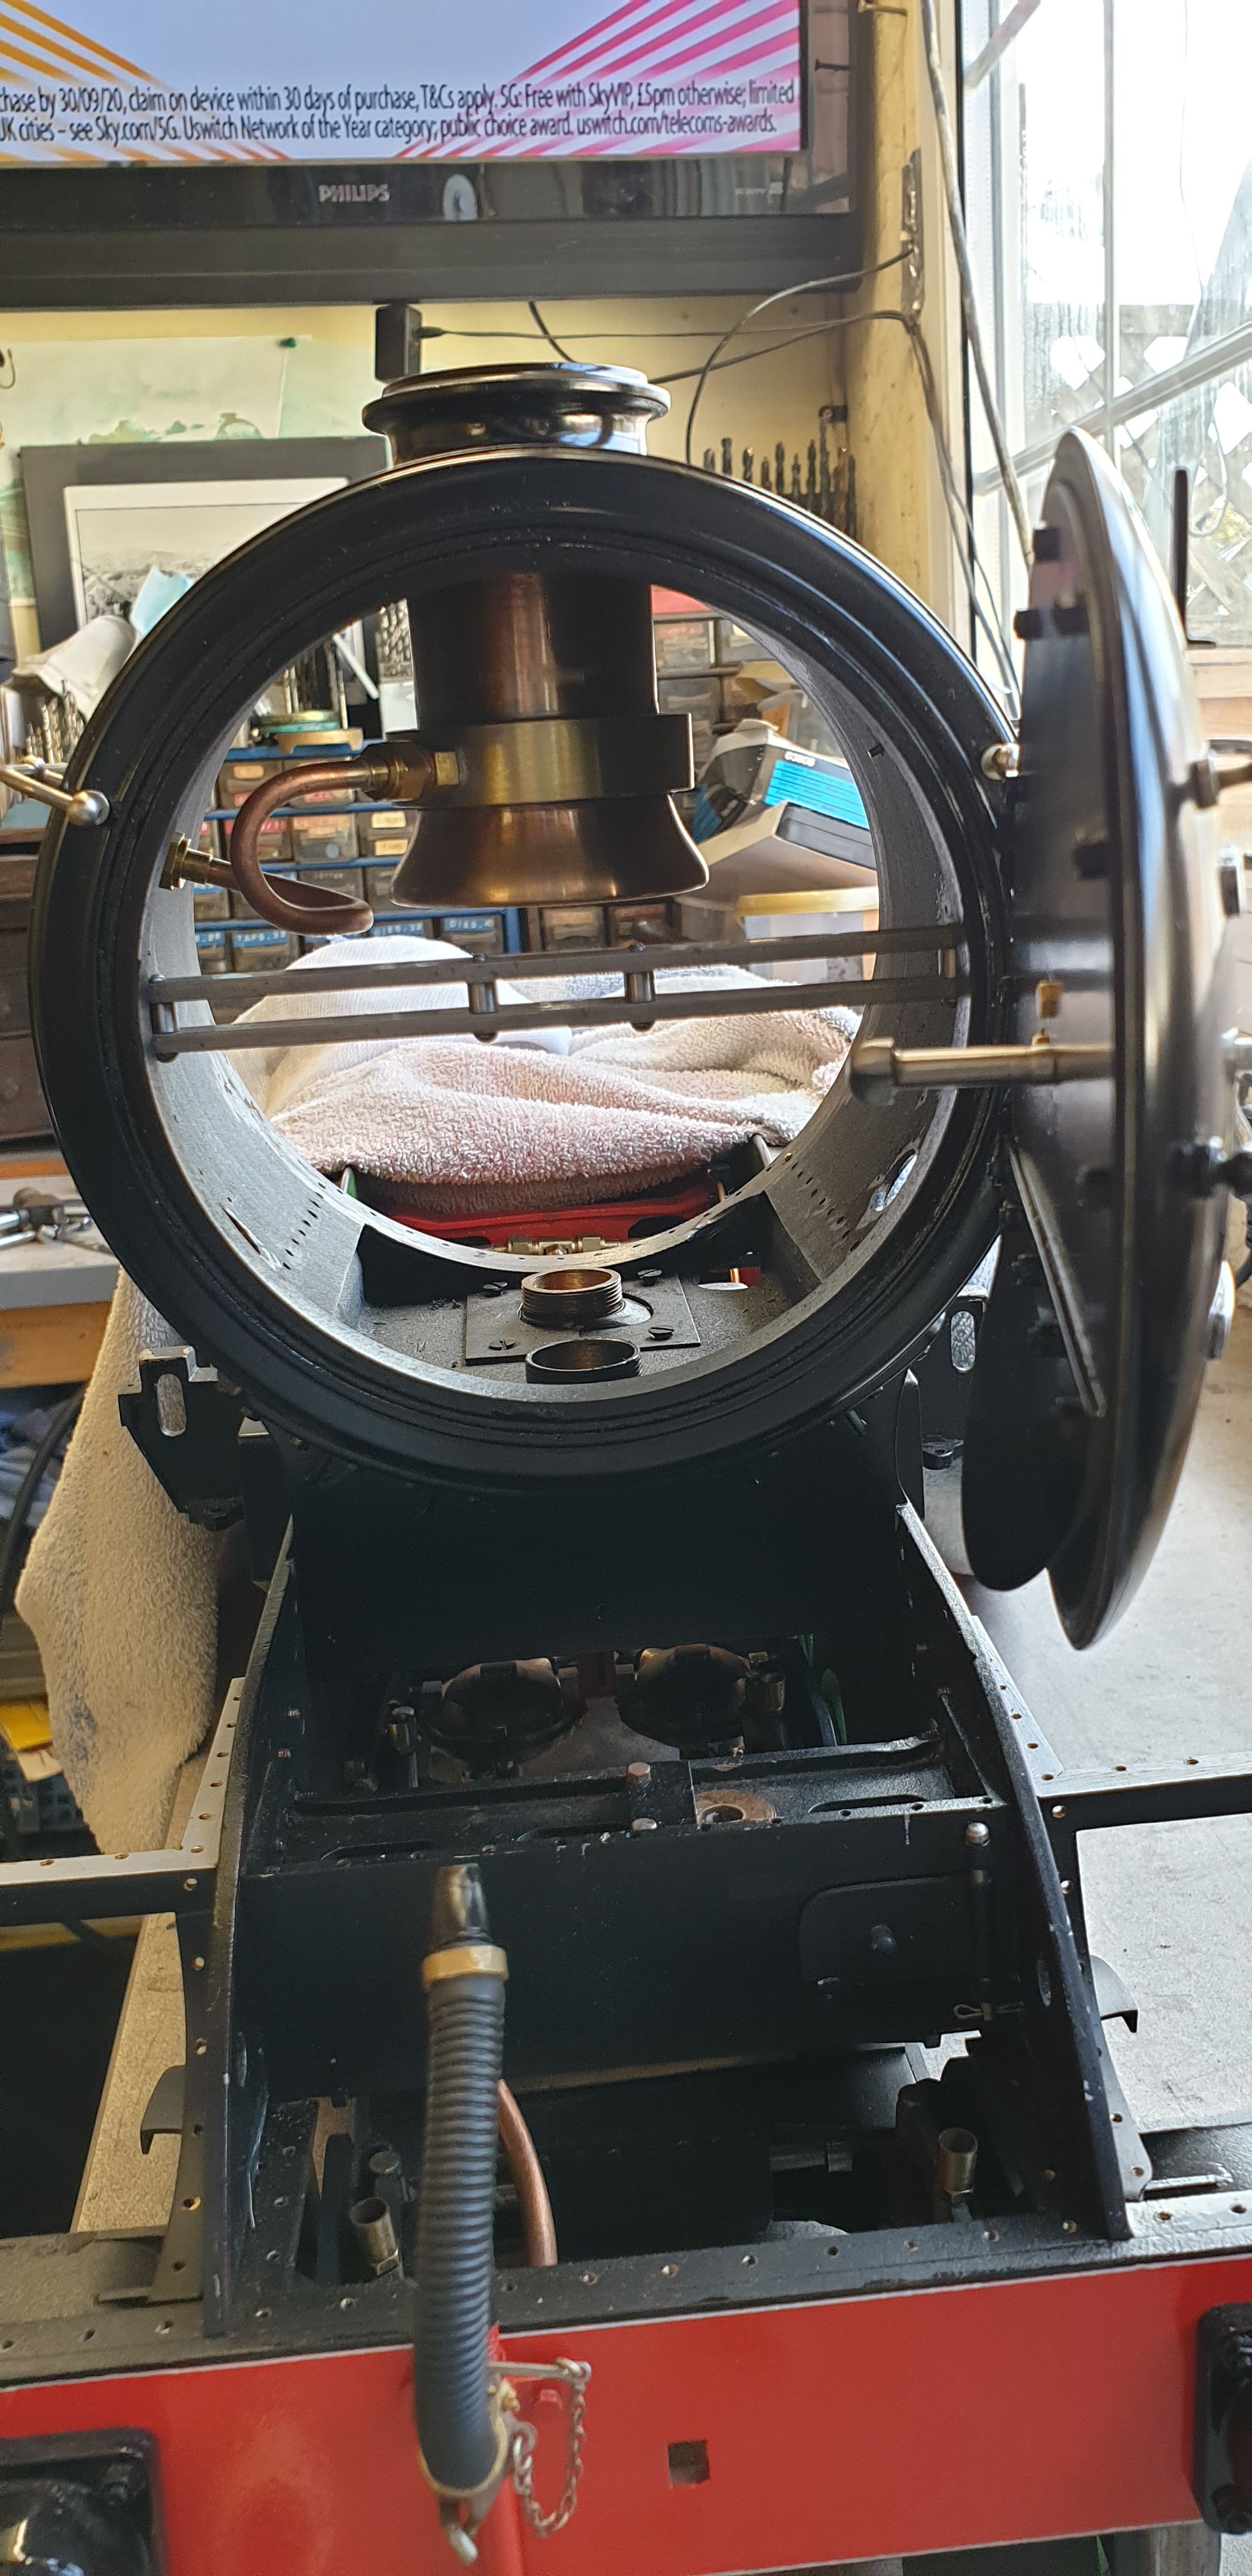
You may recall that I turned the pipe some time ago but hadn't fitted the ejector collar and so this is where i needed to start. A general picture first, as can be seen the smokebox has been disassembled ready to be flattened down ready for paint. The petticoat is obvious to see, the brass ring will be the ejector collar, the diameter of which is 2 1/4 inch. The width of the collar will be 1/2" and its centre line will be 1" up from the bottom of the pipe.
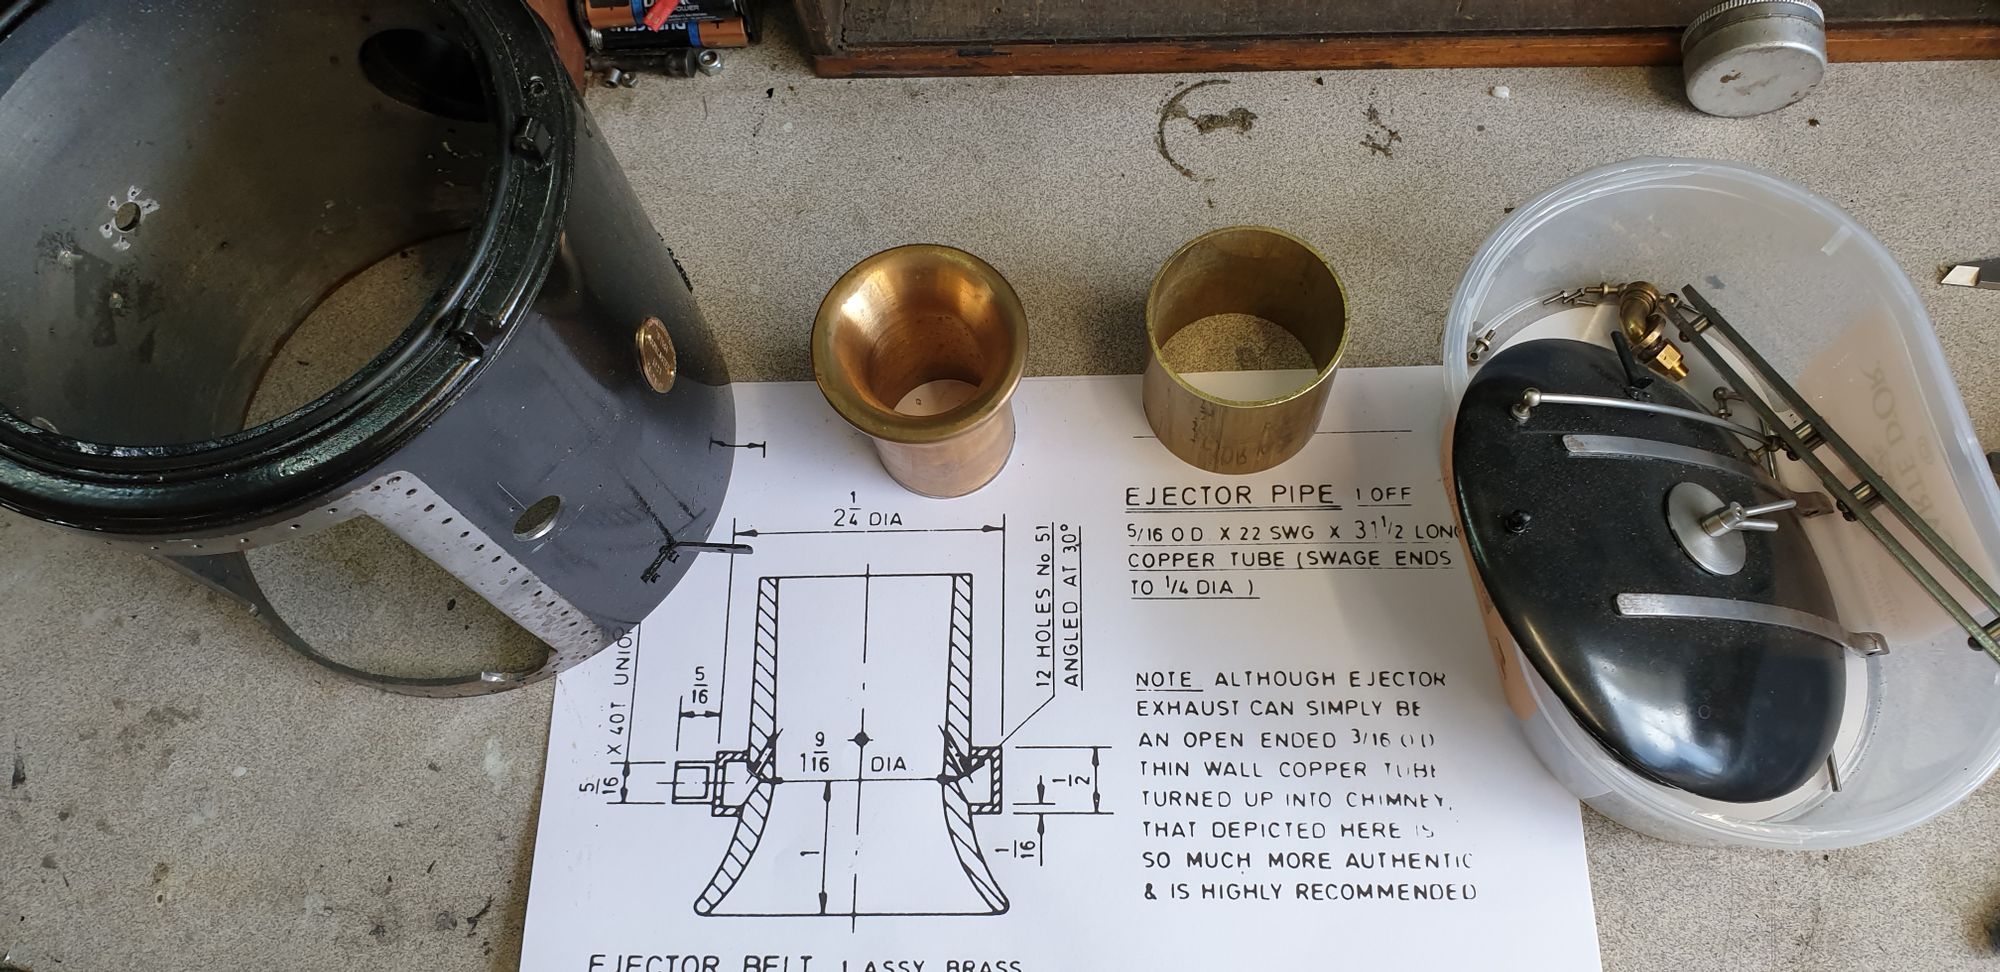
The pipe also needs some work, the drawing shown should give some idea of what's involved but first I made a start on the collar, after machining the ends of the tube square I silver soldered on one end, this is from some scrap 1/16th brass sheet.
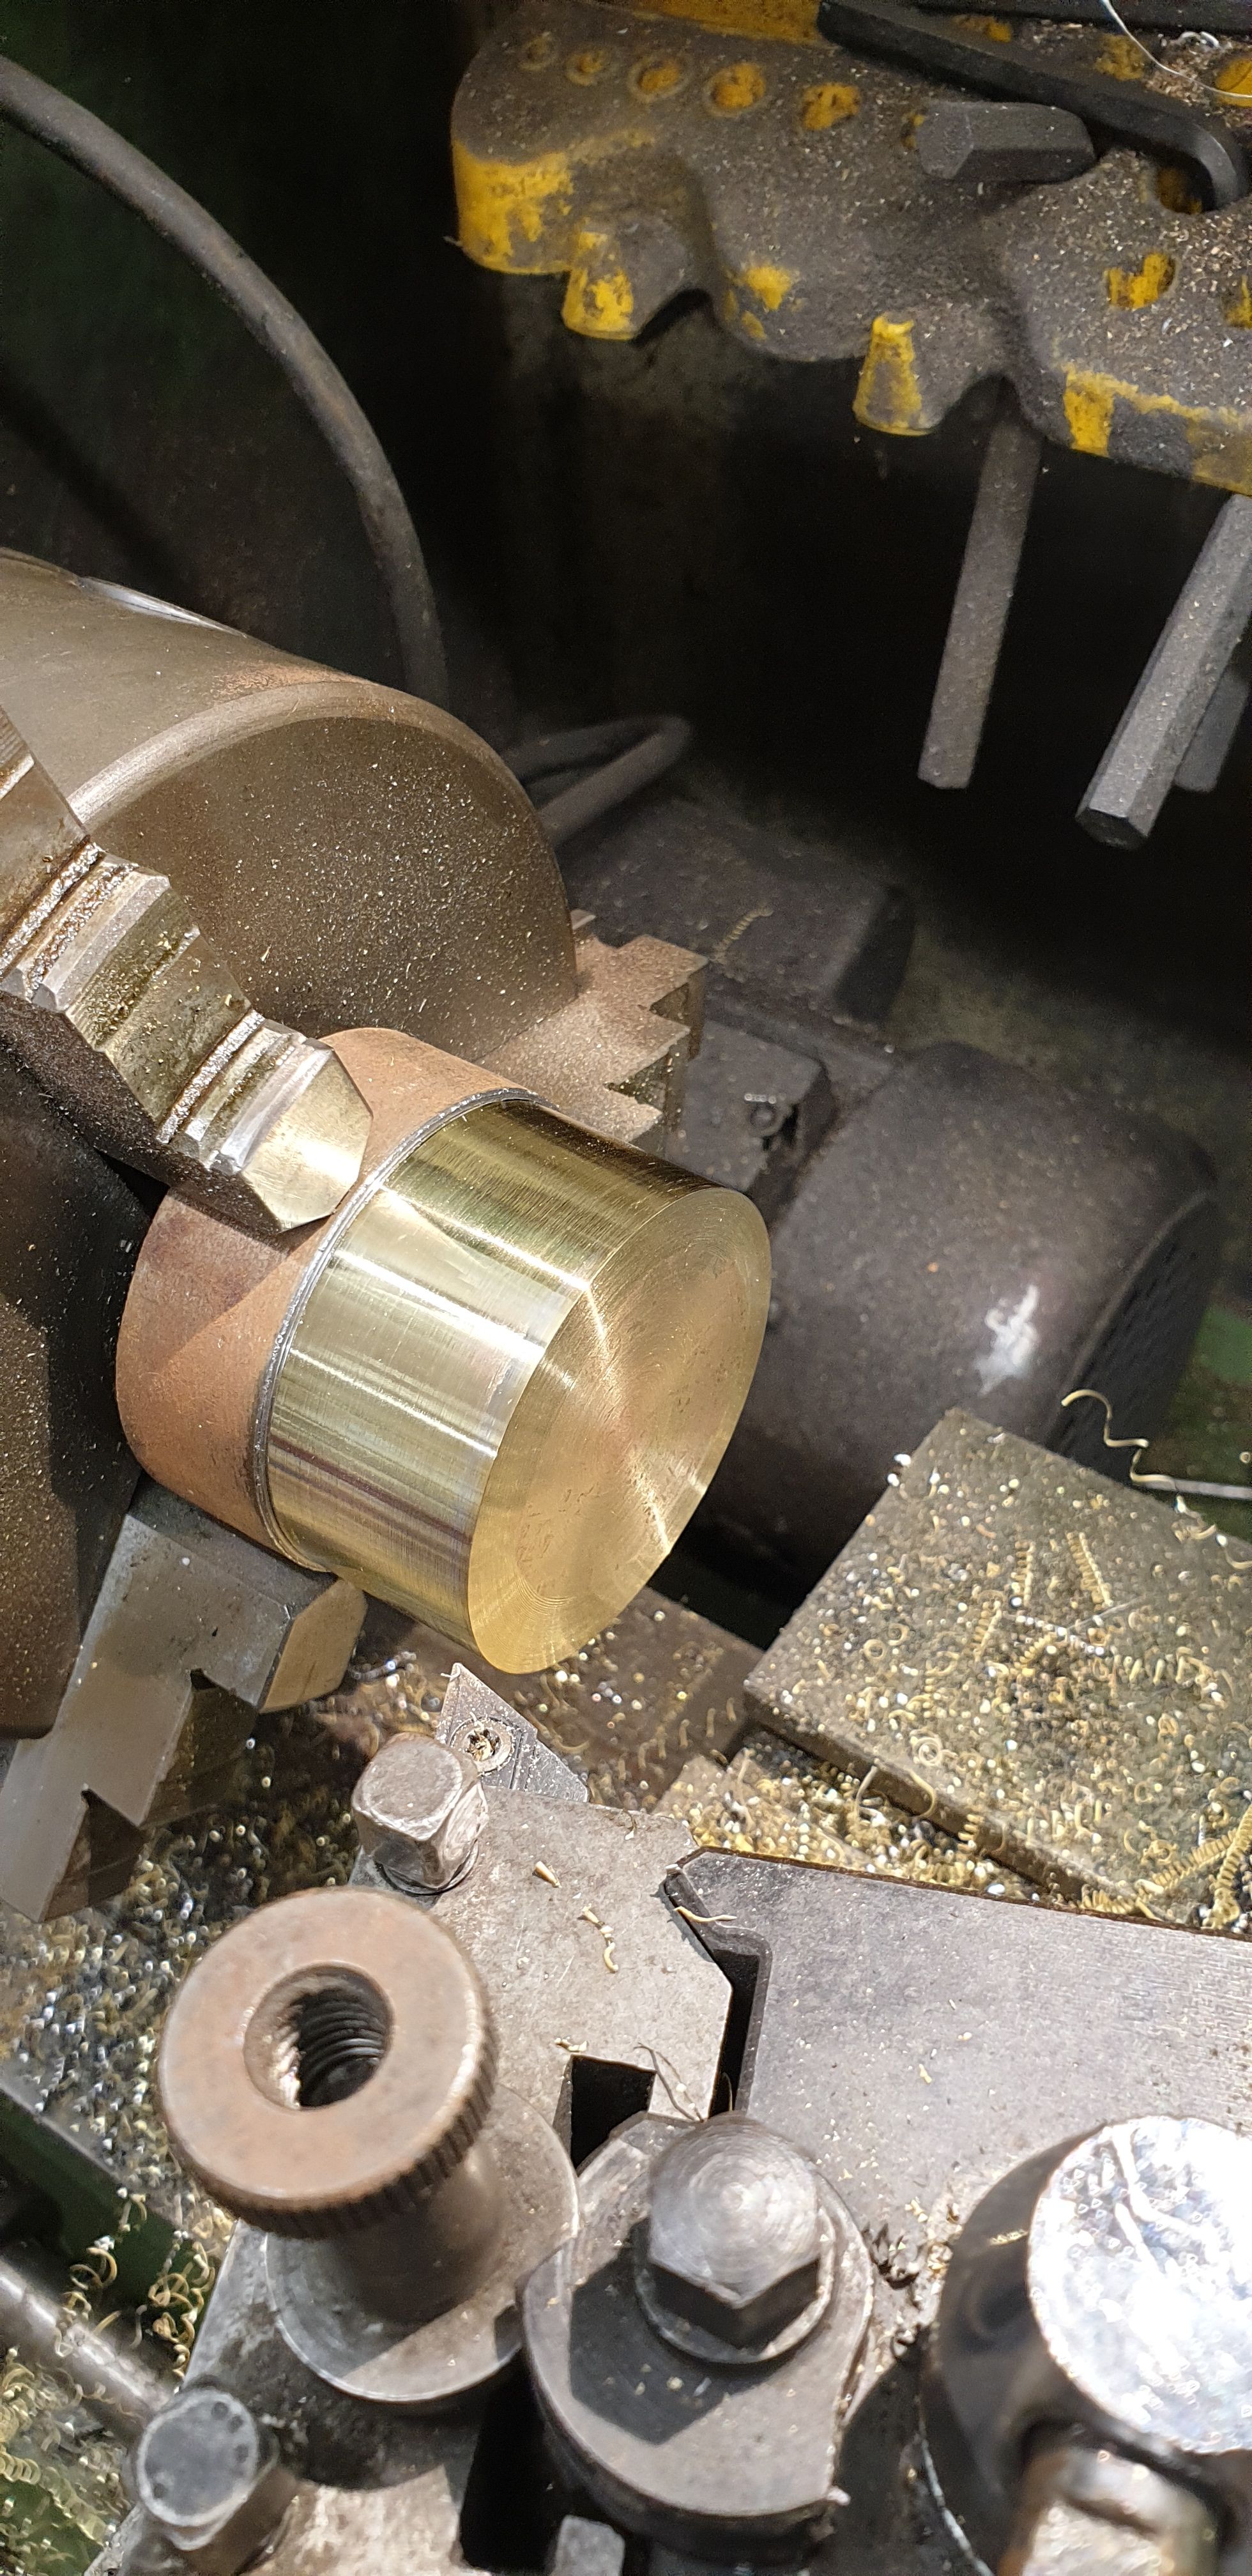
The next job was to machine the resulting cap to size, the tube was already the correct size so just needed tidying up and the end machined to match the tube and also flatten the face. As the tube is only approx 1/16th wall I first turned up a plug of the correct ID so the the cap could be pushed on and held in place, this was a tight fit, the cap needed a small tap to engage the plug fully which BTW has a small taper on it to get a good fit and also make it easier to remove when fished. The picture shows the end result prior to being parted off.
Once parted off this is what I had, I later bored the end face to be a good fit over the pipe, more on that in a minute.
I then returned to the pipe itself, here I needed to machine an angled recess around the neck for the 12 ejector holes to be drilled, these holes have an upward angle of 30 degrees and the tool was set to give me access for the drilling. To do this I used a tool with a 90 degree profile so that I could do the recess in one operation with the 'x' axis fixed. This was machined to approx half the depth of the pipe wall, approx 70 thou, even though there's plenty of metal here it's still a little nerve racking when doing this on a part that's already had a lot of time invested in it.
I then bored out the end cap and also bored out the plate to make the other side, the picture shows the other end being bored to be a tight fit around the neck. Something to point out here, the two ends of the collar have different sized holes and these need to be right to get the collar sitting on the bell mouth of the pipe at the correct height. Not difficult but does require a little care and thought in doing so.
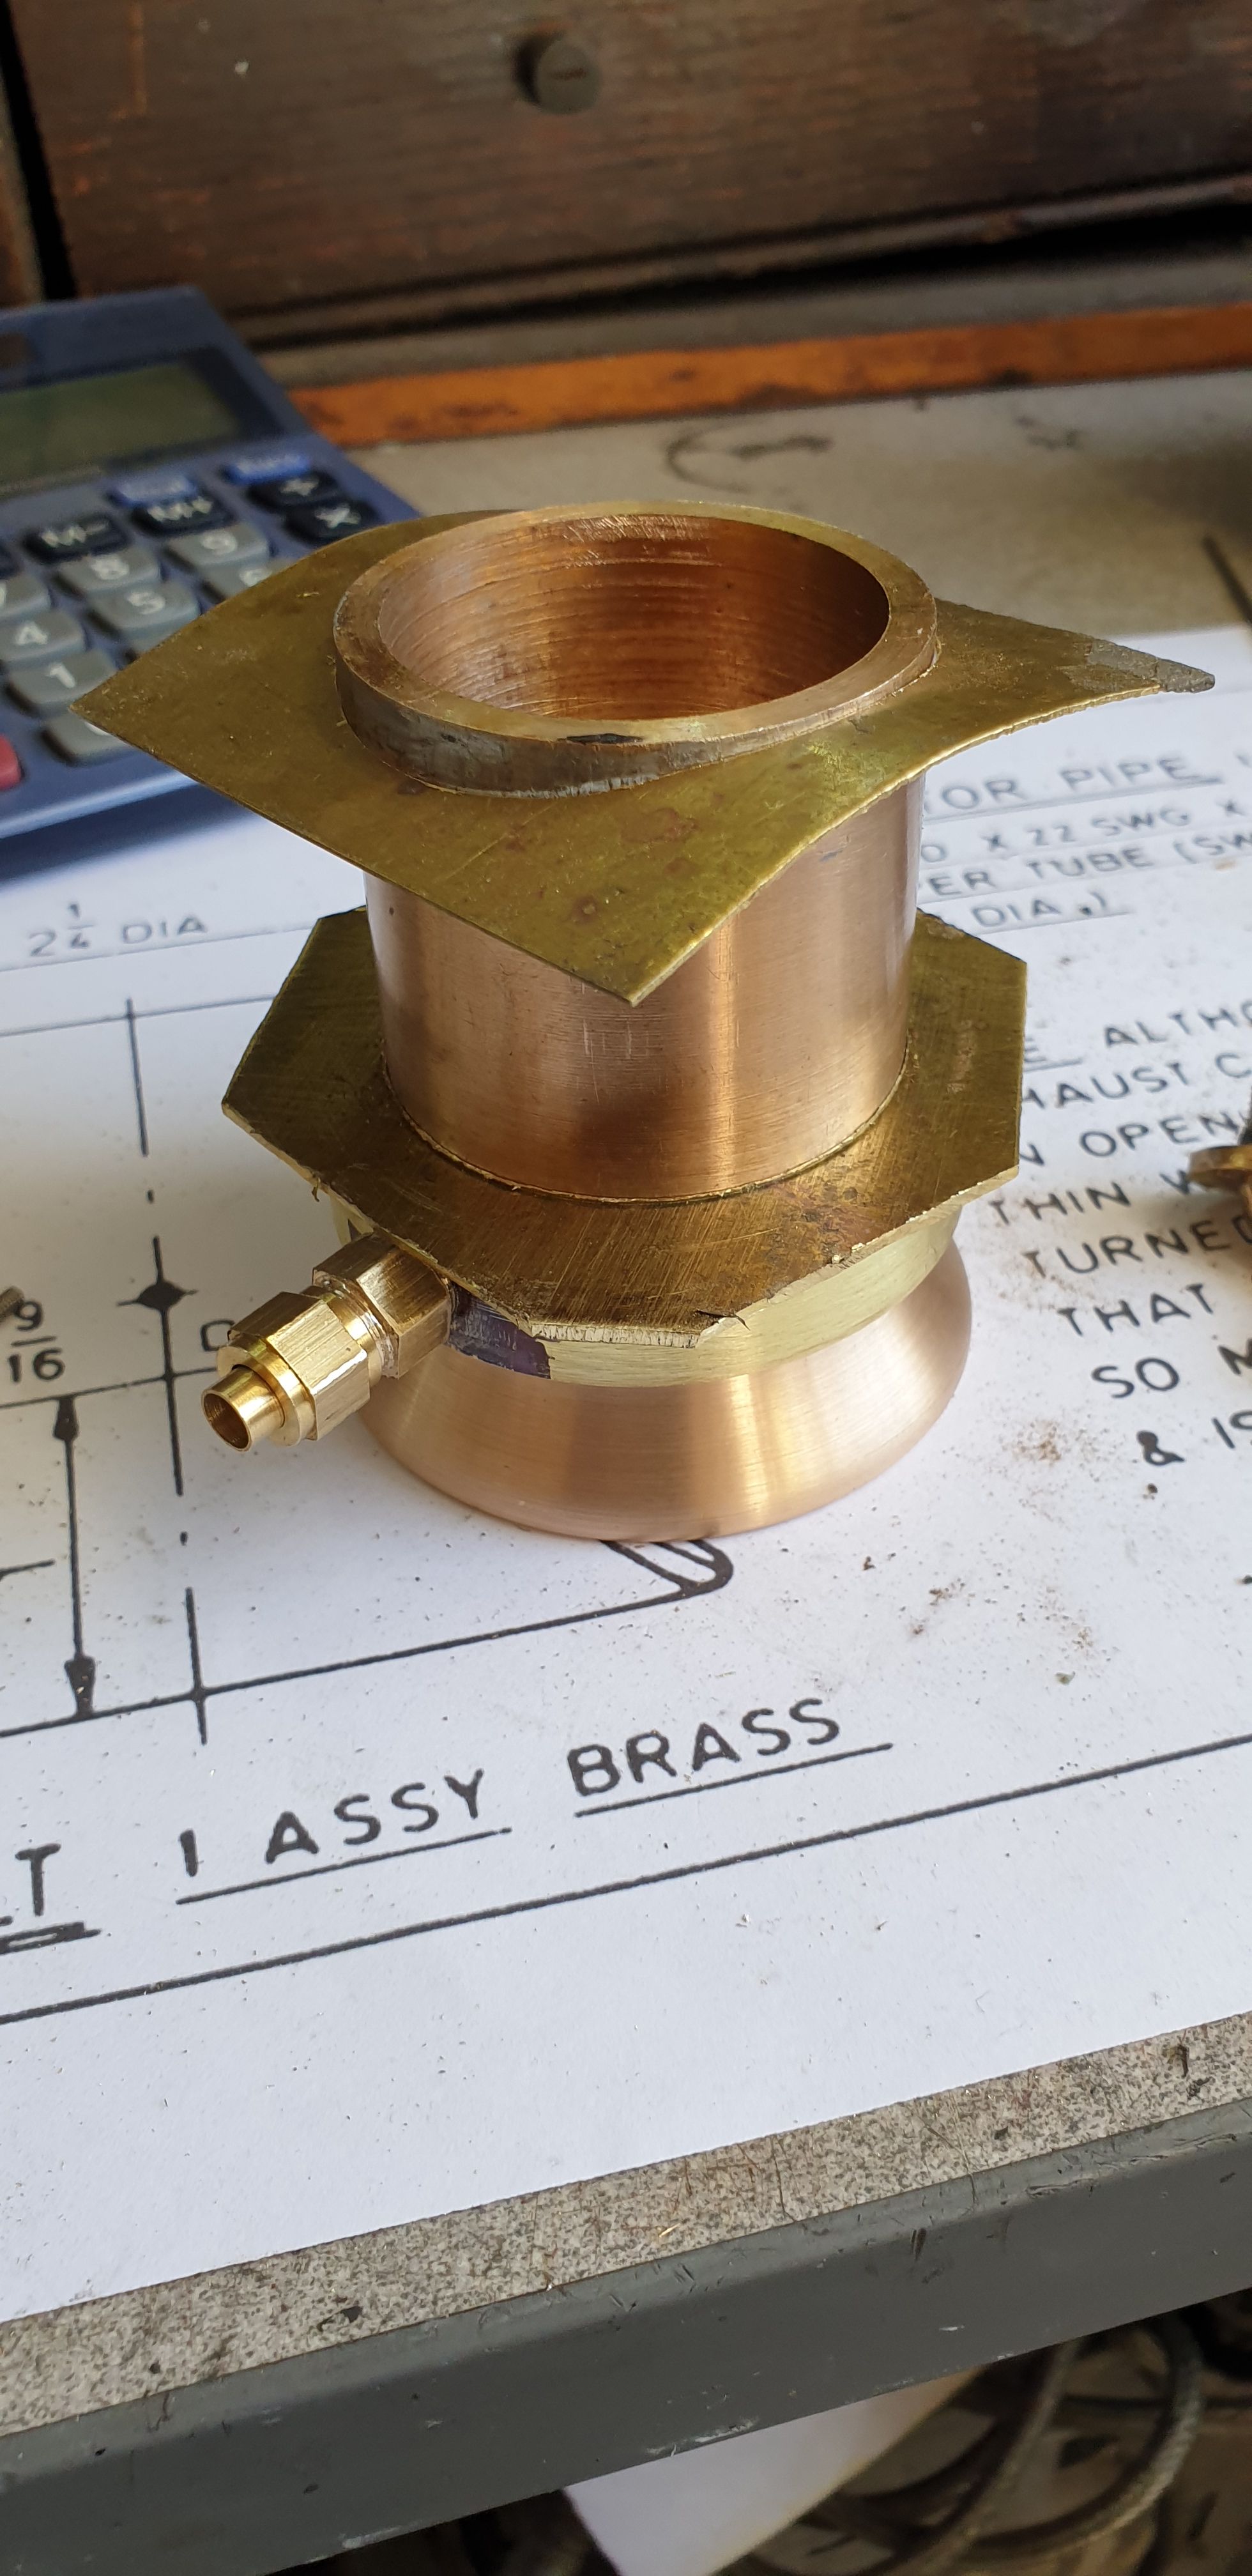
here we can see the first parts dry fitted, the collar needs to be in line with the 12 holes in the recess. The drawing shown gives an idea of where the collar sits in relation to the recess, the holes being towards the top of the collar ring.

There needed to be an 'order of doing things' for this petticoat pipe when it came to silver soldering the parts together and also when to machine to finish. Before explaining this, I needed to drill the twelve No.51 holes around the pipe recess. As mentioned these are at a 30 degree angle, I used a little Heath Robinson here and simple jacked up the rotary table to the required angle, as for previous 'angled' jobs the digital angle gauge paid dividends here yet again.
And here we see all of the holes so drilled from both outside and inside. I did make a small error here, normally when I do something like this I like to finish it off before calling it a night, in this case though, I was called for dinner and had only drilled 4 holes. So against my better judgement I stopped, leaving it until the morning to complete. Bad move... the first hole that I drilled was 10 degrees out, completely my fault, my mind clearly wasn't fully in tune with the job and with 30 degree increments on my mind I set the first hole of the day at 130 degrees instead of the correct 120 degrees...lol No big deal, I continued doing all 12 in their correct 30 degree increments and then plugged the offending hole. To do this I tapped it 8BA and inserted a length of brass studding, this was machined to finish.
just to show the error, I took this picture looking in the pipe, the plug is just to the right of the second hole from the left. This end was of course filed by hand, the outside in the recess was machined flush.
When it came to drilling those holes, i spent some time looking for a suitable pin vice which could be held accurately, I eventually gave up looking and ordered a small set of short pin vices from Amazon. It then dawned on me while considering how long this would take to arrive that some months back my youngest son bought me a very nice small precision chuck which goes down to 'zero' in size. I'll show this precision chuck as it was a god send. Here's the side view with name/model etc..
And this view looking down the 6 jaws which interlock, it's quiet mesmerising to watch in operation.
Anyway, back to the job in hand, the next part to make was the pipe flange, I have included this in the write up even though I later dropped it from the design. I'll explain why soon.
And so here we are with the various parts awaiting their heating session.
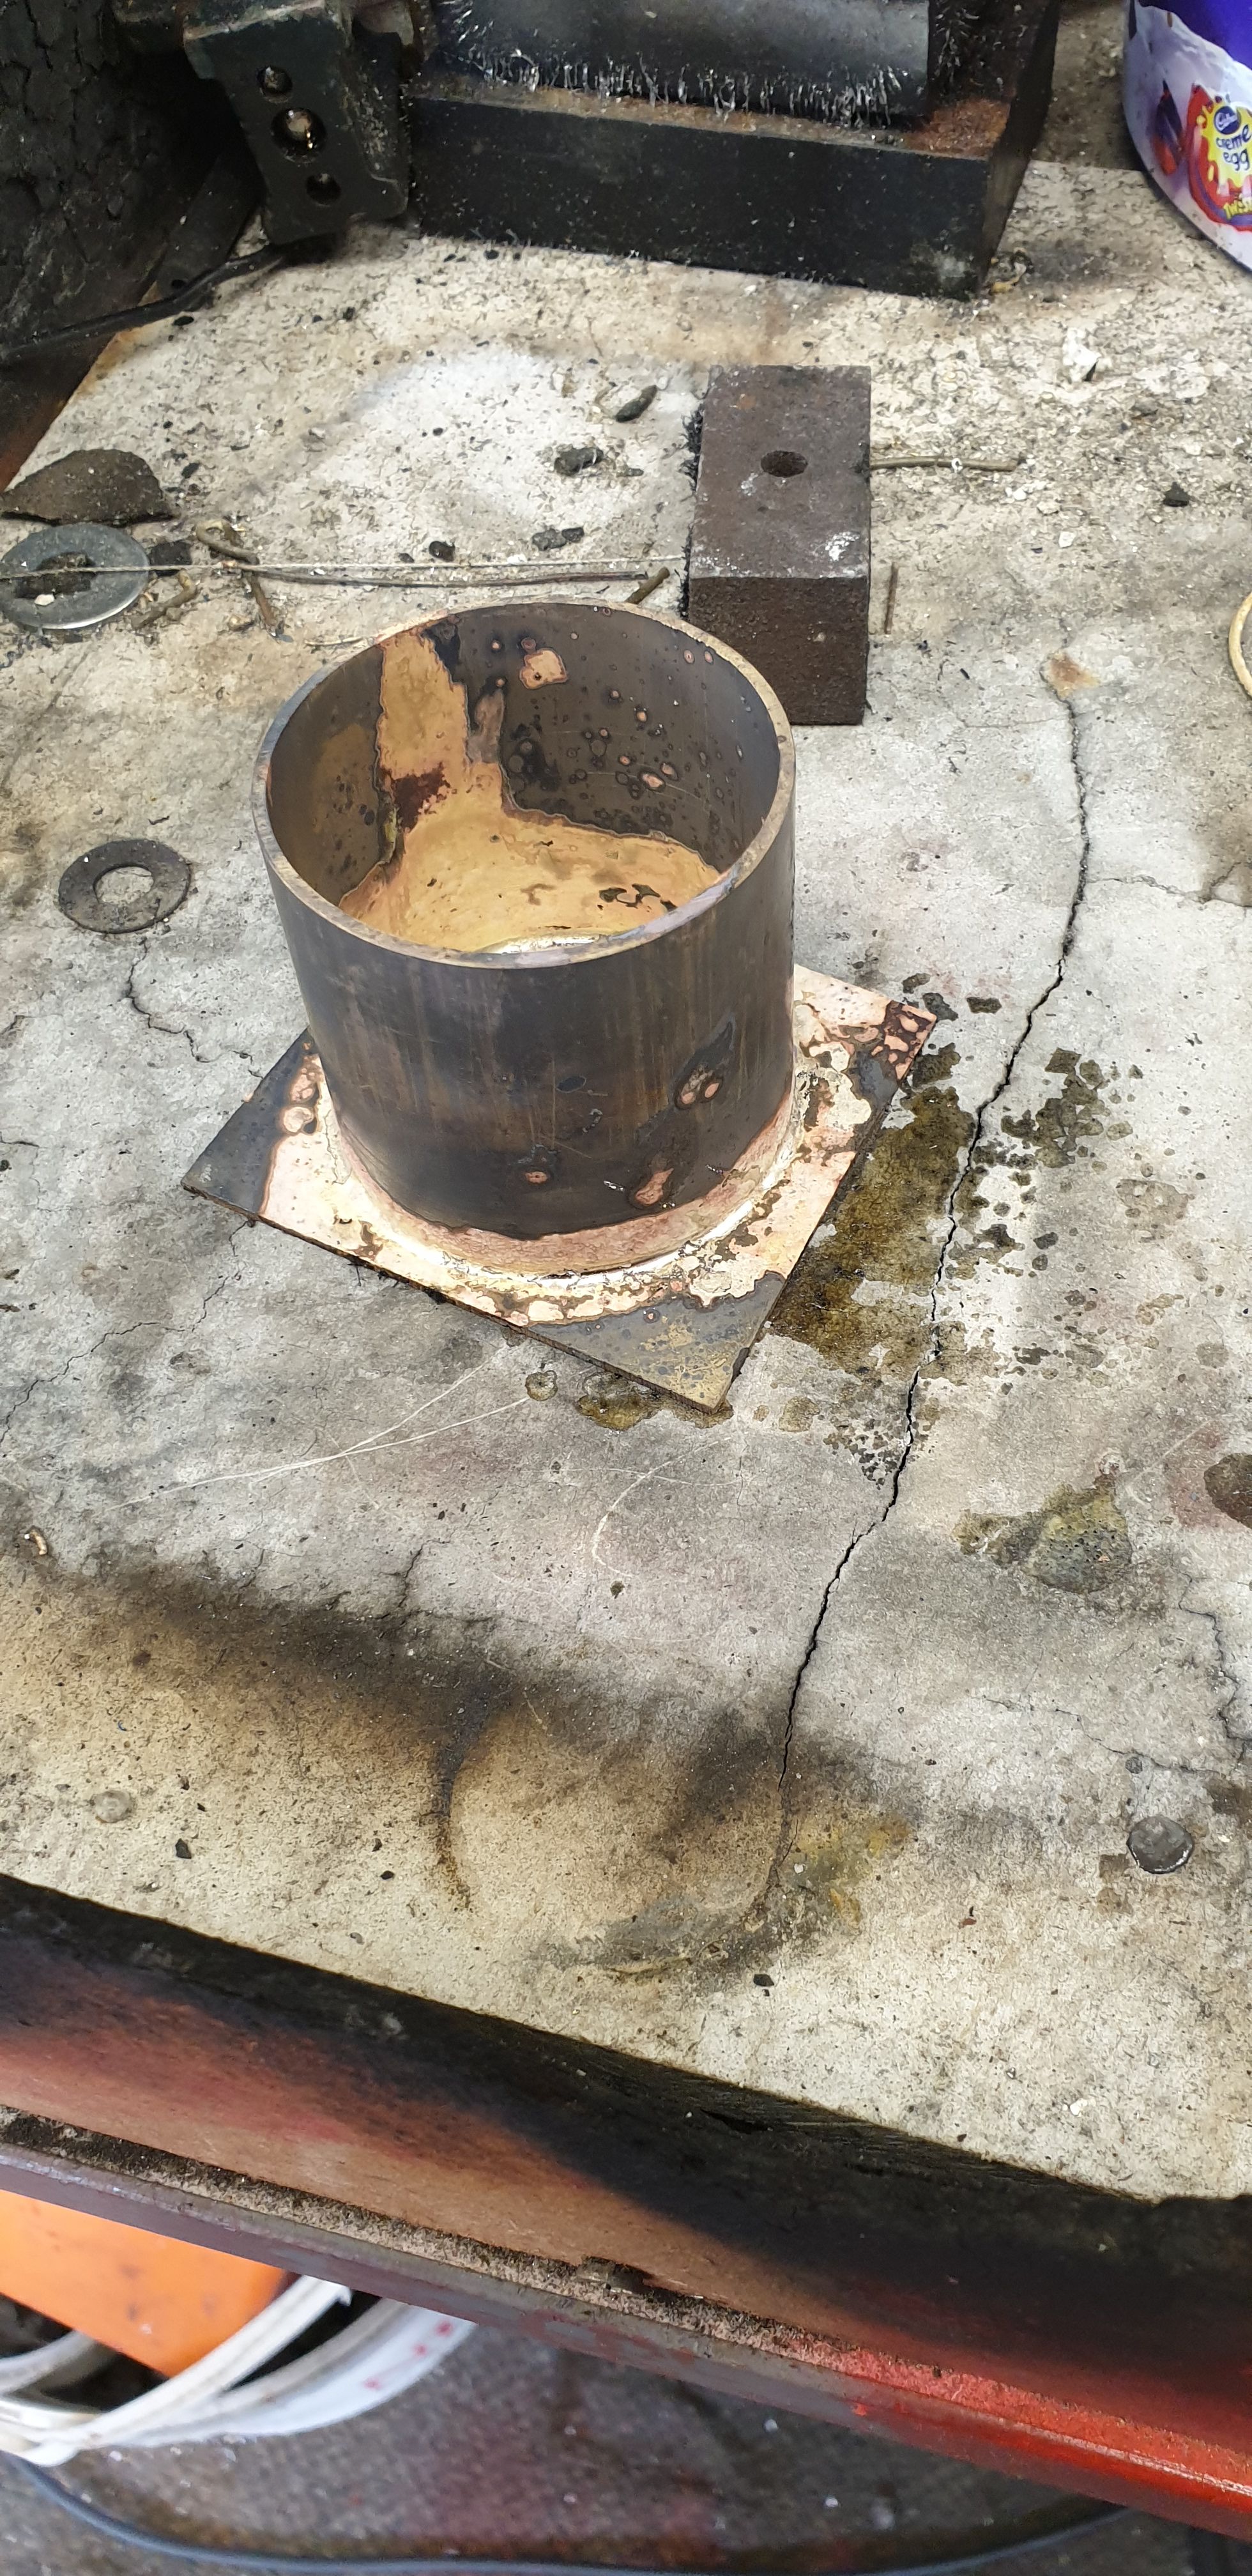
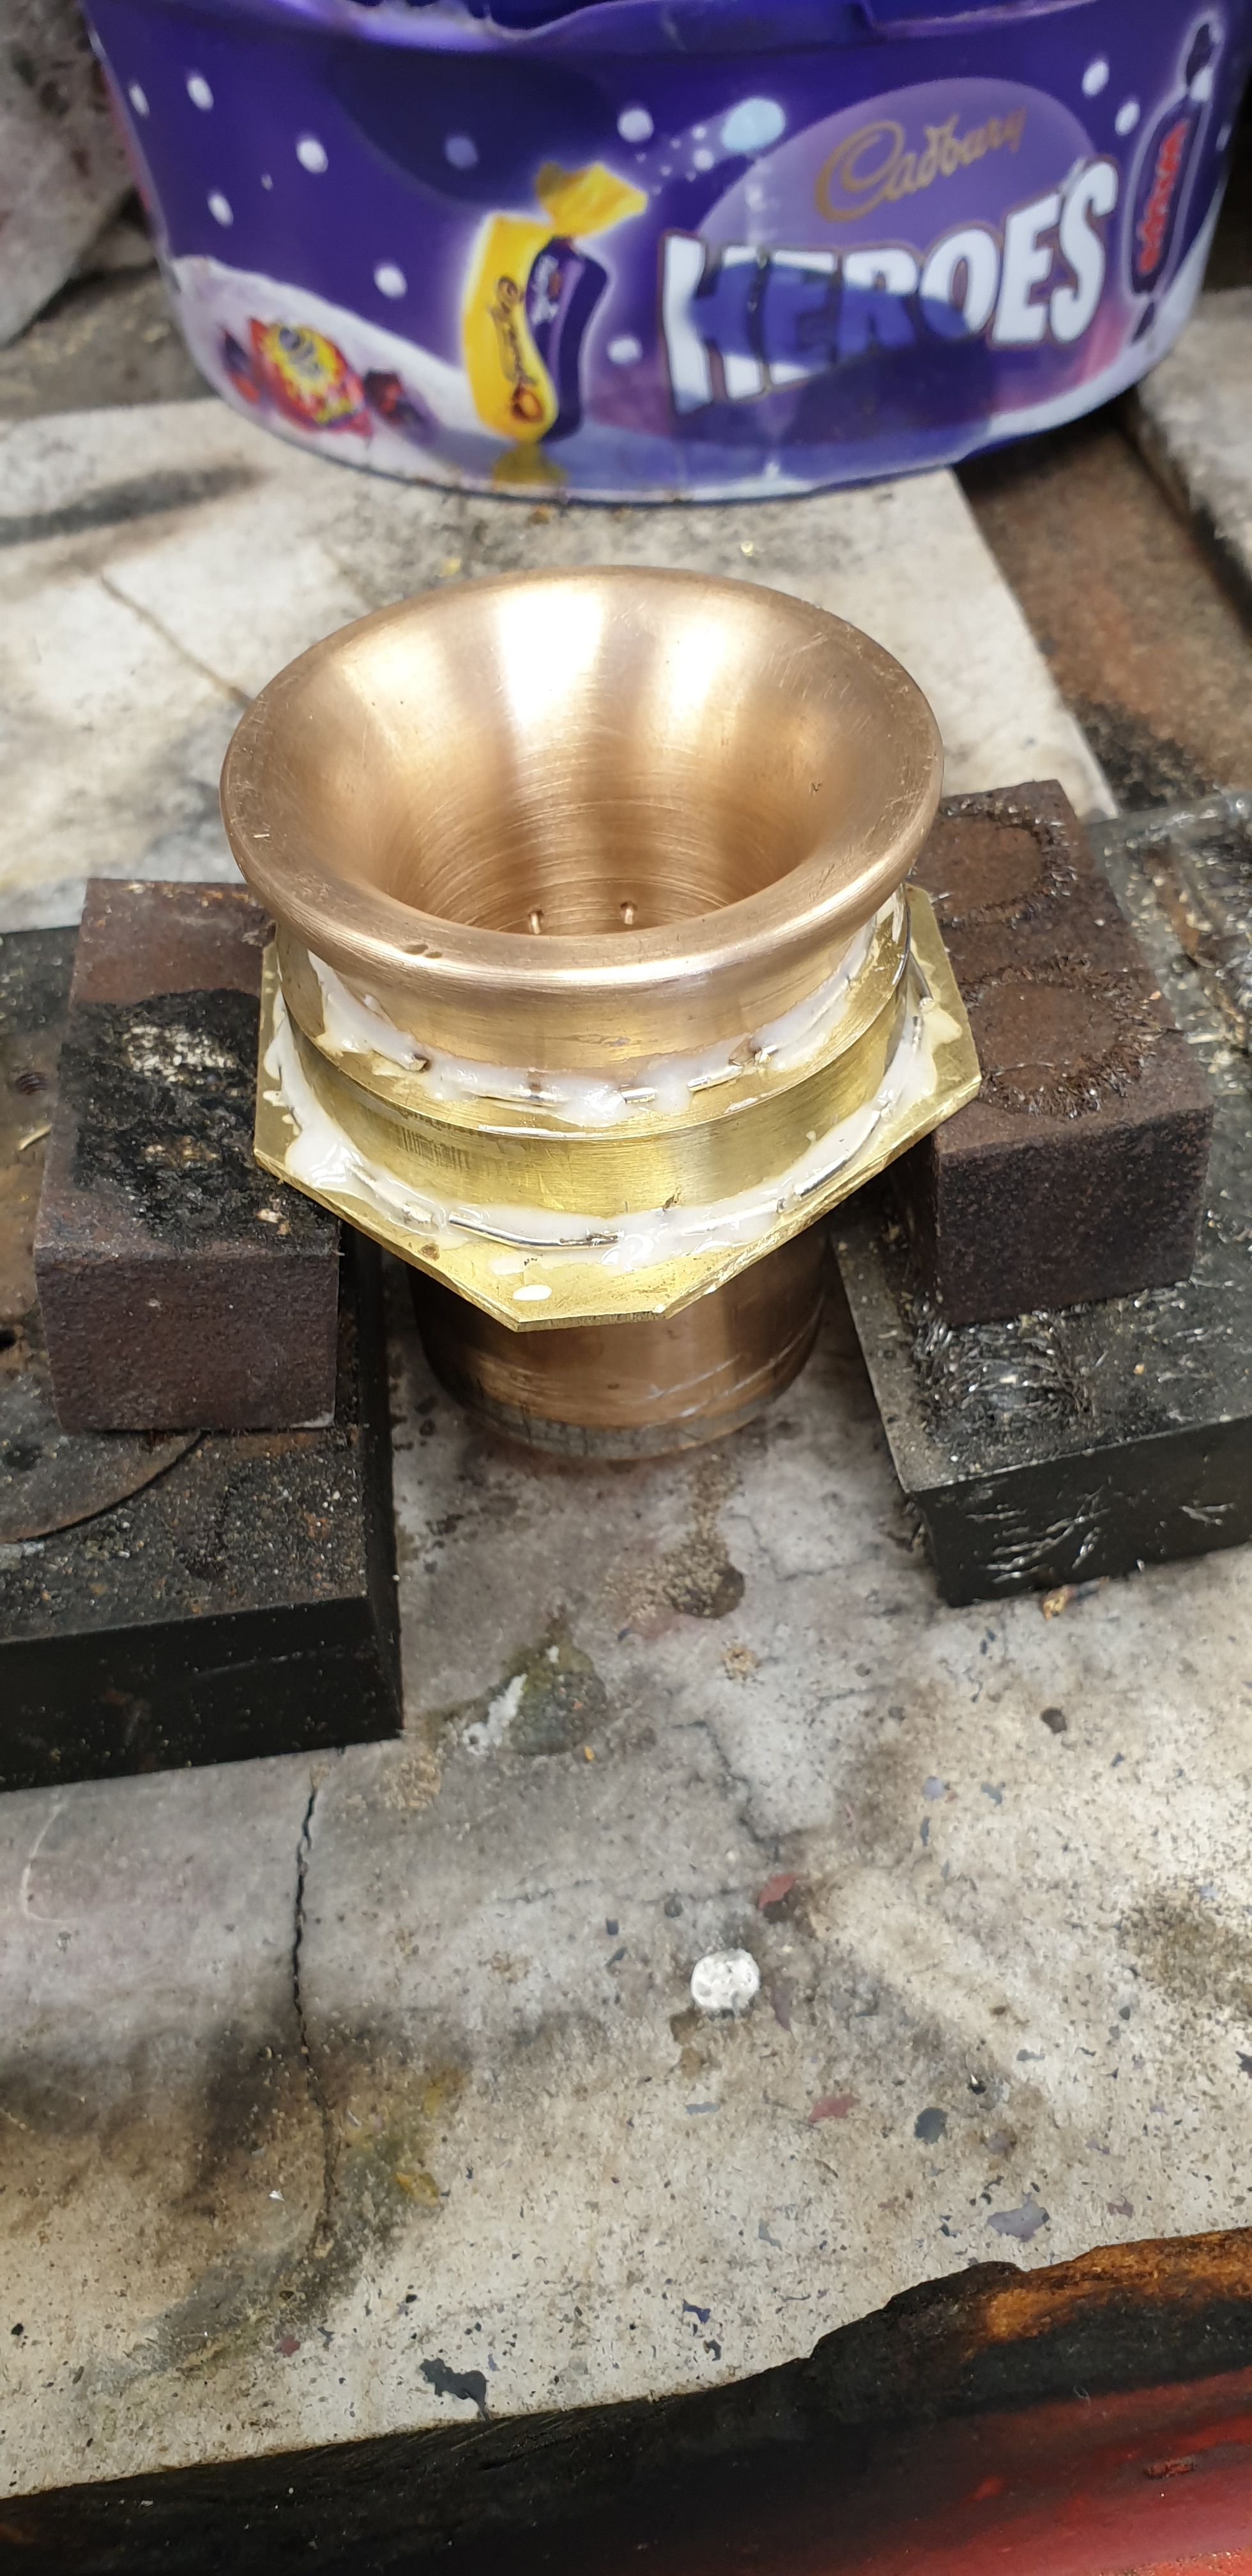
Ok, so the order of doing things, As seen the collar with it's lower face has already been brazed together and machined to size. Next was to silver solder it to the pipe and to keep it square while doing so. Here I had the idea that with the lower collar slid over the pipe and the upper face pushed on and then everything inverted gravity would do this job for me. With the upper face not yet turned to size and still as a flat sheet this would support the parts in an upright position. Hopefully the picture shows what i am trying to explain? Note the short lengths of 1mm silver solder placed around the parts, this took two heating sessions before i was happy with the solder penetration.
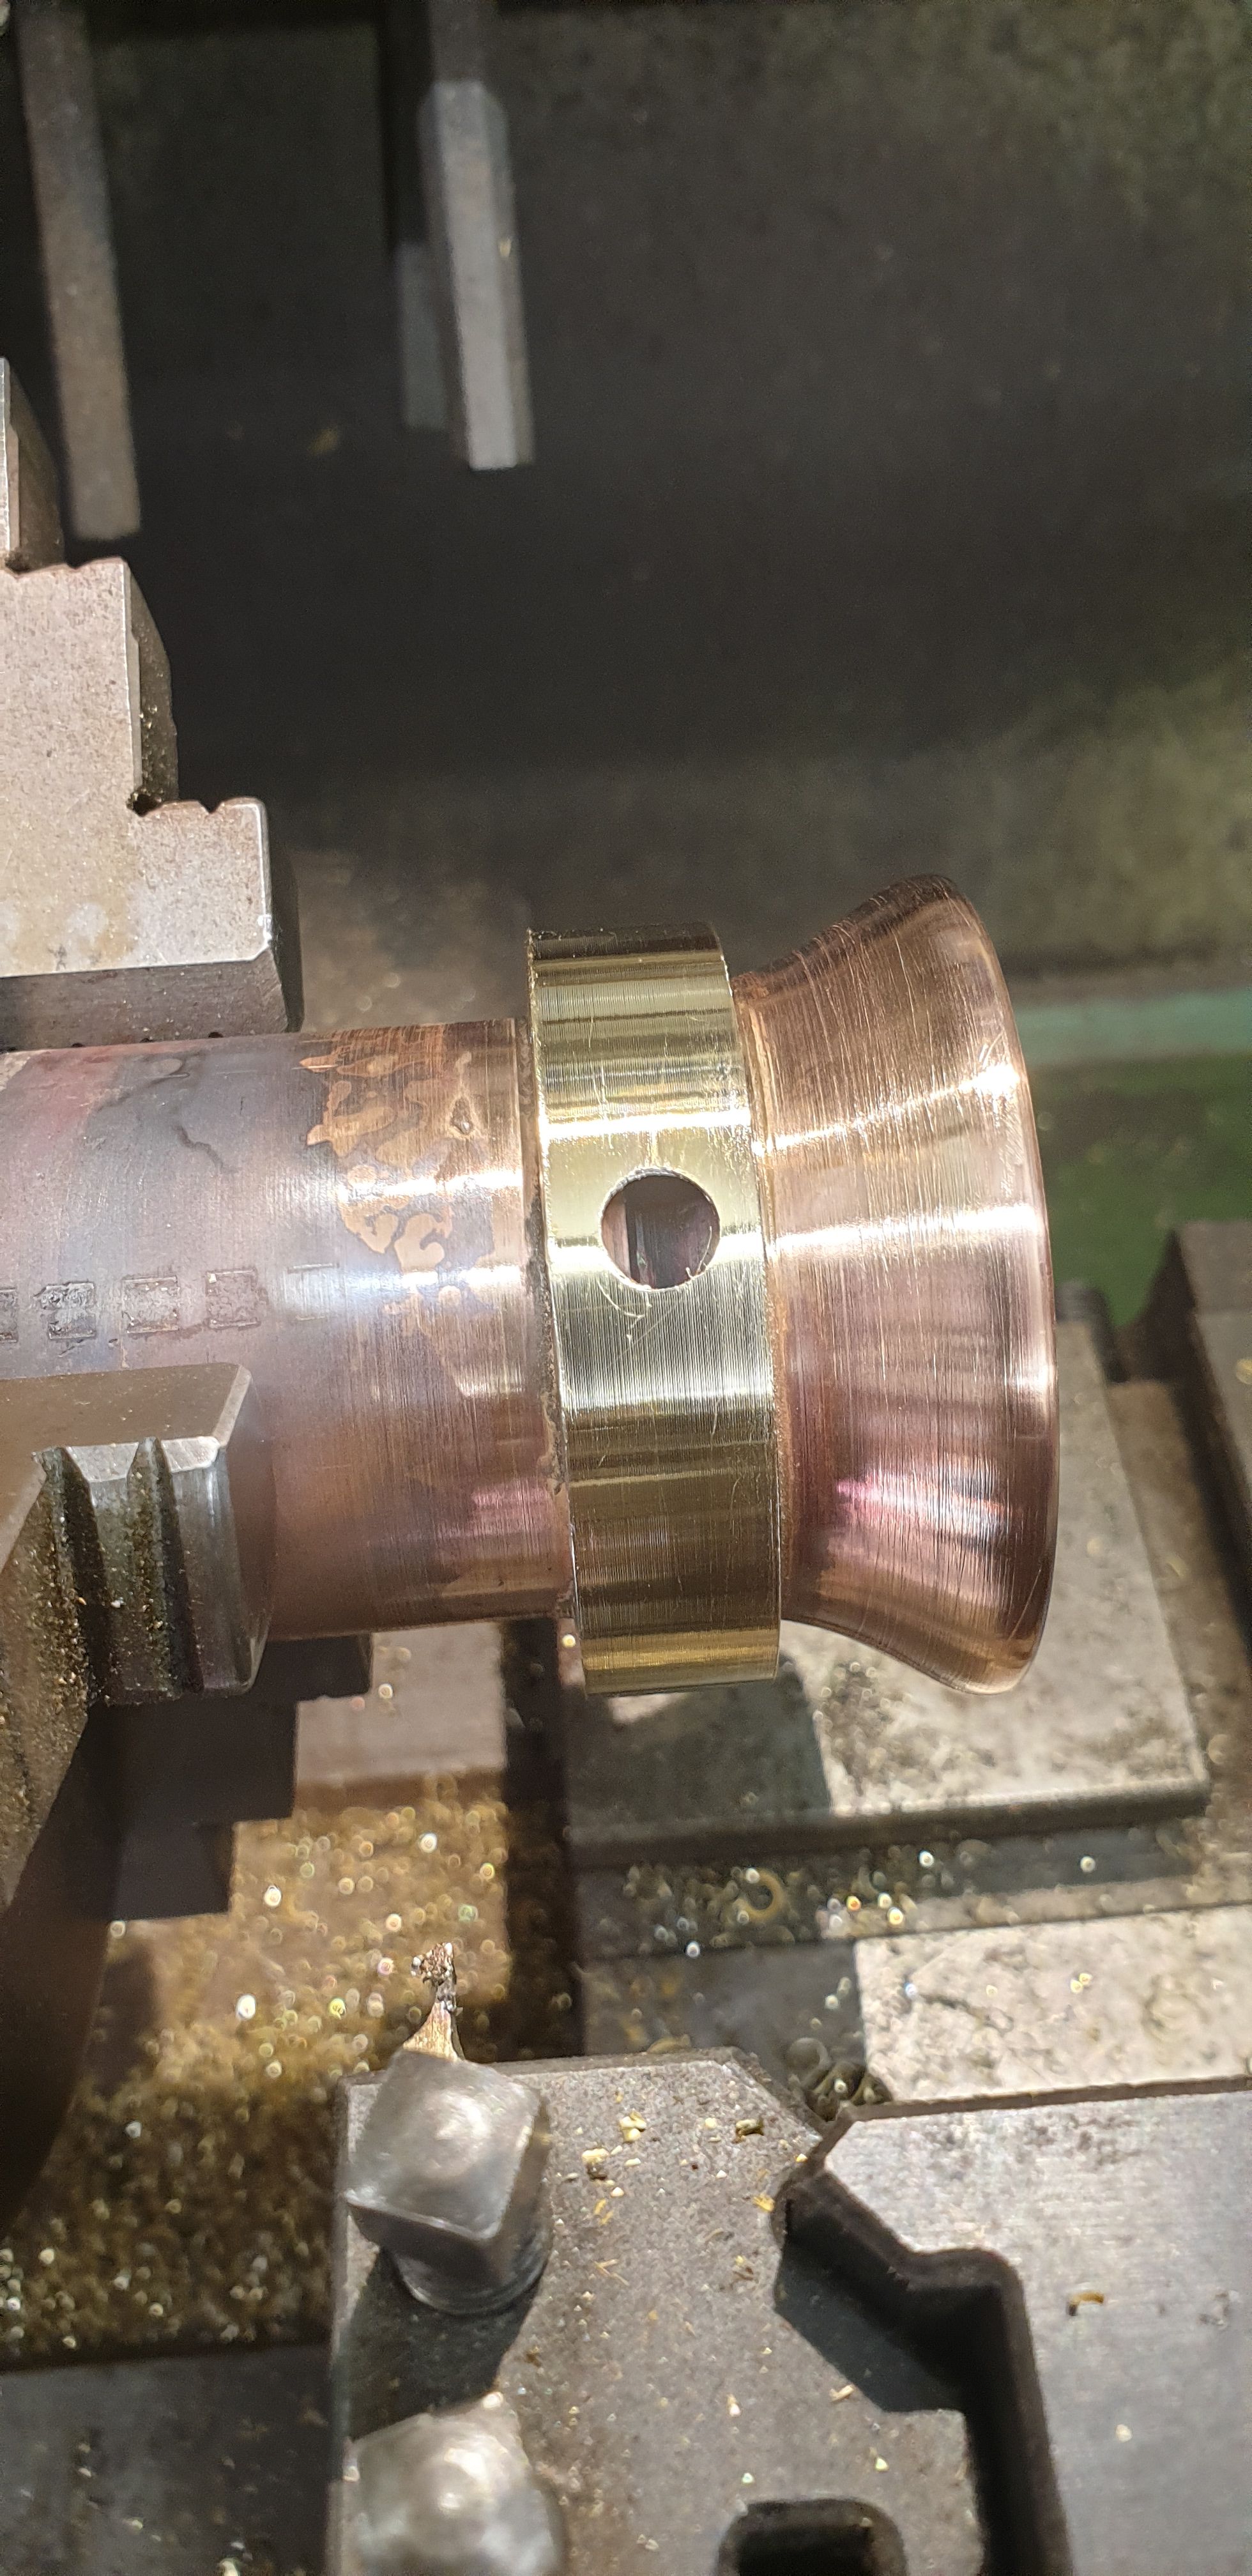
Once cooled down and cleaned up the pipe was returned to the lathe for the collar to be finished to size. Note that I have also drilled/tapped the collar for the ejector pipe union to be screwed into.
I decided to silver solder the union (turned up from hex bar) into the collar for both strength and ease of fitting the ejector pipework without having to woryy about the union coming unscrewed, I was also thinking very much about possible vac leaks in the system. With the union so attached I did a quick test with air to see if the collar was completely sealed, a short video to show.
After this I then attempted to silver solder the flange seen earlier, this was a bad move for a number of reasons. First is the different materials and thicknesses involved (4 mm bronze pipe wall vs 1 mm brass flange)meant too much heat was required and this caused me a headache with the collar which as seen in the video had already been tested for its sealing. The two extra heating sessions trying to get the flange on resulted in the collar springing a leak. I clearly was not going to get this flange attached with the equipment to hand. I therefore have ditched the flange and will rely on the very tight fit that the petticoat pipe to chimney already is. When I say tight, I mean it takes some effort to part the two. This and some high temp silicone should ensure that nothing moves, or at least that's the current plan.
So with the flange now dropped I had finished making the petticoat pipe and associated parts, oh forgot to add, I also made the short pipe from ejector elbow to collar. The picture below shows the various parts, it also shows that the smokebox and door have now been flattened down with W&D, in this case I used 800 and 1000 grit and given their satin topcoat. I am very happy with the end result, love the 70% level of gloss and having flattened the smokebox down it has removed all of the machining marks that showed before. There's a lot of paint on these parts now, strong anti-chip and 300 c resistant paint, that can only bode well for the future.
.

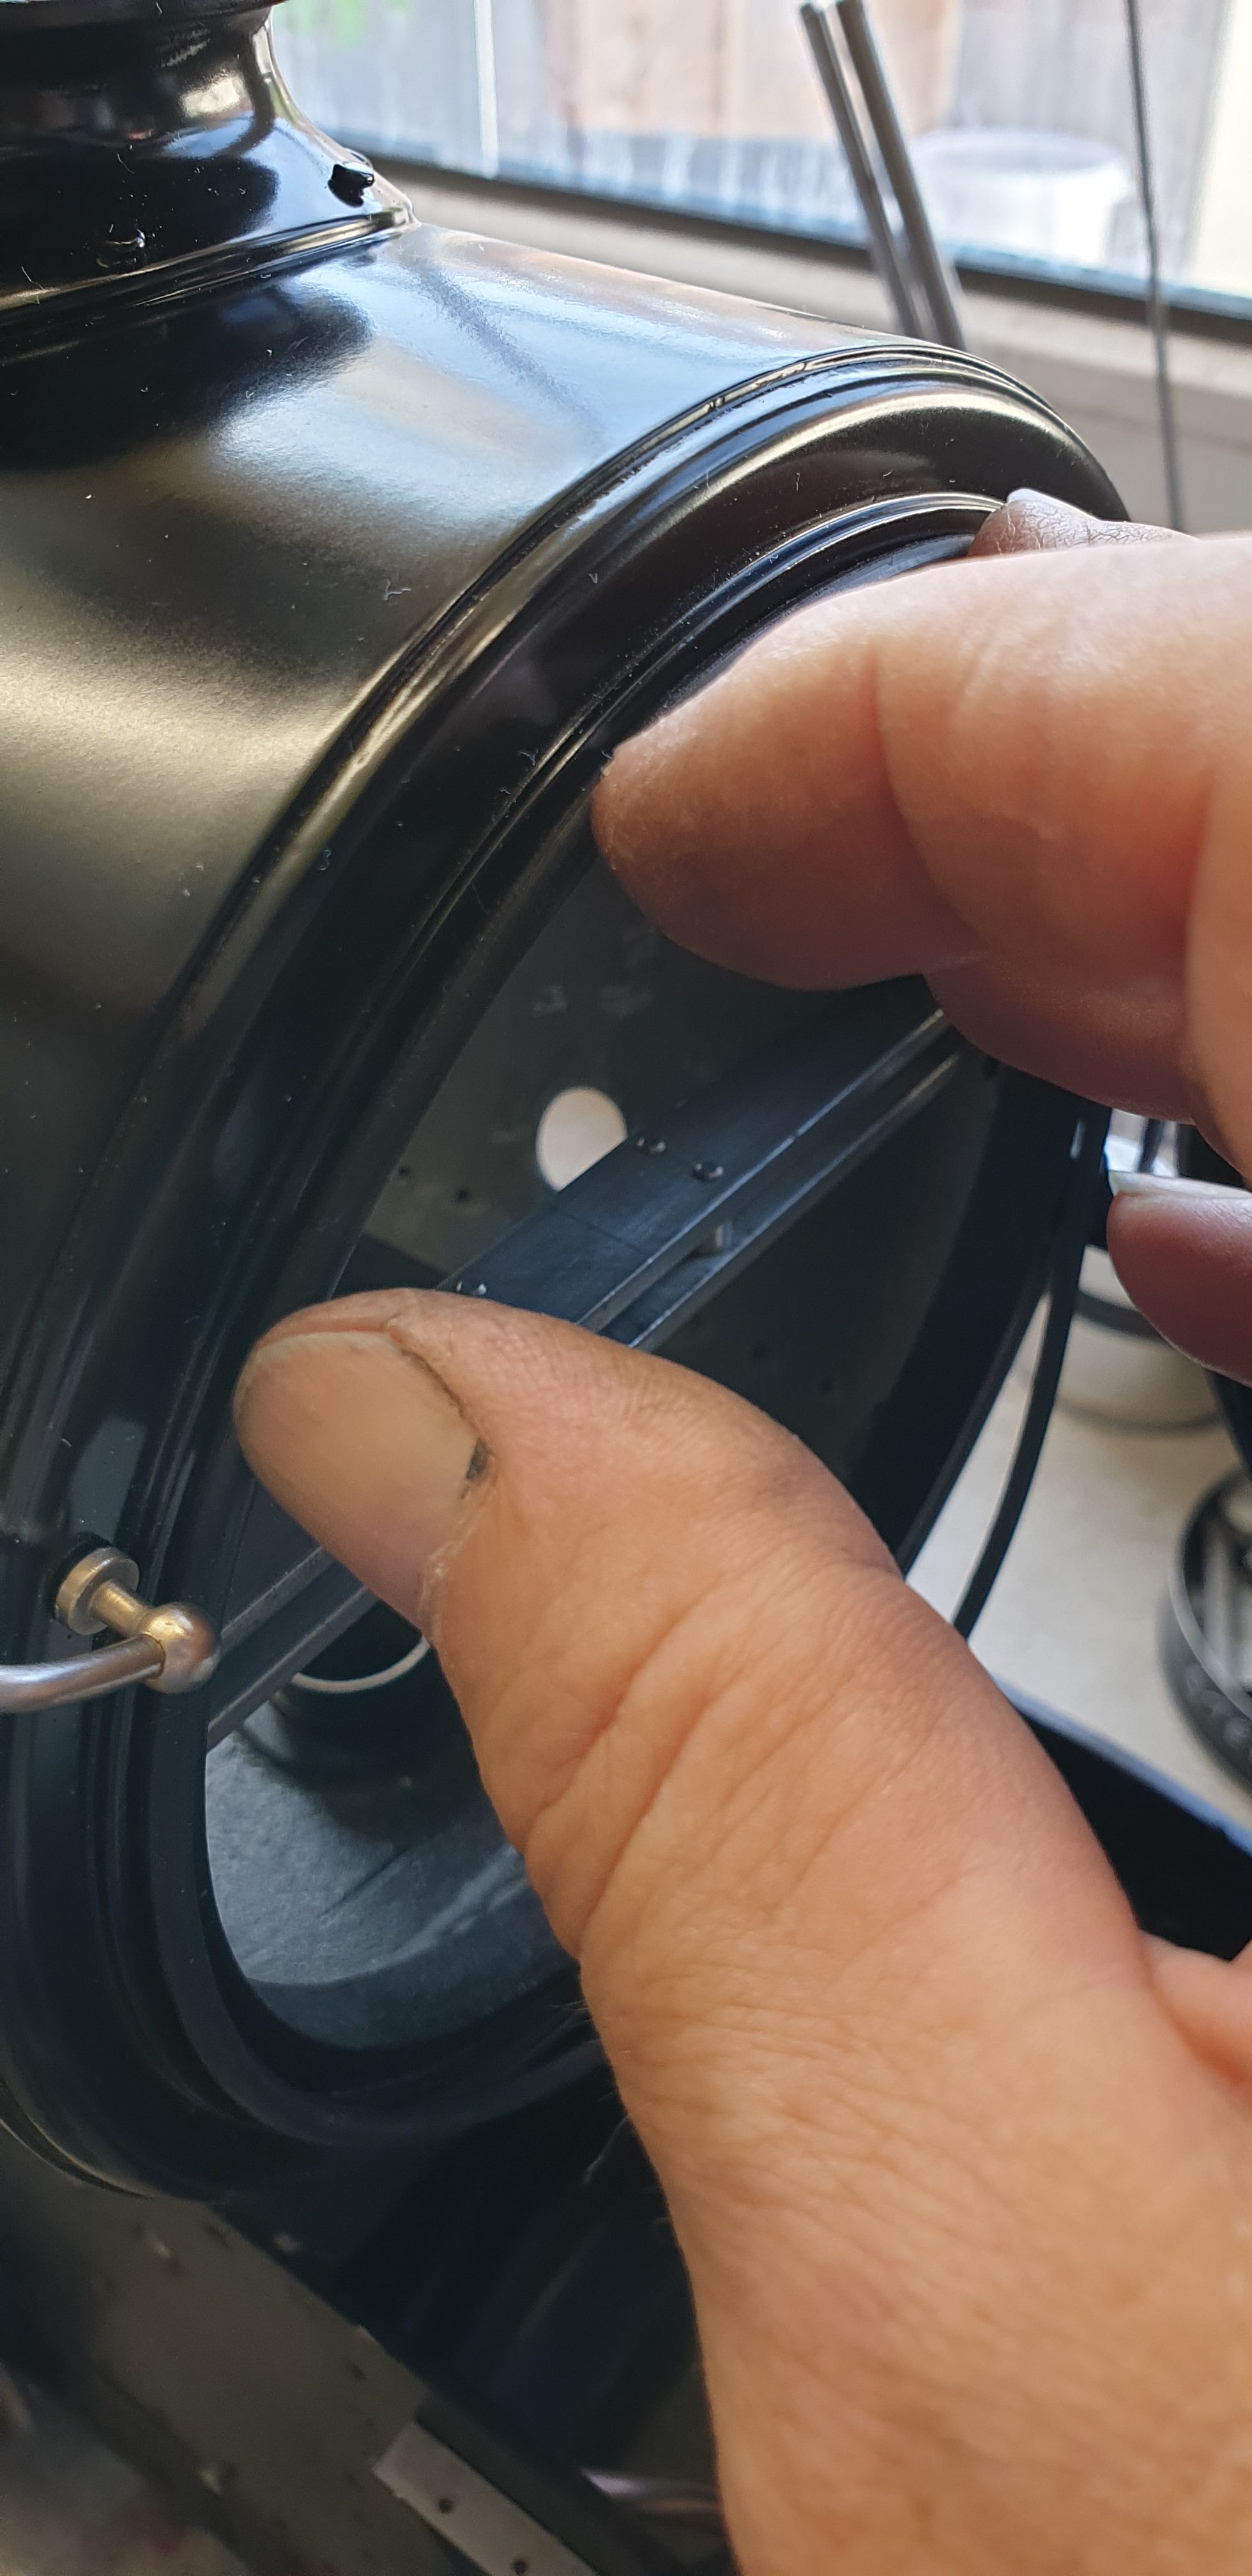
It was then time to reassemble all of the component parts and see how things now looked. First a front on view to show the petticoat pipe fitted and the ejector pipework connected. The only thing missing here is the large 'O' ring to seal the door, I'll put that back on once I have some new black silicone sealant to hold it in place, I'll also use said silicone to seal all of the bolt/rivet holes through the smokebox shell. The smokebox is only 'resting' on the saddle here using a couple of small rivets to align so may not be fully square.
Here's a close up to show the large 'O' ring, IIRC I purchased a bag of 50 of these so they will certainly see me out for my days at the controls. The ring perhaps only needing to be removed to overhaul the smokebox in the future.
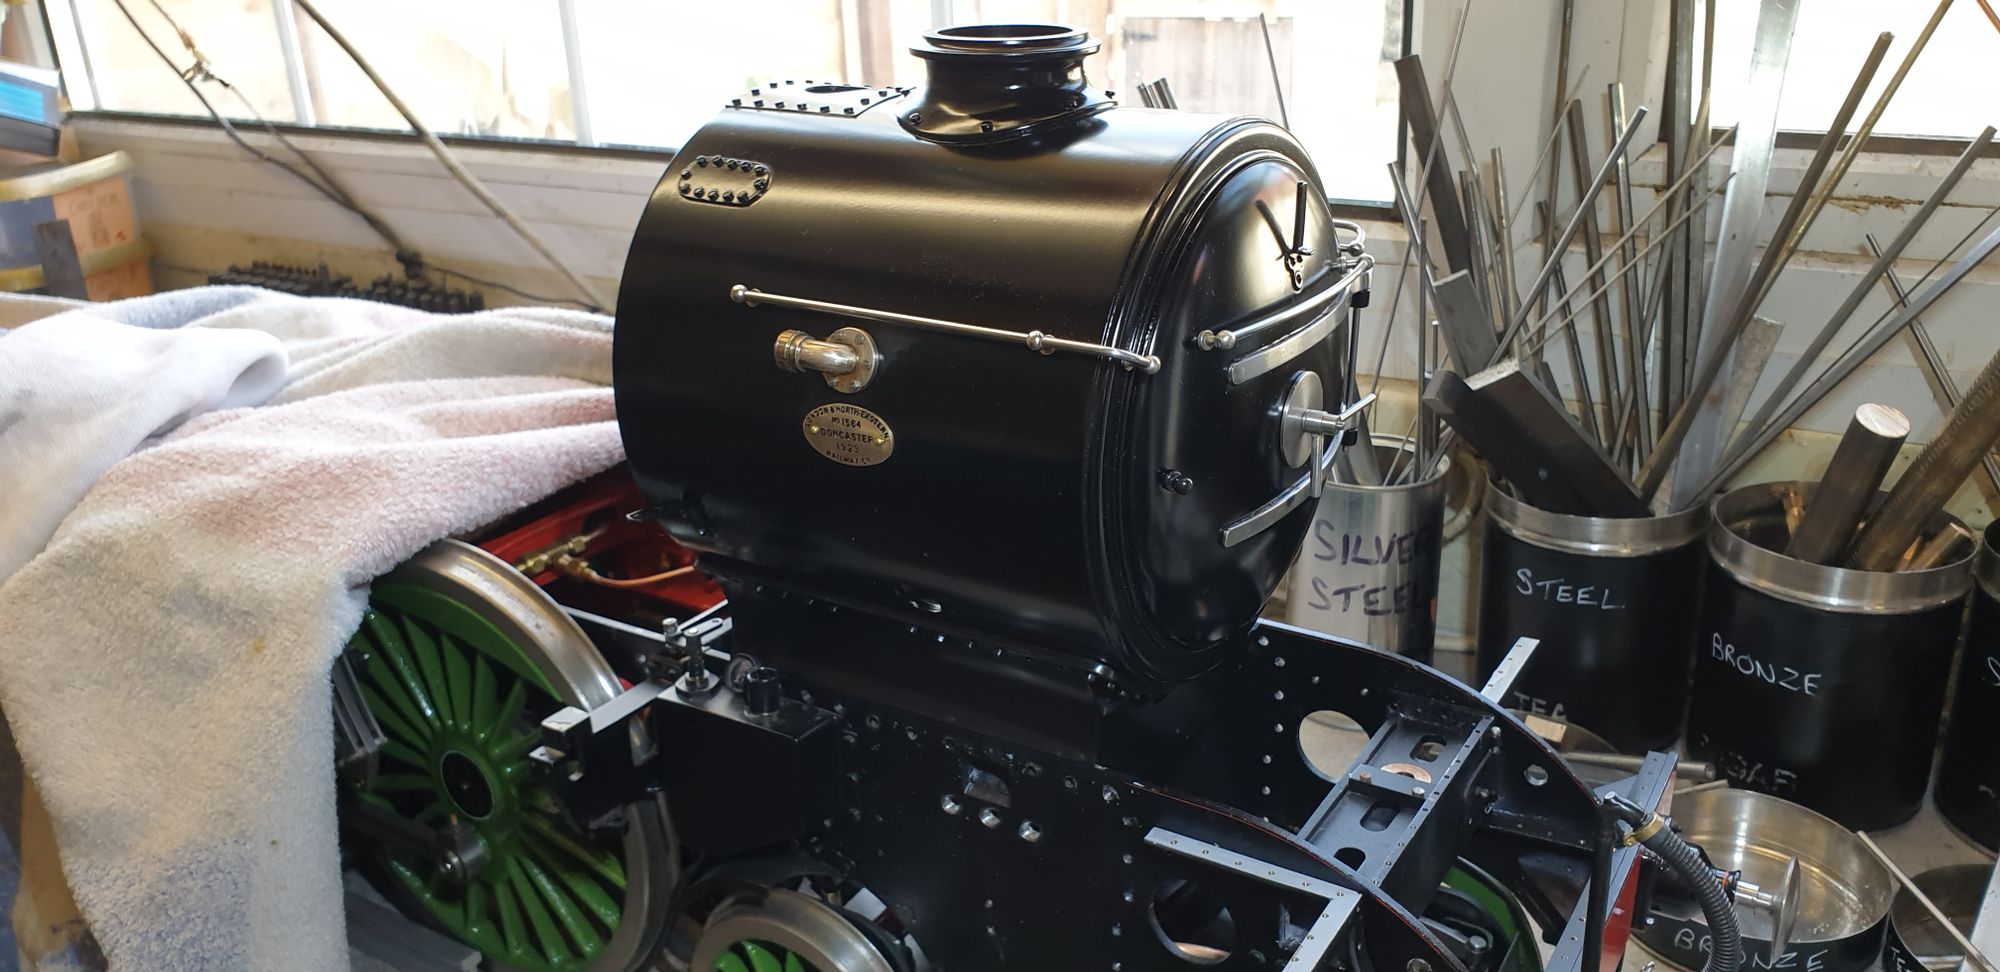
Last picture for today shows the smokebox from the front quarter with it's various bright-work re-fitted. Another job that I hadn't got around too before was picking out the lettering on the builders plates, this was done using a permanent black marker and the face then polished with 3000 grit W&D. Looking again at this picture it looks like that I haven't aligned the door handrail properly? if so, I'll sort that out later.
The question now is will I finally get around to the spindles/bobbins next?? now there's a good question...:)