
As I have stated on numerous occasions I was not at all happy with the paint finish on the running boards and smokebox/saddle, the opportunity recently arose allowing me to sandblast the old paint off using my son's large sandblasting equipment at his business. After removing all of the paint i then went over all of the 10BA CSK screws re-countersinking each to remove those screw heads which weren't seated correctly, this took a fair bit of time but well worth the effort.
Ok, so on to the paint, for these parts I am using an auto enamel paint which is designed for car chassis, it is very tough, chip resistant and also heat resistant up to 300 c. For those interested, the paint I'm using is Eastwood's Chassis paint. This exercise took longer than first thought, reason being that after repainting the parts with this paint I wasn't expecting it to be as glossy as it turned out, I mistakenly expected a 95% gloss to be less shiny than it turned out to be, so this entry in effect covers two more painting sessions, oh the joys of model engineering... :)
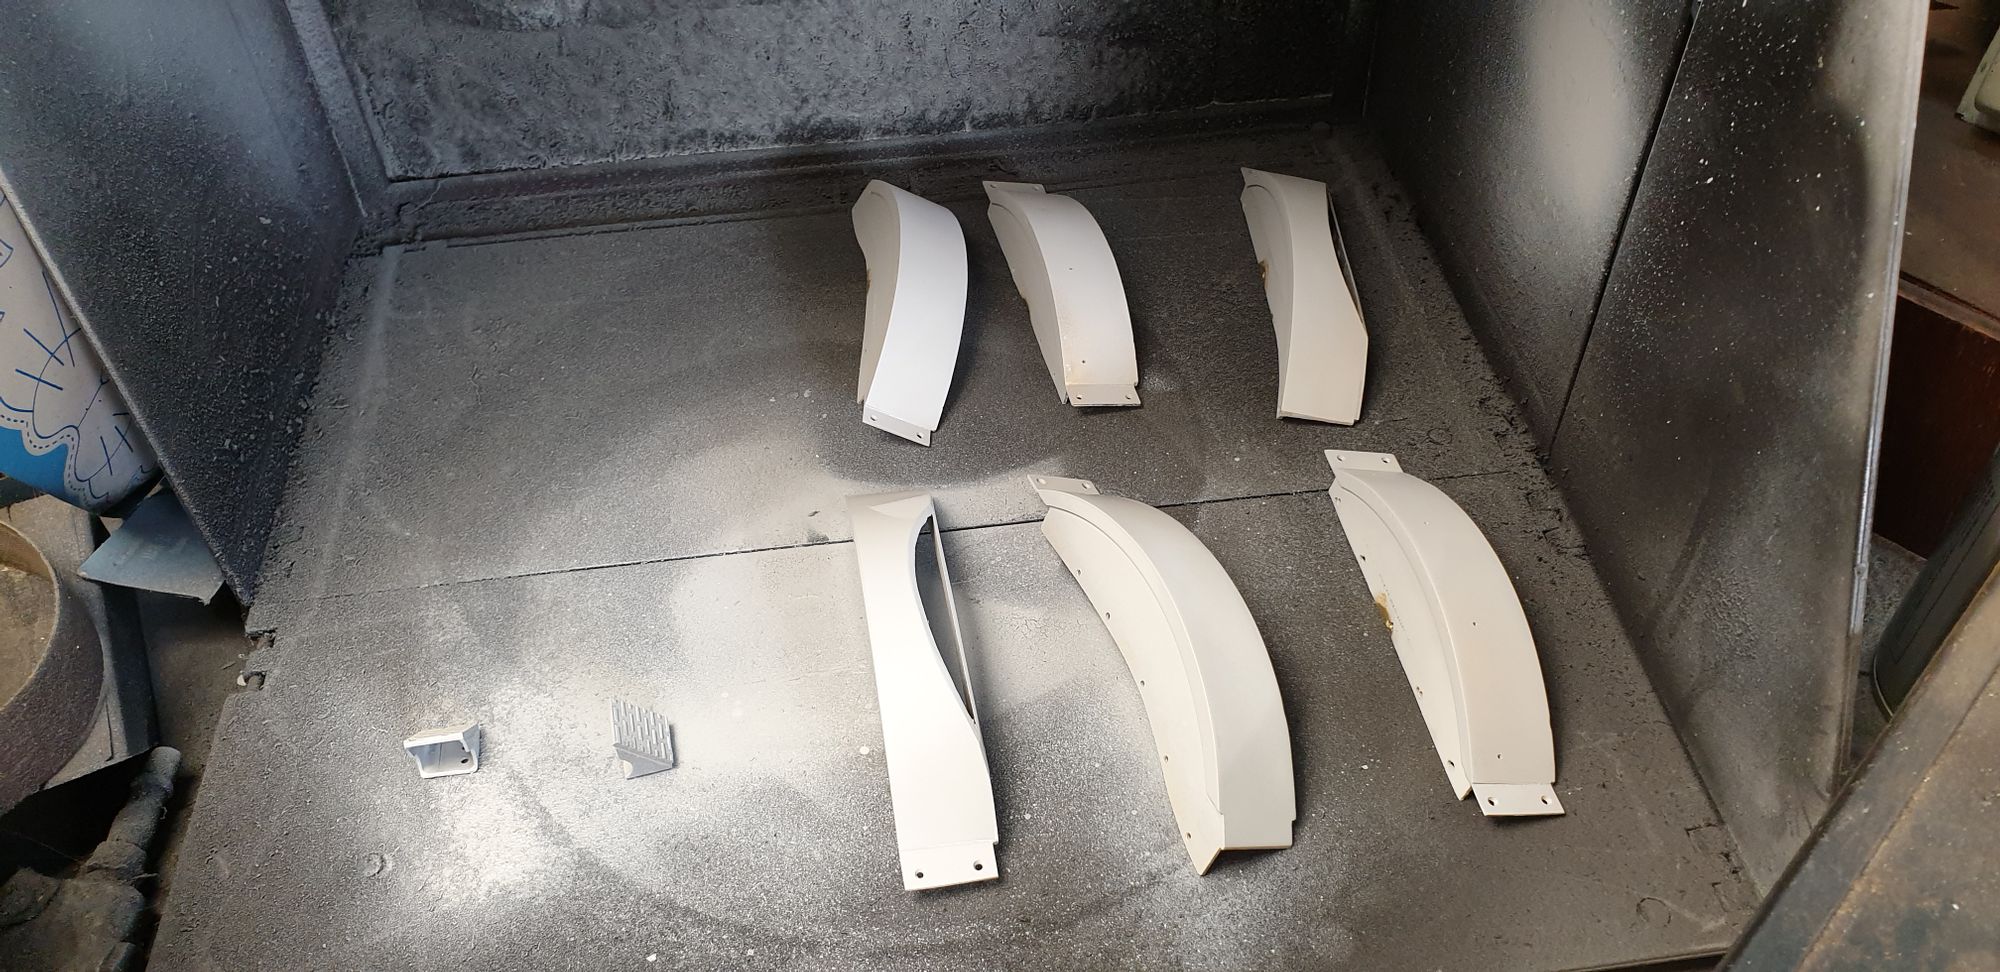
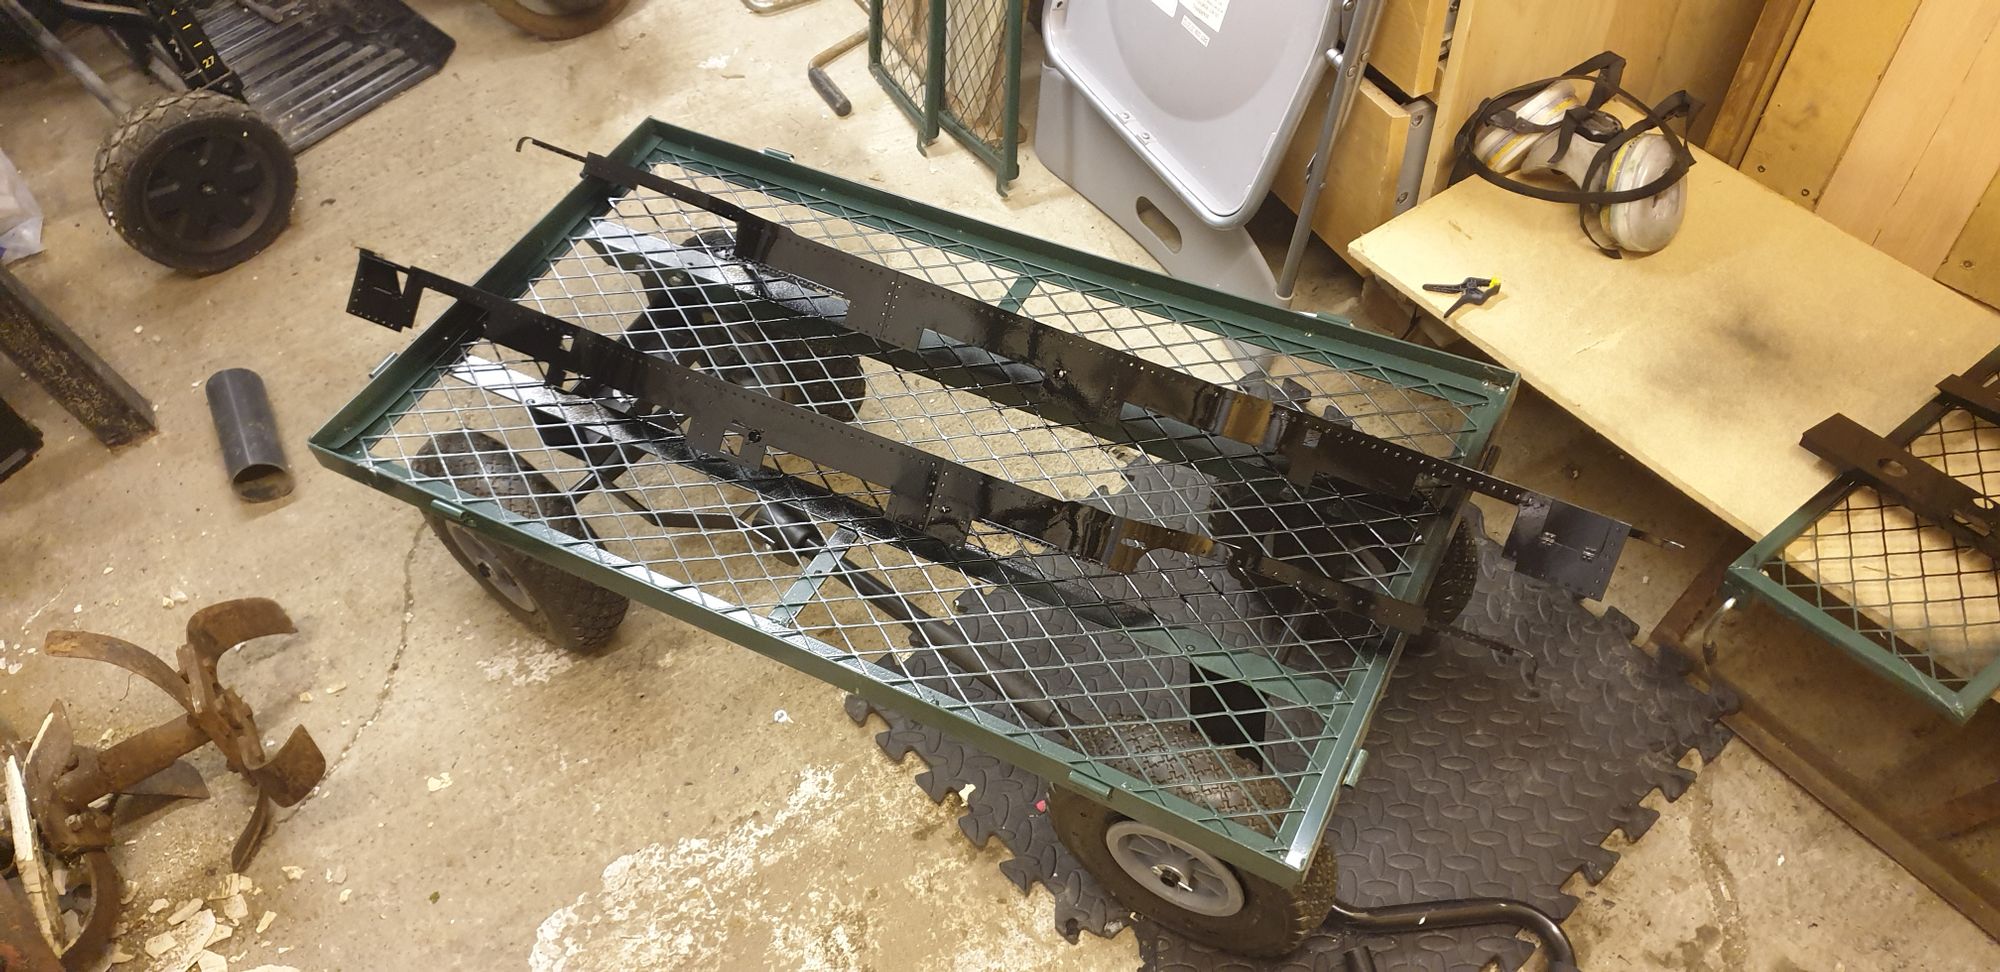
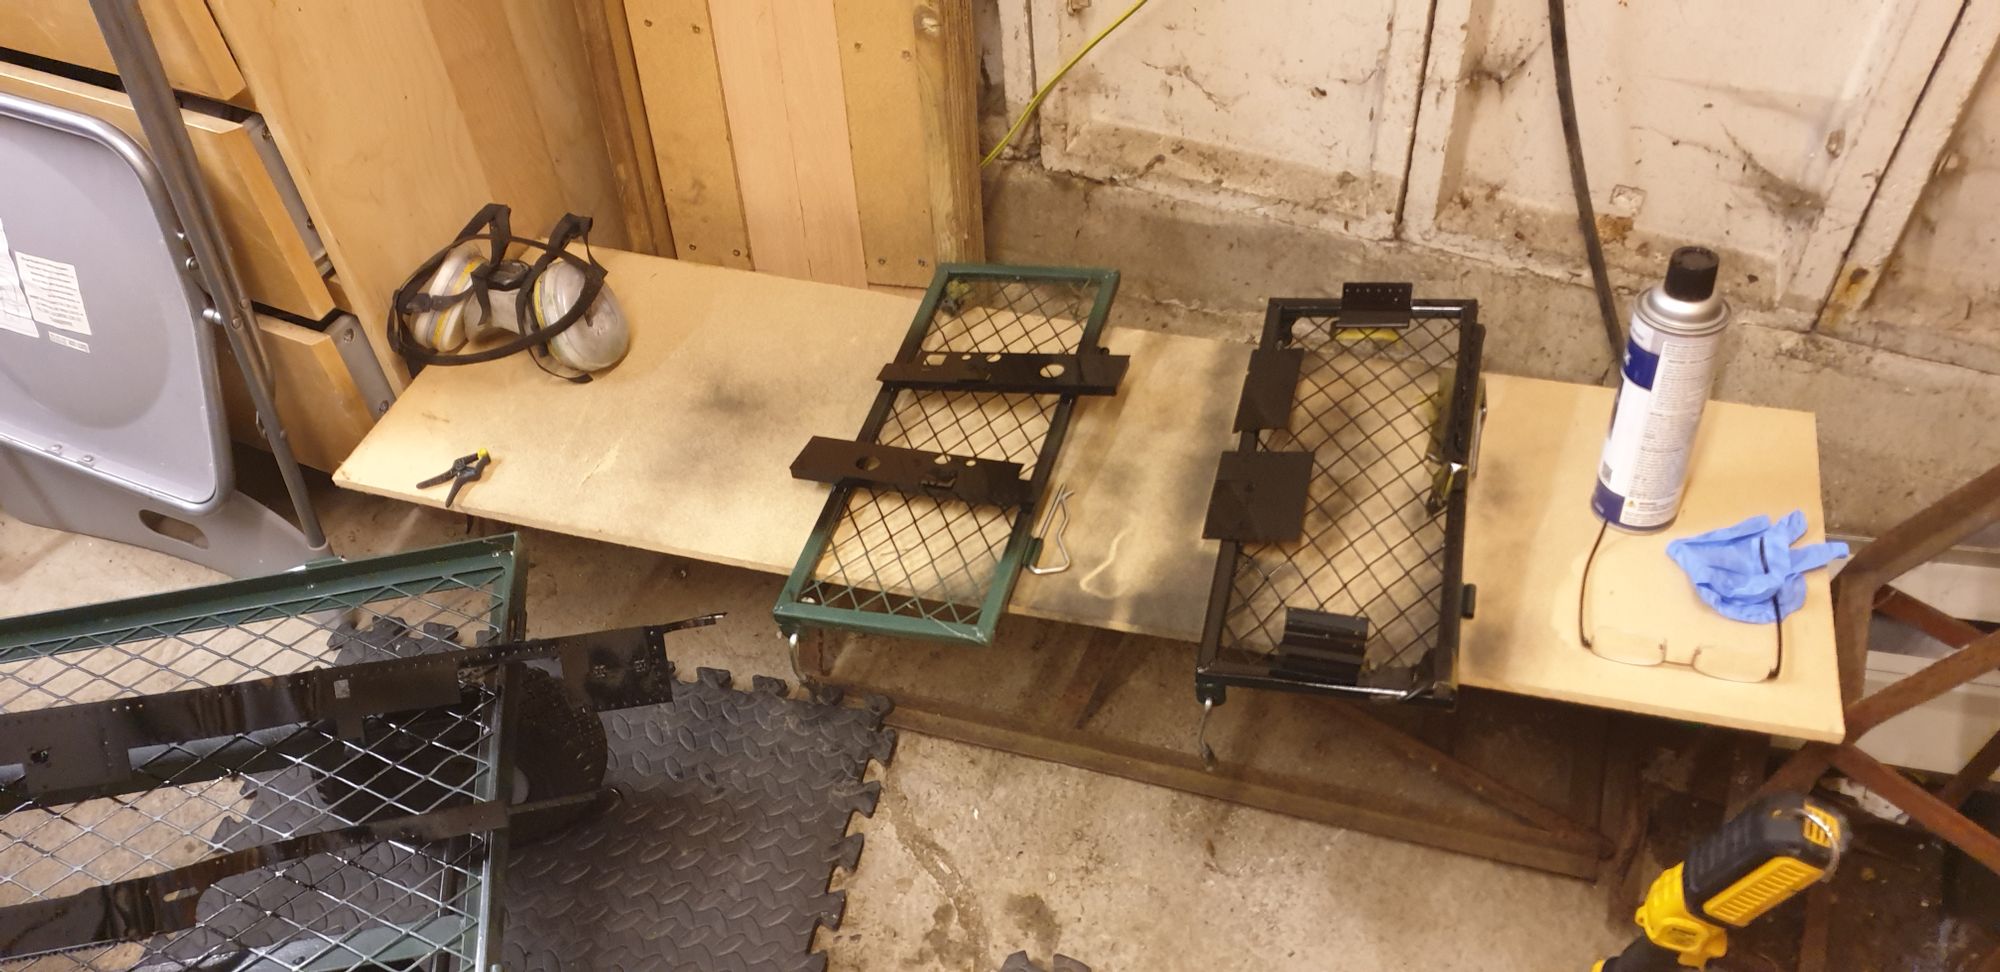
On to the details, with all of the old paint removed I needed to get some primer on it quick to stop the plate-work turning to rust, this is why this entry isn't covering the valve spindles and bobbins as planned, they will hopefully be in the next entry. As mentioned before priming I first re-countersunk all of the 10 BA screws which of course, took me time. Once that was done I could get on with priming, before using the proper black primer made by Eastwood's I first needed to re-etch the splashers as these are made from brass. The first picture shows these after being primed in the small spray booth.
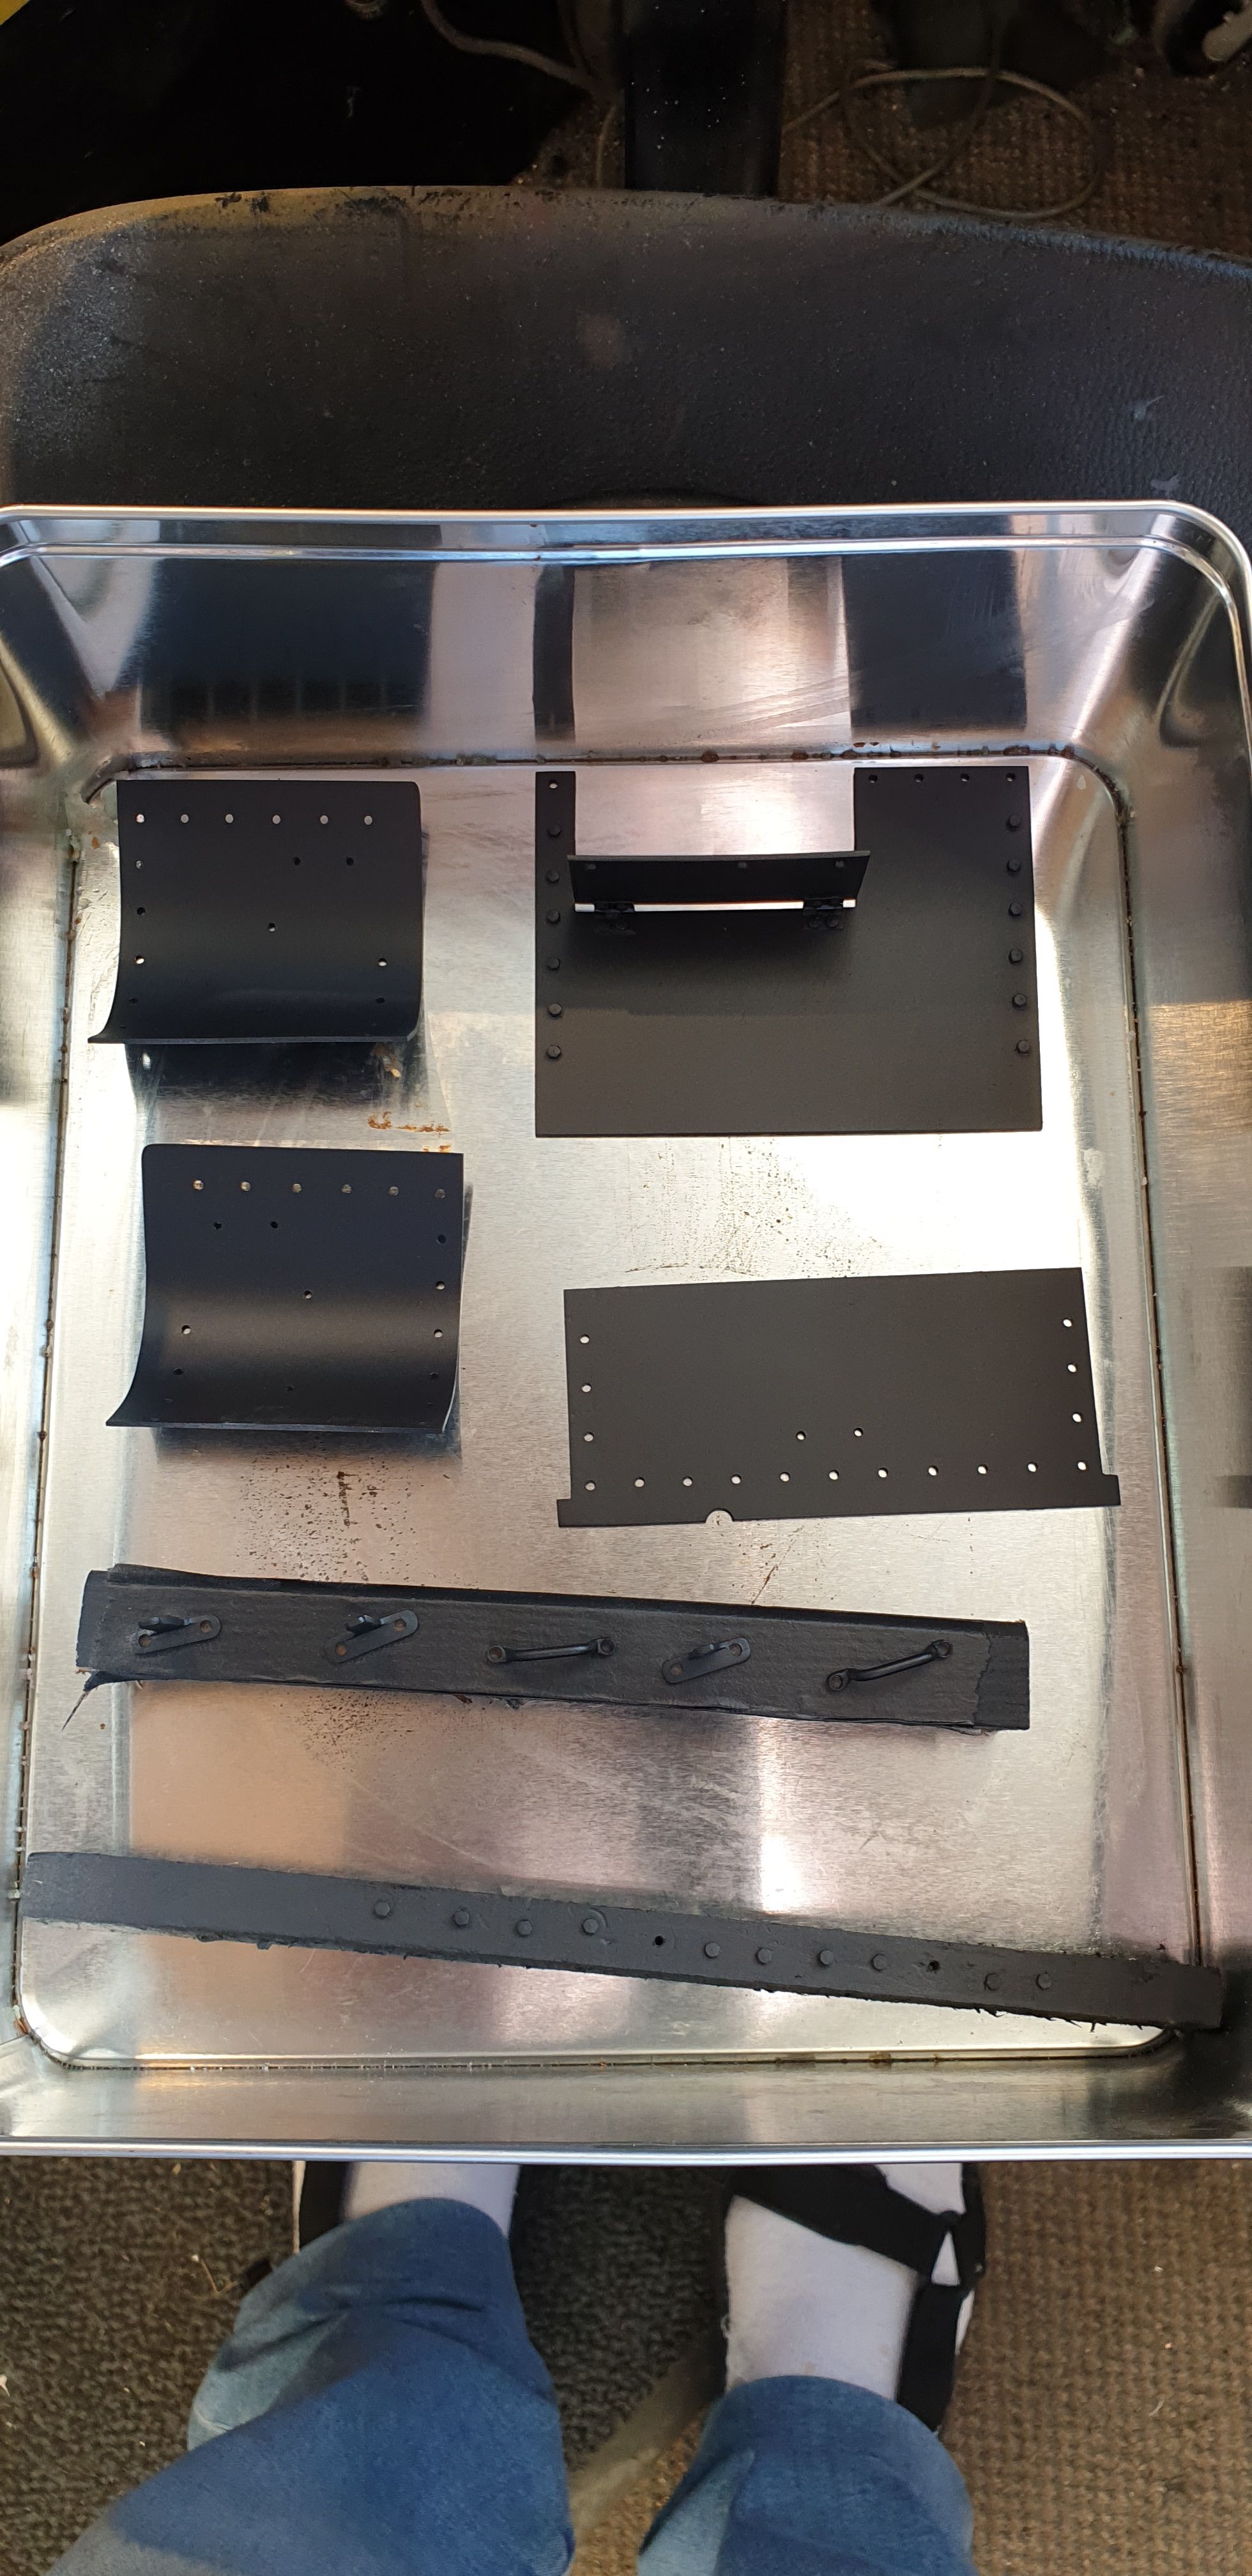
With that done I then got on with the black primer, here are the front running board sections. Note the handles and lamp irons were removed first to allow an even spray over the panels, a tip that I picked up from Chris Vine's excellent book (How not to paint a steam locomotive) was to have parts that stick out from panels removable to make painting easier, I have done the same to other parts such as the tender body steps etc which are all removable for this purpose.
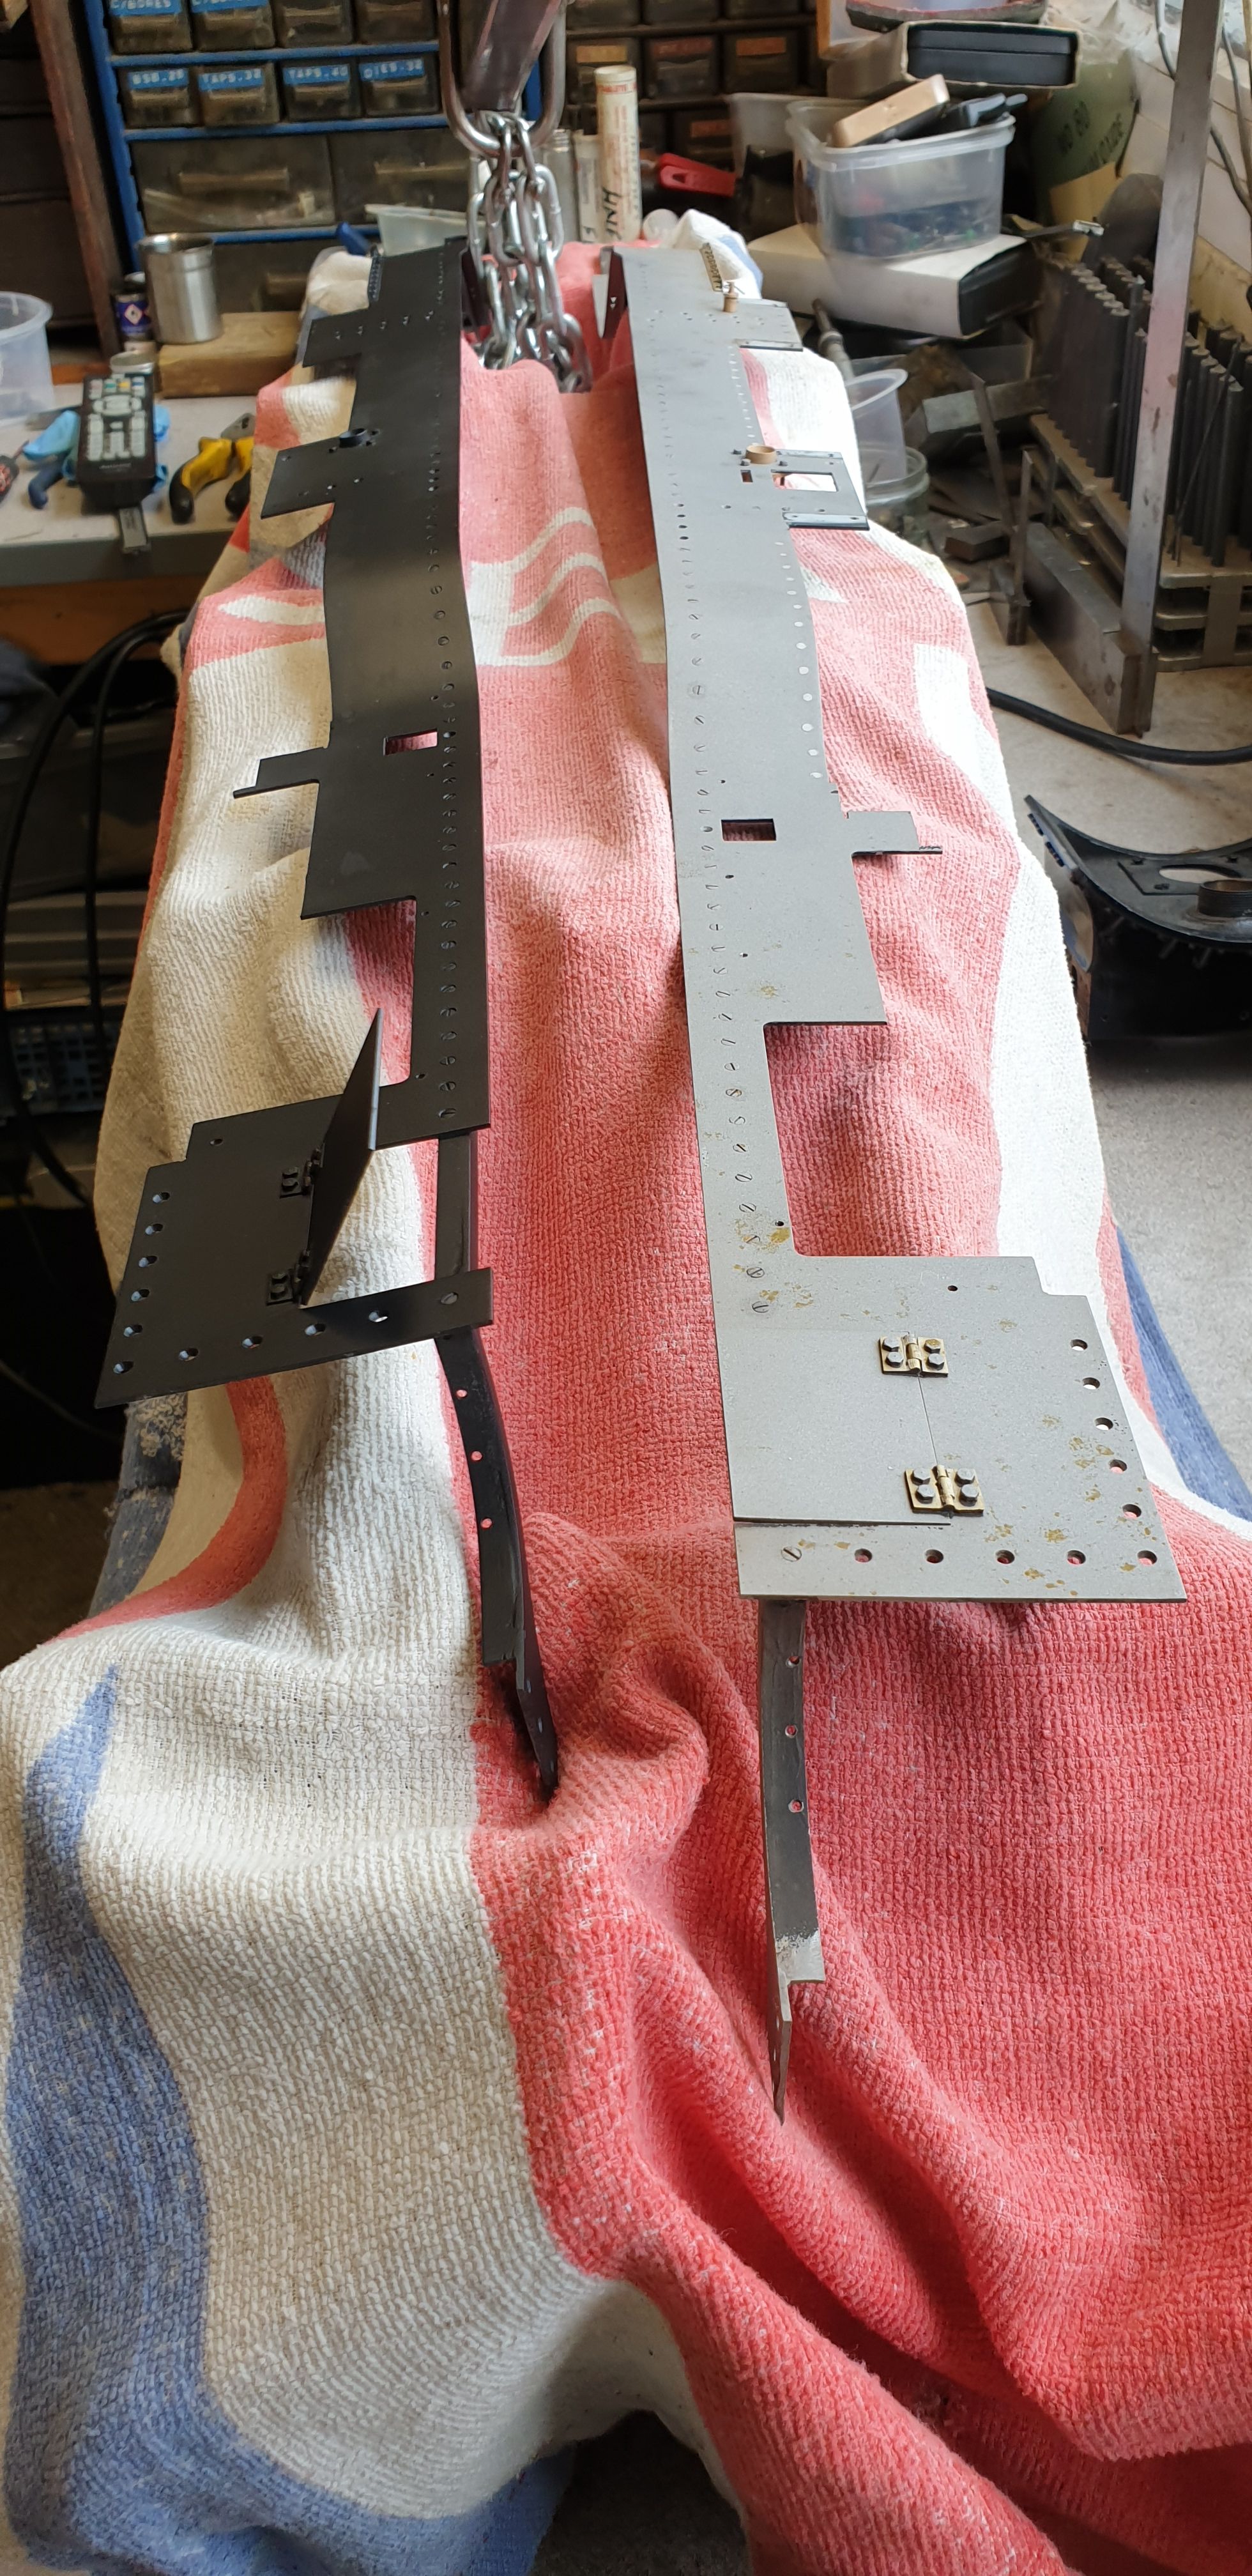
Here's one of the long lengths of running boards in black primer, the other seen is still in bare metal.
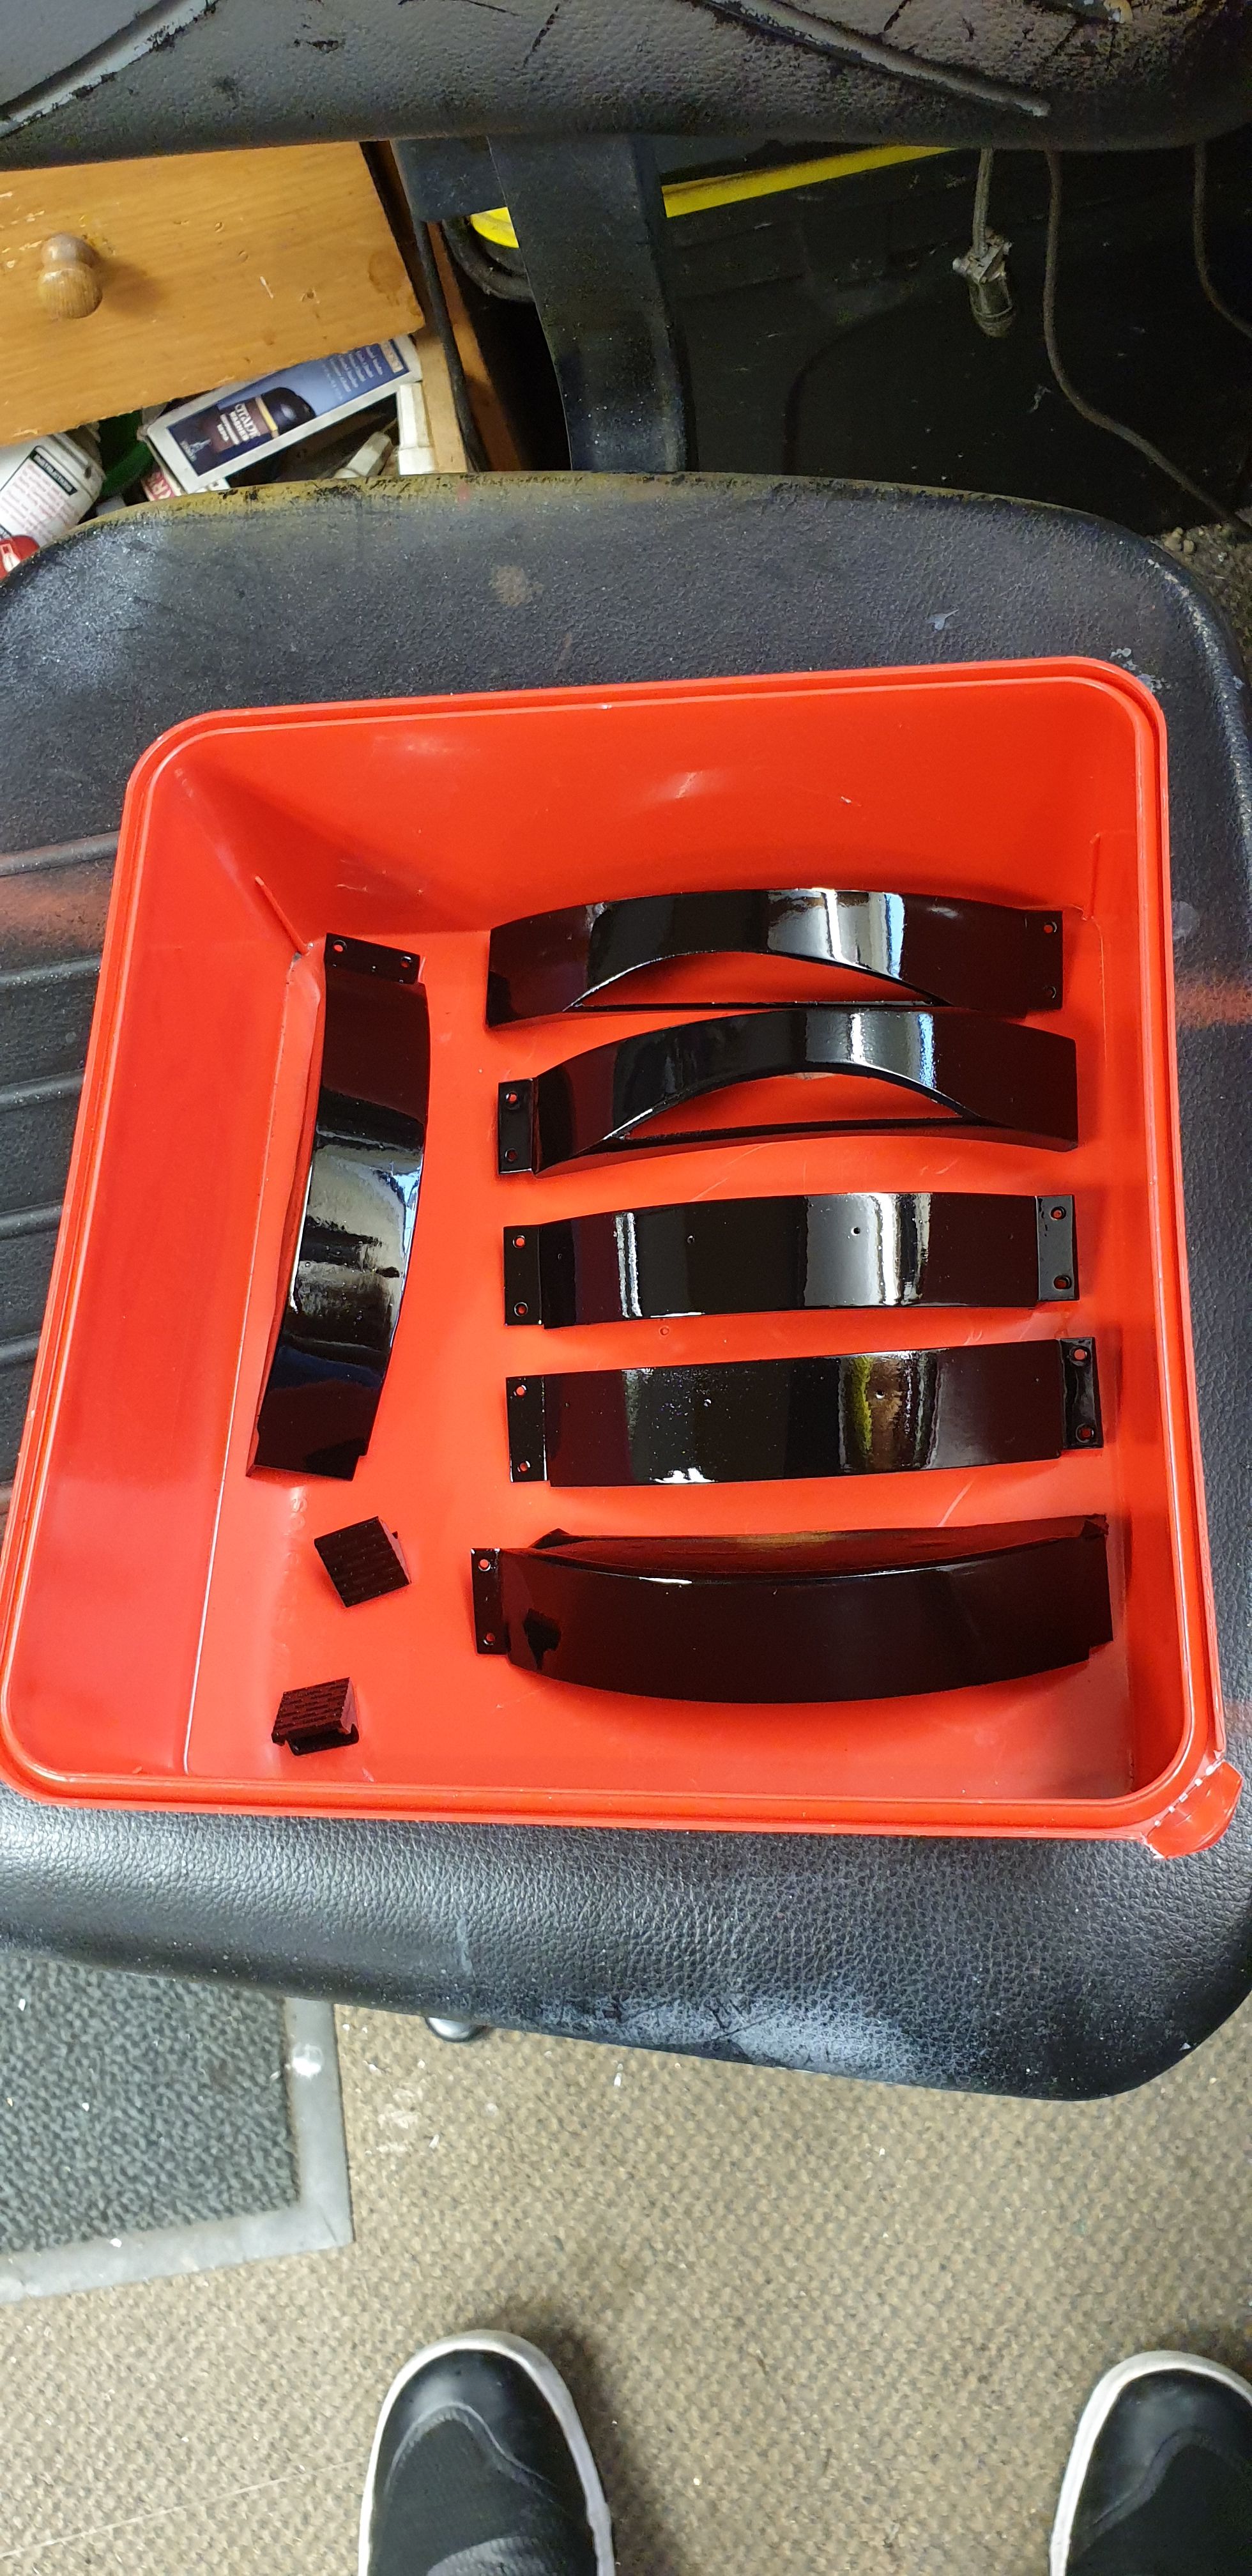
After a couple pf days to allow the primer to harden I then sprayed all of the parts in the gloss top coat, I did this in my old workshop which isn't used often and so hoped to have less dust in the air.
The main two lengths
And the smaller parts.
A close up of the splashers
I them boxed these all up for a few days to let settle and harden and then took a look to see how they had come out, in general, not too bad but one thing that I didn't like was the high level of gloss. It just won't work on a model of this scale, worse still, none of my reference photos including those which I took myself close up at York in 2016 look full gloss. Yes I know that full size use gloss but that doesn't work when trying to make a scale model look real, I should know after 20 + years in film/TV making miniatures real enough to fool the eye on camera.
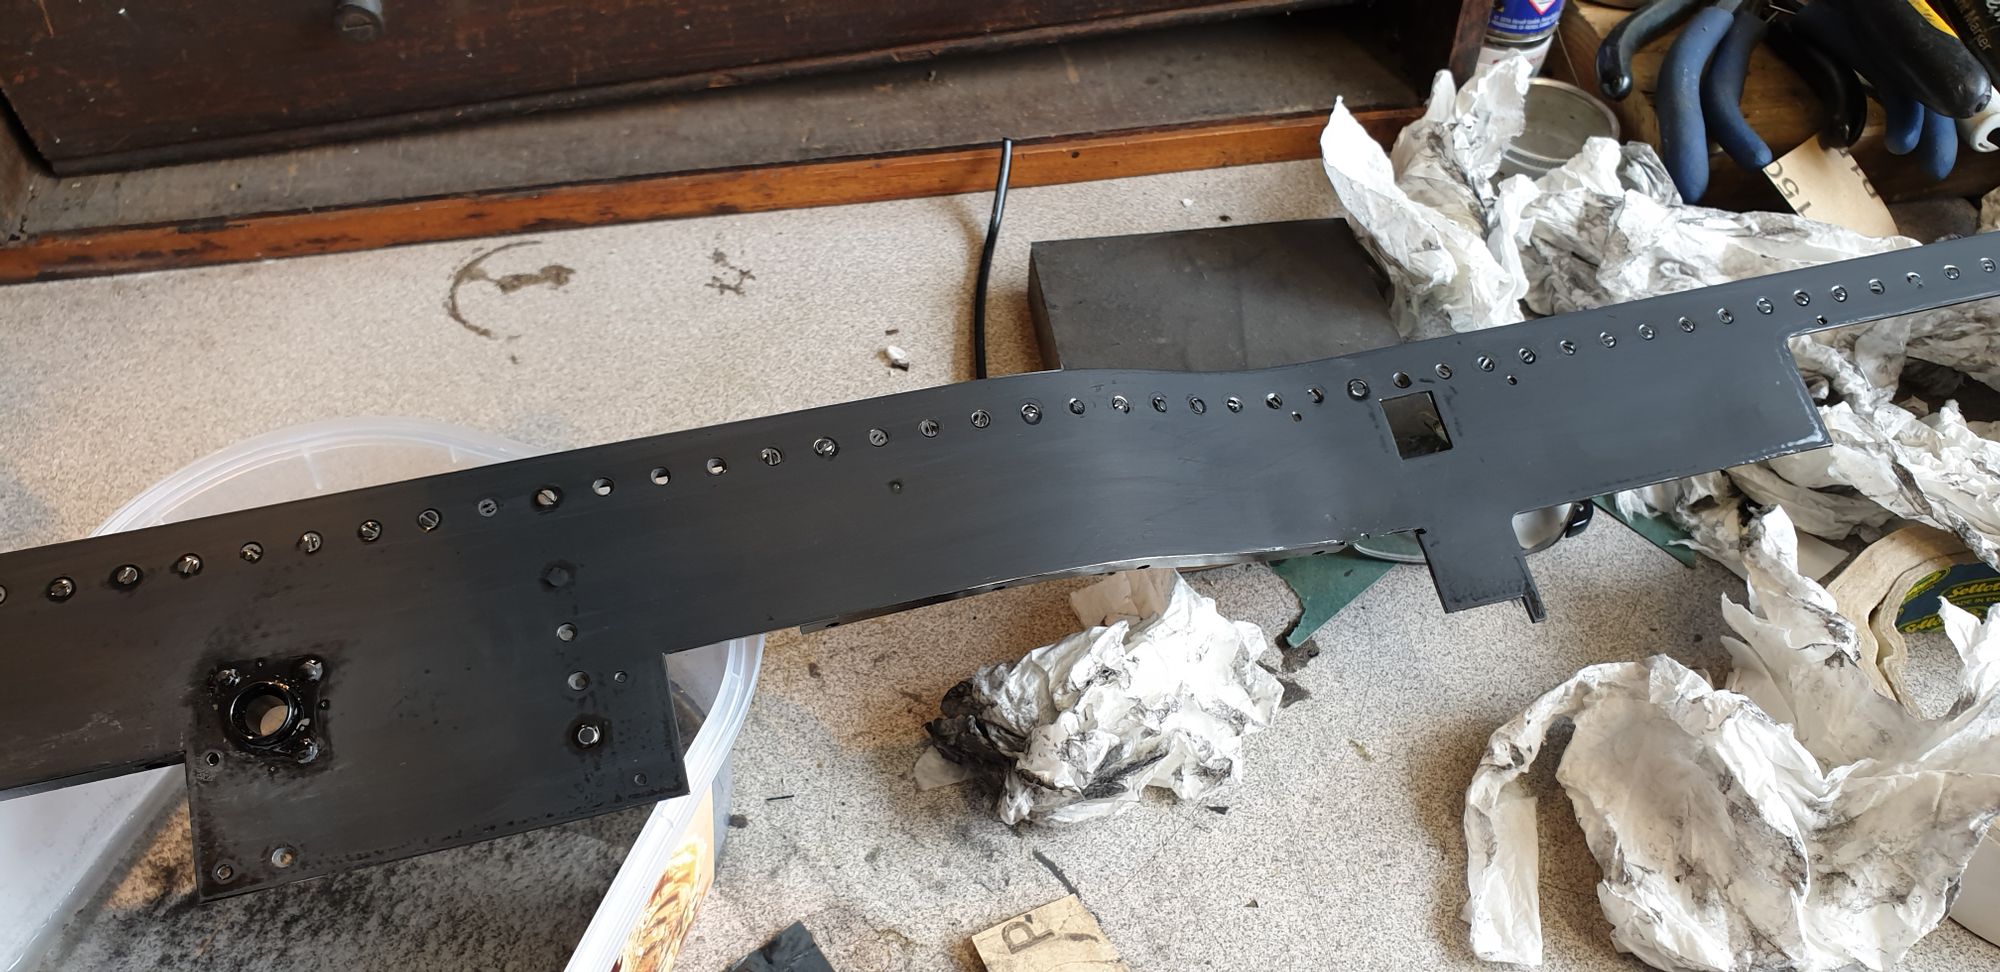
I'll show what I mean at the end but first I needed to get the parts ready for another painting session. There was no need this time to strip all of the paint off, the paint was good, not the severe orange peel of before due to me spraying in far too hot a weather. So this time around I decided to W&D all of the surfaces back using 1500 grit and plenty of water. here's a close up of one of the side lengths.
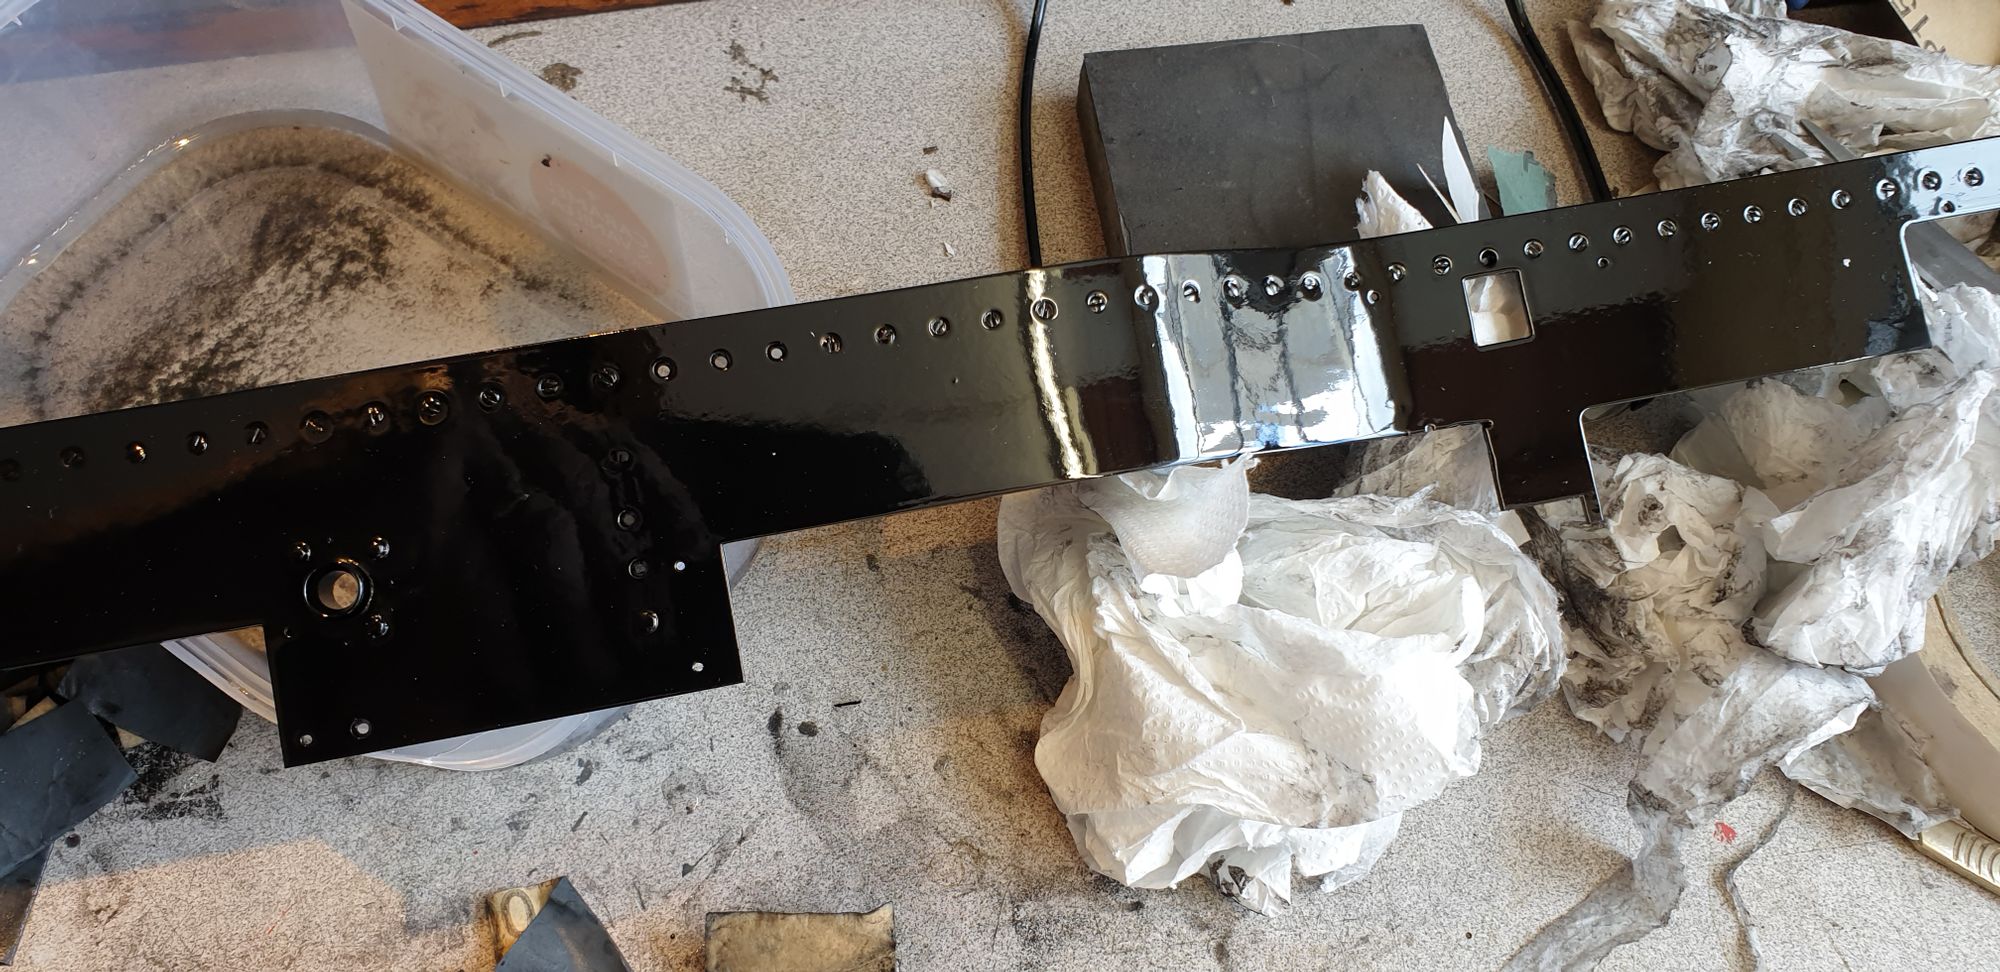
And here it is again after a short while sanding down.
This actually took far less time than you might think, I sanded all of the parts down in approx 5 hours. Blew dry with the air gun and wiped over with a cloth and left until the following day to paint.
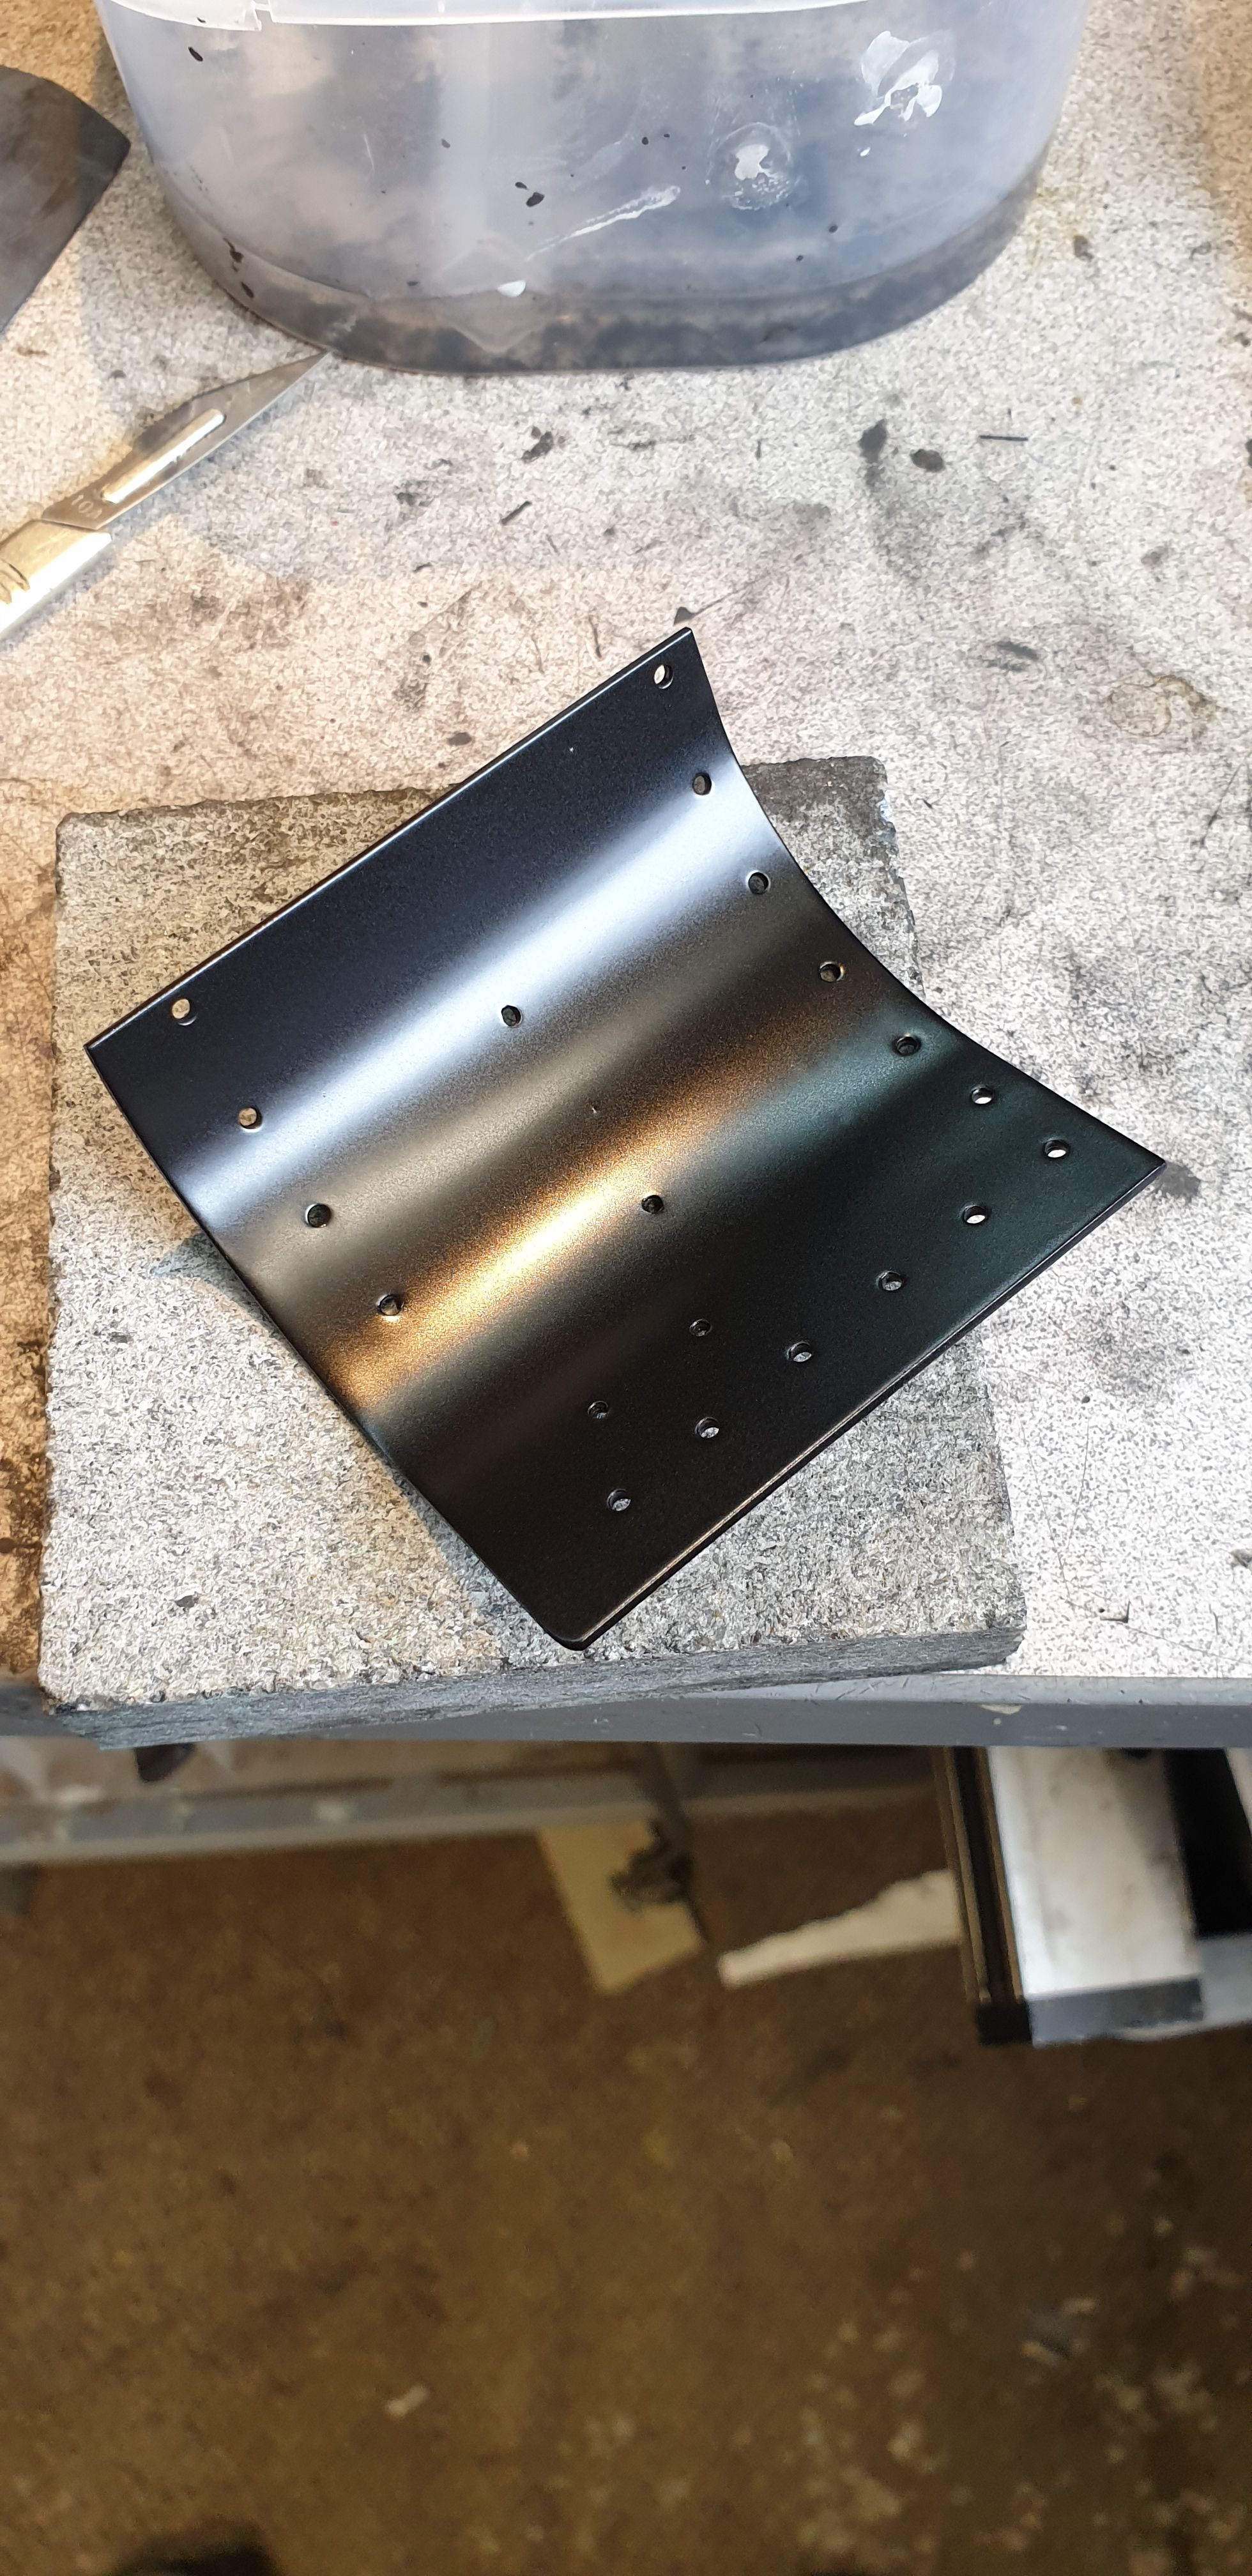
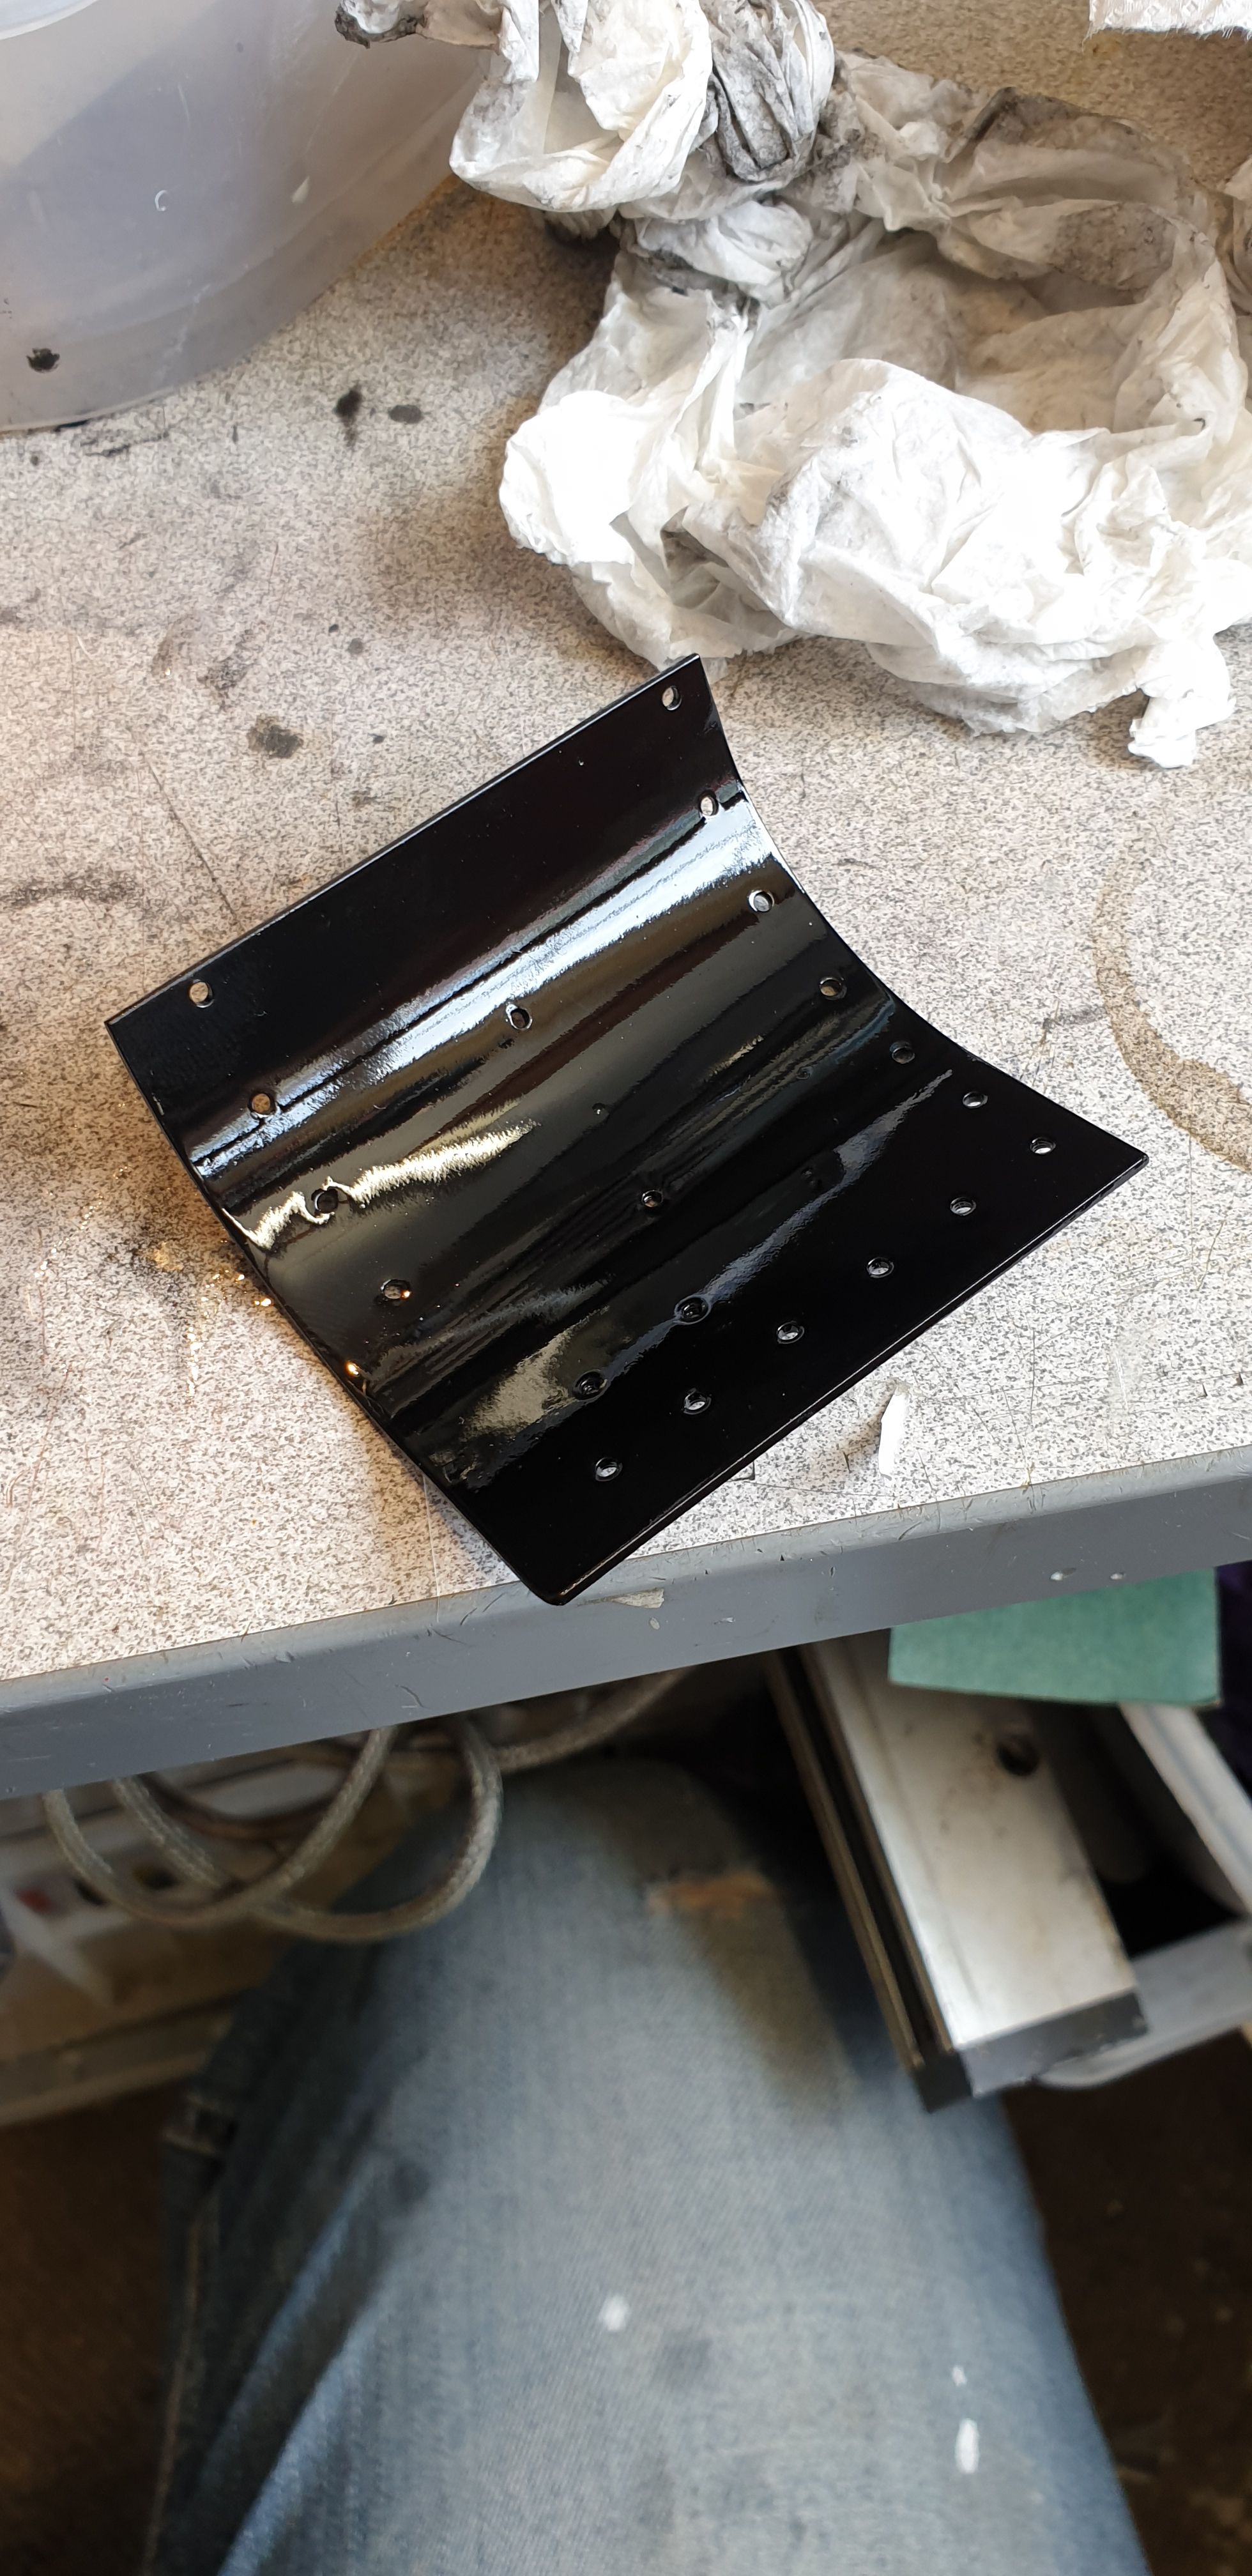
I took these picture of one of the cured front sections to show you the end result once painted in satin (70% gloss)
The gloss finish
Flattened down
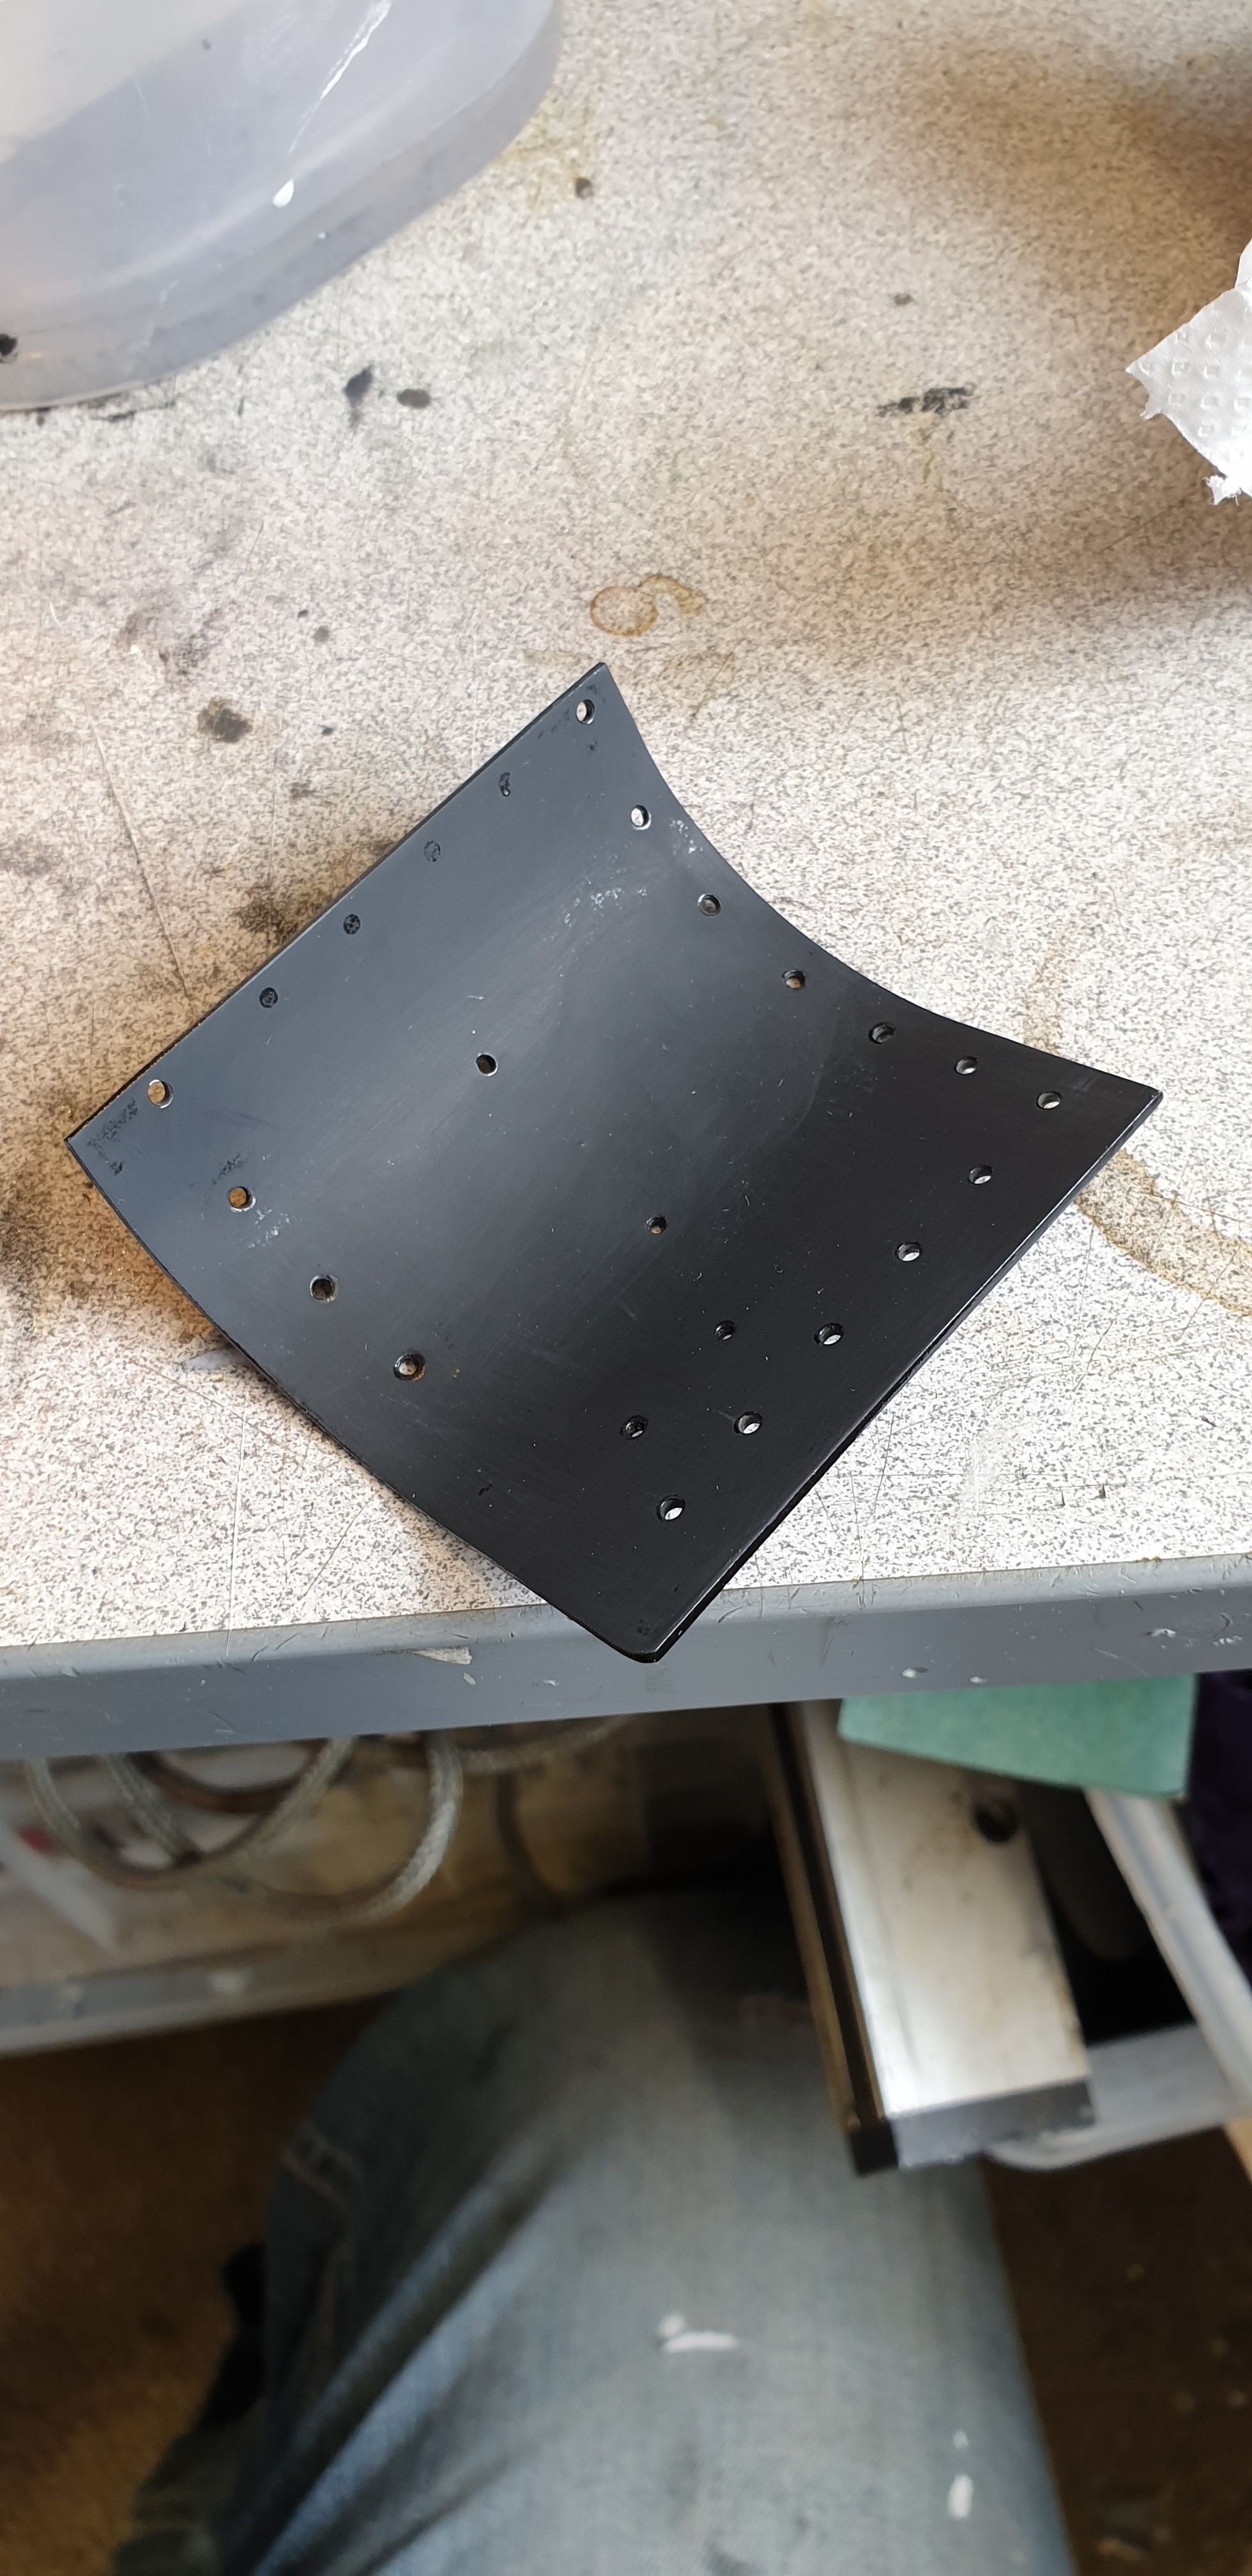
And now a top coat of the satin finish,

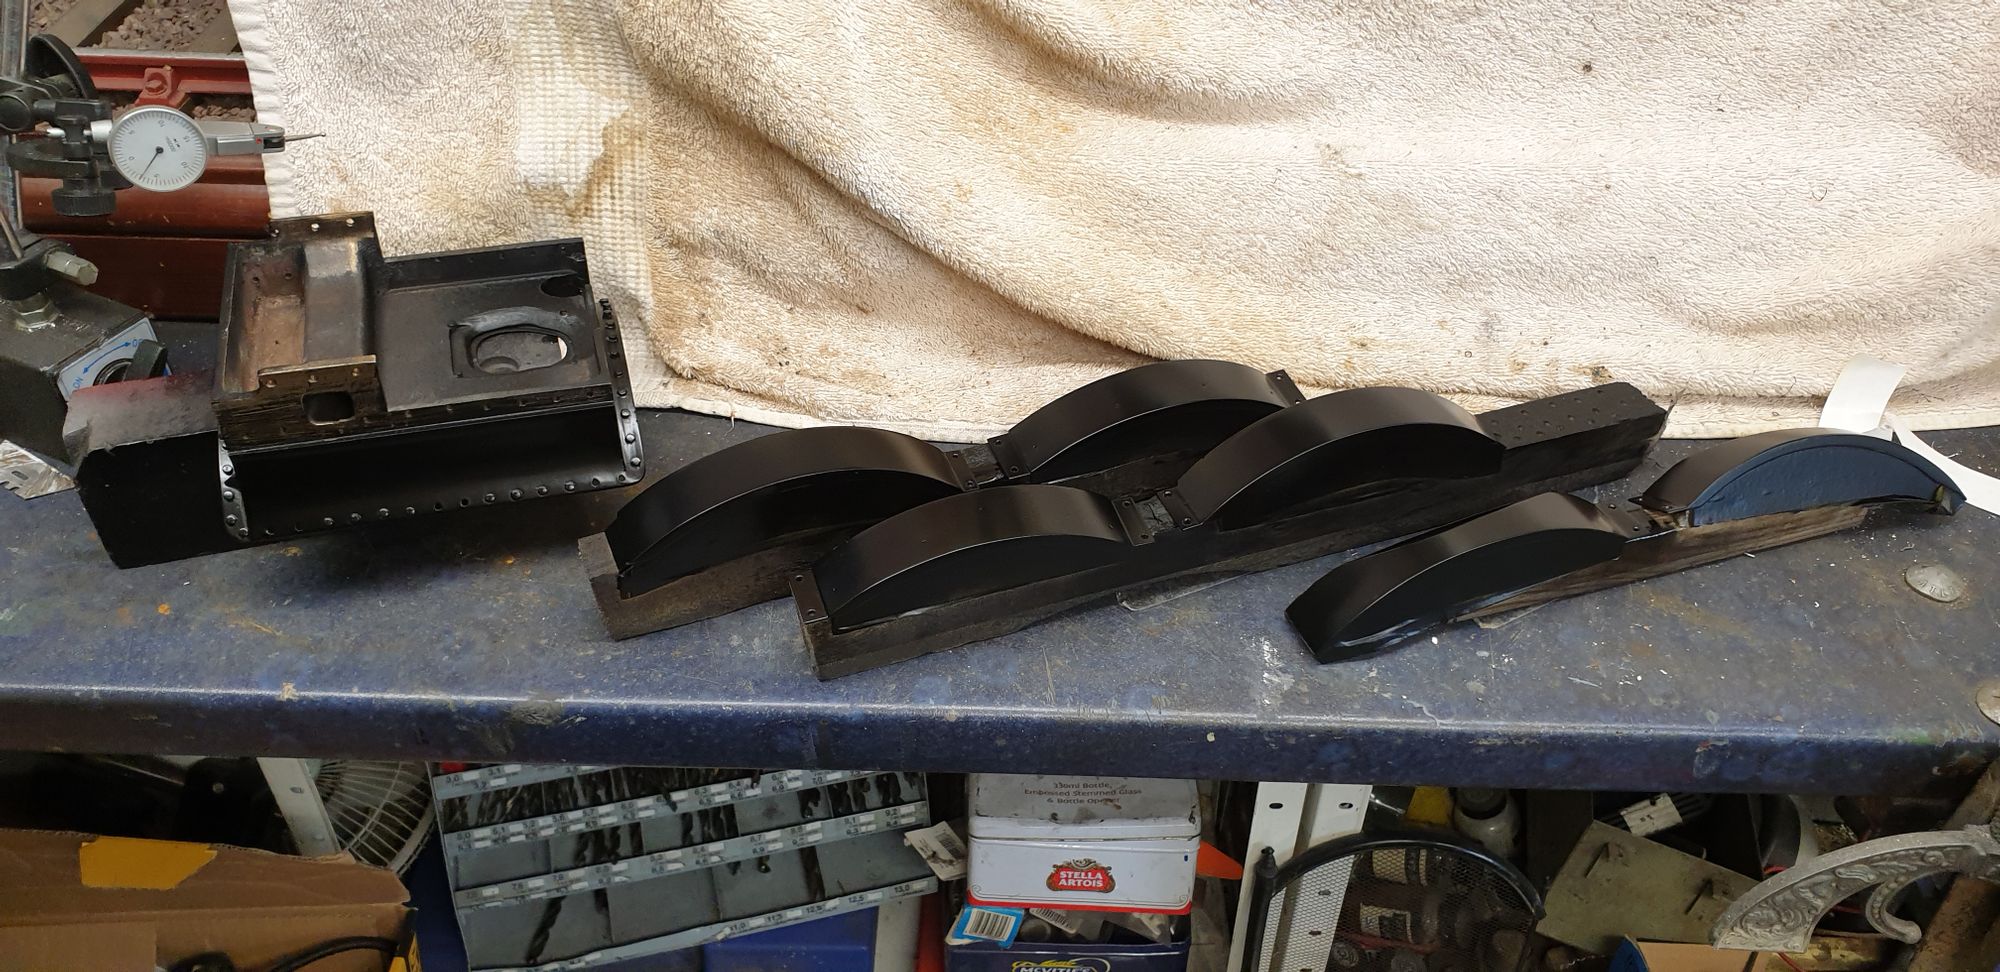
I am much happier with the satin finish and it looks very good scale wise when compared to photo's of the full size from any period. The last group of photos are to show that all of the other parts are now so painted. Upper and front running boards, plus steam pipe covers and firebox steps.
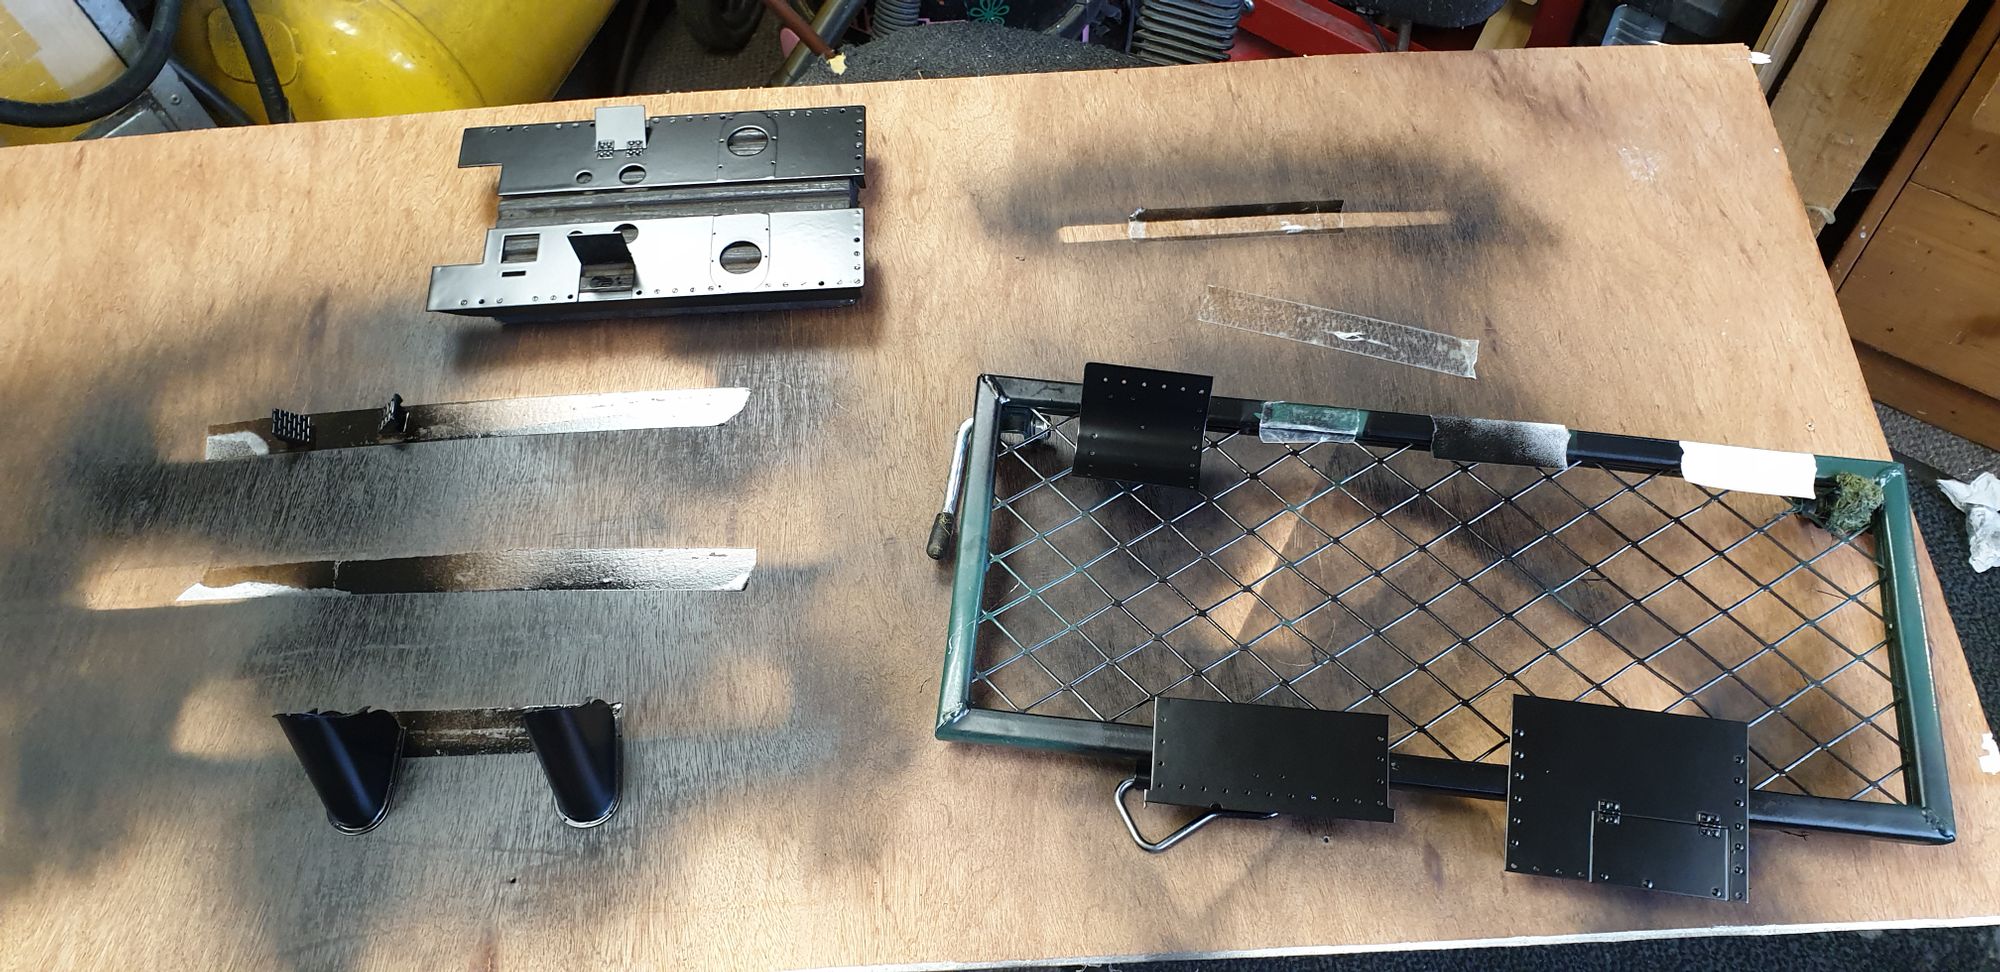
The two long side lengths
And the splashers, I have also repainted the smokebox saddle... this just leaves the smokebox itself and its door to repaint, I'll get those done soon enough.
And here they are all tucked away in their boxes until fully hardened, the gloss hardened much quicker than I thought and yes it was fully hardened as i flattened down each piece to repaint, so hopefully, it won't be too long before i do another small update on the running boards when i re-line them, I'll probably repaint the smokebox at the same time.
Next update should be the spindles/bobbins...should be...:)