

I now begin the most challenging part and profile the front of the crosshead where the tapered round section meets the square section. There will be a fair bit of hand shaping to complete this stage but I have removed as much material as possible by machining first, this involved a lot of rotary table setups (and some plain machining in the machine vice), much more than I have taken pictures off but hopefully you get some idea of what I have done?
With the parallel section machined to size I begun removing as much excess material as I dared before taking on the taper. As can be seen in the picture I did this on the machine vice taking a number of cuts at different depths/positions to roughly cut out the curve. While on the machine vice I machined a step in the bottom face and also a shallow slot, this is to match the SNG photos, more on this below.
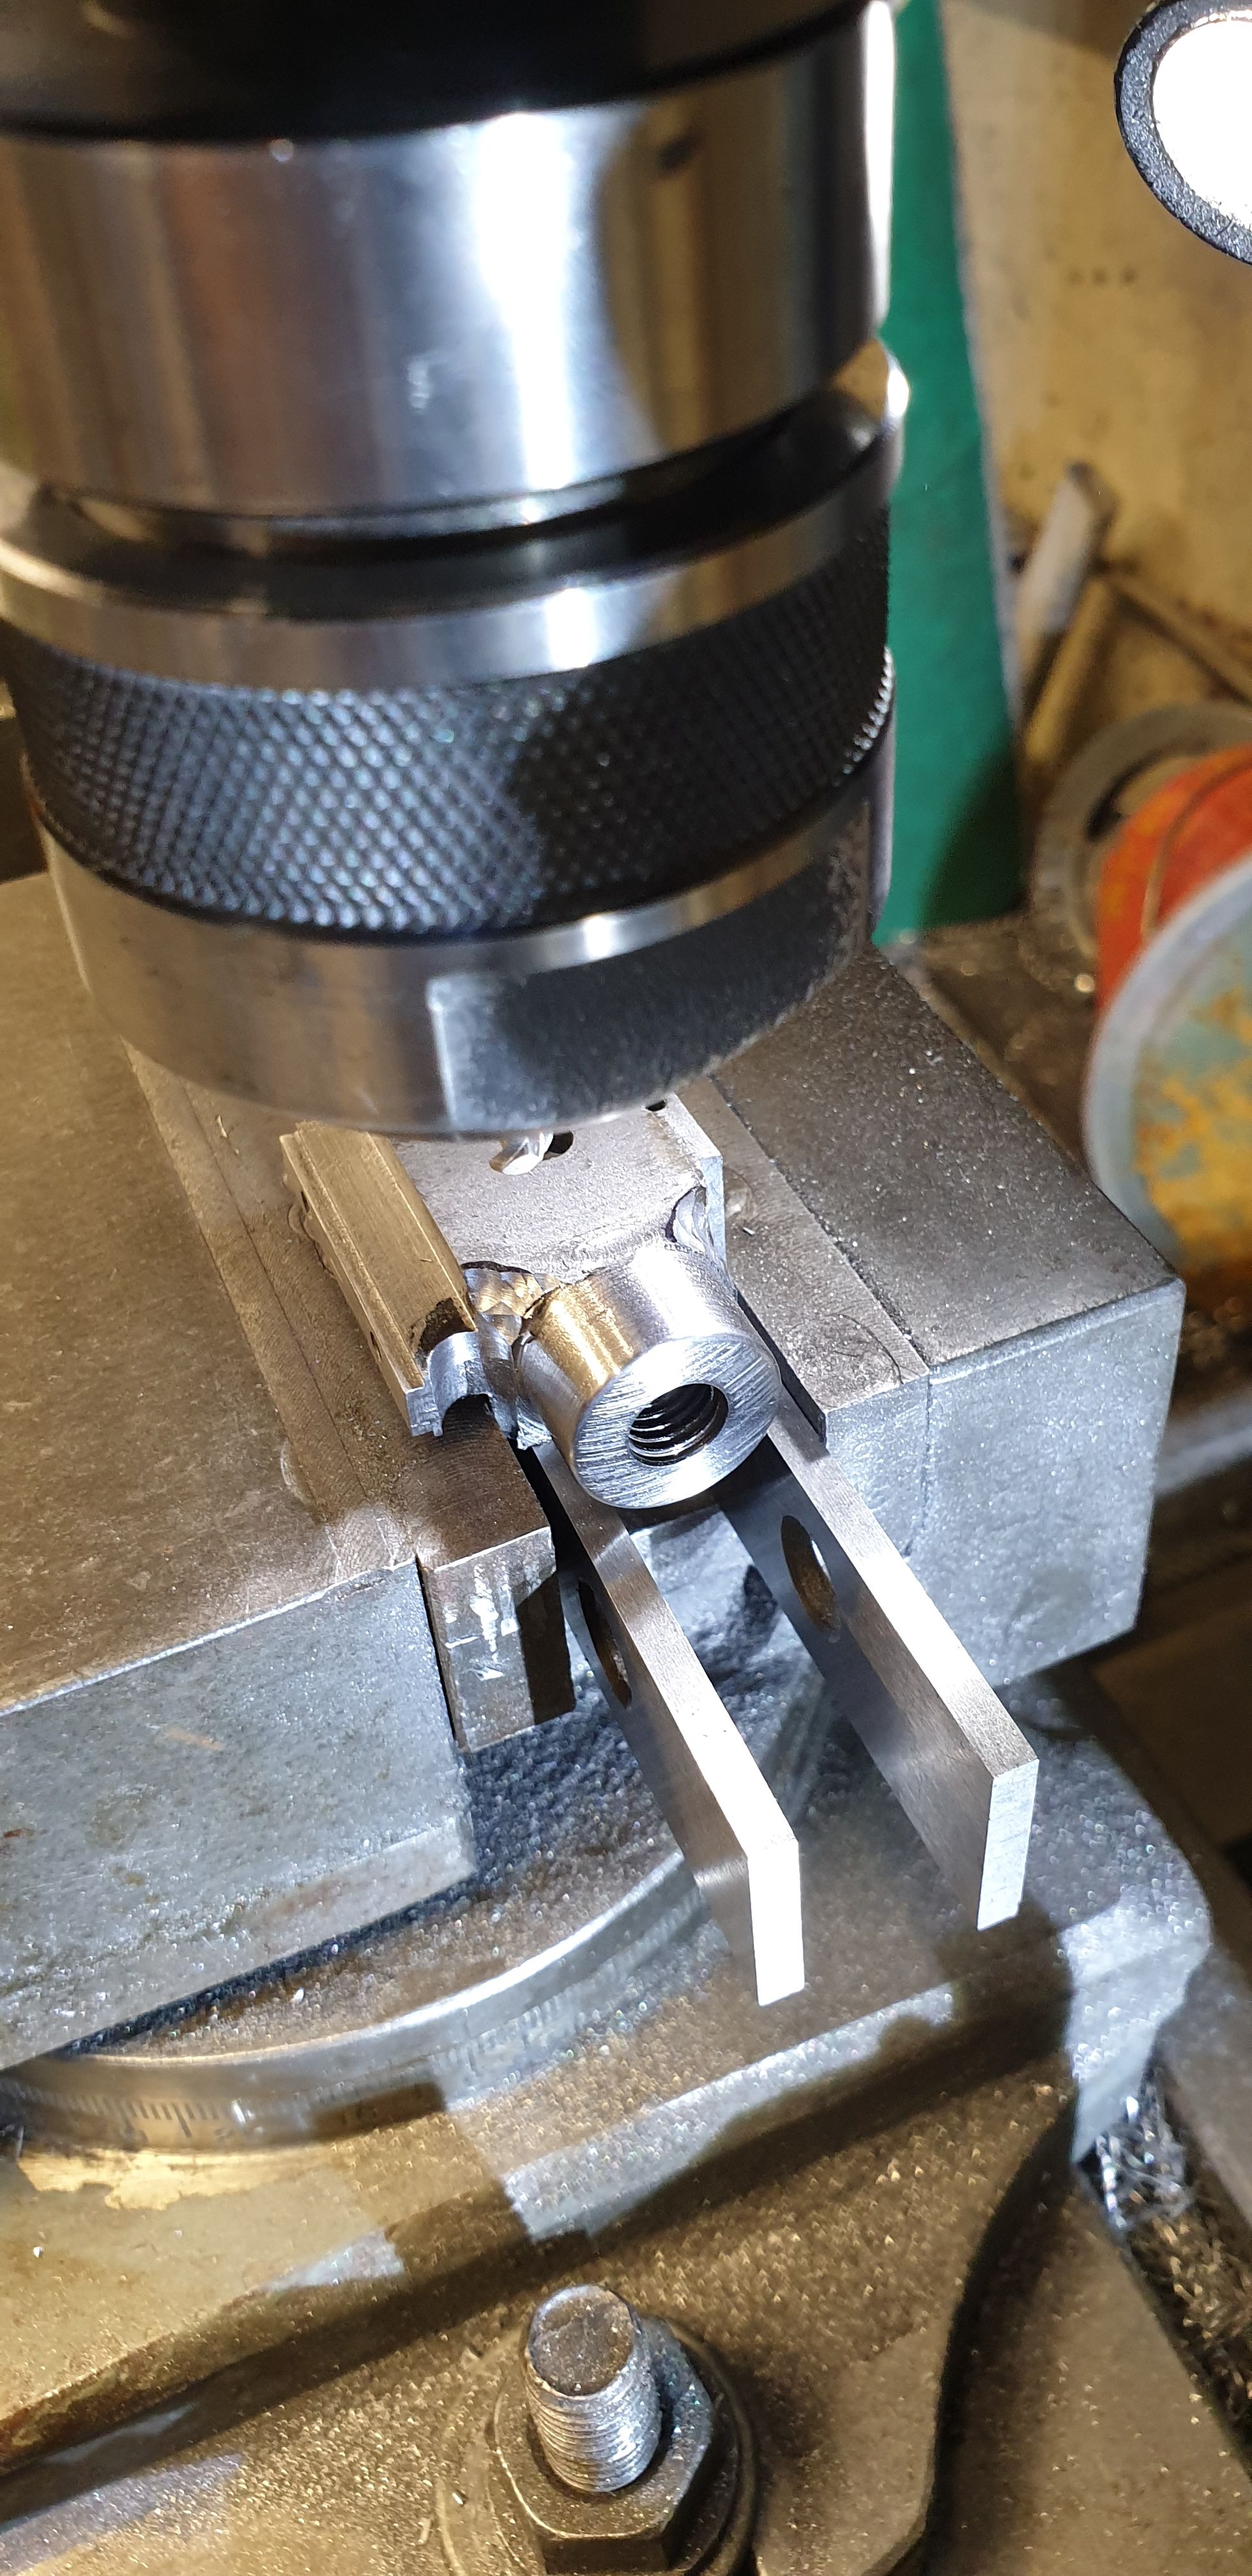
This next photo might seem a little out of sequence but I have included it to show the first roughing out of the taper on one crosshead when compared to one of the others awaiting their turn. Here we see the middle cylinder on the left and left hand cylinder on the right, note that they are opposites. Now the reason for this photo being shown now, note the small chip where the tool has dug in on the middle cylinder crosshead top curve. That occurred with me taking too deep a cut when doing the final turning by hand, not wanting to take too many chances at this stage under power. In case you haven't guessed, this meant I was on to tool MK3..:)
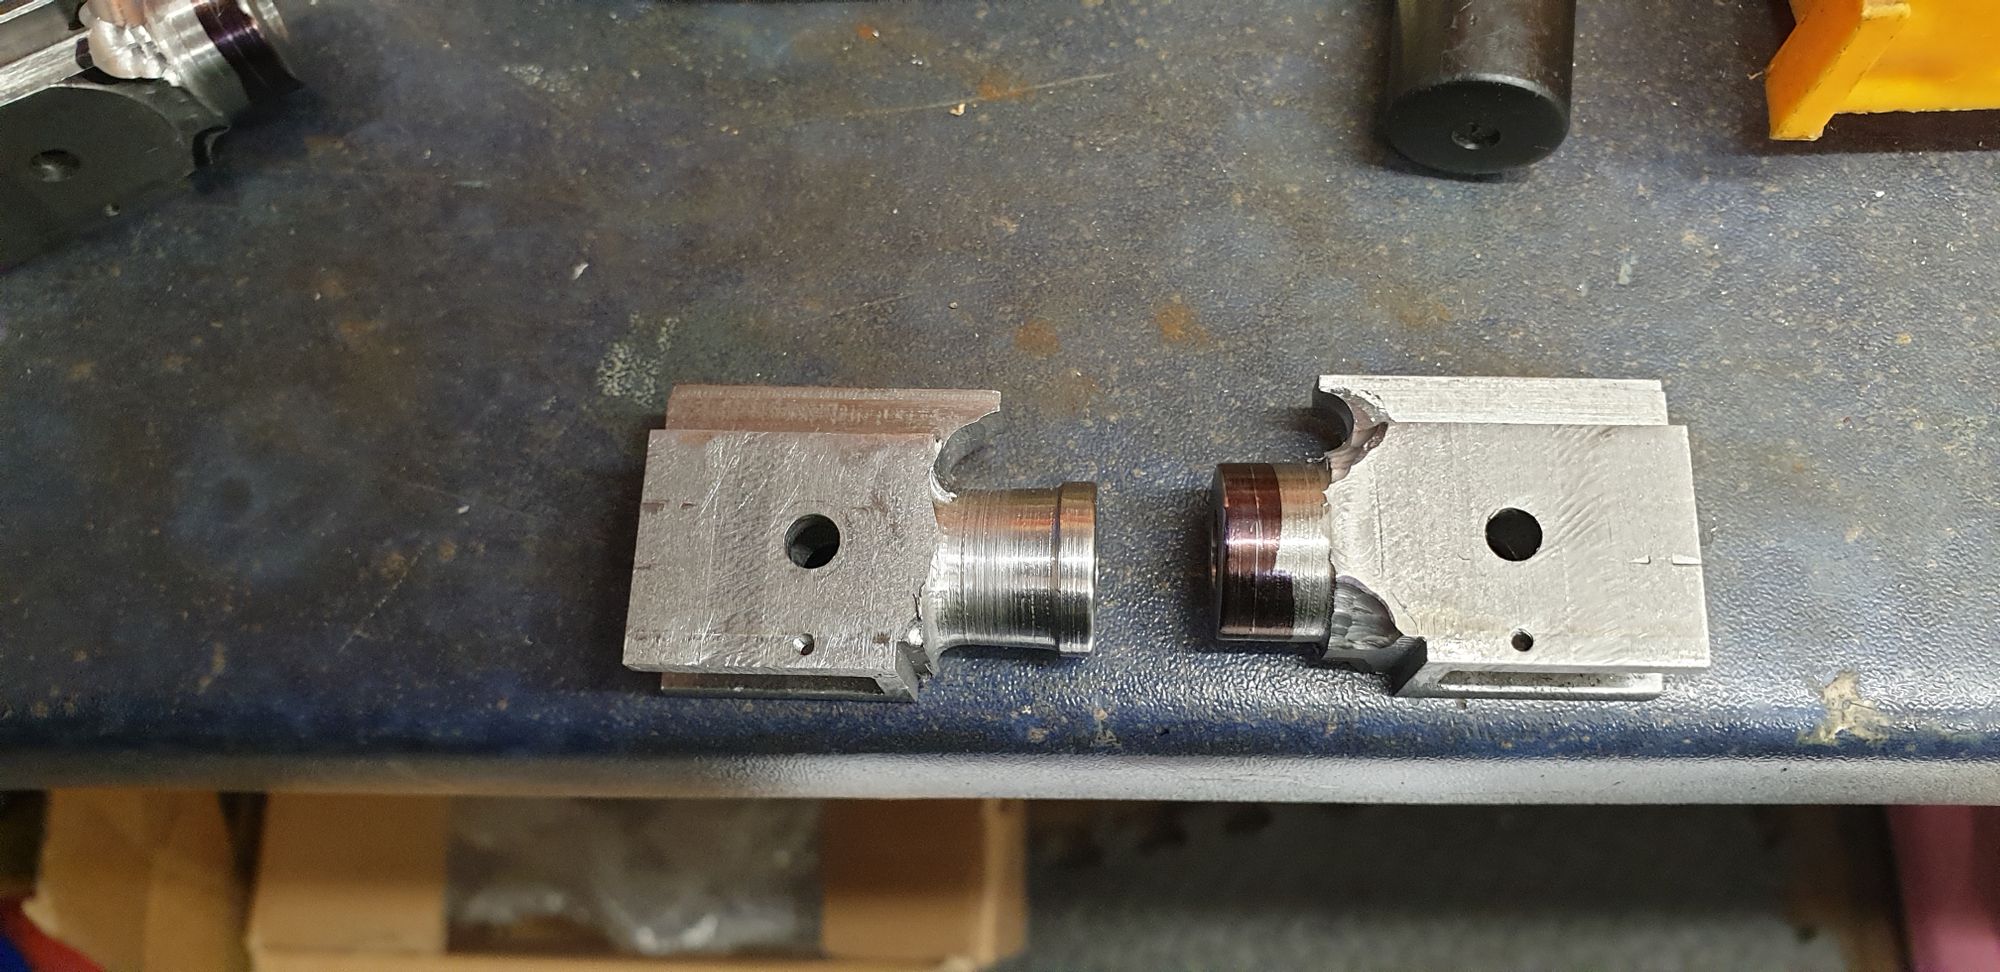
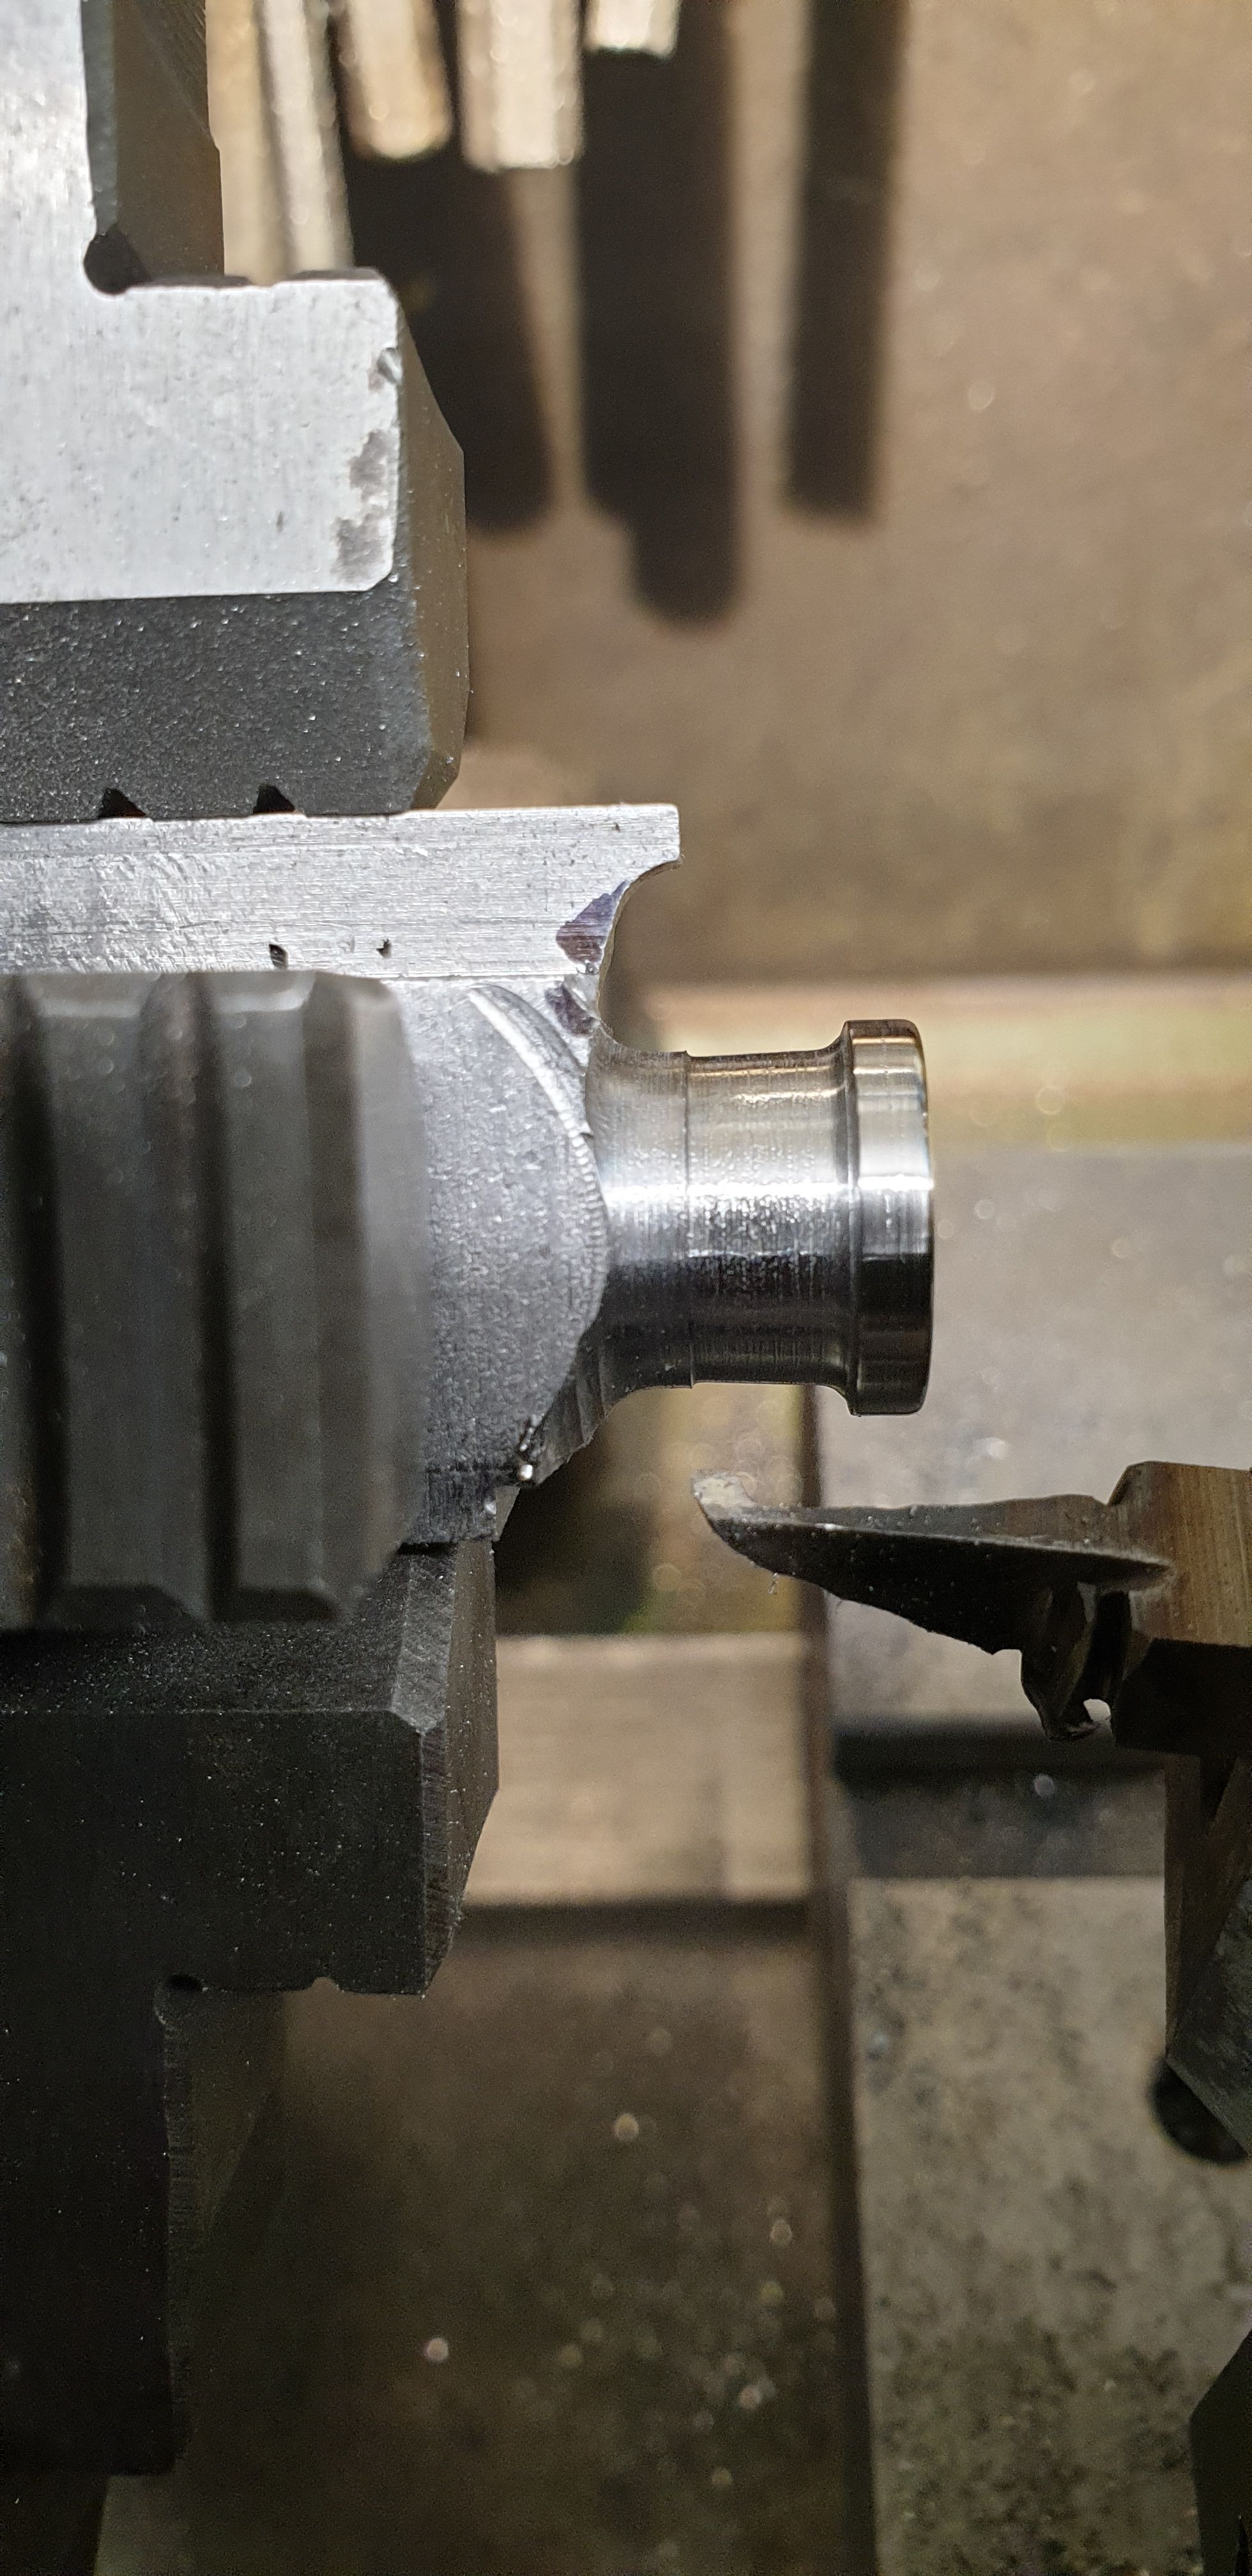
So, onto tool MK3 and this time I have ditched the silver steel and used tool steel which I guess I should have used from the start, I just didn't fancy having to ground the entire tool rather than doing the bulk by machining. with tool steel I could give much more clearance with the length of the tool. here the taper has been roughed out leaving the end collar at 7/64 wide and 21/32 diameter.
I then had to make another 'finishing' tool for machining the small step in the main taper. I shaped this to have a flat front edge and curved rear to give the desired shape. With the cross slide locked and the top slide still at the same taper setting, I could machine all three identically by having the full reach set for the top slide and the carriage marked for it's return. To help with getting the shape I printed off a scale drawing, cut it out and checked the profile as I progressed. I am also using a variety of images which I have printed off from various loco's from my time period, concentrating on photo's from 1935-1939. I also have a few images printed from the Sir Nigel Gresley overhaul blog. These have the later drop arm which I try to ignore. I have not found any close up images of the 1934 pattern crosshead so I use the SNG's photo's to fill the blanks. I hope that all makes sense.
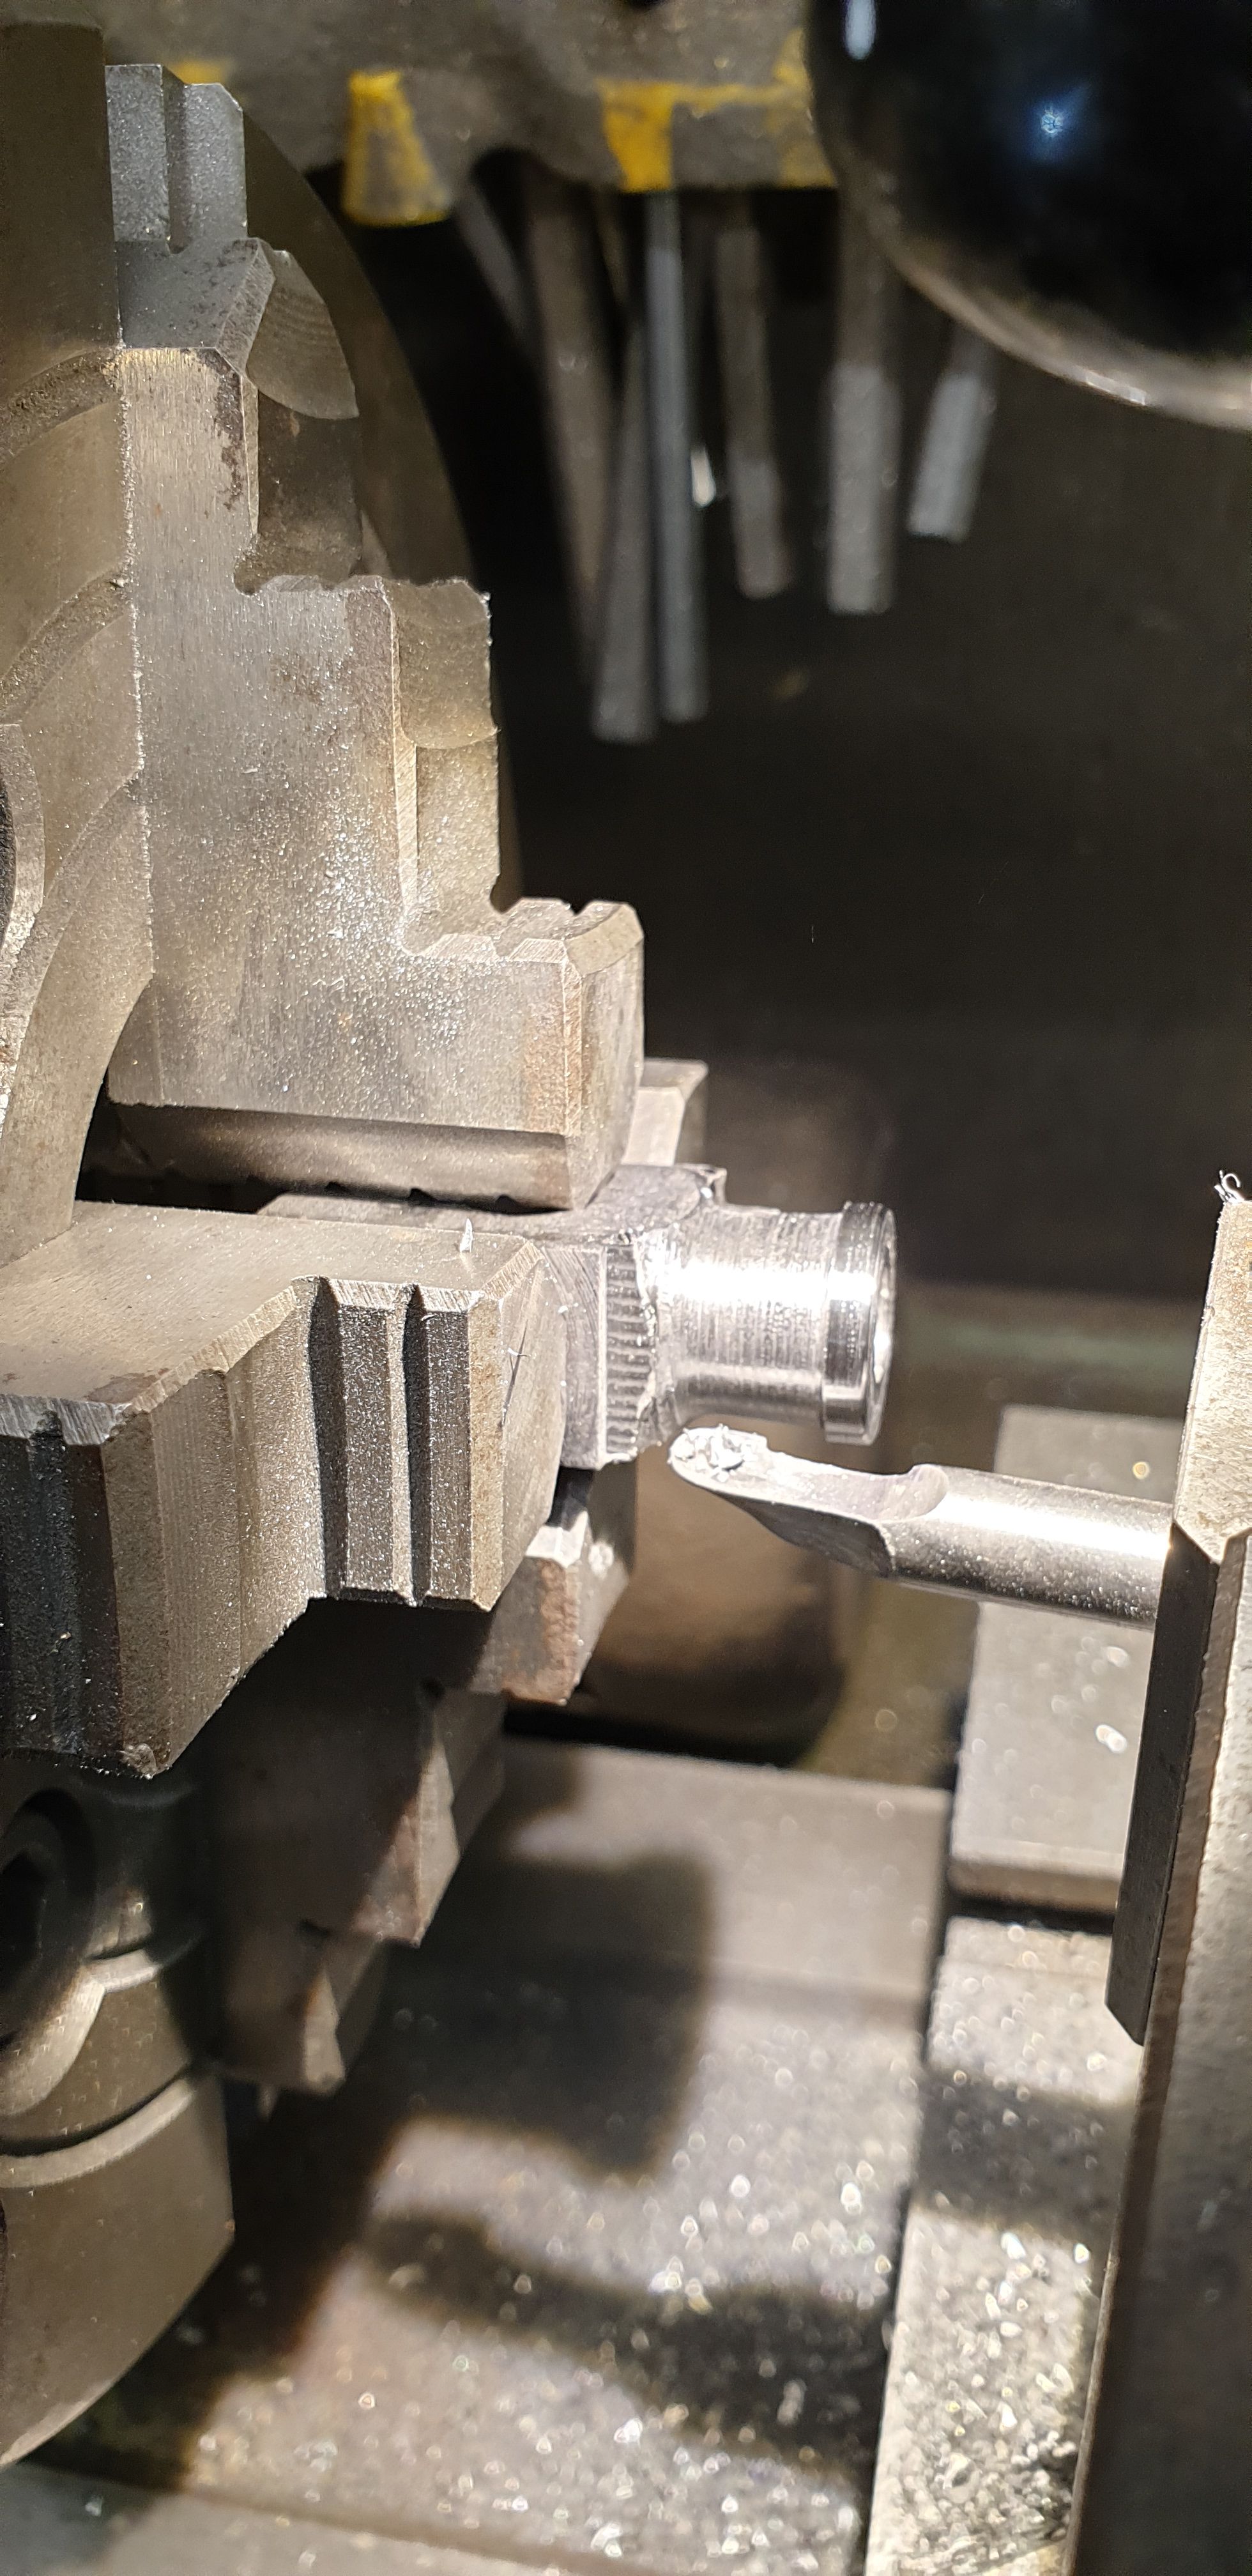
It was then back to the rotary table and some more profiling for the area where round meets square. I have fitted the button again as a guide, this button is larger than the round area that the drop arm mounting plate with sit on as I can see in both period photo's and SNG today that there is a 'lip' here. Also that the top curve, curves in to the slipper pedestal, again, this will become clearer later.
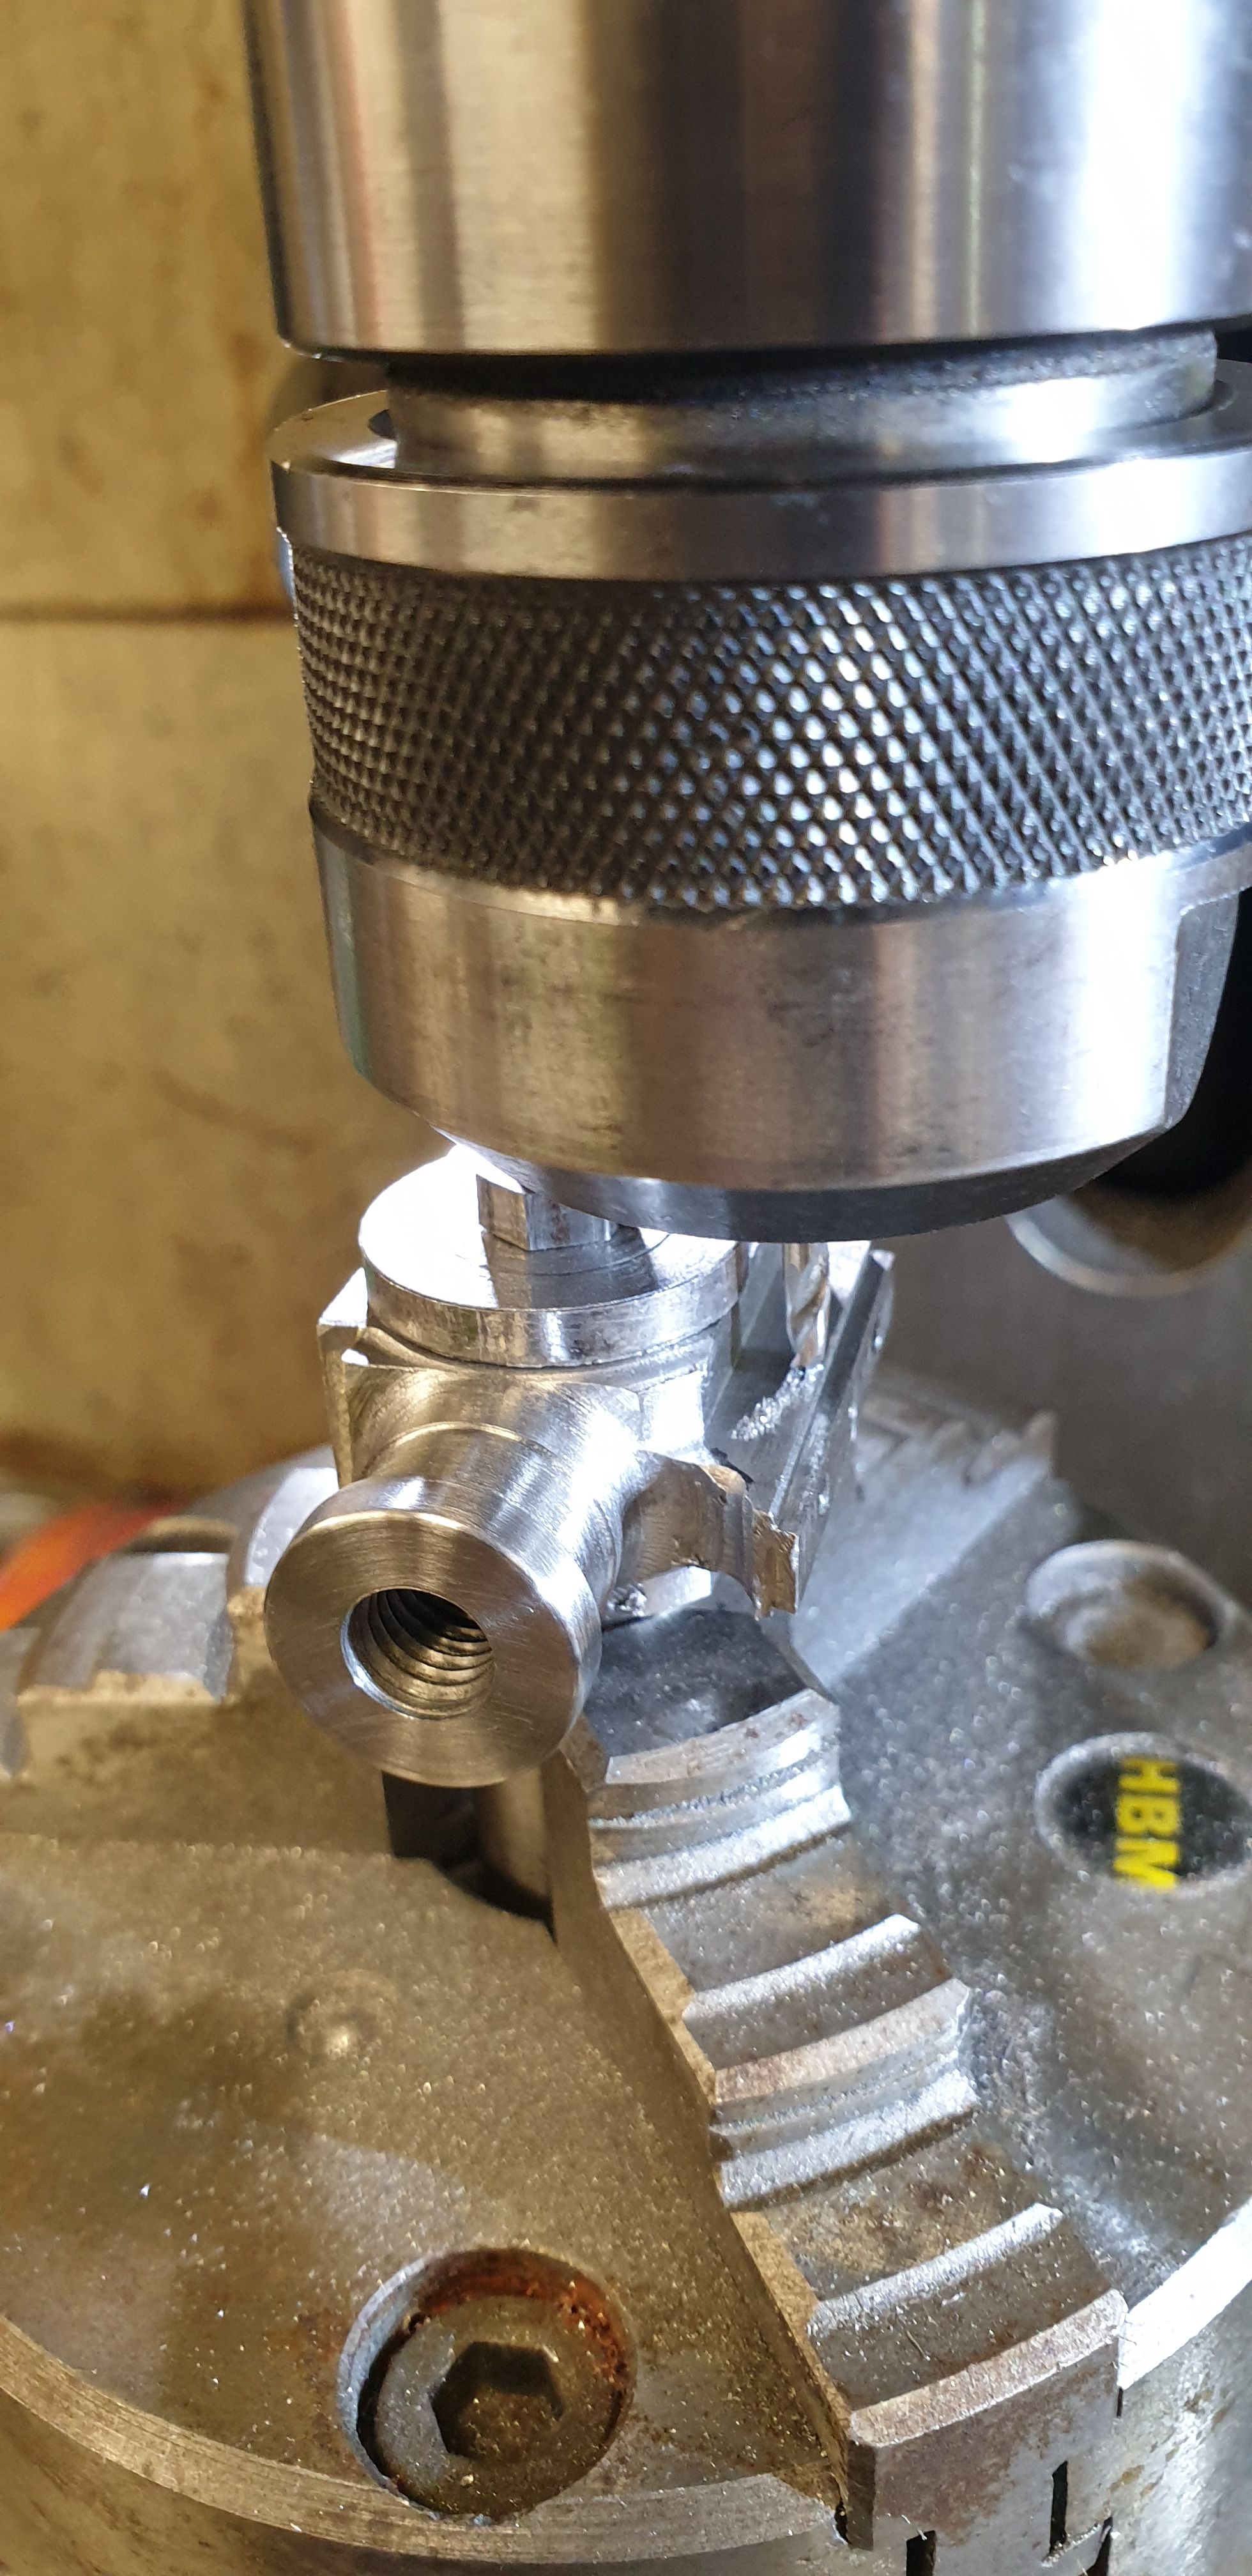
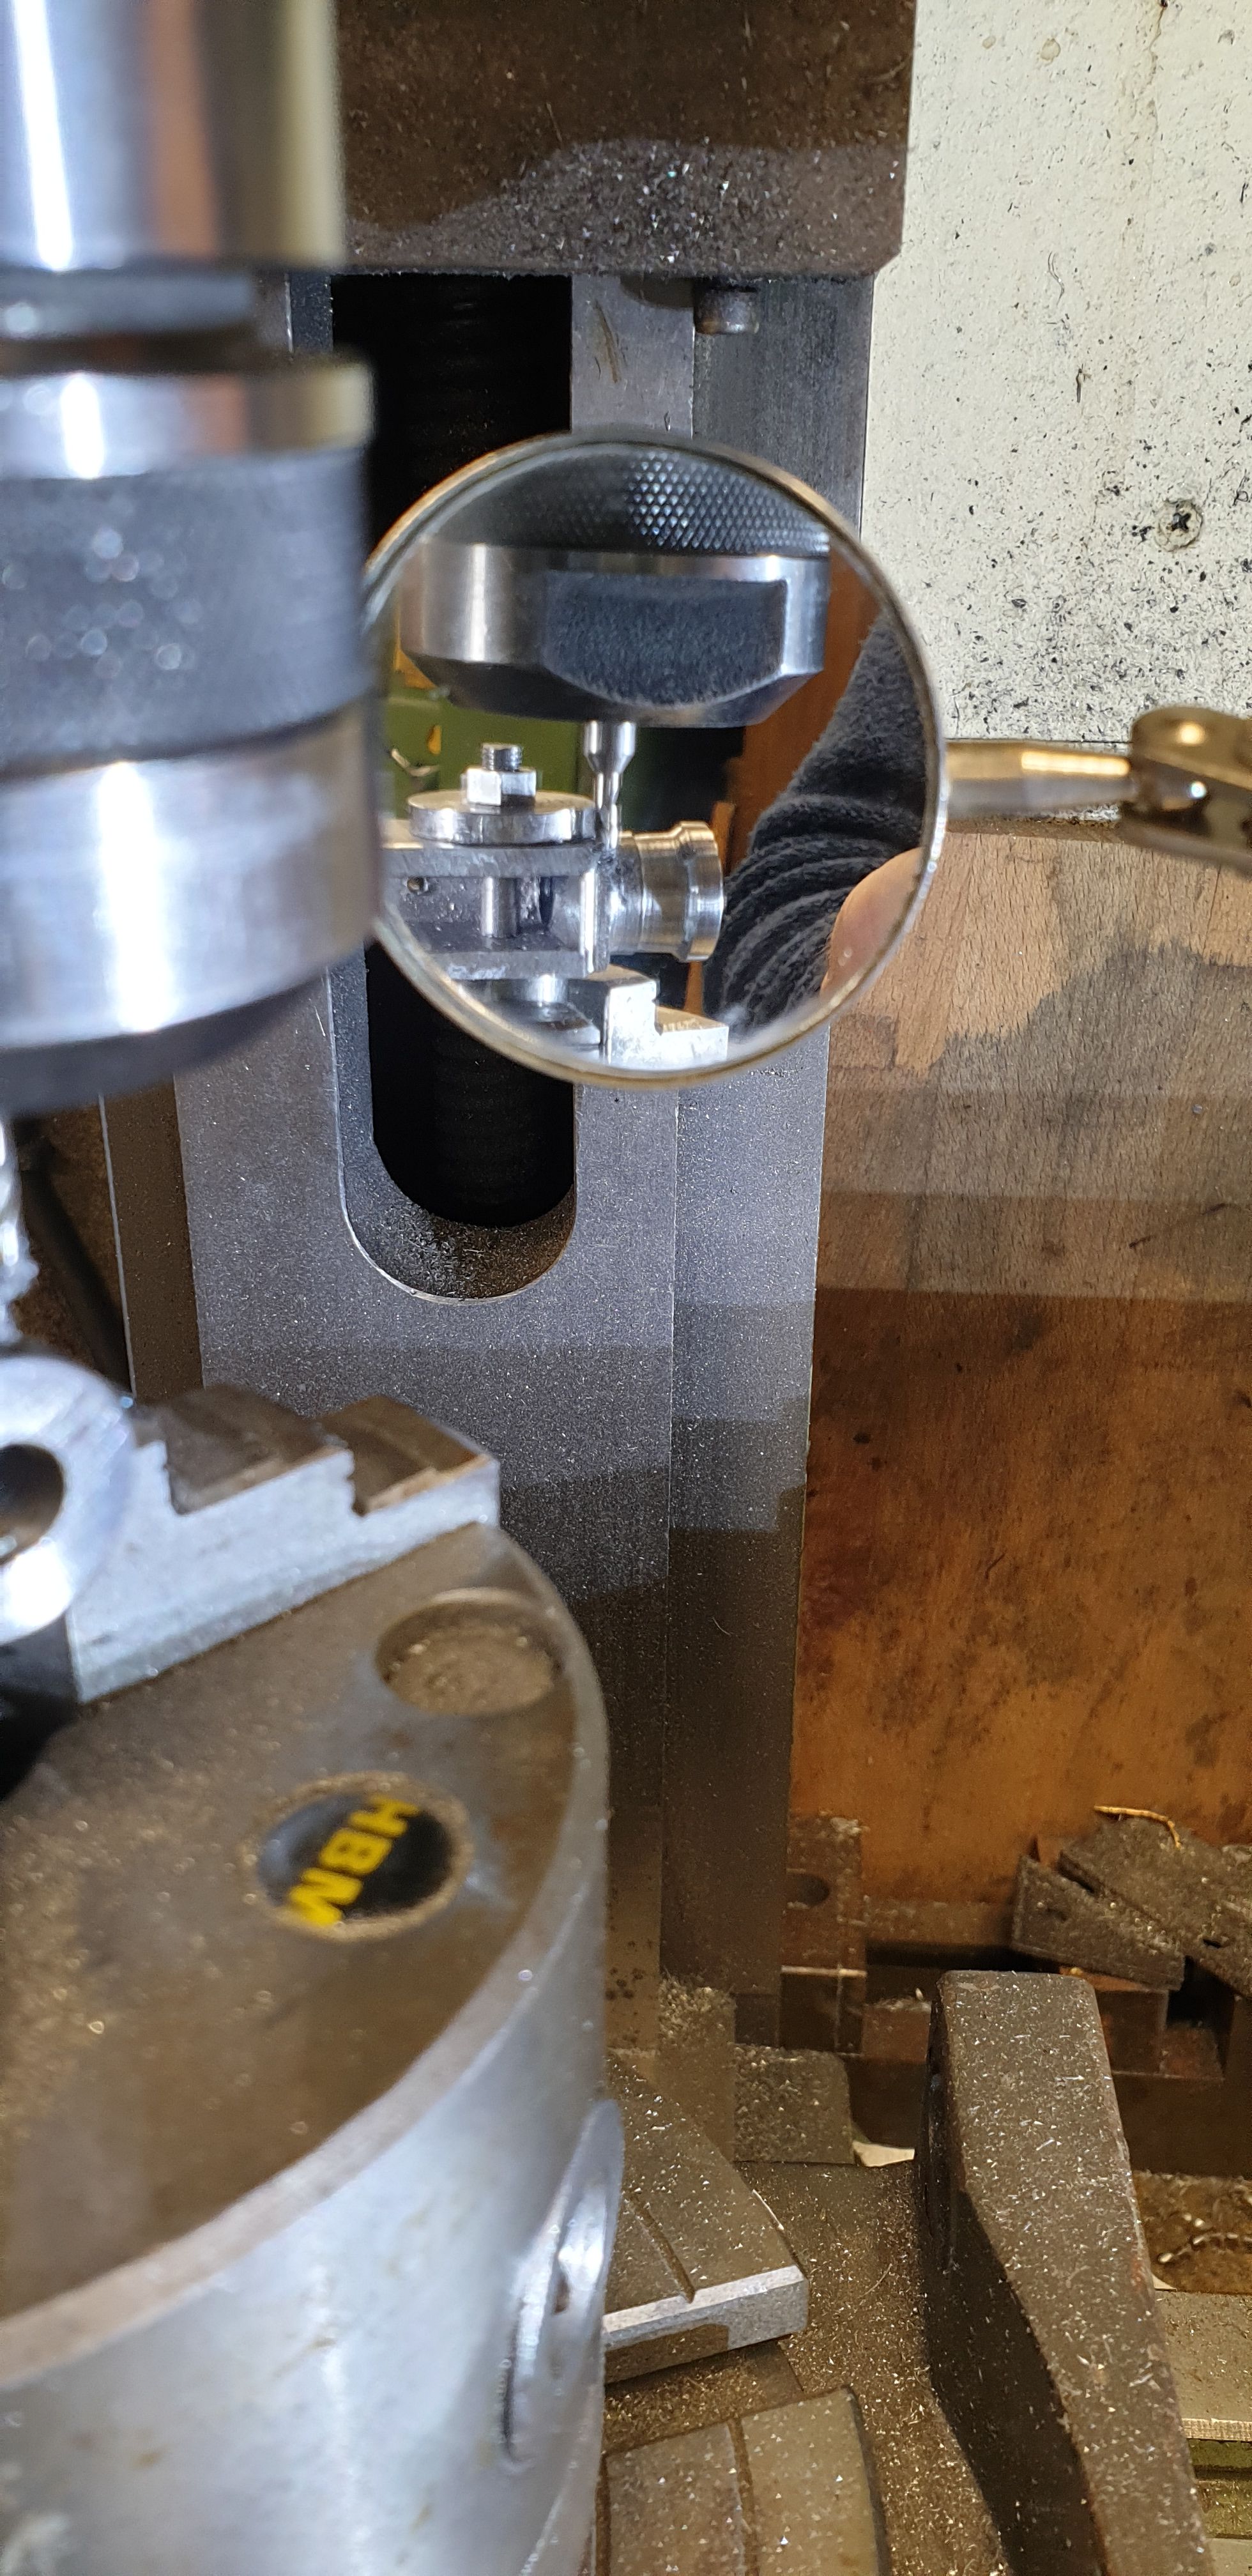
I then made the final roughing out cuts and machined up close to the button ready for the next stage of shaping the crossheads by hand. I used a mirror for the back cuts, not wanting to move the head across to the other side for a better view, i have enough to do as it is.
This next picture sees the completion of all machining for the front area, or should I say, this was as far as I was prepared to go with machining, much preferring to do the close up stuff by hand. Note that one of the crossheads has the button attached, this time using a plain 2BA bolt and nut. I'll keep using the button to keep the curved front edge on track.
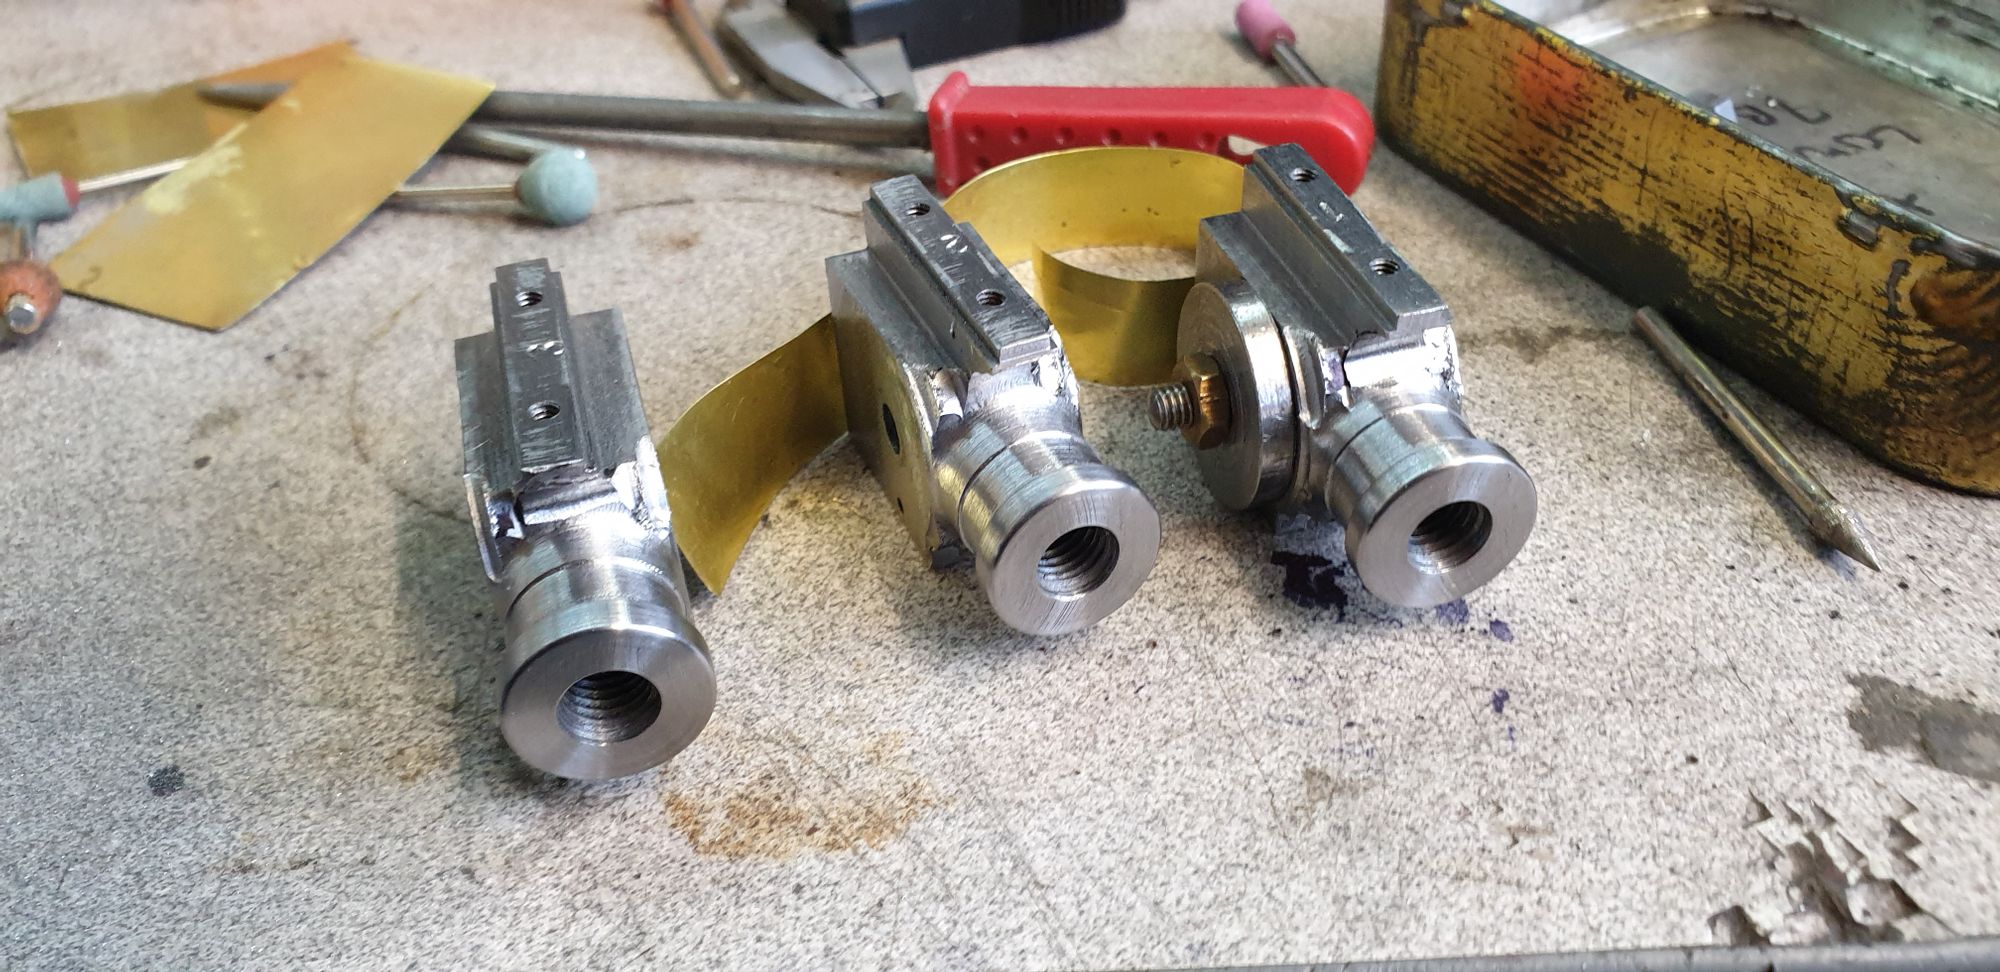
I then did a little more work on the inner curve of the slipper pedestal, I still have the upper curve where it meets the slipper itself to profile. I took this picture to show how I am approaching this grinding/filing/sanding stage. I'm using a variety of diamond cutters and some brass shim to protect the area nearby. Here I am using a thicker sheet of brass shim, later I used a much thinner sheet that was cut into a strip and wrapped around the taper section.

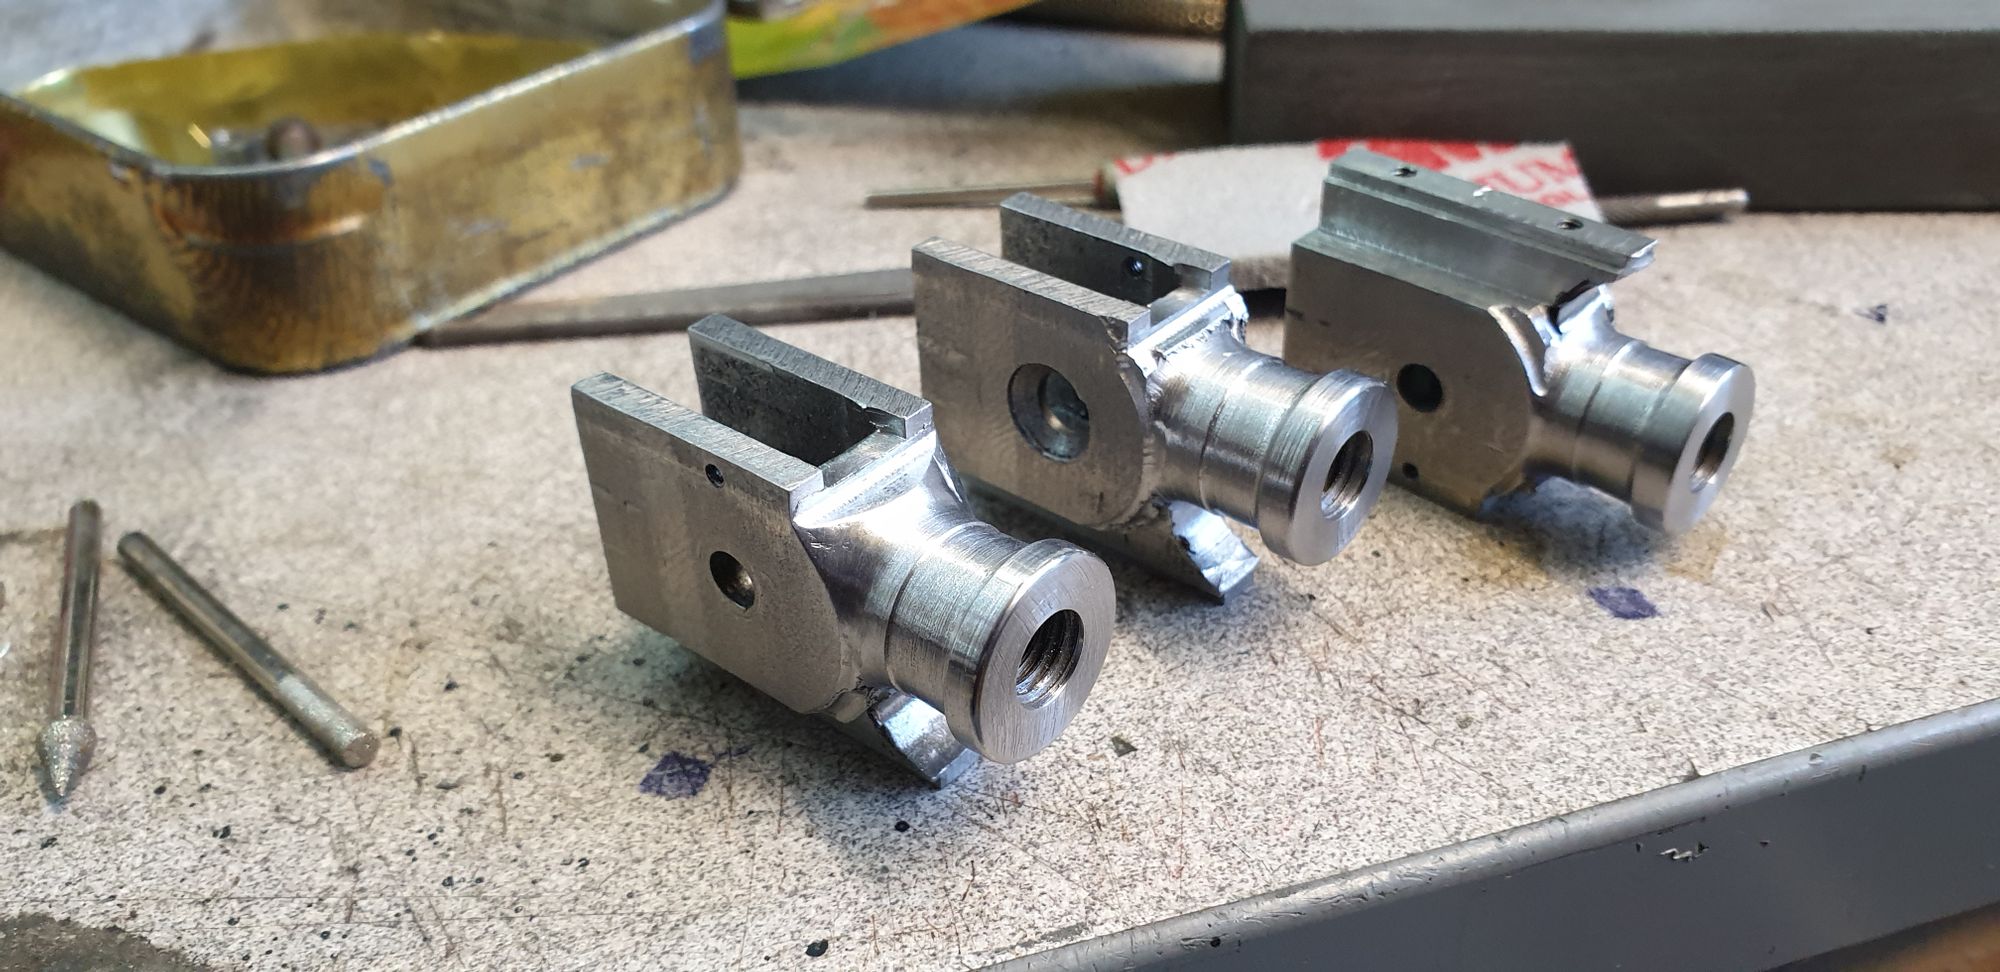
Lastly for this entry, I have made a start the the underside just to get a feel of the material and how much force i need without going too hard. I started on this particular crosshead as I haven't cut the metal back as far as the others, for no particular reason other than an oversight on my behalf, far too many setups perhaps, there are a few. As can be seen I still have some way to go before getting back to where the other two are but that's good as it will remove the two machine marks that are still seen.
I'll call this stage two of the profiling, once all are at the same stage I'll go over them for a final time, rounding off all of the sharp edges and polishing them to as good a finish as I can, there will be a lot of polishing involved. I have set the far crosshead upright to give an idea of how much more metal is needed to be removed from the top. This will be a little more problematic as the slipper pedestal (not at its final shape yet) will get in the way a little. It will just require a little more time and care.
The next installment should have the front shape completed, before I can start the rear I'll drill and machine for the dummy cotter pin which will be done on the tilting vice and requires the bottom face to still have as large a flat area as possible to keep the crosshead straight/square.