

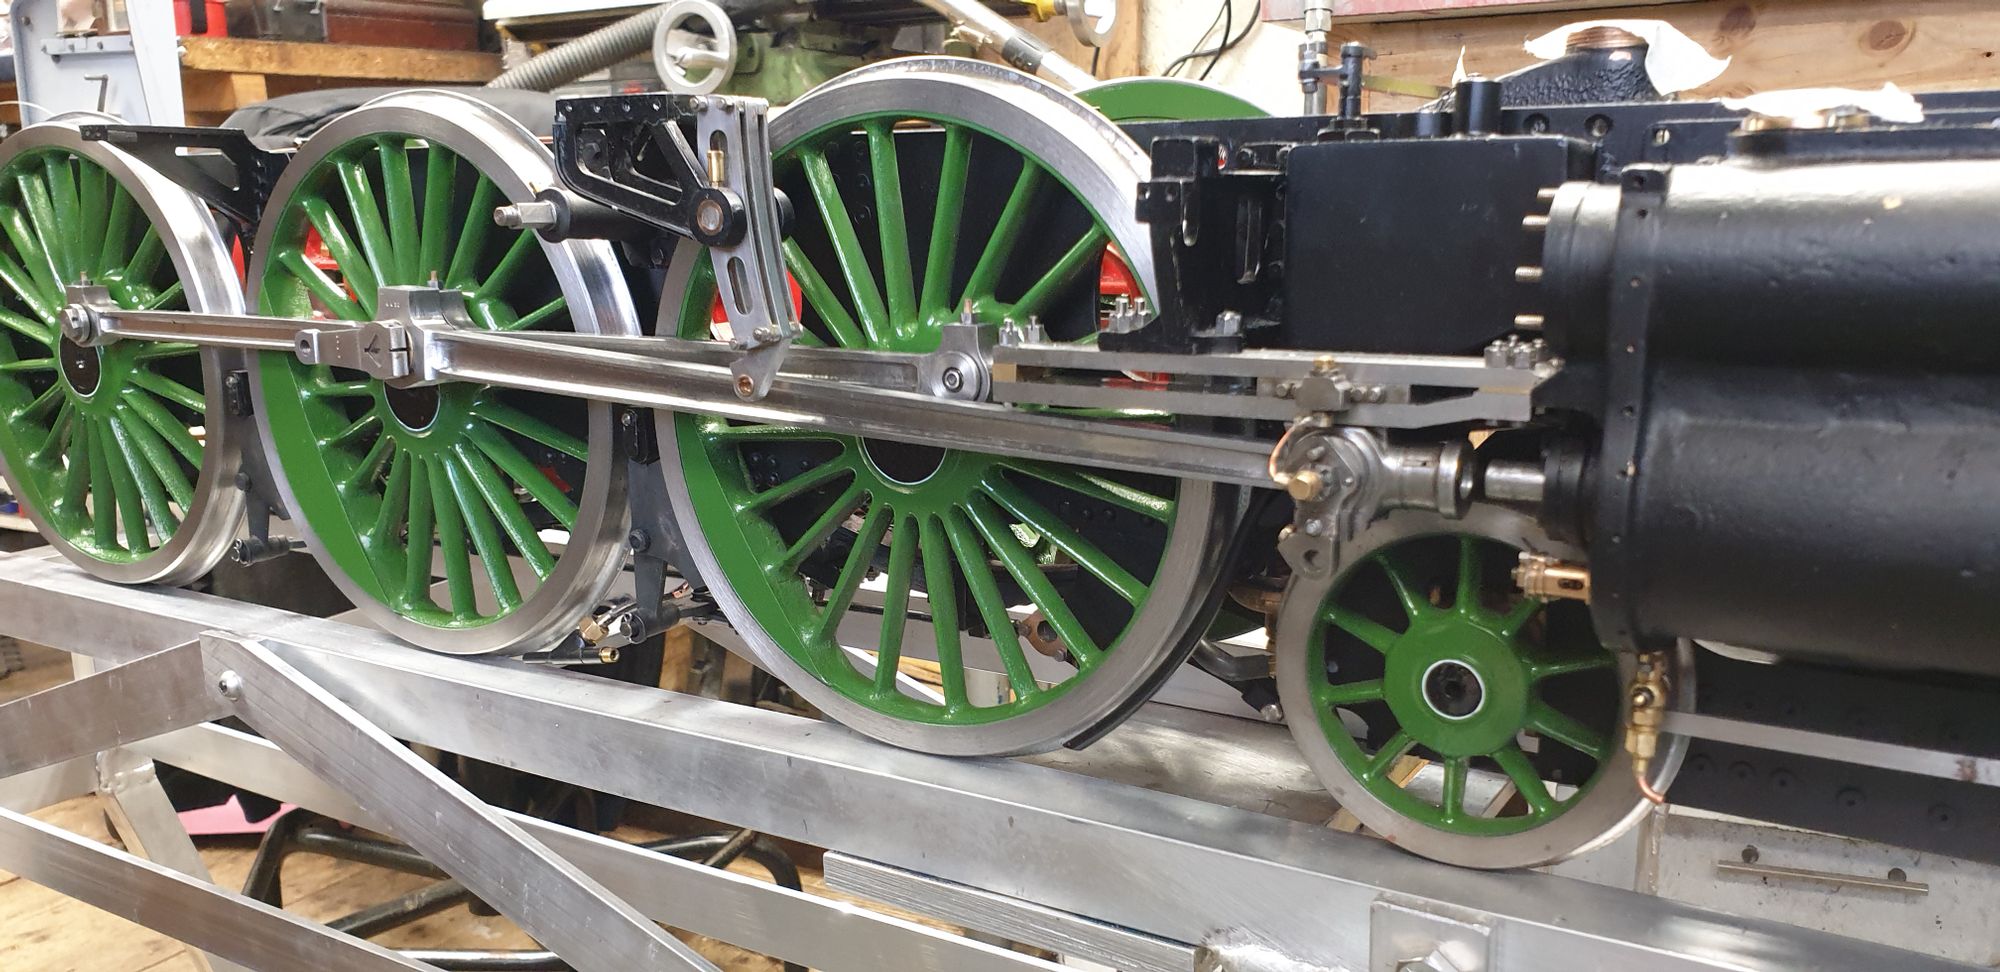
This is another big step in my book, that is getting the wheels connected to the crossheads via the connecting rods, the next big step to follow being the fitting of the pistons themselves, that will be the next job after all 3 rods are fitted.. There are lot's of close fitting parts involved her and so I have taken my time in fitting (fettling) the R/H outside connecting rod, I started with this side as it's facing the window and has the most natural light. I have moved the loco 9using the electric hoist) from the bench and put her on the loco stand for this stage. It gives me the opportunity to run the loco back and forwards along the 7 foot stand which shows me whether I have any clearance issues.
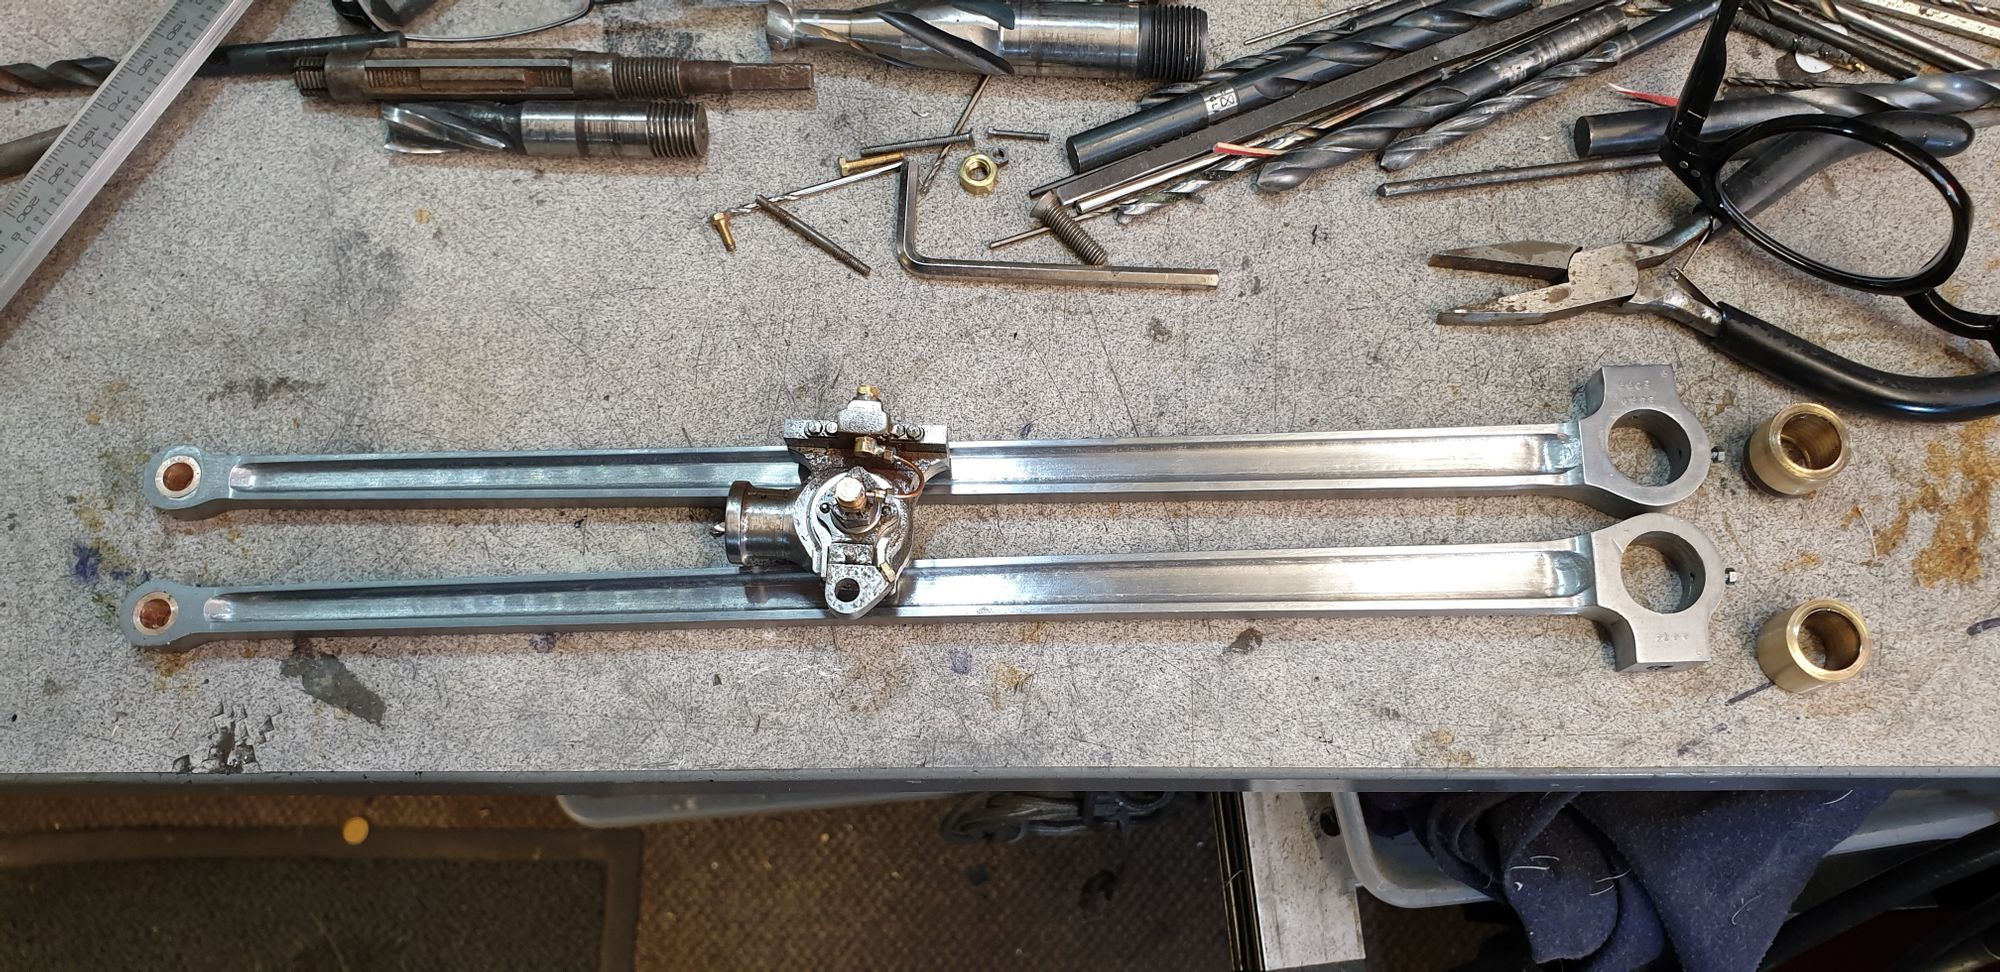
The first picture shows the two rods and their brasses machined ready to fit, plus one of the crossheads for size comparison. The brasses at this stage are undersize for the bore which will be reamed to be a good fit on the pins after pressed into the rods.
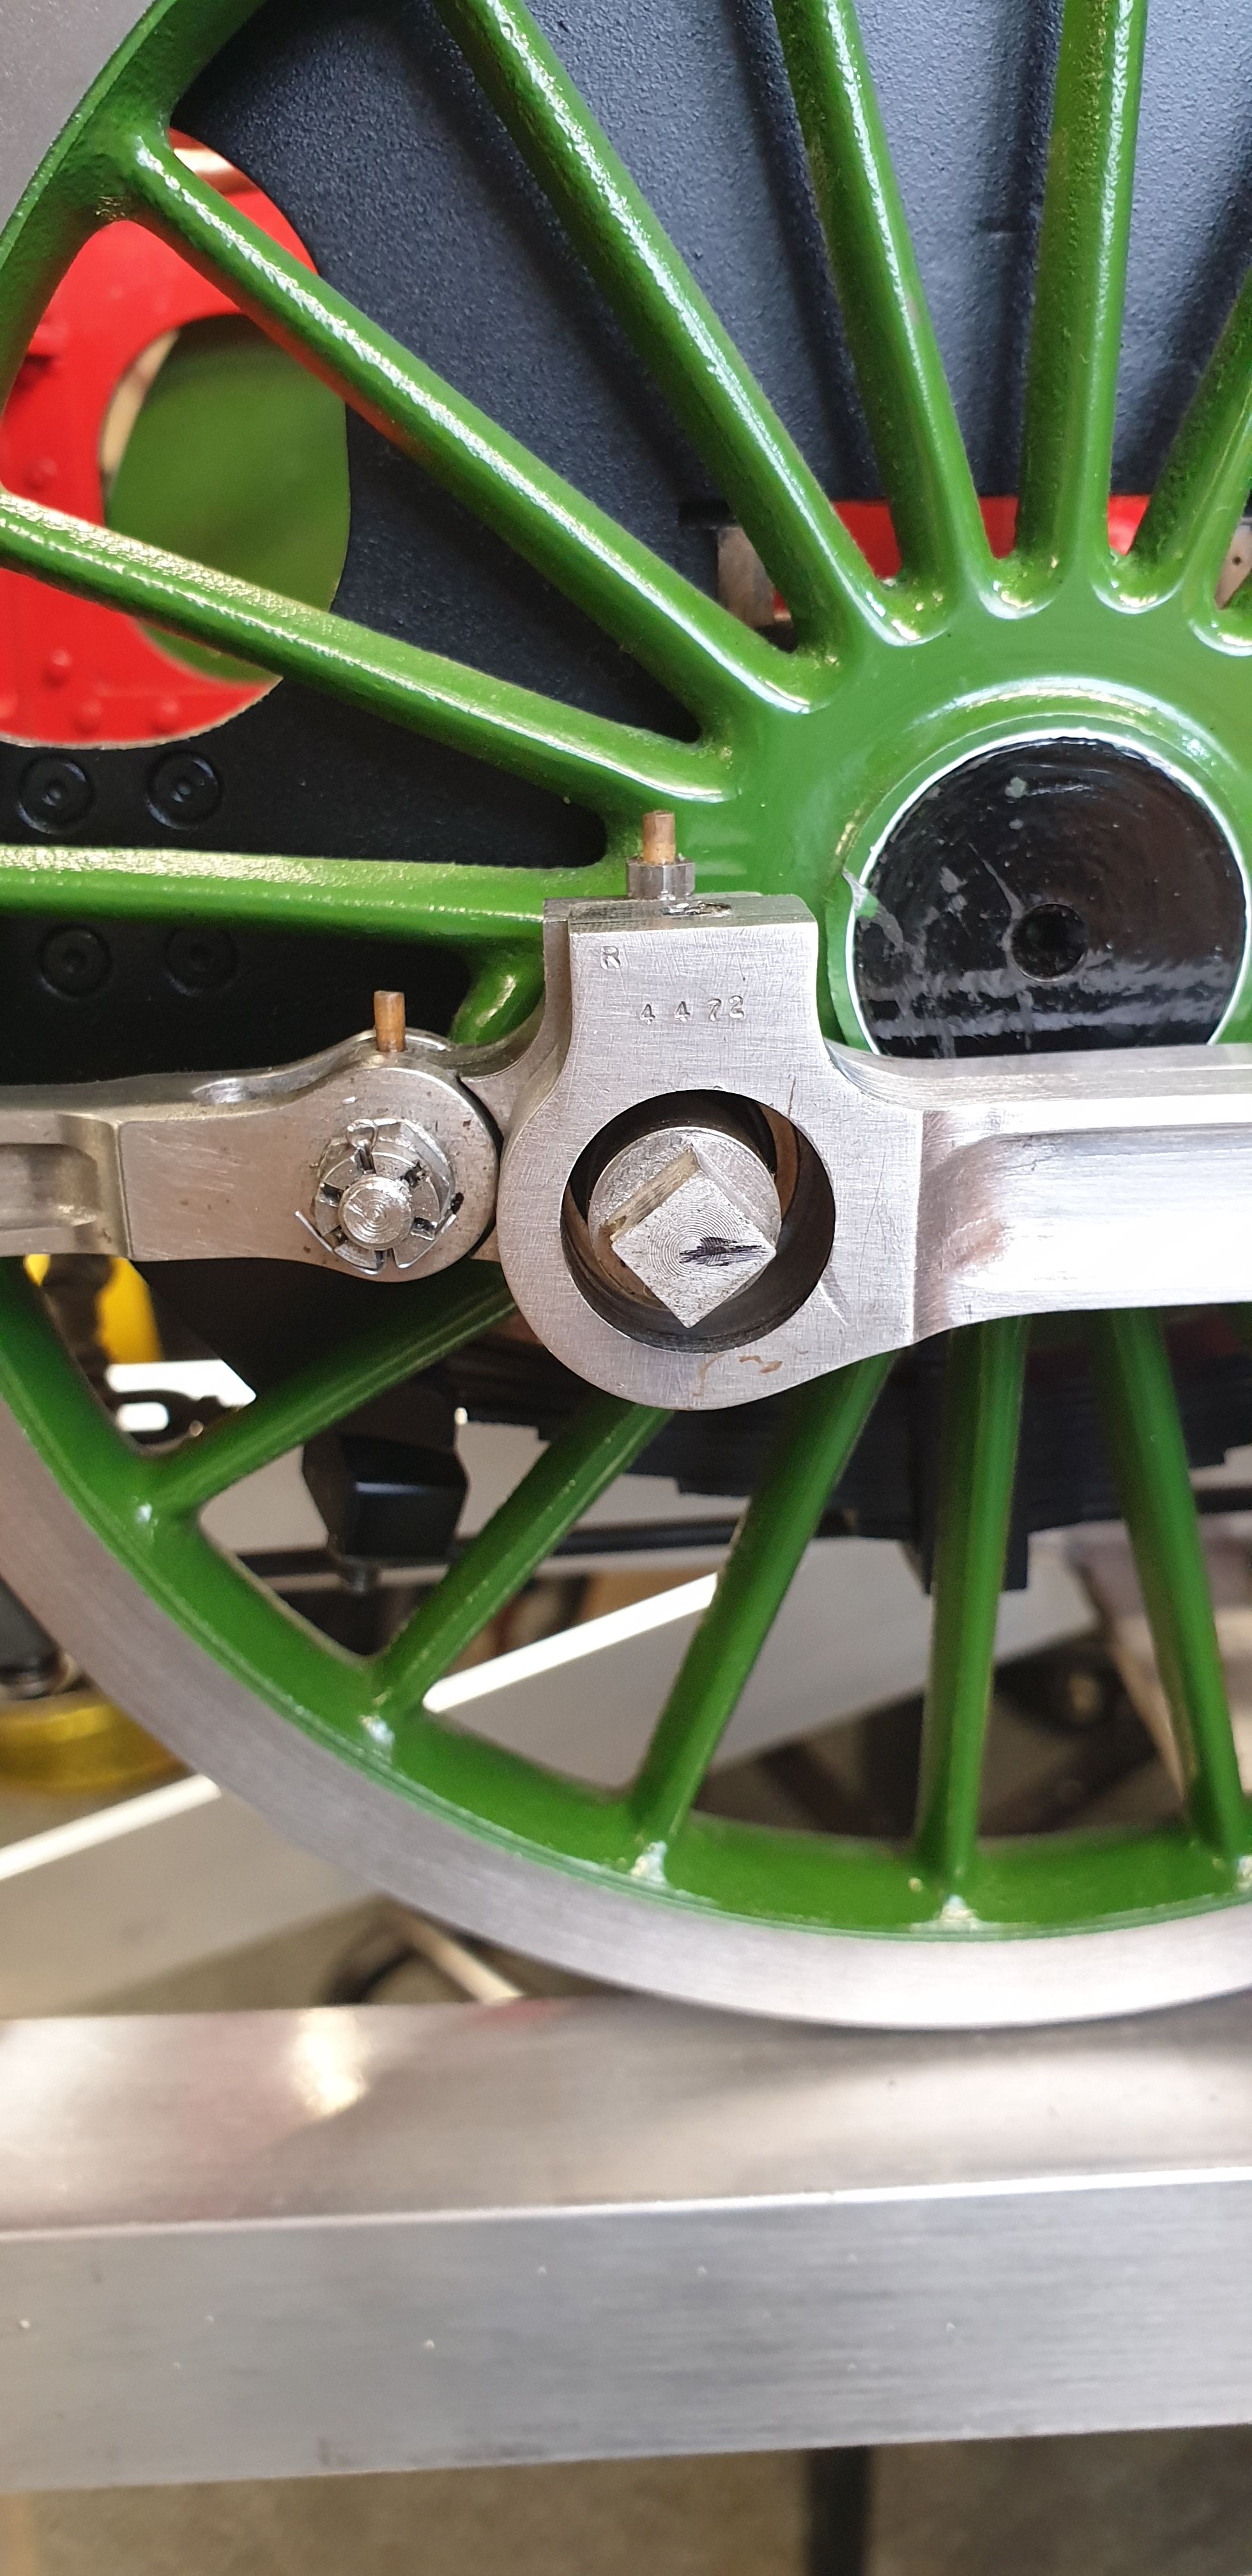
Now, before fitting the brasses I first lined up the rod to the big end crank pin and found this, well I say that I found it? actually I was aware of this but had forgotten that I had left the required chamfer to the knuckle joint until after I had got to this stage. It did give me a fright to begin with...:) I must remember that the paintwork needs touching in in certain areas as seen here.
Here's a close up picture of the full size of the same rod that I took at York 2016
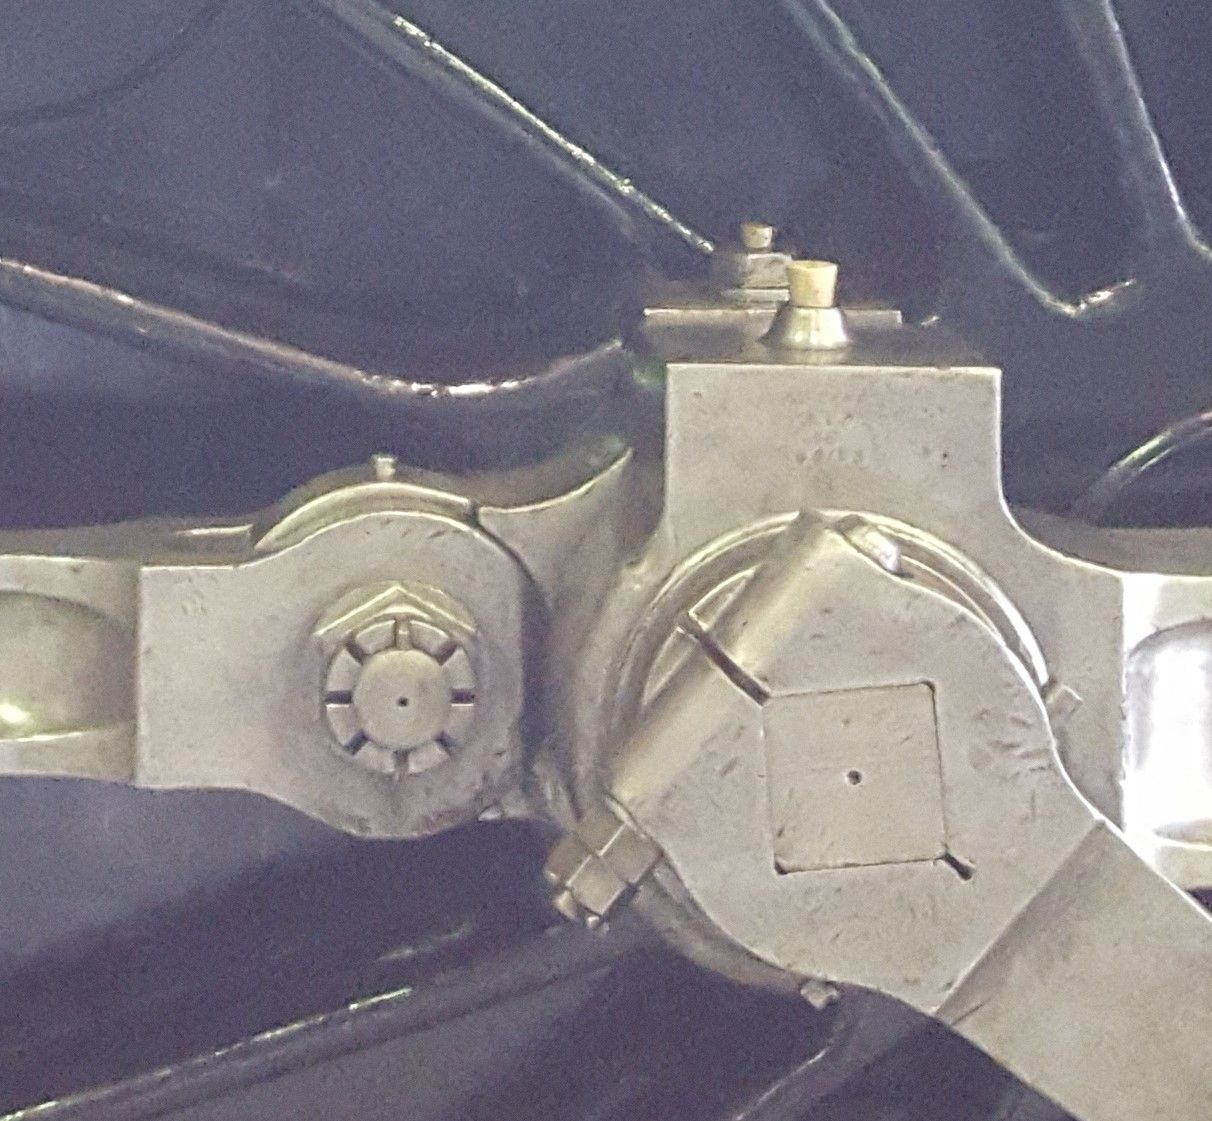
Once happy with the 'big end' I then paid some attention to the little end. The picture shows this area after I had fettled the cap a little to give enough clearance between this and the connecting rod as it passes by. This particular nut/bolt is a bit of a pain to get too. In fact after spending about an hour on this before i had to concede and get my wife to help with her smaller hands. I have cured this now with the purchase of a micro ratchet from Bosch. Using some steel hex bar that fits the ratchet I center drilled this to take the required Allen key that once it's tail was removed was silver soldered into the hex. This has changed a real pain of a job from a very labour intensive, two man job to one that now only takes me minutes alone. Of course this is easier still with the boiler off but I think that it can still be done from underneath with a lengthened allen key tip. Let's hope I don't need to do it again any time soon.
Both brasses were reamed, big end using an adjustable reamer and the little end a 1/4" reamer.
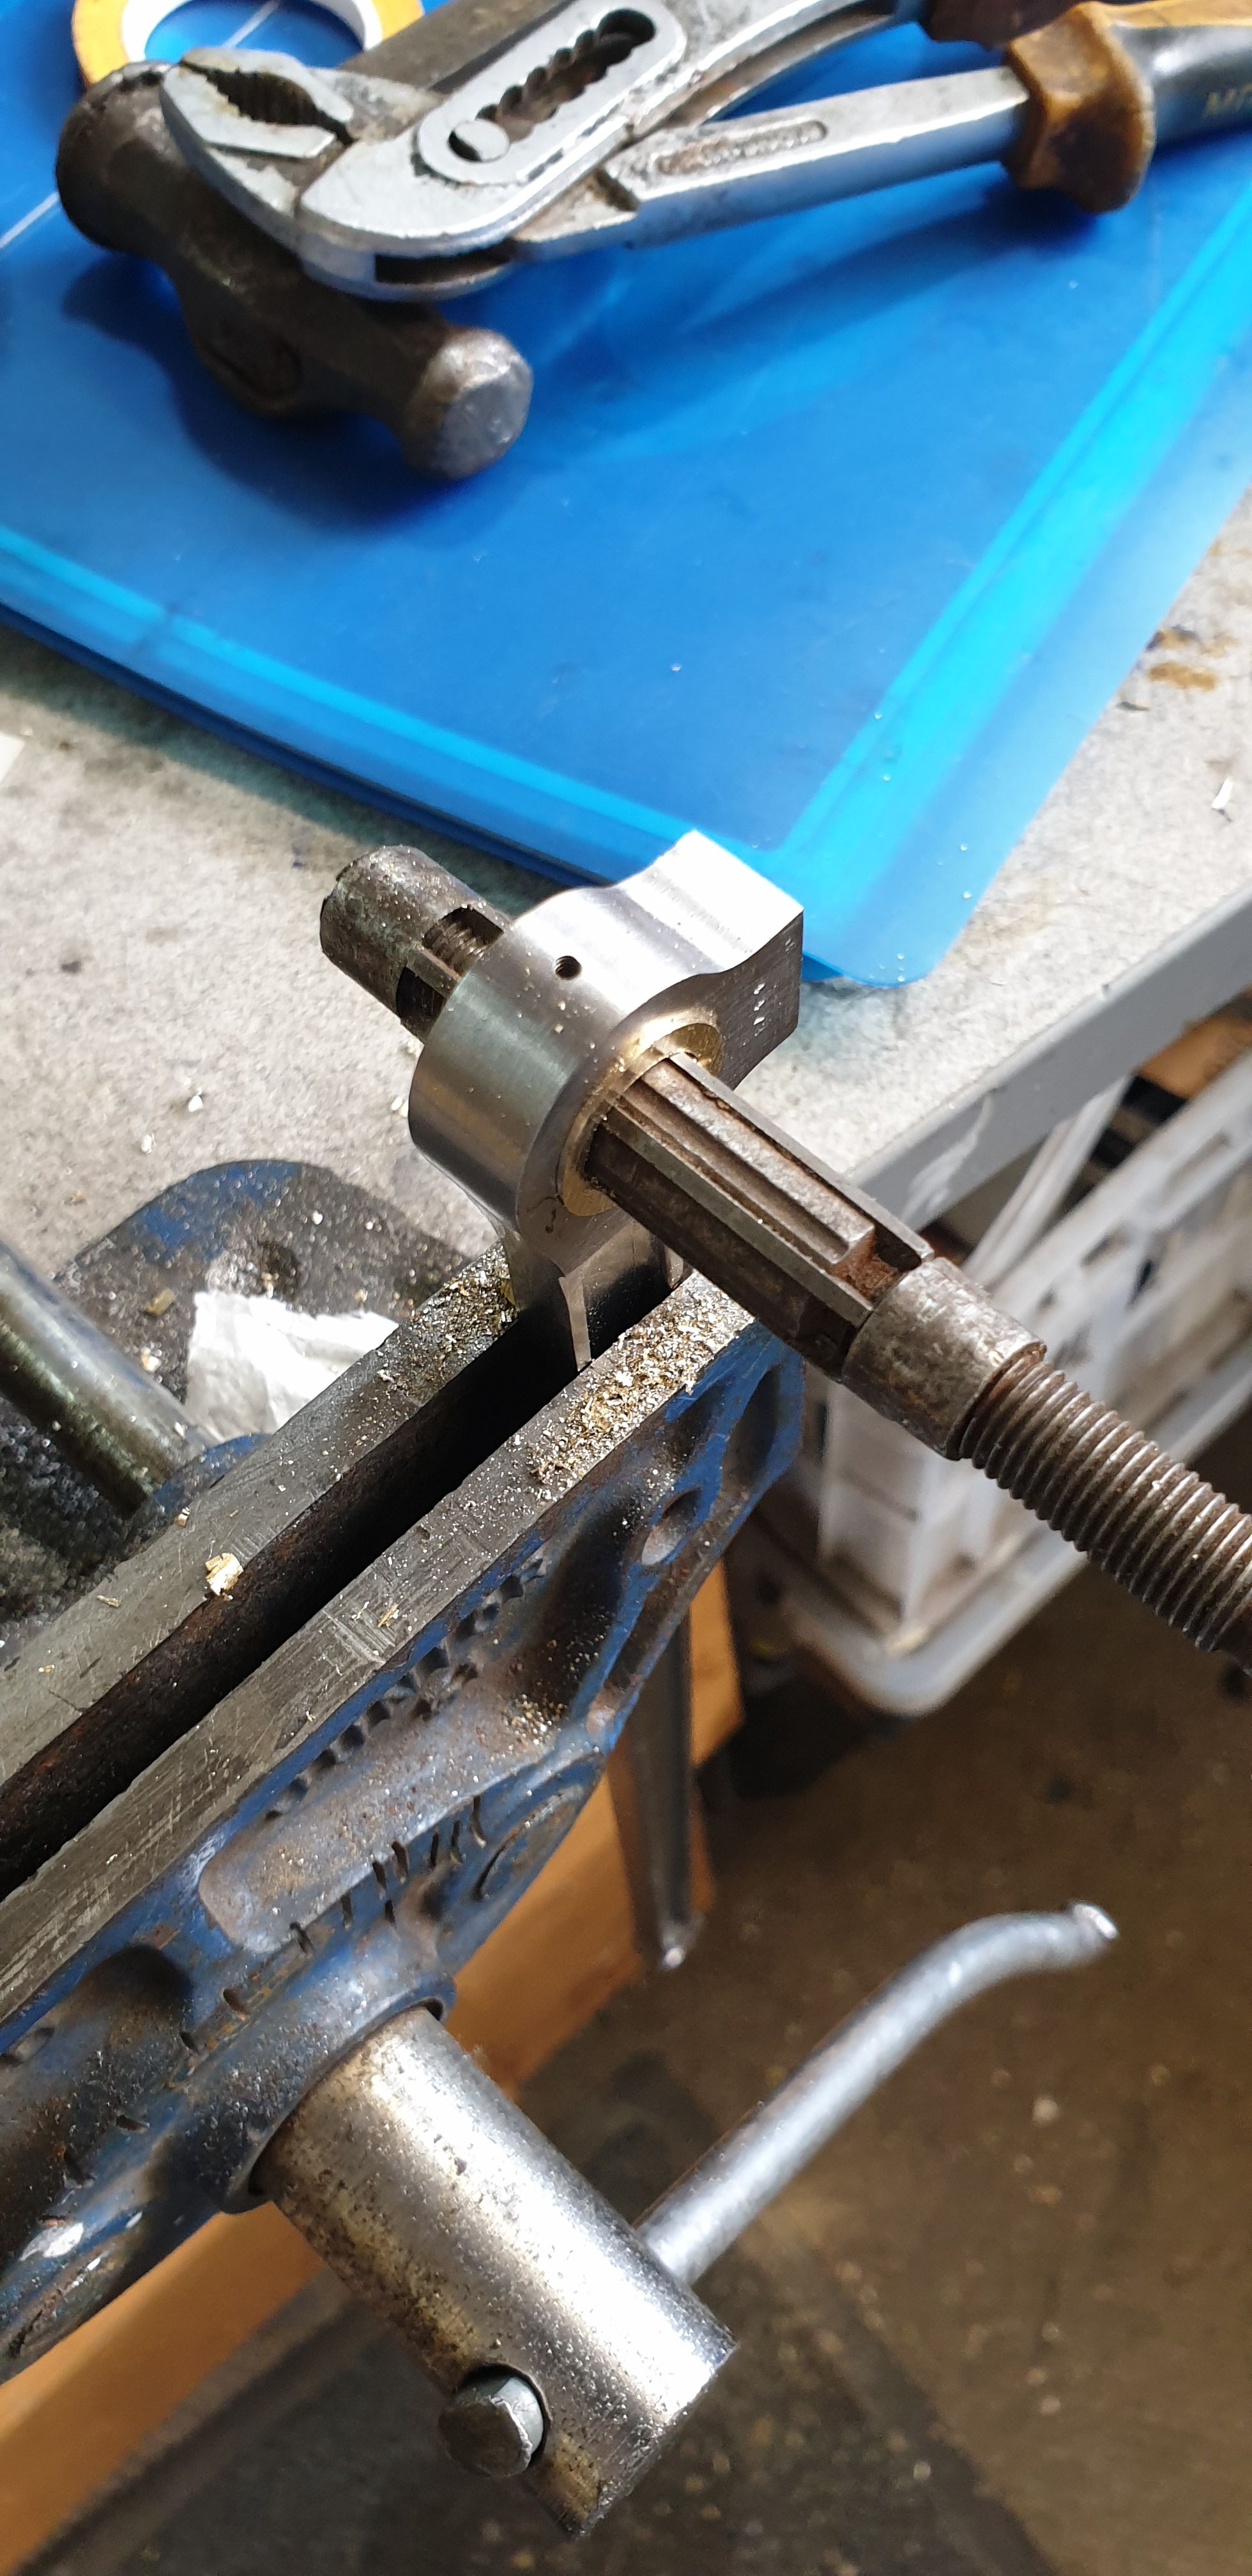
It was then time to test fit the rod to it's crosshead and then on the loco itself. This required a little more fettling (this time machining) in enlarging the crosshead recess that the rod sits in. It was too tight and the pin couldn't quite reach the brass bearing freely to pivot. It is now a good close fit which I'm very happy with.
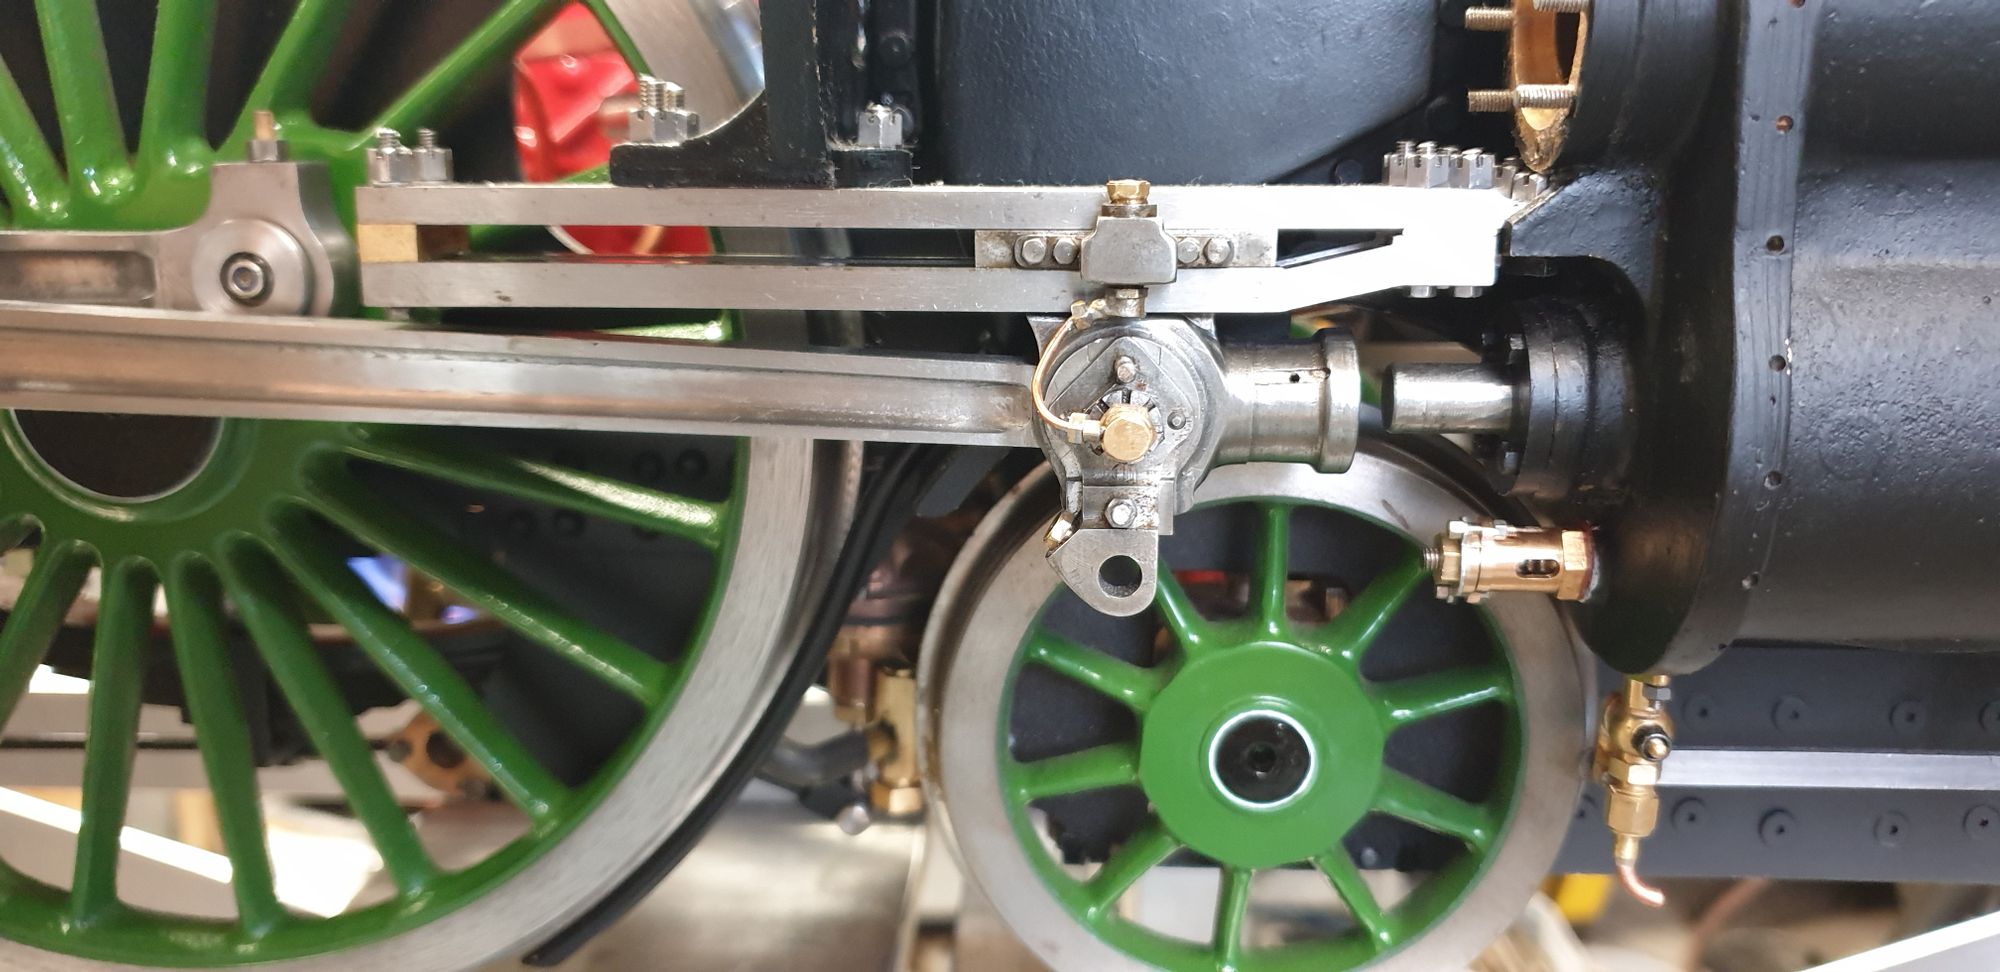
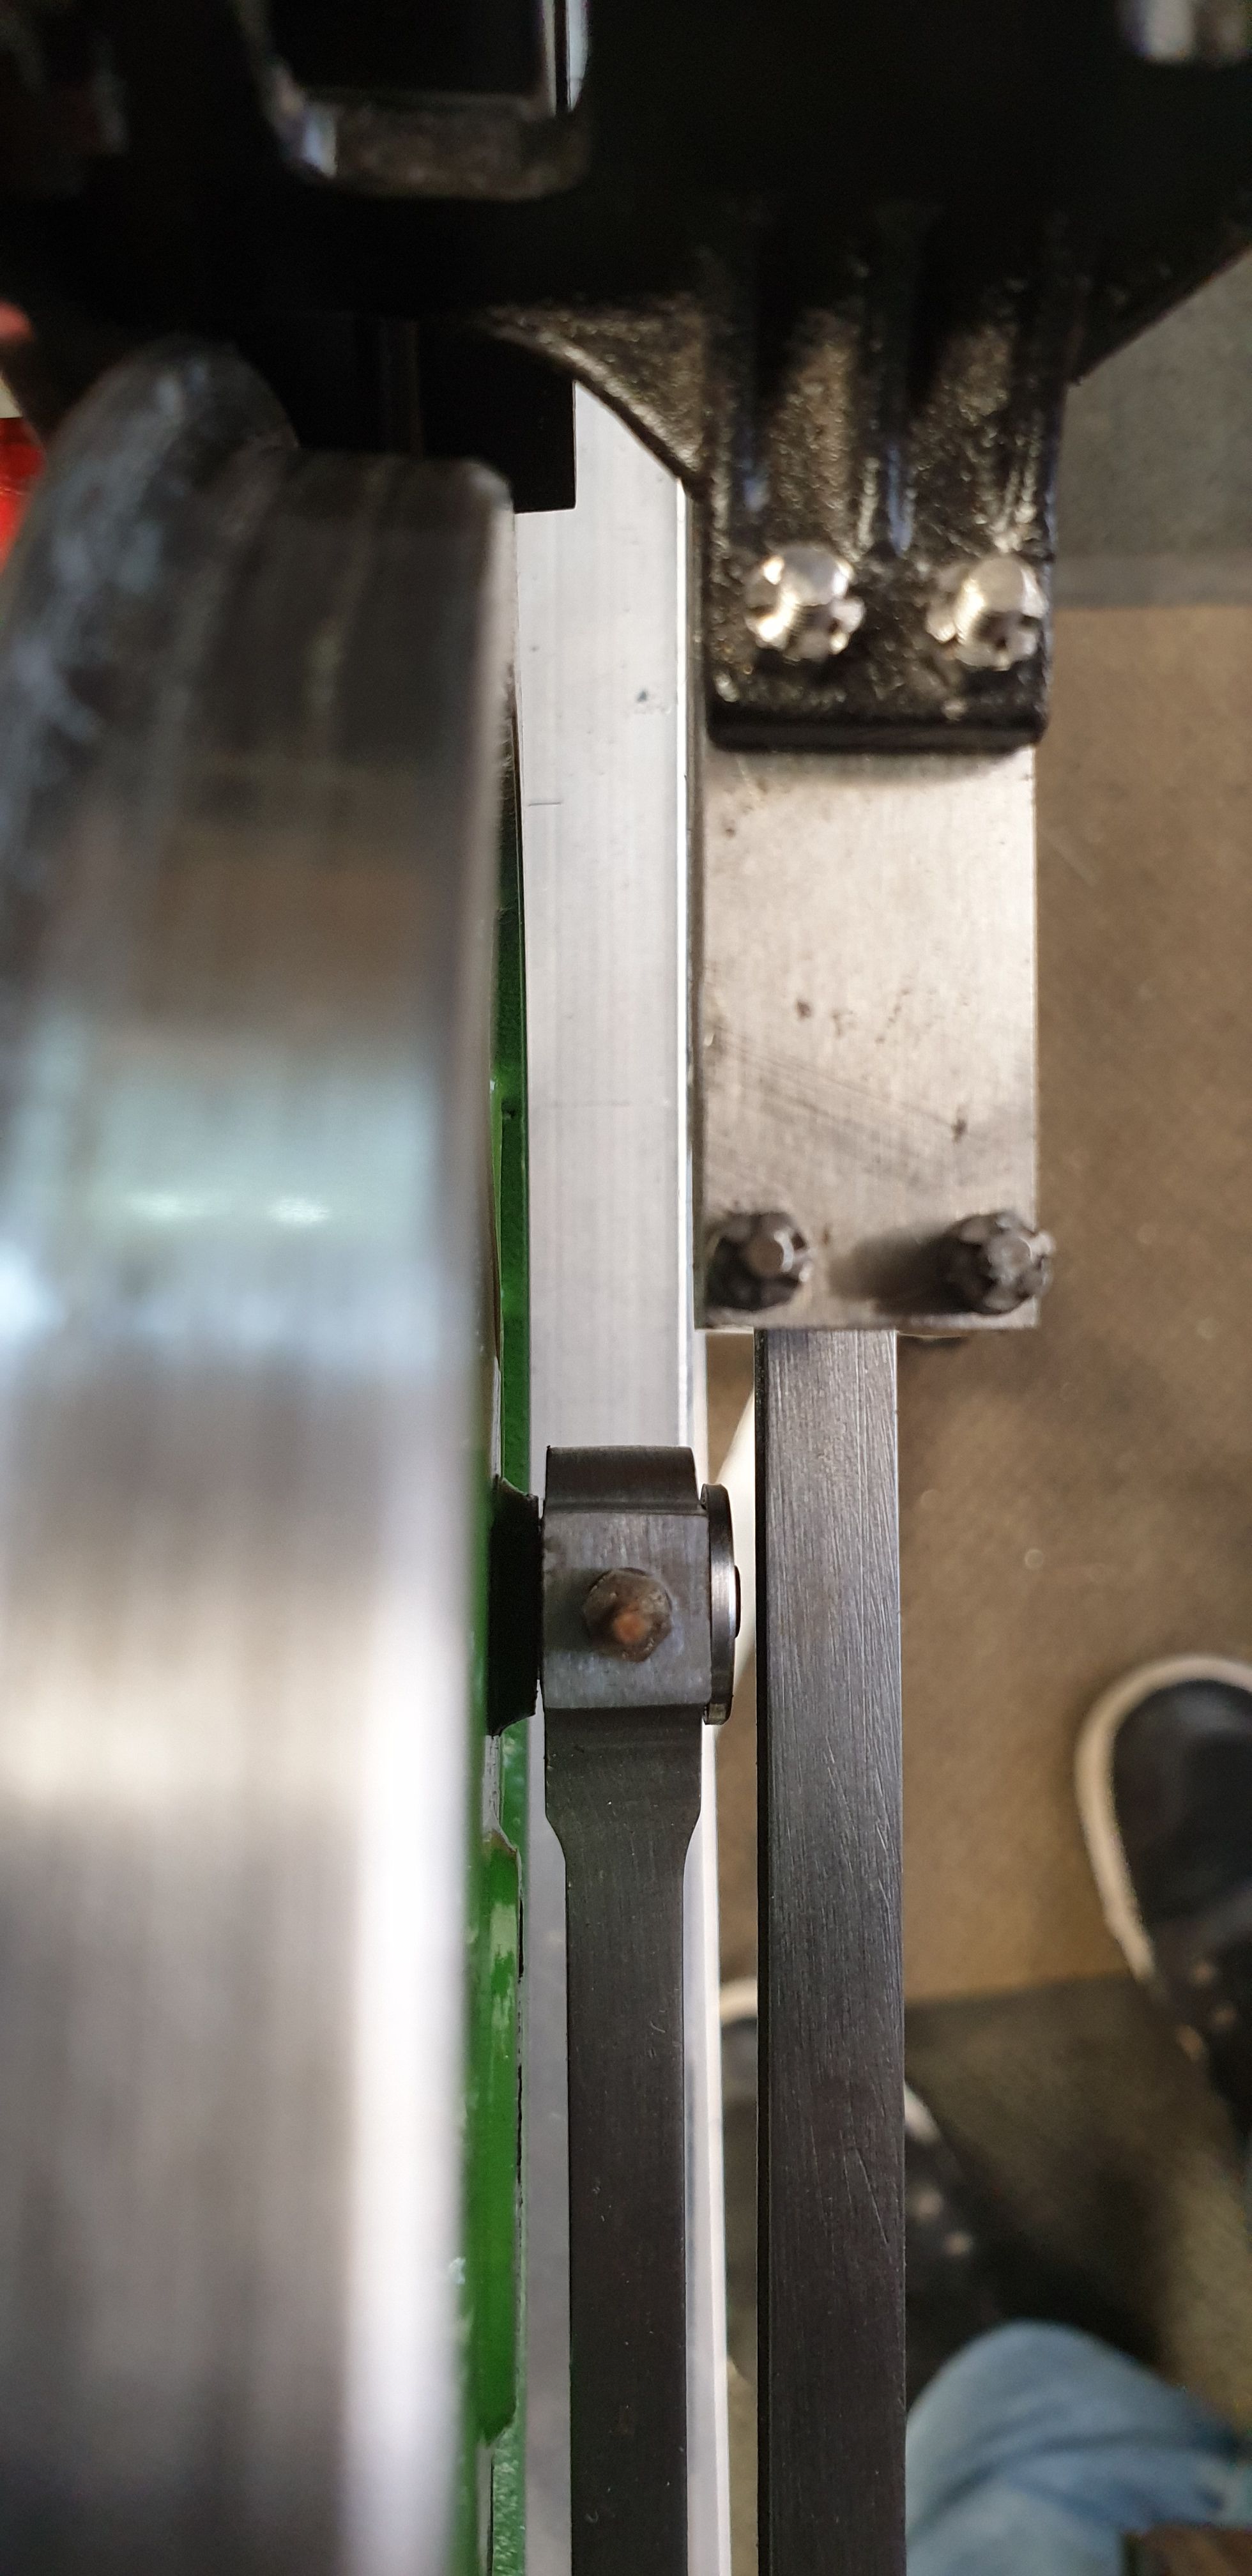
Last picture for this update shows the state of play so far, two jobs to do before I call this side 'done'. I need to reduce the width of the big end brass a little for the return crank to sit fully on the crank pin. The other is I may have the slipper a little long as it goes slightly over the end of the bottom slide bar where it angles up to the top bar. either that or the bar angle is a little shallower than it should be, either way, it needs addressing and I'll do both before moving on to the other side. The motion is beginning to take shape now, oh and in case you hadn't noticed, I have also given the wheel rims a polish.
The next update should have the middle rod fitted, I need to make the brasses first including the big end split brass. More soon...