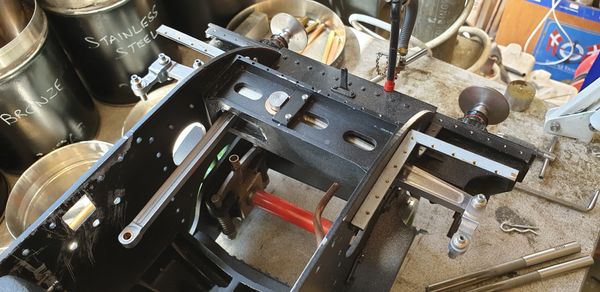
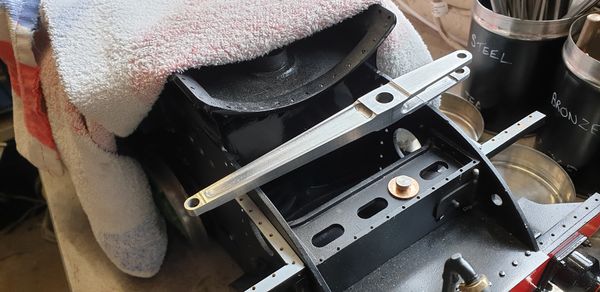
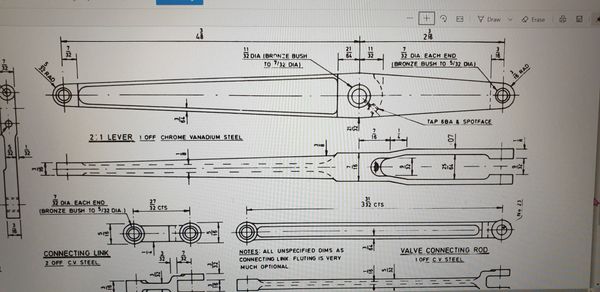
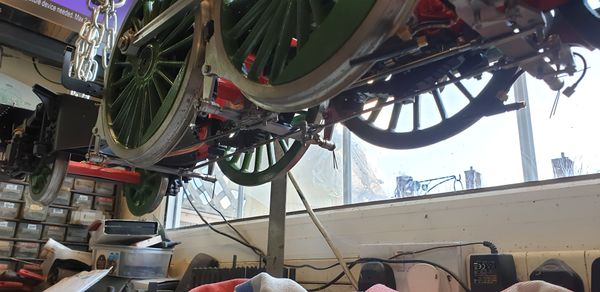
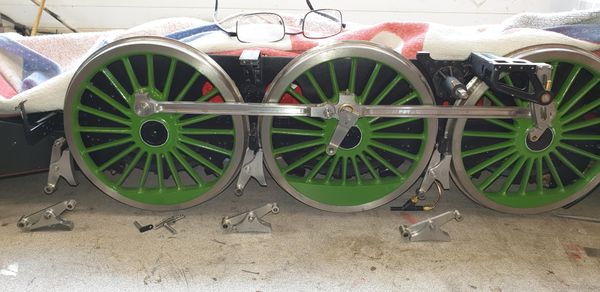
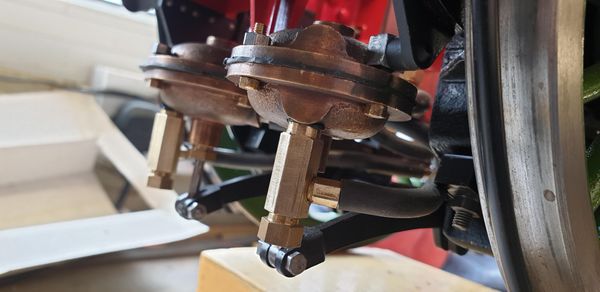
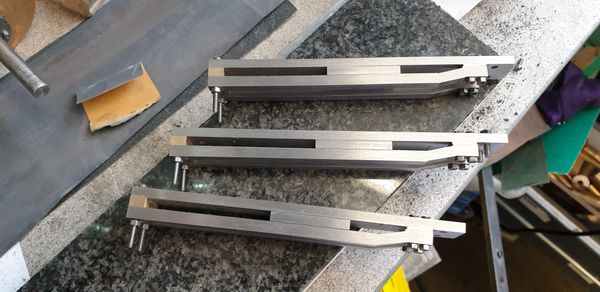
Flying Scotsman Gresley conjugated gear-valve connecting links-Part 3 and final assembly Once I had finished the bushes for the outside links I then moved on to the 6 pins, one of which is slightly longer for the 1:1 lever fulcrum.
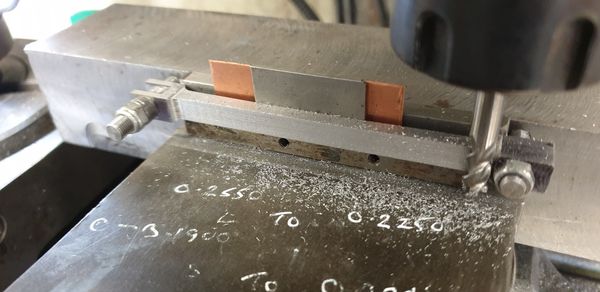
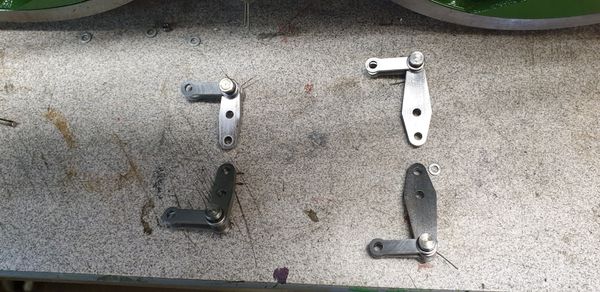
Flying Scotsman Gresley conjugated gear-valve connecting links-Part 2 Continuing with the valve connecting links I next machined the small collar around the holes. I have modified these a little to give more metal to the slot tabs, basically
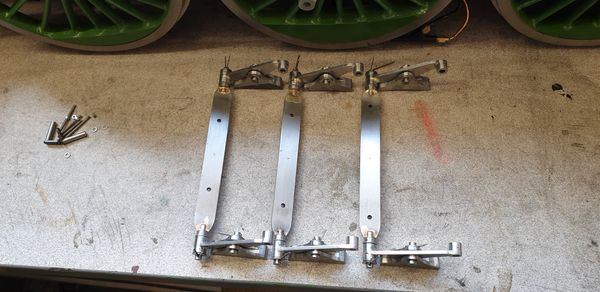
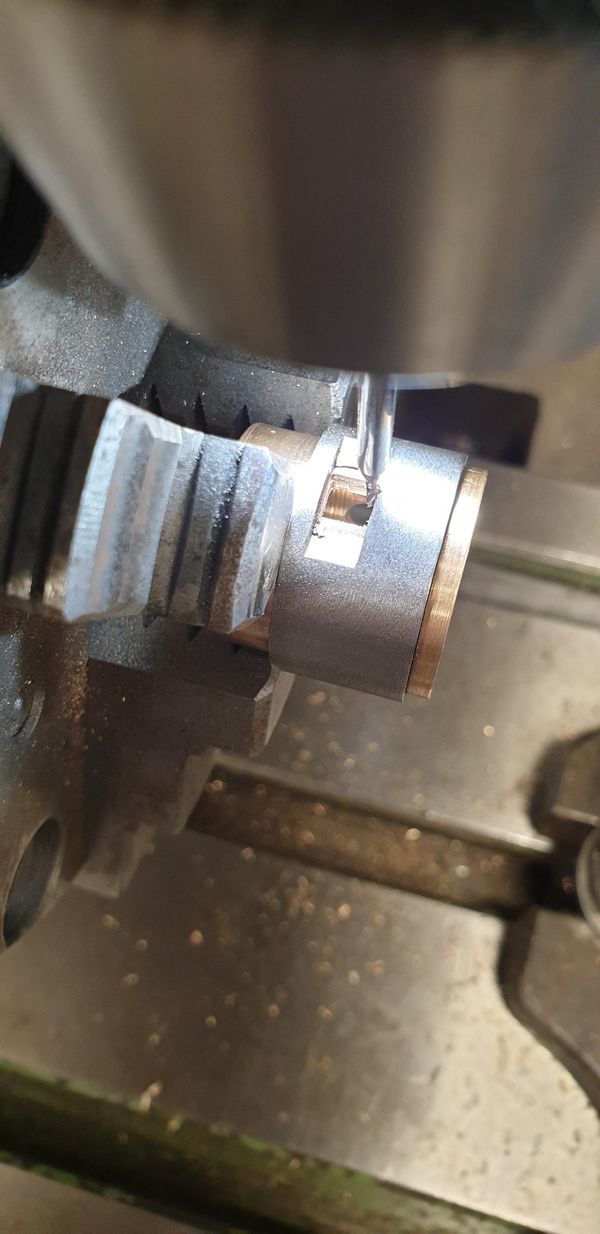
Flying Scotsman Gresley conjugated gear-valve connecting links-Part 1 Valve connecting links These are another one of those parts which require a number of setups and a little thought in machining them, this is how I have tackled them.
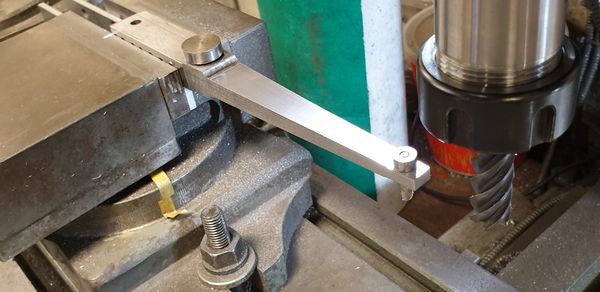
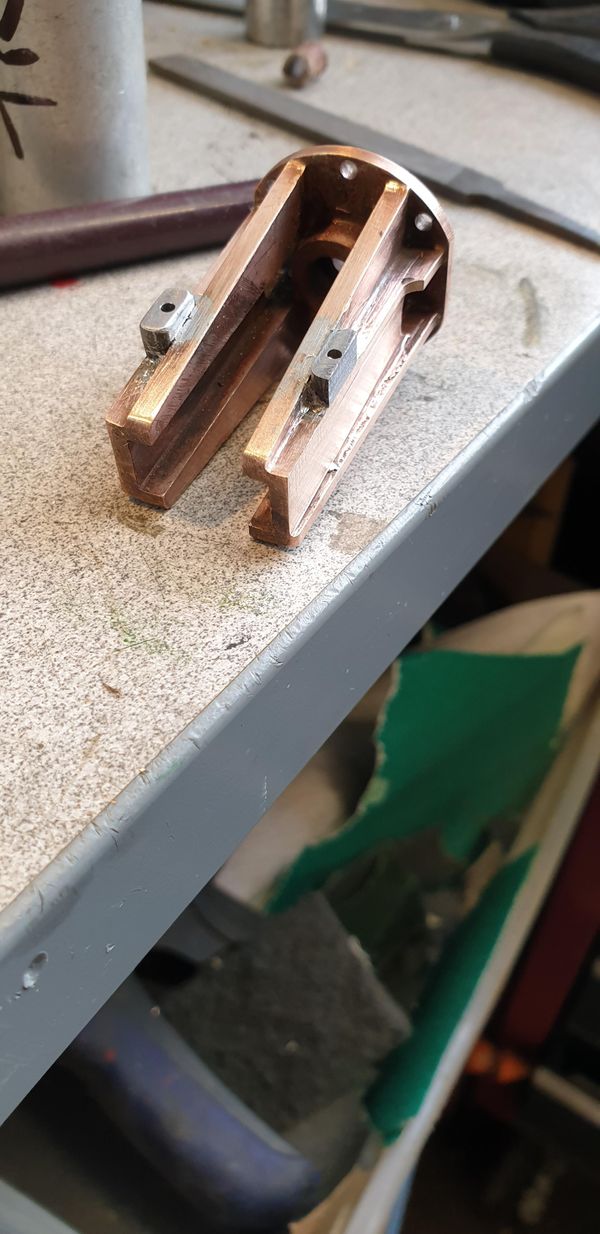
Flying Scotsman Gresley conjugated gear-2:1 Gear Lever Part 3 completion of machining Onto the final machining operations for the 2:1 lever, I'll make the bronze bearings in one batch once I have made the 1:1 lever and the 3 connecting
Flying Scotsman Gresley conjugated gear-2:1 Gear Lever Part 2 With the mill repaired (the inverter/speed controller was the guilty party) I could return to the lever. At the time of failure I was in the middle of machining
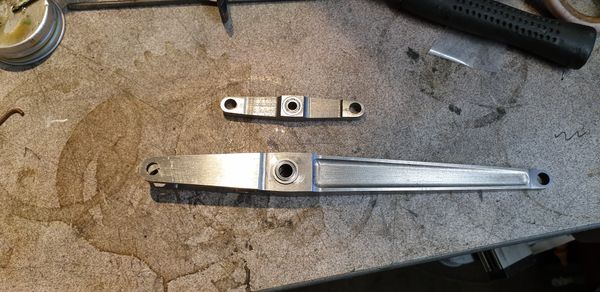
Flying Scotsman Gresley conjugated gear-2:1 Gear Lever Part 1 I'm now returning to the motion and I'm going to start with the 2:1 gear for connecting the valve events for the middle cylinder, before doing so I need
Flying Scotsman Brakes Part-6 Testing This will be short entry just to show that the brakes now refitted to the chassis and tested. First picture is a general side view to show the brakes once
Flying Scotsman Brakes Part 5-final assembly of the brake rig and painting The brake shaft pull rods, adjusters and leading pull rods are the last parts required to complete the brake gear. I haven't taken pictures during their manufacturer as they are
Flying Scotsman Brakes Part 4-Pull rods On to the pull rods, I began with the 'U' shaped ends which slide over the beams and are then secured with the remaining pins. These are the same width
Flying Scotsman Brakes Part 3-Compensators and Links I decided that it would be wise to test fit the hangers along with their cross beams before moving on to the pull rods. You can see the brakes hanging
Flying Scotsman Brakes Part 2 Brake beams The next stage for the brakes was the brake beams, the beam flat sections were cut by Malcolm (MEL), the end pins needed to be machined. Using my
Flying Scotsman Brakes: Part 1 Not much to show for the end of this week but I have made a start with the brake pins which are now completed. Two lengths although there's only 1/
Flying Scotsman Pipework: Vacuum As planned I have made a start on the main vacuum pipe which runs the length of the loco and tender, in fact, the whole train but you guys knew
Flying Scotsman Draincock Bowden cable, plus other parts needing work As I said last week, this week I'm fitting the gravity sanders, having looked at this area, I've also decided to catch up and some of those many small jobs
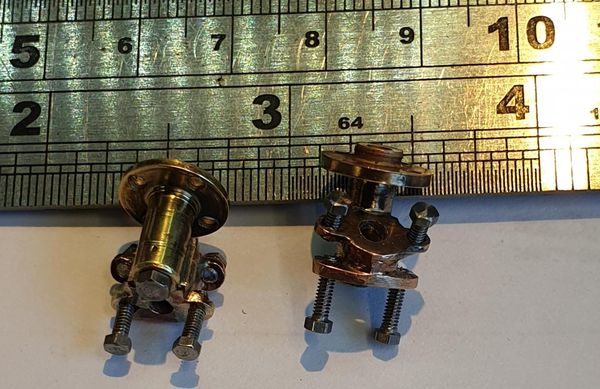
Flying Scotsman Sanders: Part 5 Gravity sander operating mech This will be the final chapter on sanders other than when I refit them to the chassis, hopefully on Monday. All of the parts have now been made and tested,
Flying Scotsman Sanders: Part 4 Good evening chaps..ok so a slight change of plan... after I posted the last update it was pointed out to me by Kevin Fisher and Peter Pope (FB) who
Flying Scotsman Sanders Part 3 As well as playing around with sand today ( i checked to see if the sand worked as planned, it did) I have also made a start on the trap shields,
Flying Scotsman Sanders: Part 2 I spent today finishing the filler tube for the driver's side and then repeated the process for the fireman's side. A few pictures to show/help explain my thinking... first
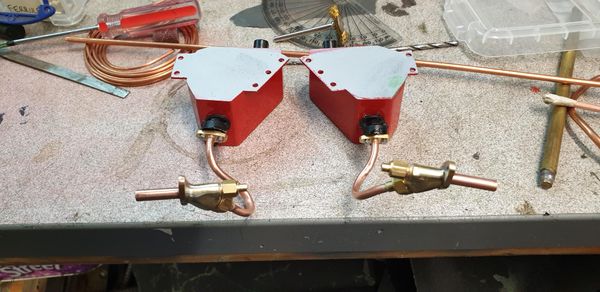
Flying Scotsman Sanders: Part 1 Having given this some thought, I decided that the next job that must be done is to make the sandboxes. I did mention before that I'd need to do the
Flying Scotsman Inside Connecting Rod Inside connecting rod I then made a small start on the inside connecting rod, my thinking is to get the inside motion done first as it's relatively easy, well not
Flying Scotsman Slide-Bars and final fitting of the middle cylinder Slide-bars As suspected I have gone off on a slight tangent and made a start on the slide-bars, I am beginning with the middle cylinder and may, but not set
Flying Scotsman Cylinder: Liners On to the liners which are made from bronze, I can't recall if I said it was PB102 or PB104 but it's one of those, think it's listed elsewhere in
Flying Scotsman Cylinder: Slide bar supports and pistons I've spent the last few days tidying up various bits and pieces and finishing off the outside cylinder slidebar brackets which are part of the casting. I'll show the right-hand
Flying Scotsman Steam-chest covers and their valve guides Back to reality and on with the build, I haven't got much to show for tonight but since this next job is fairly involved I'll cover what I've done so
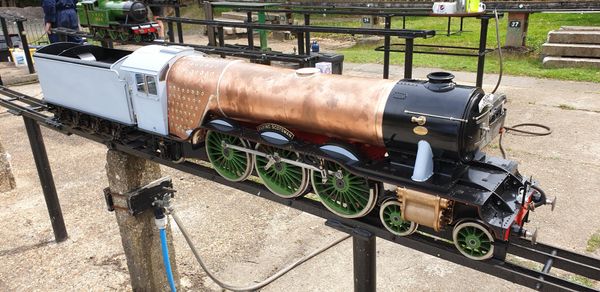
Flying Scotsman That Gresley pacific shape is beginning to emerge. Well, it didn't take me long to clean up the tender, I also put some oil in the axleboxes while I was at it. I have now put the tender