

This is an excellent piece of kit from Model Engineers Laser which I thought that I'd share for others who may be considering a rolling road in the near future.
For those familiar with MEL's laser cut parts, this RR uses the same method for the bearing blocks but that's the only laser cut parts involved in the kit. No slot/tab construction required and thus no silver soldering, it's a simple bolt together job. There is a single tab on each block that needs cutting/filing which then doubles up the thickness of the support when bolted together, this 'doubler' is much shorter than the main part and once assembled it sits on the rail while the main part fits down the side and held via Mb button head bolts and special 'V' blocks which are sprung that slide in the channels, the pictures below will show this best. There are two spacers which space the two rails at their correct width, the spacers have been designed for both 3 1/2 and 5 " loco's, you just simply clock each spacer 90 degree's to suit your chosen size. One thing to point out, I chose to have shorter rails for my RR, if you have longer you can add things like bogie support and buffer stop etc. I'll incorporate similar things like these in my stand at a later date.
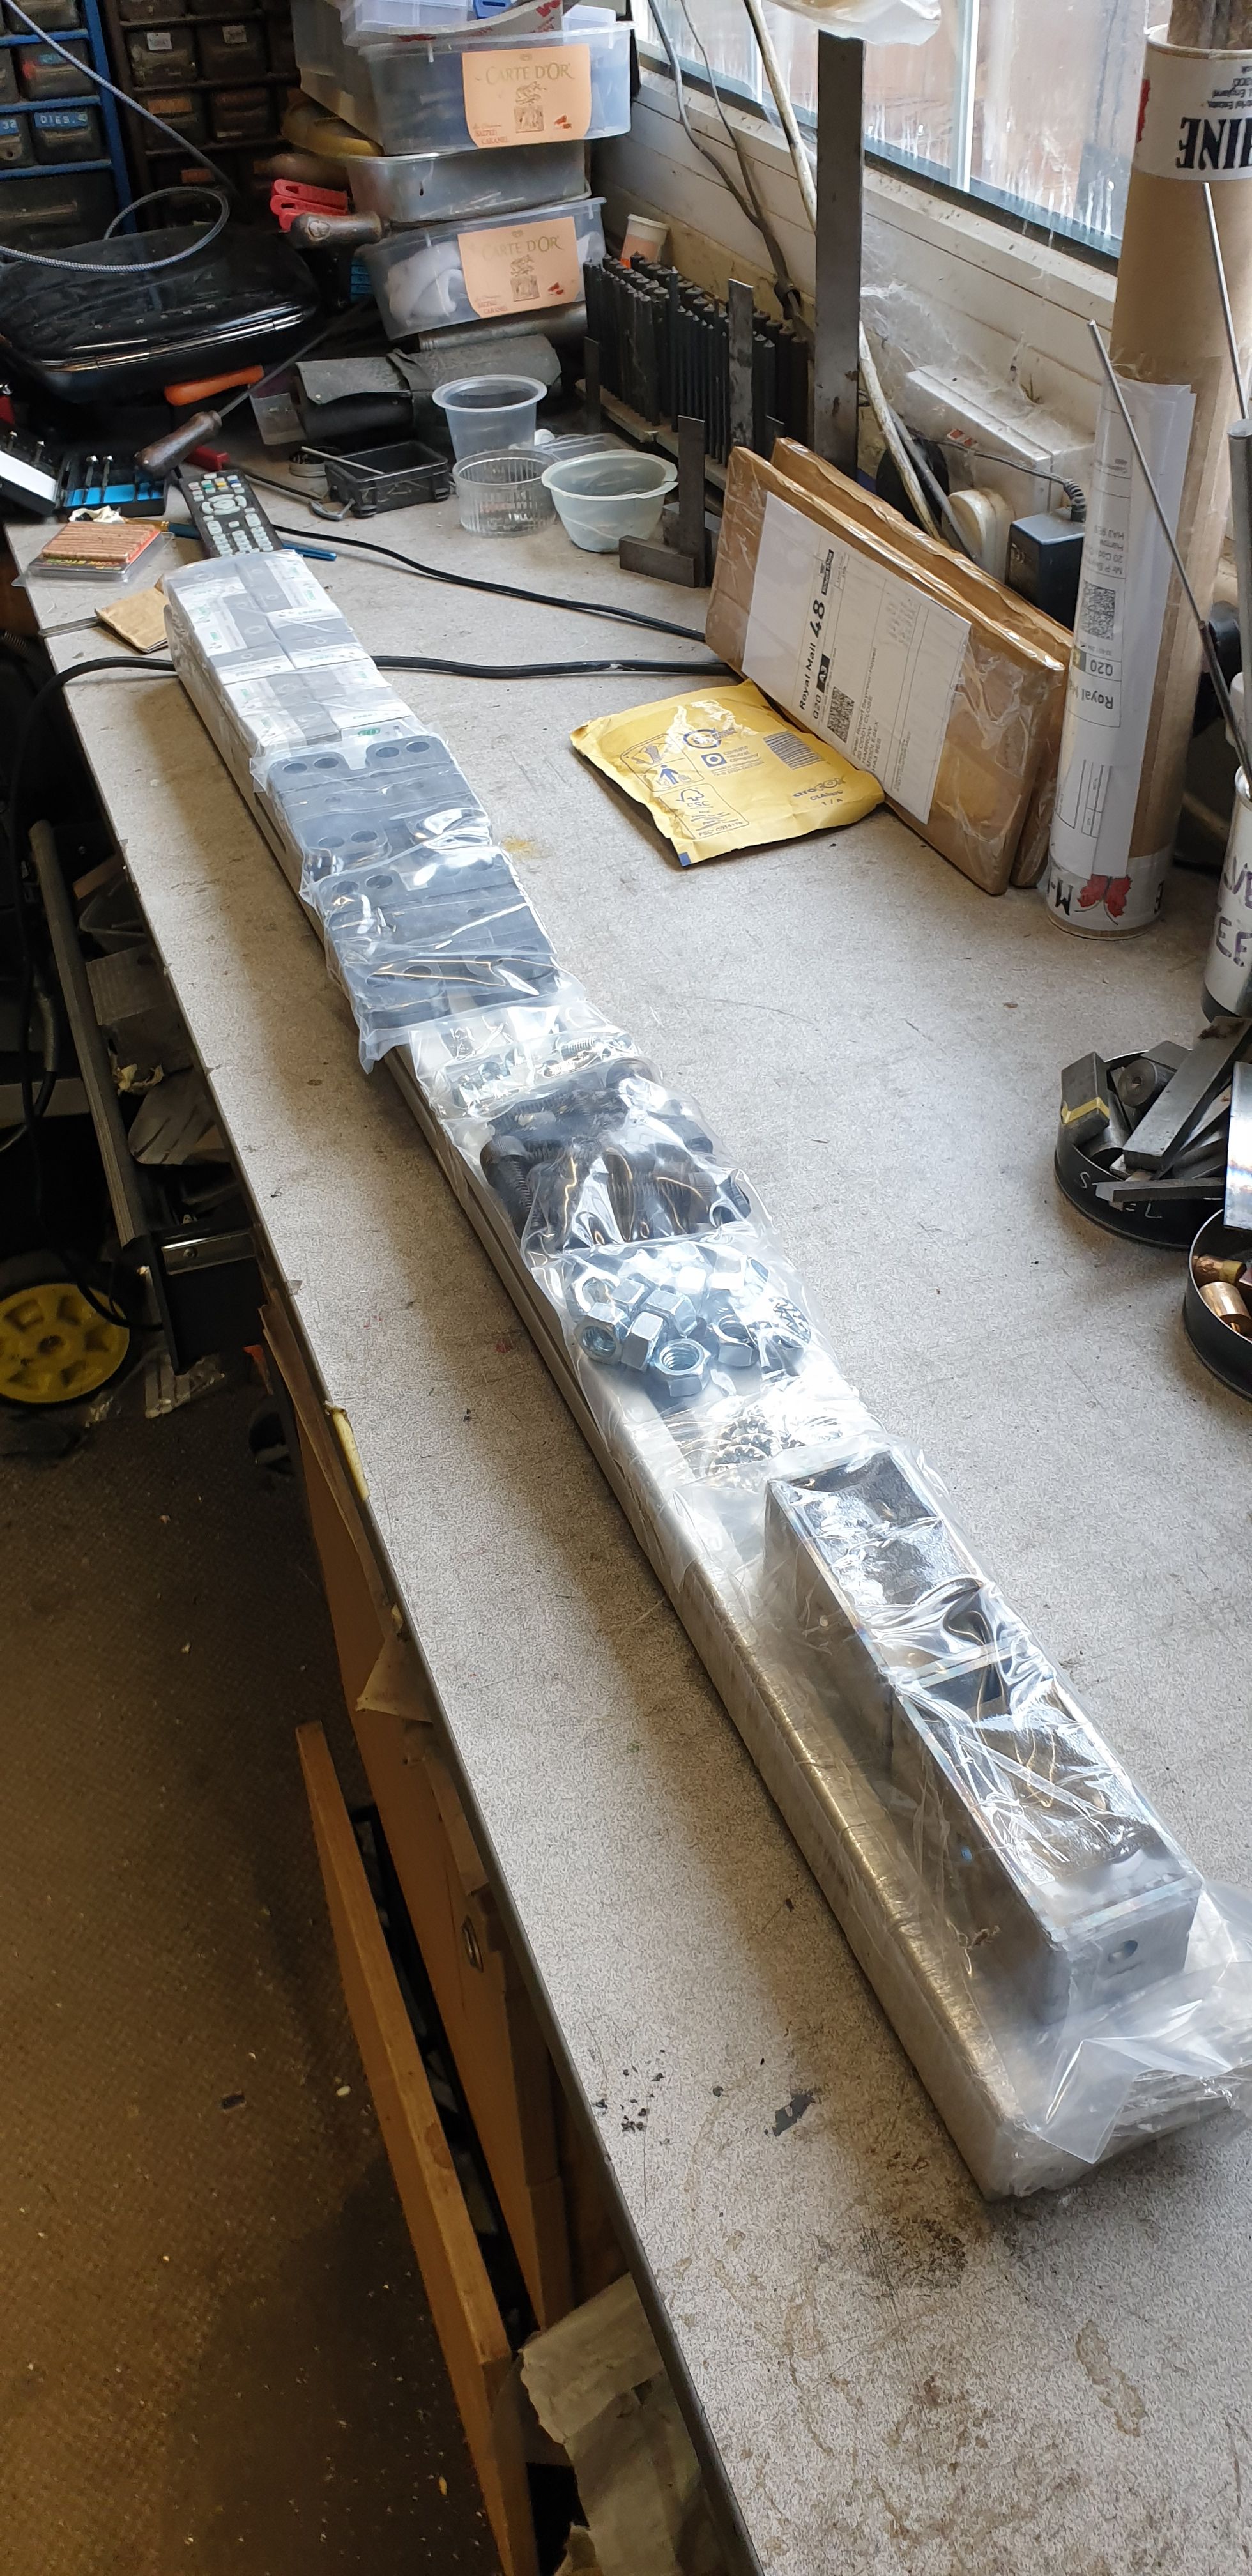
The first picture shows the kit how it arrived, all I have done is remove the outer packing, everything was packed very well with the contents being sealed in various vac-sealed compartments.
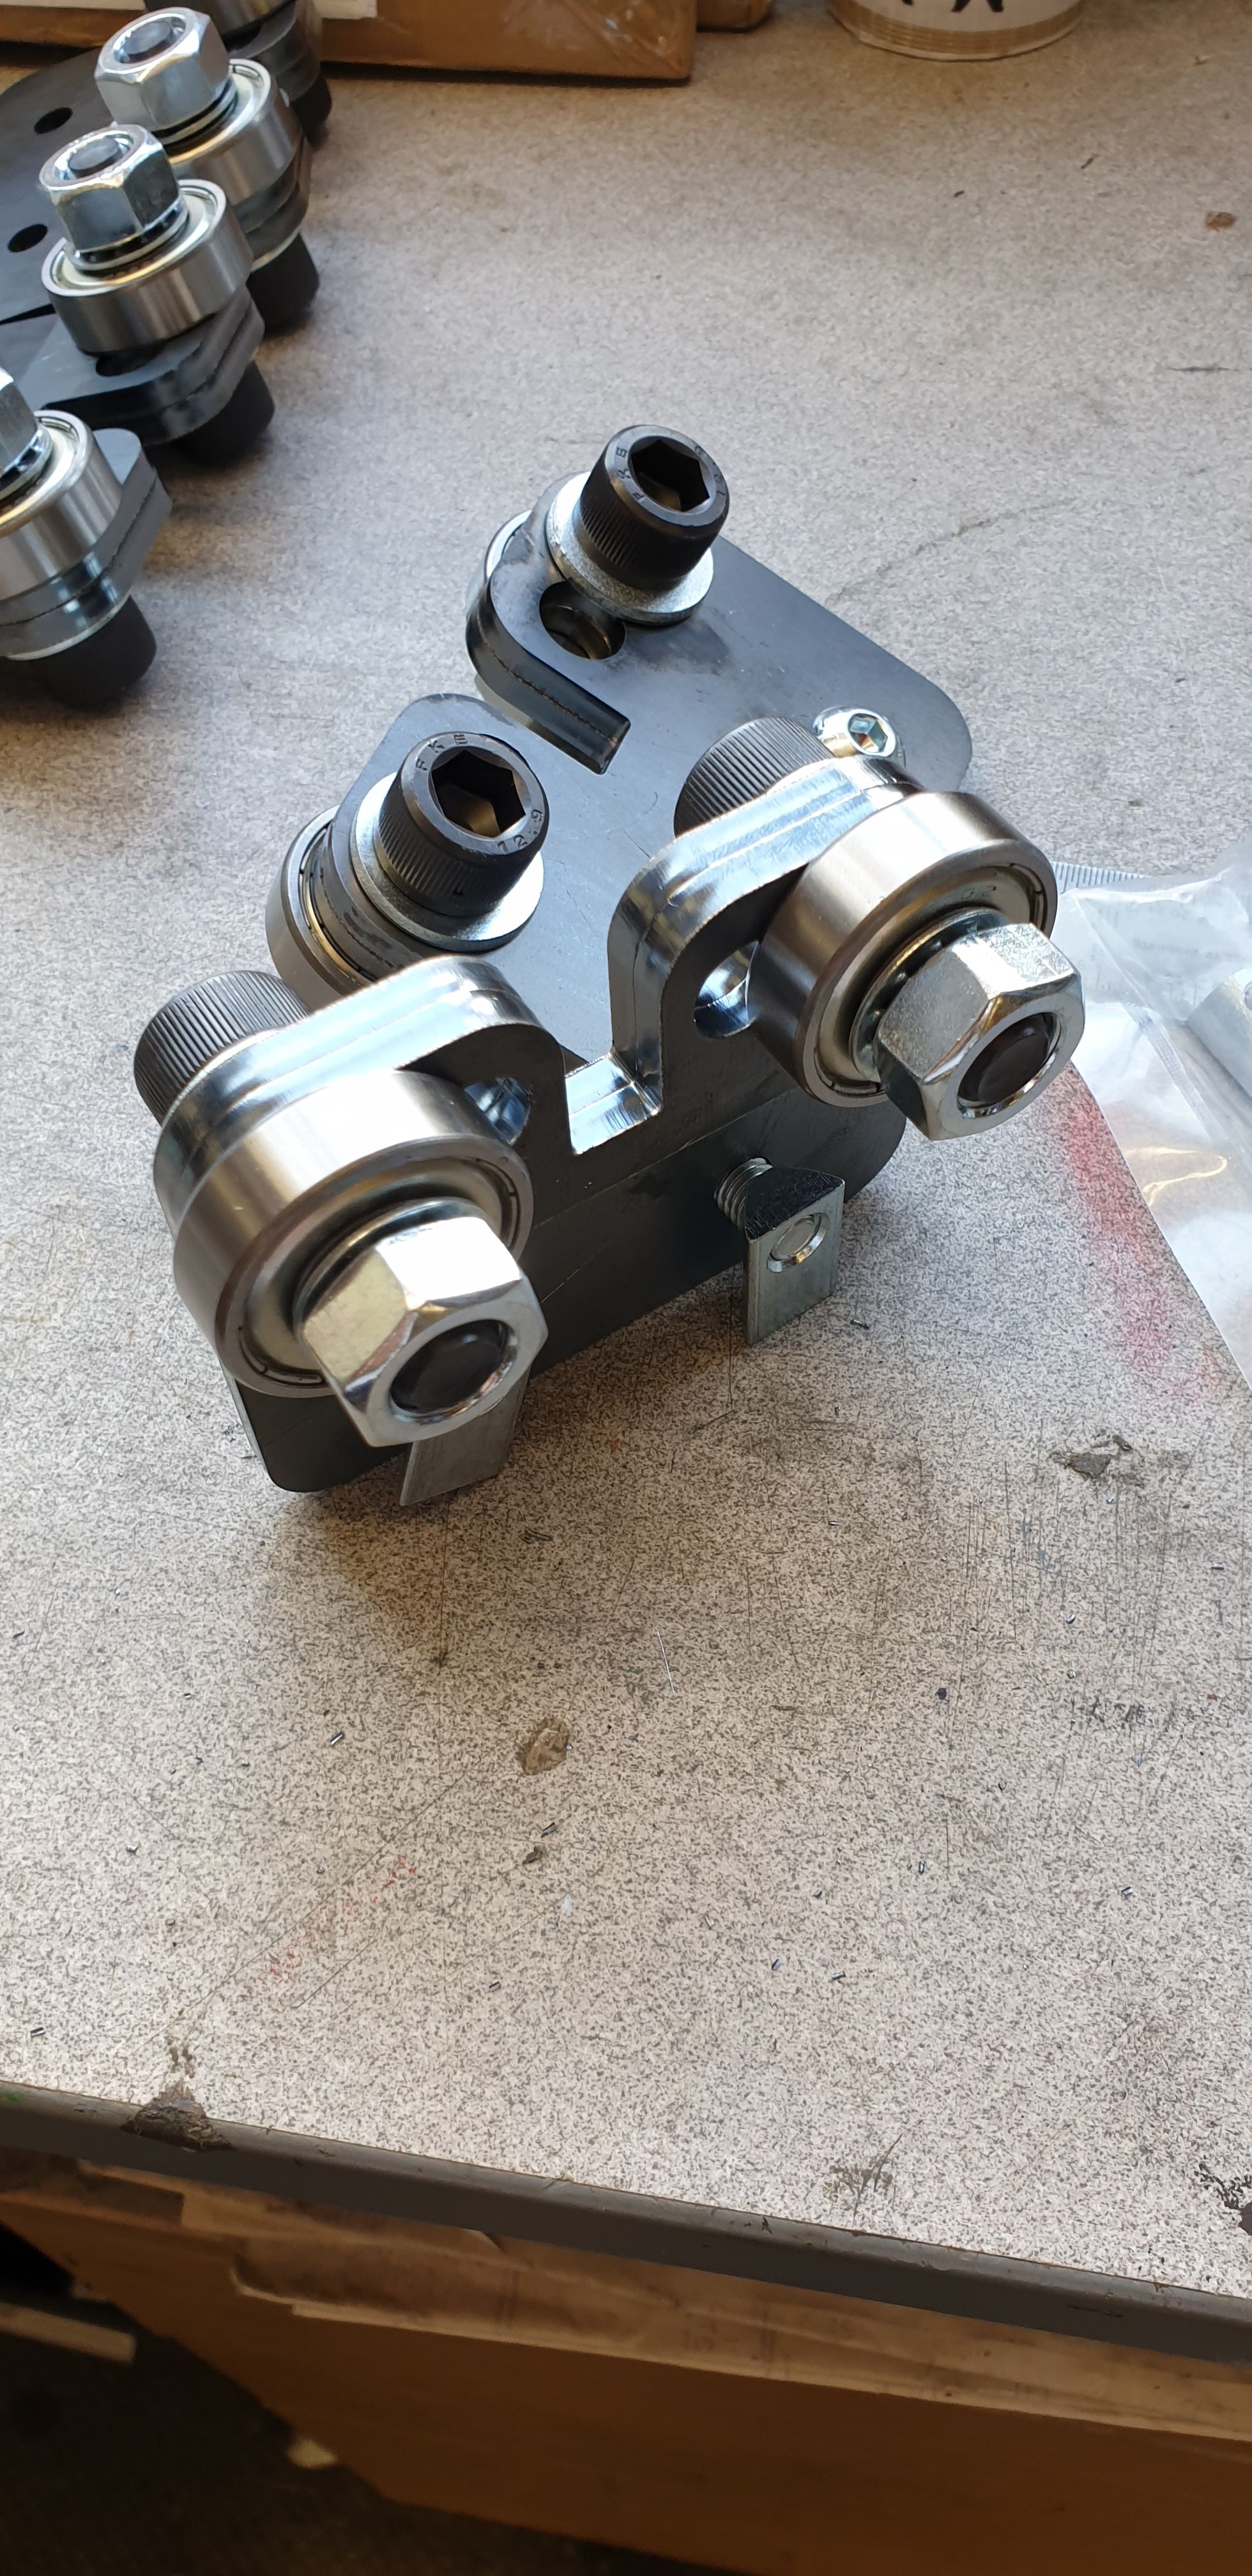
Here we see the bearings sitting in their blocks ready for assembly. The bearings are held by M12 cap head screws, with washers and nuts, there's a locking washer (I call them 'star' washers) which ensures things stay done up.
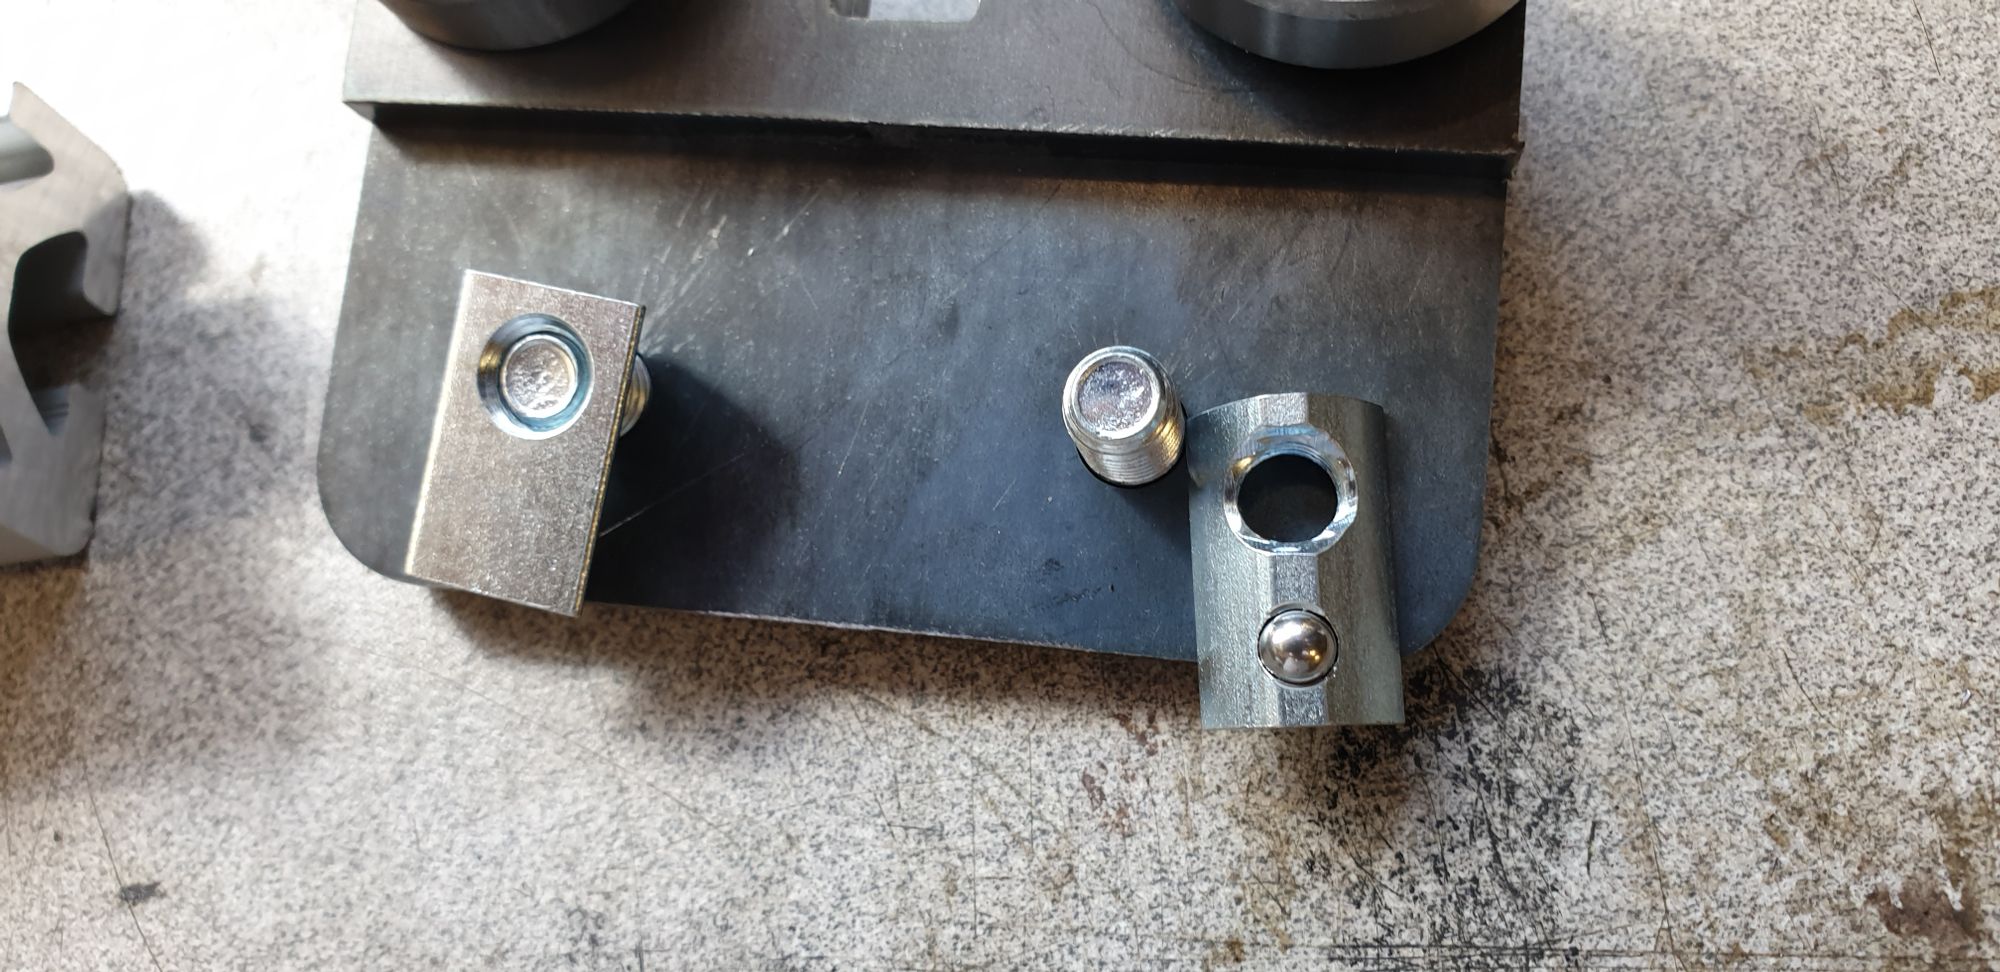
I have taken this picture to show the retainers that slide into the channels in the extruded alloy rails, there is a channel on each side. I have left on of the retainers off facing out to show the sprung ball within it. This also shows the step when the two parts are bolted together which as mentioned above sits on top of the rail.
Last picture to show the model sitting on top of the Rolling Road. I had planed to machine a little off the outside bottom rails so that the RR sat within the stand that I have. Looking at things a little closer I could see that the spacing of the rails places these channels within the 5", actually their outside edges are more or less at 5" width. Therefore I have ordered some longer M8 botton head bolts, penny washers and nuts in stainless steel. this will allow me to use the channels to bolt the RR directly to the stand, I'll add these details to this blog entry once I have the bolts.
