Ah the axleboxes, I have to admit to really enjoying making these things, a hell of a lot of work when talking 'split boxes' but well worth the extra effort involved and of course, they follow full size practice.
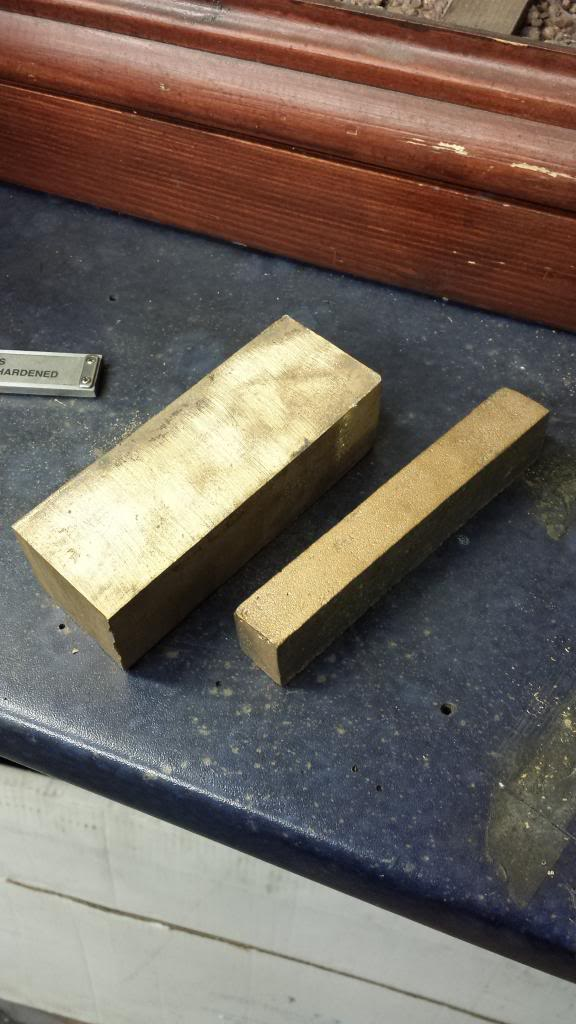
I posted this picture just to make a point on costs to us model engineers which had been pointed out to me and how we can get things much cheaper. These two lumps of metal cost nearly £80, I shall be buying all my raw material direct from independent suppliers for future jobs. As an example instead of using GM for the main axle boxes at a cost of over £200 I will instead be using CI Mehanite as recommended by a fellow ME.
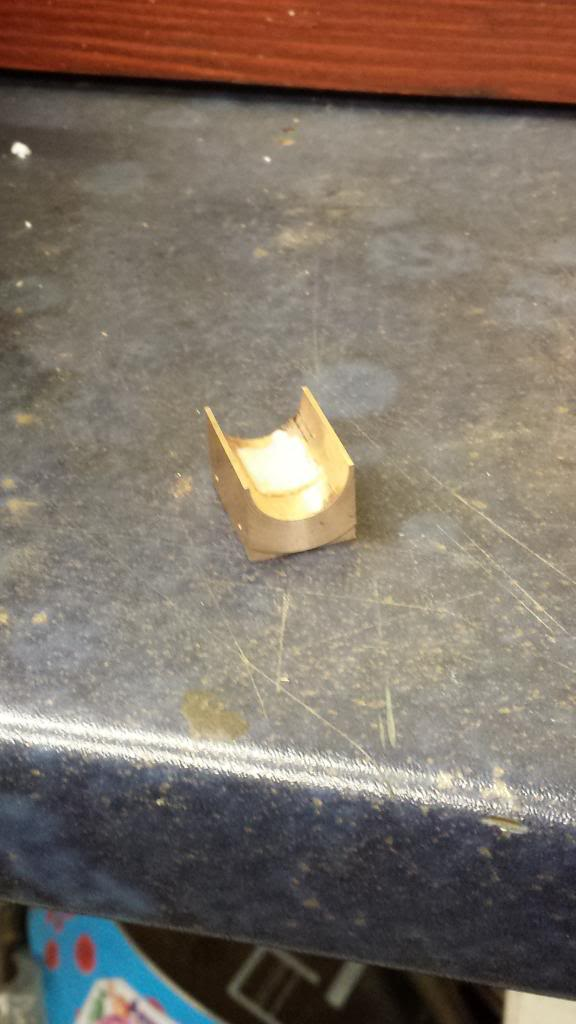
Another thing to point out here which I'm sure many of you would have come across before, when buying these things from some suppliers, they sometimes give you the bare minimum material, not allowing enough even when using a thin hacksaw blade to cut up. The axlebox (larger) blank here is such an example, it meant the height of each axlebox had to be reduced and thus the keeps sit a little lower, it doesn't effect their operation, just another annoyance.. money doesn't grow on trees and so I made good where I could. More details on this later
NB: Note, the costs given above are from 2011..:)
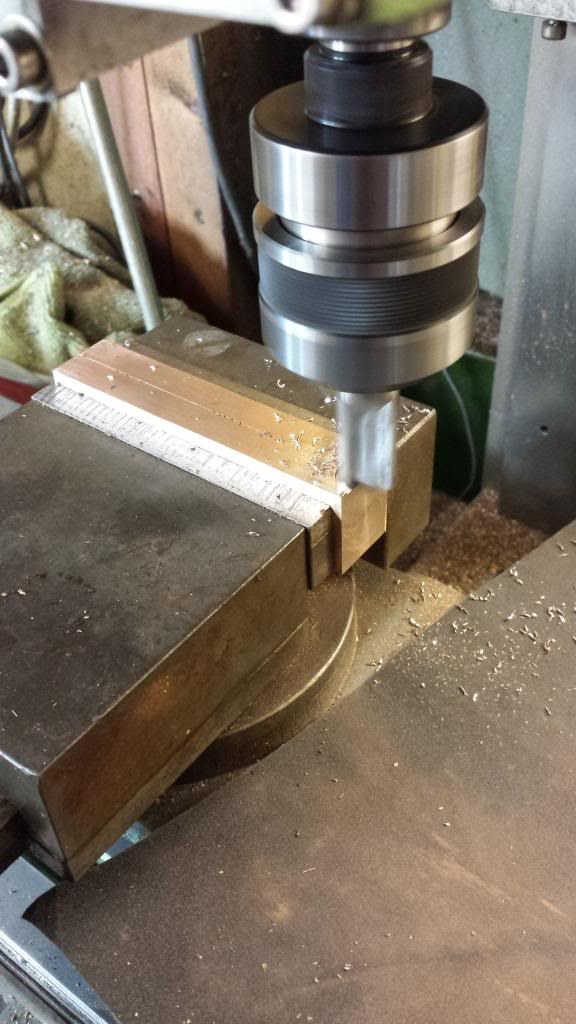
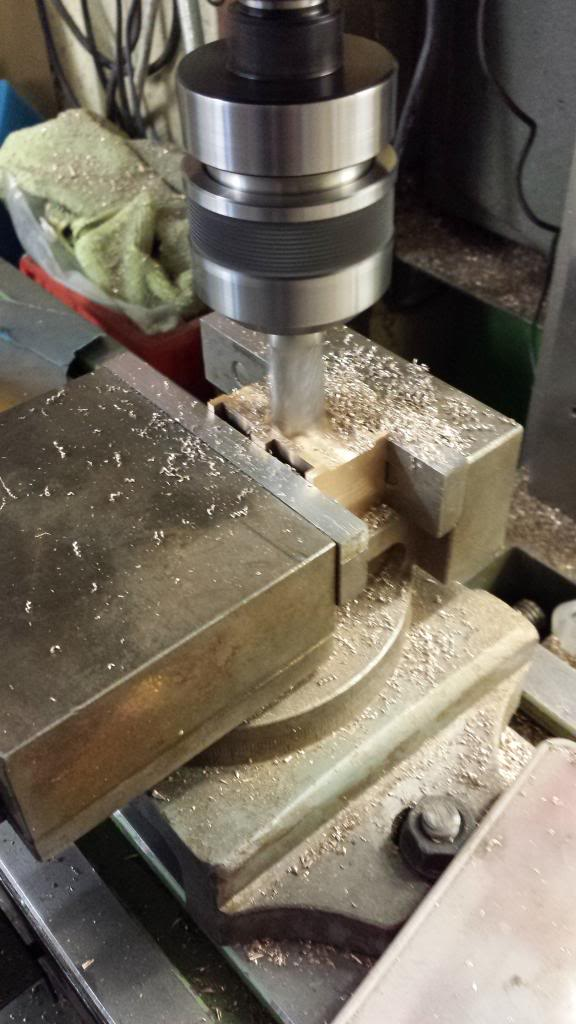
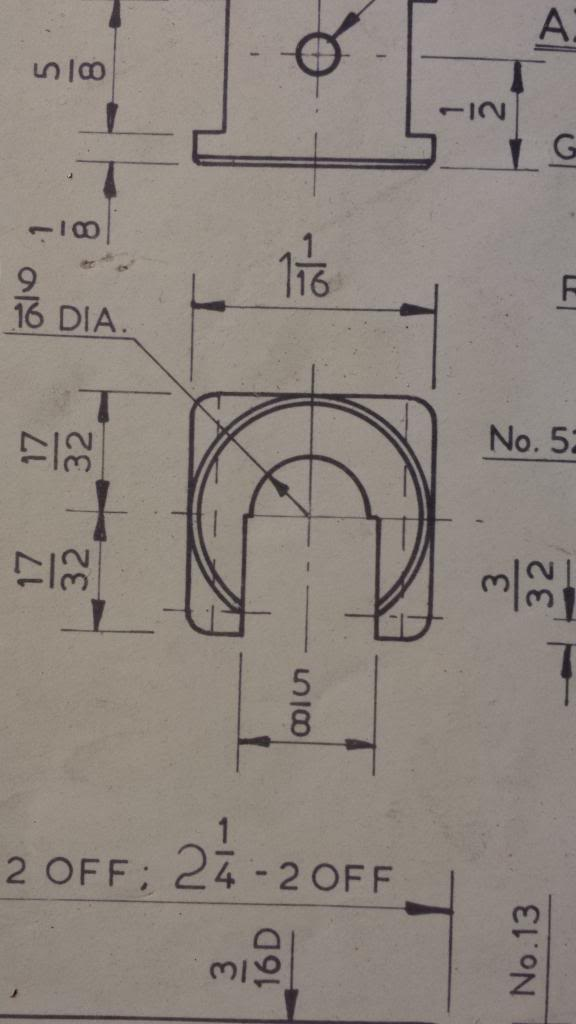
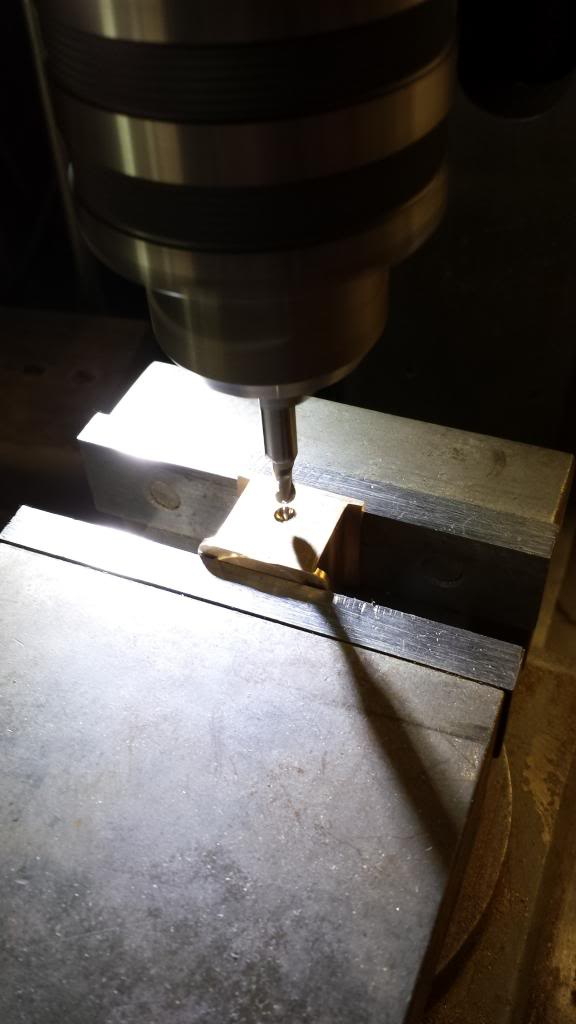
Ok so first picture shows the larger axlebox stick machined to size being held in the machine vice for the slot cutting operation, the slot isn't central, it's 3/32 on the back face and 1/8 on the front, picture shows the first cut being started.
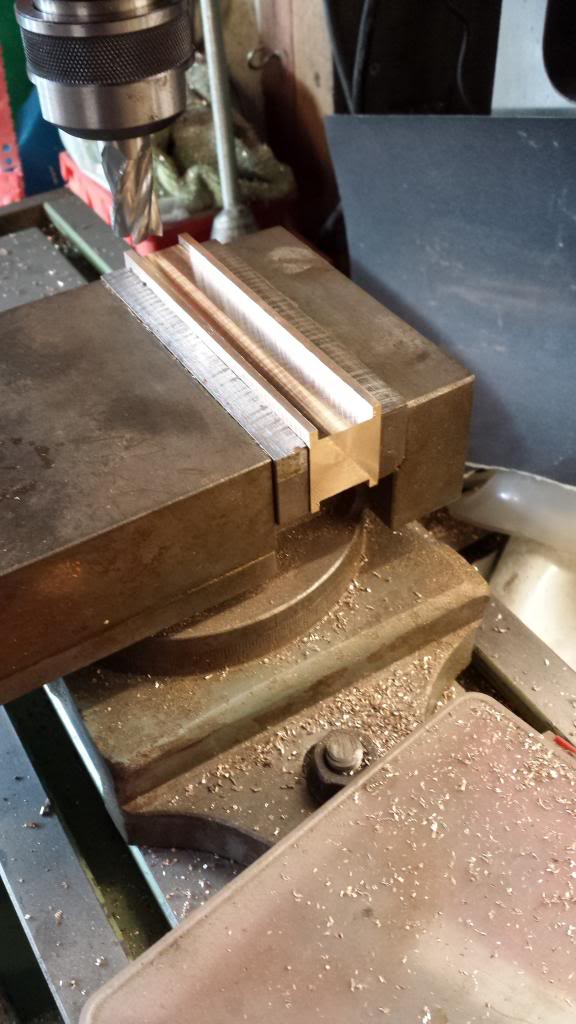
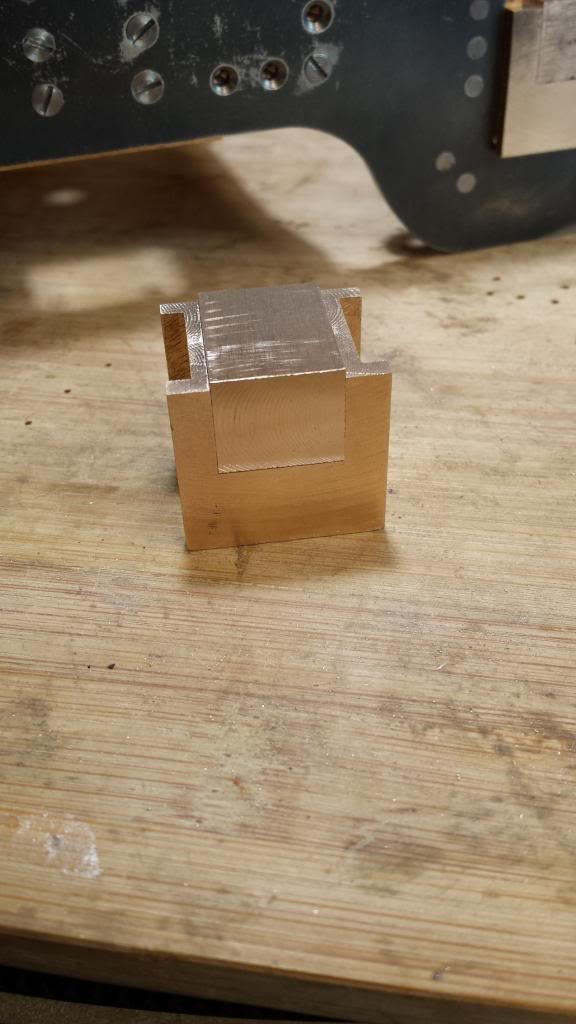
Don states to machine the depth until the box just begins to fit the slot and to finish off with a file in case of any toe in from riveting the horns to the frames which is what I did although the horns were pretty good. I made note of the gap between the horns, subtracted this from the width of the axle boxes and divided by two thus giving me the figures to machine down for the Z coordinates. Picture shows the final cut for the second slot.
Next job was to cut the stick into it's 4 boxes and this is where the fun begins, I had learnt from doing the tender boxes that very little material is given for this with barely enough room for the hacksaw cuts and so had taken the bare minimum off the stick ends when machining square, in hindsight I should have checked the size of the stick first before beginning the machining process. I also should have taken more notice of the fact that the two sticks supplied were of different lengths, or more to the point that the keep stick was longer than the axle box and should have been the other way around? The end result being that the stick was too short for the 4 x 1 1/16 wide boxes being a 1/16 short even without allowing for the hacksaw blade cuts. Since I had already machined the raw material it was too late to complain to Reeves about it, I'm not sure how they go about these castings but if they are cut from long sticks it seems that the wrong measurement was used for each of the two sticks, the keep stick is probably long enough to make 5 1/2 keeps? Another possibility is that the wrong cast was supplied for the axle boxes as there was a lot of extra material for both width and depth, nearly 1/2" both ways. So tackling things in my usual way, ie all is not lost until it's impossible to put right, I took another look at the drawings to see if splitting the boxes from what I had I could still make 4 boxes without effecting anything else, could I still drill the 9/16 hole in the middle or would I have to offset the centre down from the top. I decided that I can still drill the hole centrally as there's enough material to still do this.
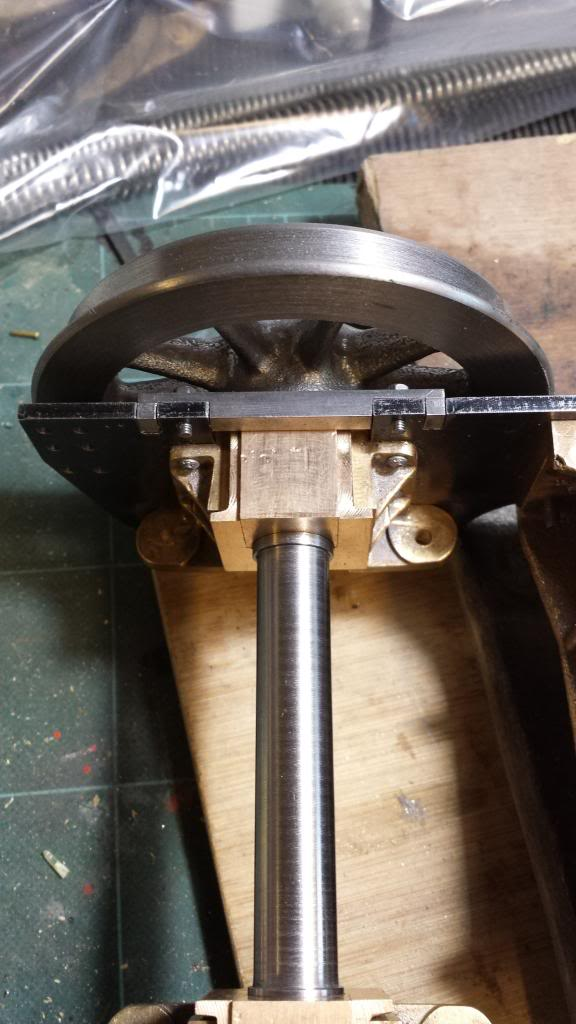
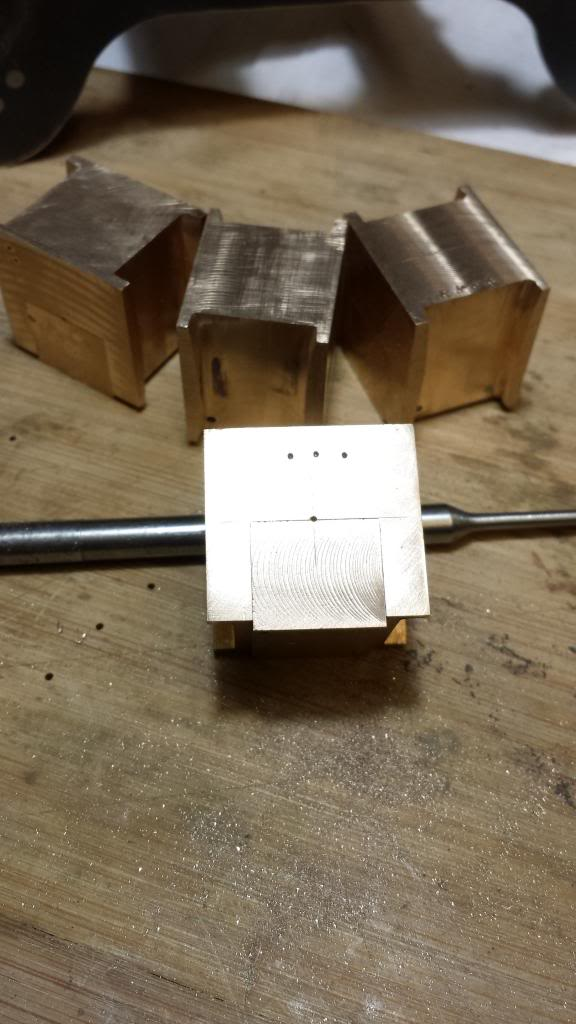
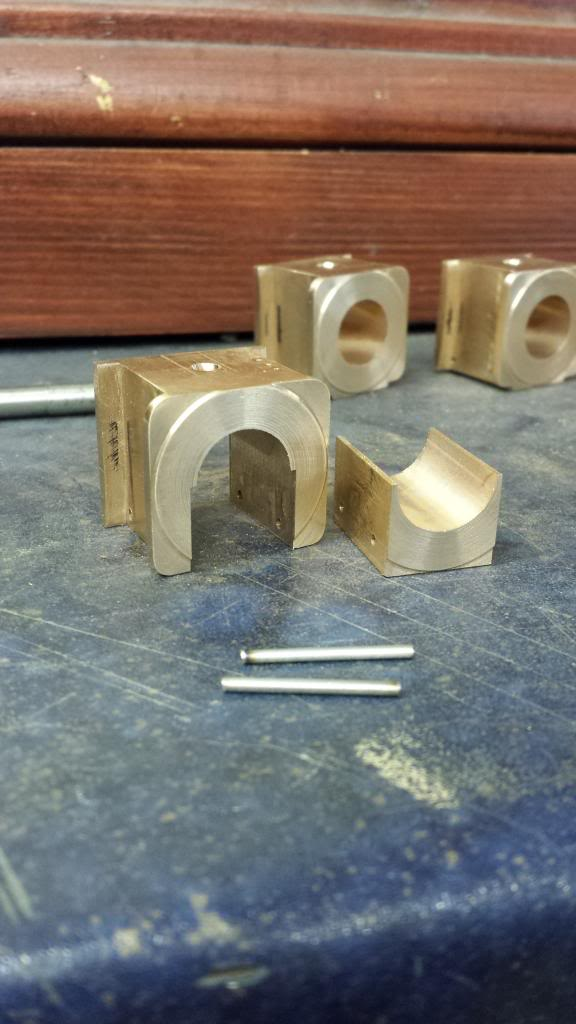
Anyway this picture shows the 4 boxes sitting in their horns ready for the next stage which is to machine away the area for the keeps, I will also need to relieve the ends of the slots to allow their full independent movement but that could wait till another day.
So with the axleboxes held in the machine vice in pairs the next job was to remove the material for the keep to fit, working to centre's in two axis's, centre for the slot and also to machine down to the centre of the block remembering that the block is a little smaller due to the lack of material mentioned last update. The missing material would be from the bottom.
Here the first cut is being machined for the keep, two boxes are held together in the machine vice back to back just in case the slot is out by a thou or two, not really necessary but makes me feel better doing it this way just in case.
Don said to leave the keep stick oversize so that it's a tight fit in the 5/8 slot, happy to report the keep fits as Don requested. I forgot to cover the keep machining but it's just basic work machining to size and ensuring that the stick is a tight fit in the slots

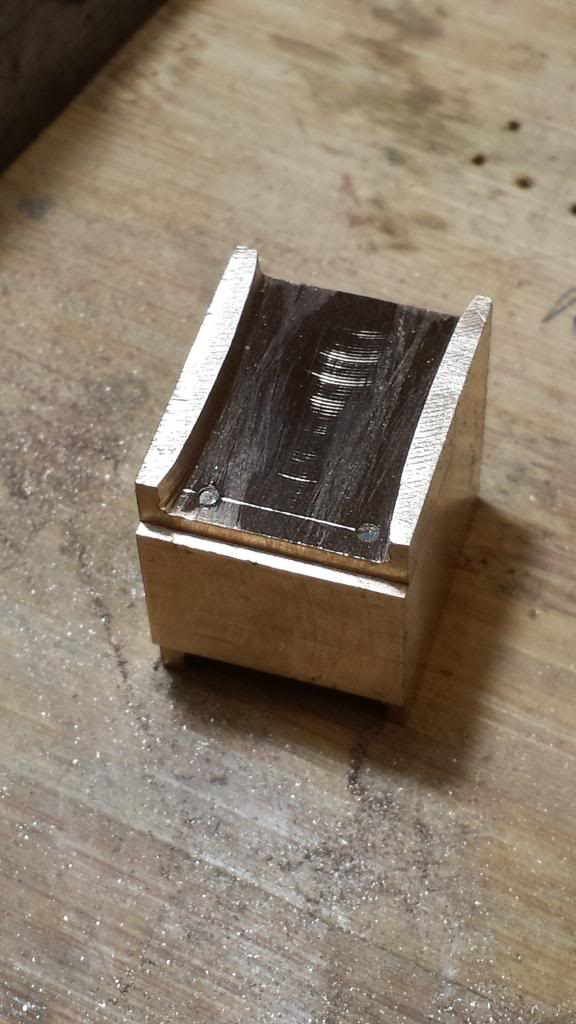
The keep stick was then cut into 4, ends machined to size and squared to fit in the keep recess within the axle box. Here you can see how short in height the axlebox itself is, as mentioned before, this was no big deal and won't affect it's operation but it did mean a little more care taken in setting up.
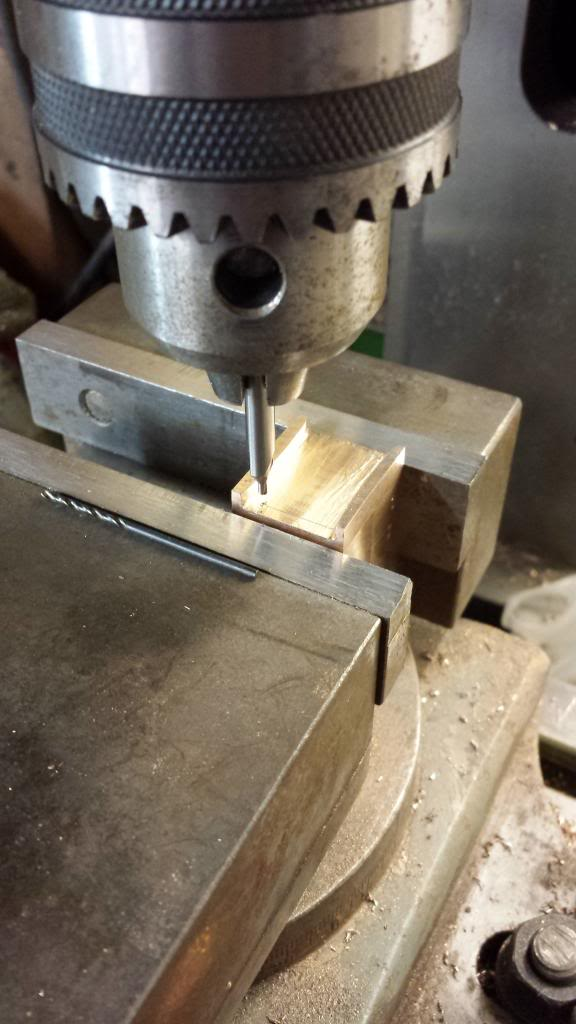
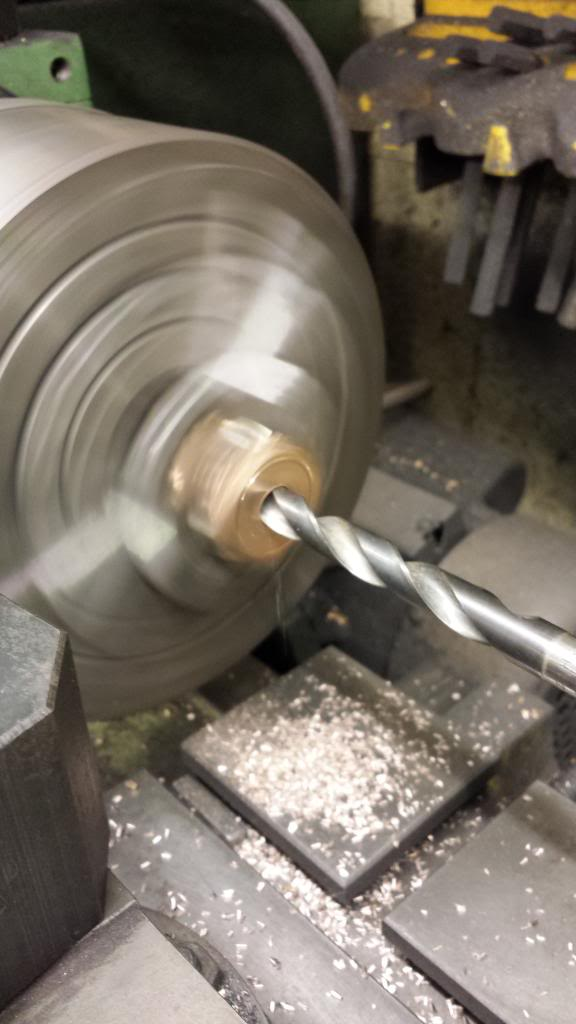
Next job required being a little careful while machining to get the two keep retaining pin holes straight while drilling since the holes are fairly long in comparison to the bit size used. The first hole is 3/32 up from the bottom and 3/16 in from the front face, this was first centre drilled and followed with a No. 52 to take the 1/16 stainless pin, the second hole was a simple clocked move along the 3/32 position of 1/2" and repeat of first, this was done to all 4 boxes.
View showing the fitted keep and it's two retaining pins, note also that the slots have now been relieved to give the movement required in their horn guides, I still have a little filing left to do to clean up but will do that after the machining has been completed. At this stage Don stated to machine off the access material at the bottom of the keep flush with the axle box, I left this until after I'd bored out to the required 9/16 for the axles, just as a safety due the the undersized boxes, having said that I could now see that the 9/16 bores would have plenty of meat around them but I just needed to check that I would have enough on the bottom of the keep for the milled recess to hold the felt and oil bath, looked ok but I waited until I made a start doing the bores.
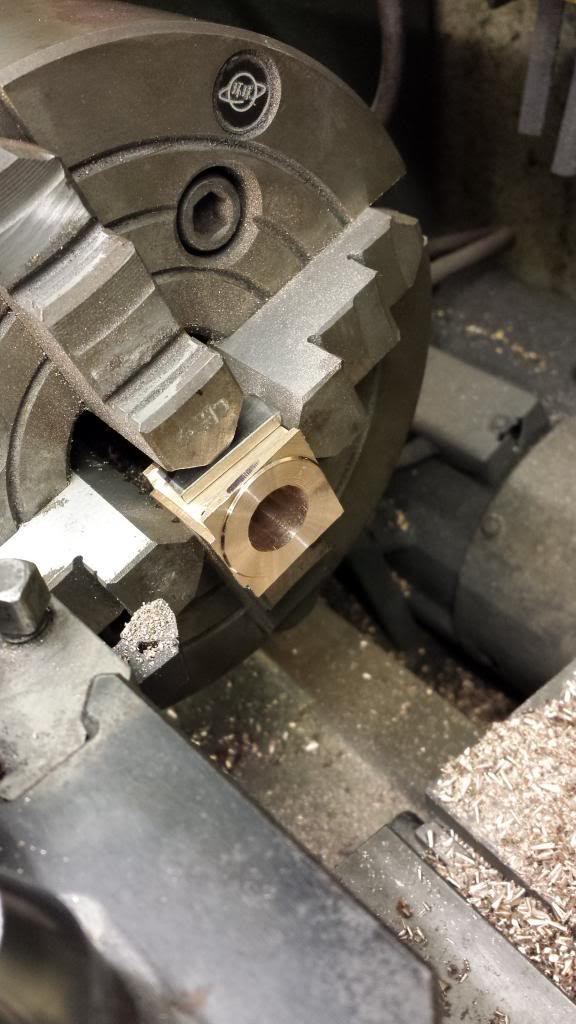
Here we see No.3 axle box having had it's centre marked out ready for truing up in the 4 jaw for boring, Don suggested a small jig to hold two boxes back to back while in the 4 jaw for machining, I decided to do them individually.
Ok a little done on one axle boxes but it's an important step for me and having done this part should be reasonably straight forward to repeat tomorrow on the other boxes.
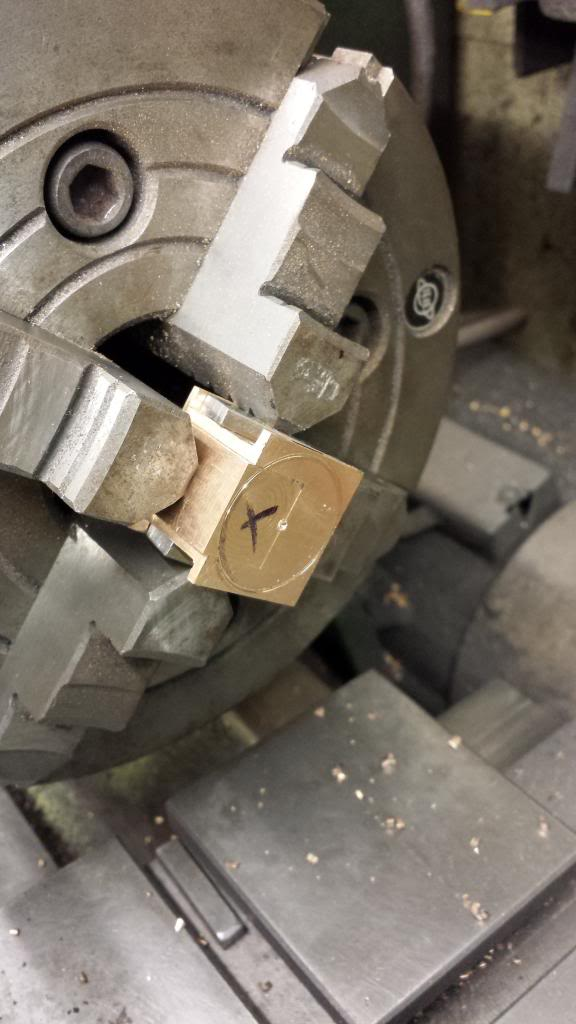
Each box was clocked to be central in the 4 jaw and using steel packing in the slots for extra support. Although I had previously centre popped the box I double checked that all was central with a pointed punch held in the cross slide.
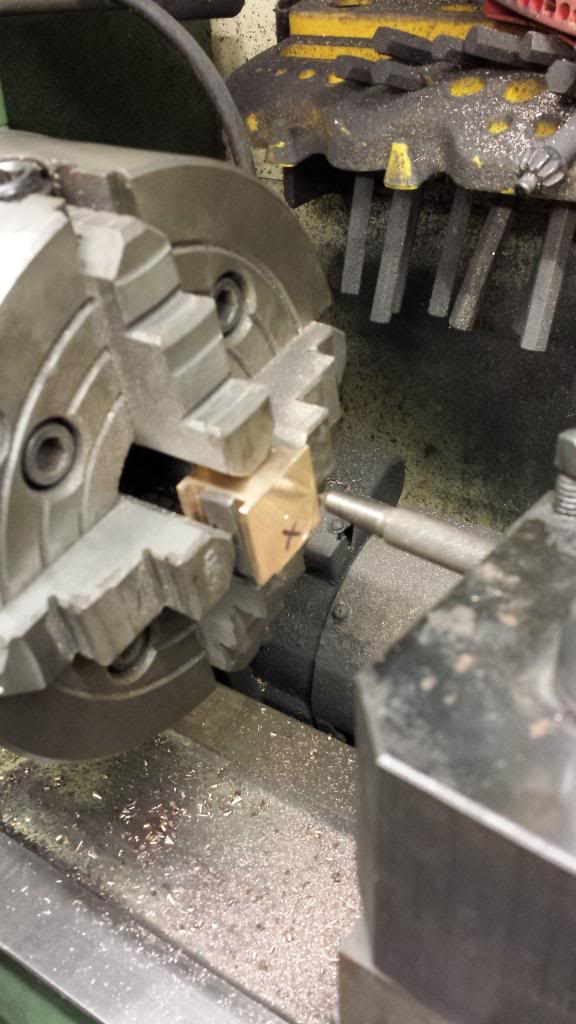
I then moved the point in and ascribed a line again to check box was central and also to give a guide for checking how the raised section would look when machined later. Note the keep has been left oversize.
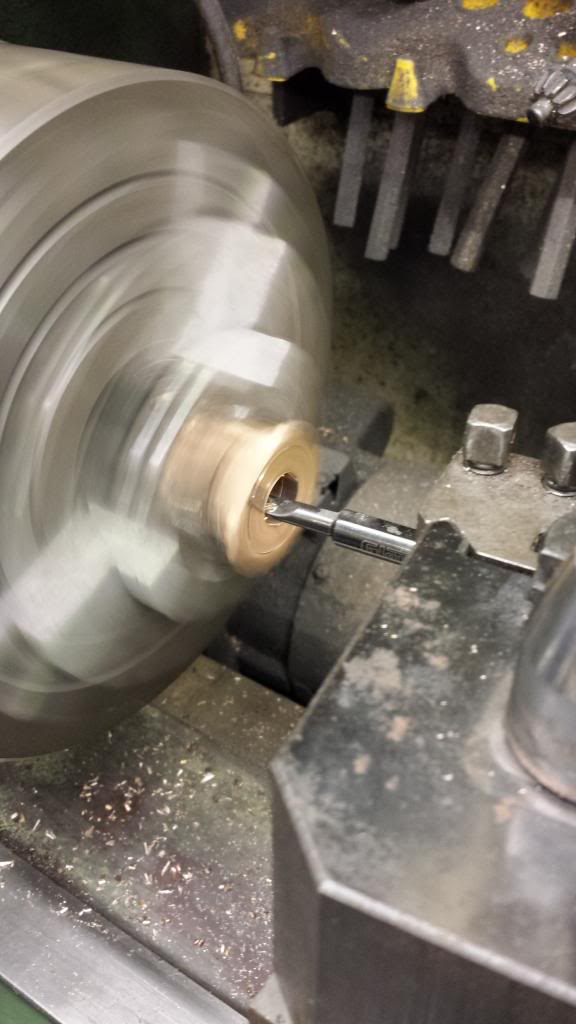
I then centre drilled and slowly opened up the bore by increasing drill size until it was around 150 thou from finished size.
Next I bored out until within a few thou of 9/16 and reamed to size.
I then tackled the front face, machining 1/64 off until I had a complete circle, final job here was to take a very small skin off the front to finish.
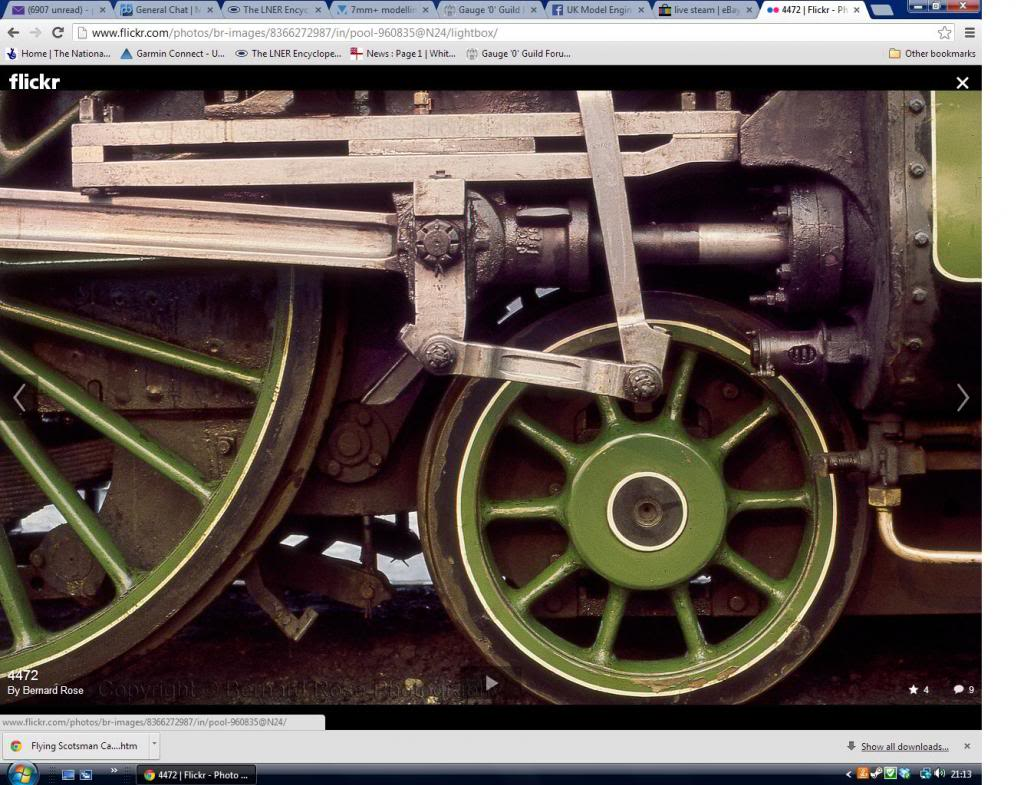
Before moving on I checked a feature that was on the drawing but that I hadn't found on the prototype yet....this was the rounded off corners of the box as shown here, I only had images on file of the rear flanges that are most certainly square.
So it was back to the computer and more research... I had some luck.. I found this image online that if you look closely (very closely) it clearly shows the rounded corners on the front face of the axle boxes, which is great as I could machine the fronts easily while centred in the 4 jaw.
With all four axle boxes now machined including the curved corners of the front face I could leave the lathe and move on to the mill, first job was to machine a 3/16 indent 1/2" back from the front face and central to the box width, this will be for the centre of the spring yoke once I get there.
Then onto the big moment of splitting the keeps from their respective axle boxes as shown here.
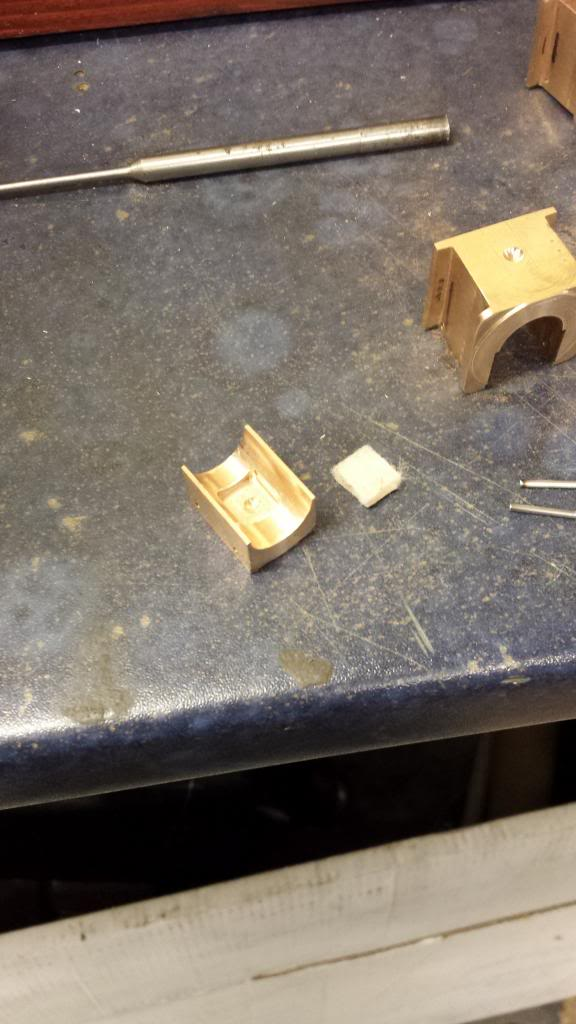
Next was to machine the recessed oil bath and cut some felt to fit, I used a 3/16 ballnose first into the top of the box face to a depth of 0.100, this is an extra not on drawing, I wanted just a little more lubrication. This will be explained more when making the spring yokes. I then machined the bath ensuring that it wouldn't cut into the keep retaining pin holes, this I machined to 0.270 x 0.270, the picture shows the machined keep with a felt pad ready to fit.
and here a close up with the felt pad fitted, sitting proud of the bath so it can lubricate the axle....
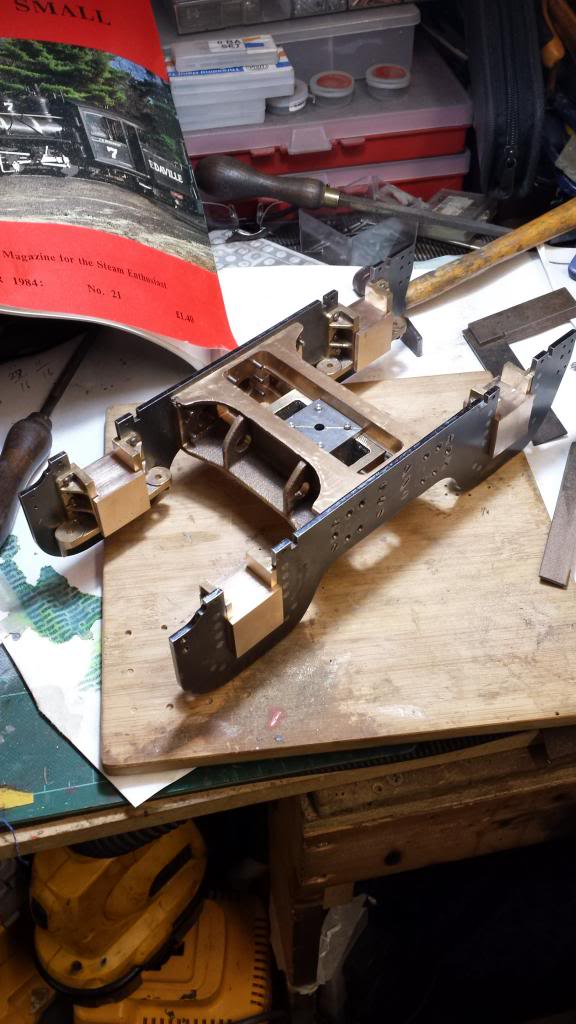
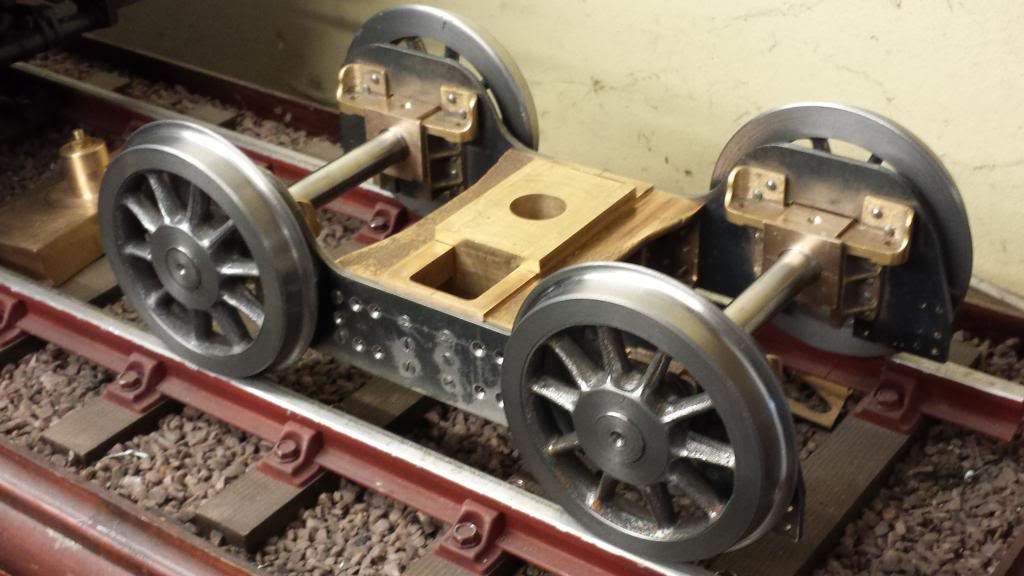
I now had a proper a rolling bogie chassis, still a lot to do though before I could make a start on the main frames, I guess I best make the horn stays first, a nice relaxing job with no nail biting involved and then I best get this chassis sprung, both vertically and side ways (side ways already covered, one of those out of sequence entries I mentioned previously). There was only straight forward machining to do on this now so gave me chance to enjoy myself while thinking ahead to the main frames, I was very much looking forward to starting those.... big pieces of metal to play with...
One last piece for this entry, and that was the horn stays now machined and fitted to secure the axle boxes.