spring hangers.. ahh.. bless the little buggers, these take a fair bit of work resulting in soar fingers, you'll probably hear me say this a lot as the build progresses.
So what was involved with these...
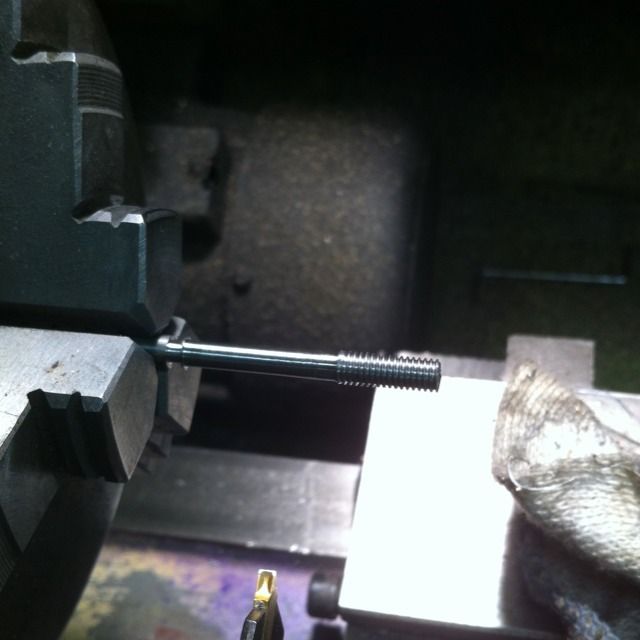
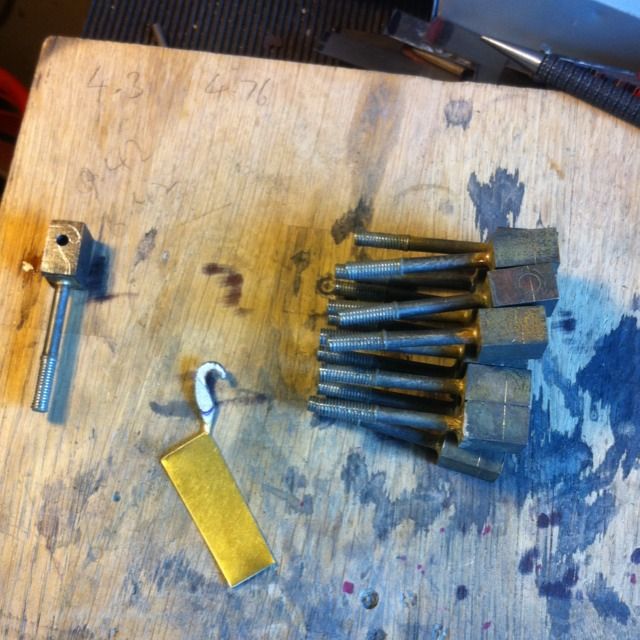
Don suggested machining the hangers from 1/2 x 3/8 BMS bar as one piece but I decided to build them in two parts to save on material and time. In the picture is the hanger end which starts life as 3/16 bar threaded 2BA for 9/16 and then turned down to 5/32 for another 7/8". I left a small collar here and then turned a 3.1mm spigot that would be a drift fit into the next part , that being the hanger grip itself.
Here we see the finished hanger end and also the grip end having first been cut into rectangular blocks and then drilled a No.30 hole for the top leaf spring to fit into. This block also had a 3mm hole drilled to a depth of 2mm for the 3.1mm spigot to be drifted into, with the collar acting as a stop to ensure correct overall length for the bracket.
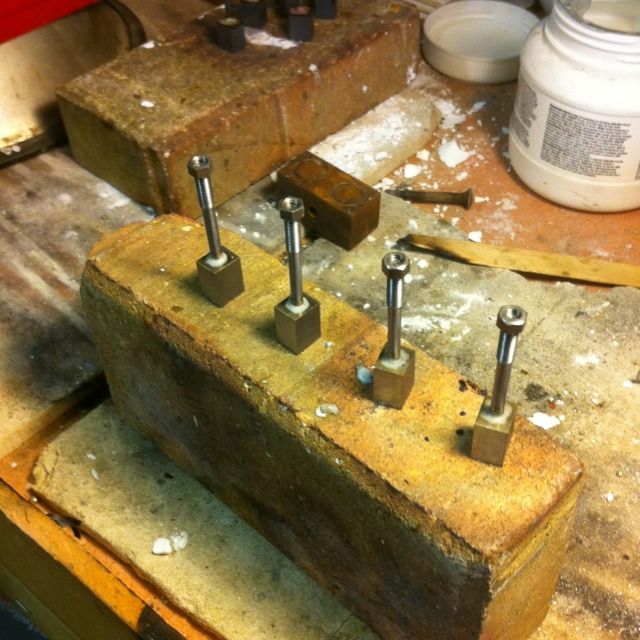
With the parts fitted together they were then silver soldered and so two parts became one..ensuring a good fillet was achieved around the collar.
After retrieving the parts from the acid dip( note to self, don't leave things with fine threads in acid for to long as they get eaten away, although the threads are slightly damaged on doing a small stress test the threads are still capable of doing their job, live and learn) I cut a small template for the gripper and ascribed around it for each hanger. NB: The above paragraph was written at the time, I later re-threaded these hangers just to be sure. I think the small casting of a grip seem was something that I used for reference, I just can't recall where it came from after 10 years.
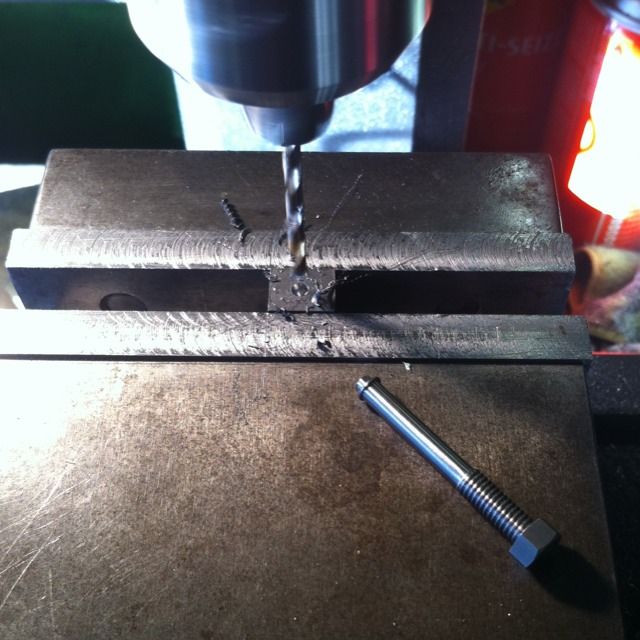
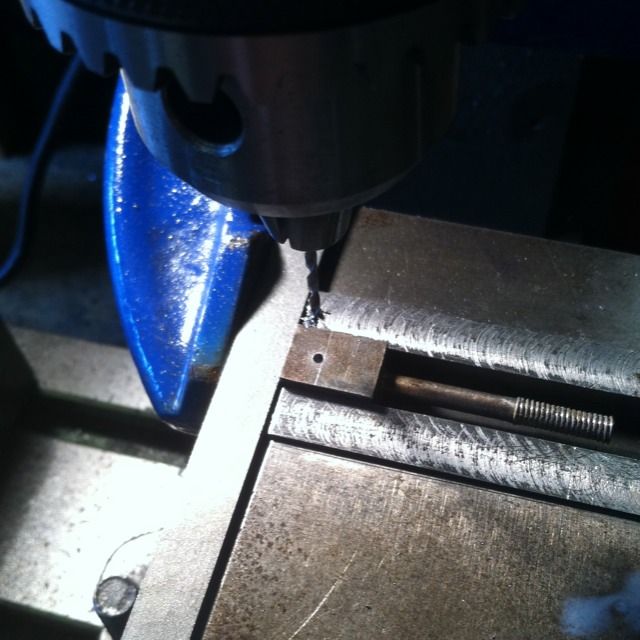
Now Don mentions about adding a touch of class by drilling a small hole in the gripper and tapping it 10BA for a bolt to be able to lock up against the top leaf to stop the spring from sliding out,as on the prototype. The picture shows me doing this but on checking Mallards tender it was obvious that 10BA would be too small and that 8BA was the correct size to use so a 1.8mm hole was cross drilled to the No.30 hole drilled previously and then tapped 8BA.
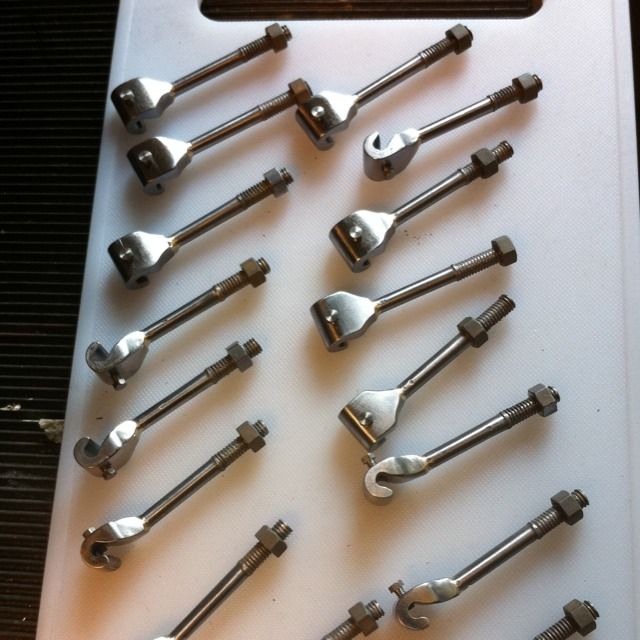
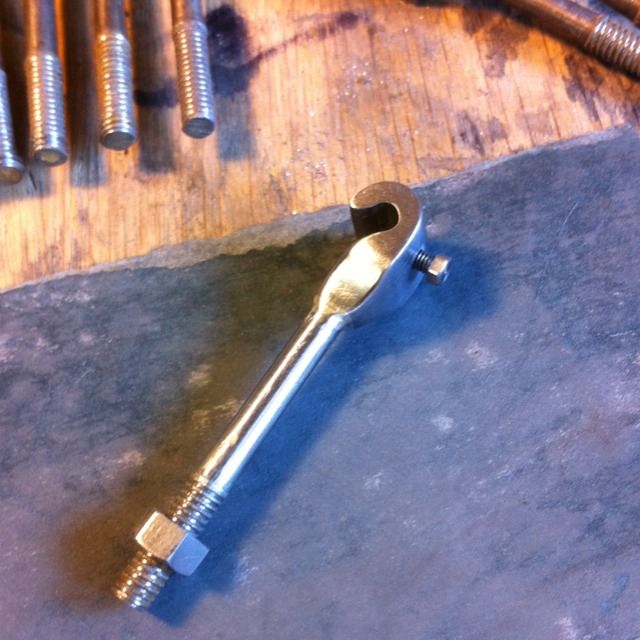
Here is a finished spring hanger which involved an awful lot of hard work sawing, filing, sanding and polishing which was why I took a small break after doing just one all those years ago to add this picture.
The completed spring hangers, all 16 of the little buggers...lol these items are one of those things that you could keep working on but I drew a line here as I had plenty more to do elsewhere. Although a template was used, there are in some cases very slight differences but considering these are basically hand carved I'll live with them. Mind you once painted I doubt you'd notice anyway, one things for sure if I'm going to continue with live steam, next time I do these I'll make a pattern and go the lost wax route..