In this update I'm going to describe the fabrication of the leaf springs and I'd like to start by pointing out that the thickness for the springs as given by Don is incorrect. This is something that I didn't discover until after making all of the leafs to the thickness as drawn.. let's just say that i wasn't a happy bunny once discovering the error.
NB: As drawn it's 0.028, it needs to be thicker, I don't have the details to hand but it should be covered in the loco springs later
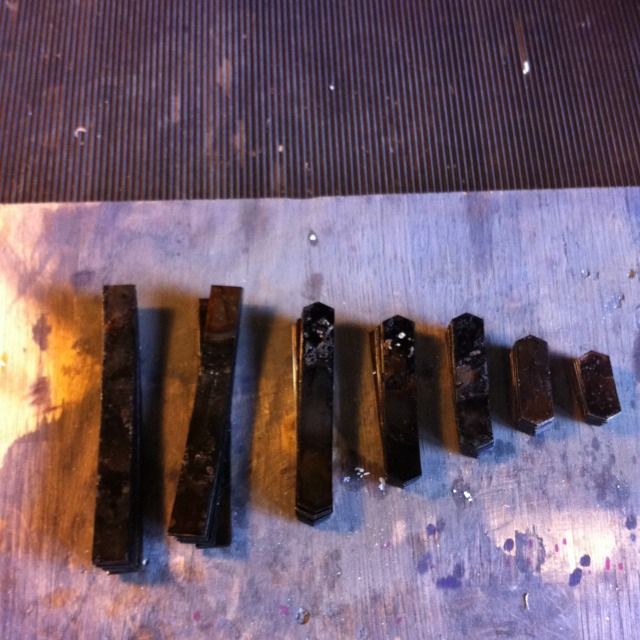
Seen in the picture are the various steel components cut to size ready for bending to shape. They are of course, in the annealed state. The piece of wood seen is a piece of 2 x 1 that I have cut to the profile needed for the 1/4 camber as drawn, this will be used to shape the steel so all leafs are correct.
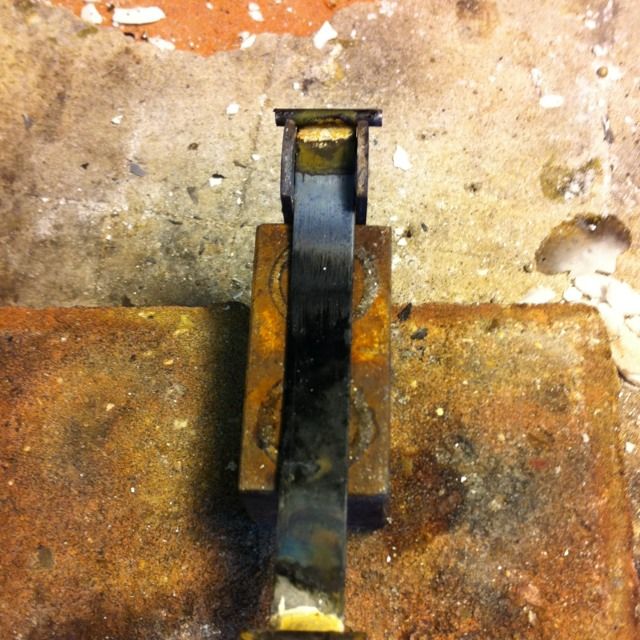
This picture shows me using the bottom profile piece , rubbing a suitable piece of alloy bar across each leaf to form it's shape. For the large leafs i used this method ( using both hands of course) , for the small ones i used a small hammer to rapidly tap the alloy while moving it along the length of steel.

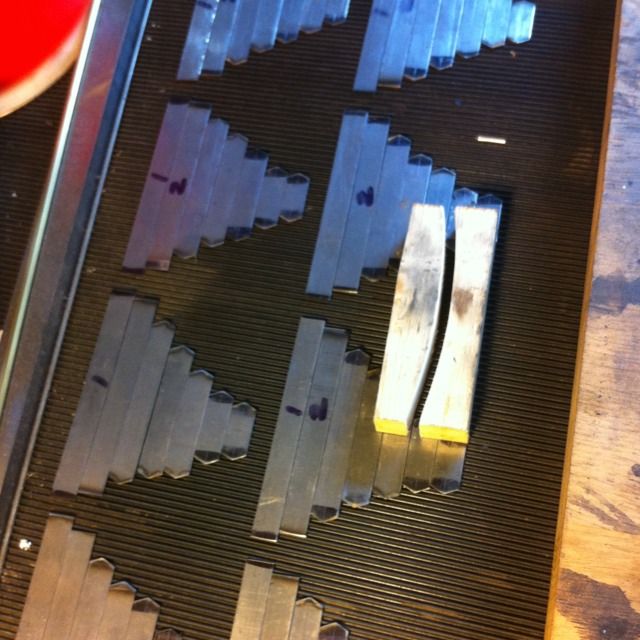
The steel leafs all shaped ready for hardening
The leafs hardened ready for tempering, I was going to take a picture during the tempering stage but found I was a bit busy. I used the old trick with tallow in a tray to temper the leafs, I coated each leaf first with tallow and then put all of the leafs into a tin tray and with some more tallow and lit it. Sounds easy eh? Yeh right, it takes a fair bit of heat to ignite the tallow although I was forewarned about this.
I used a different method for later leaf spring construction, having learned a lot from these which were my first introduction to making leaf springs.
Next job was to braze on the 1/8 rods to the top leaf that's held by the hanger grip. Don suggested using a potato with just enough sticking out for brazing the rods on. I tried this but found it difficult keeping the rods square as naturally the potato moves when heated. So I settled for laying the leaf on a magnetic bar with a piece of steel either side, the leaf was ascribed 1/16 in from it's end and the scribed line was used to keep the leaf square by lining it up with the two pieces of steel. It was easy then to paste the rod and spring and then lay the rod in place, since the leaf was lying on a magnet everything was held together for brazing. All this metal acted as a heat sink so helped keep the rest cool, btw the leaf hadn't been cleaned yet which is why it's black in the middle.
Pic221
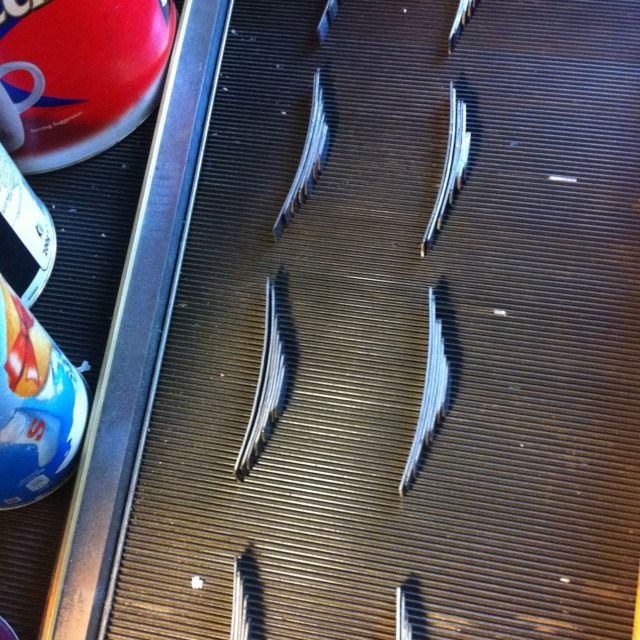
A finished set of leafs finished at last, the picture shows both the steel and tufnol leafs that make up the spring, the others were also completed at this stage except for polishing.
The hangers fit nicely and can not be pulled out, they have to be slipped in so I guess I built the gripper correctly...
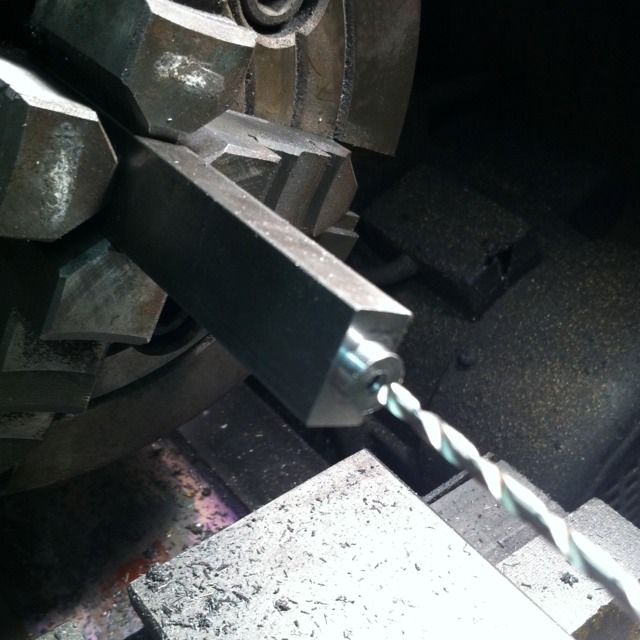
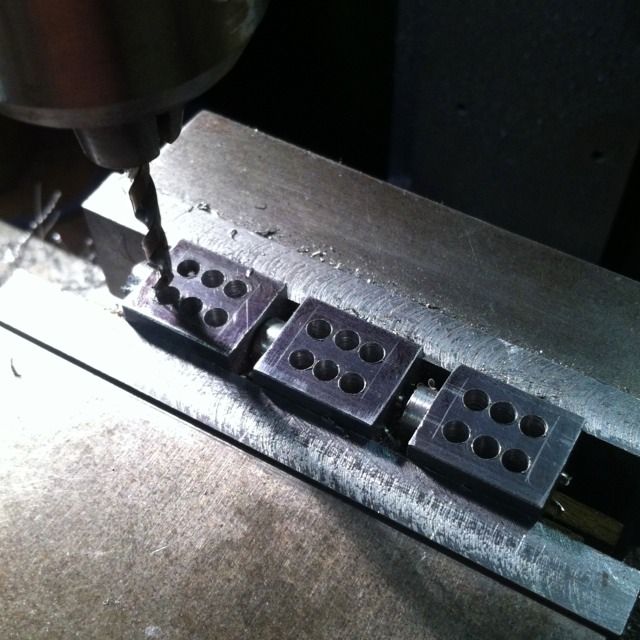
Spring buckles next, here a length of 9/16 x 3/8 BMS bar has been set in the 4 jaw, faced and then one end turned down to 5/16 rad over a length of 1/8. After centre drilling, a No.34 drill is used to a depth of 5/16 which later is tapped 4BA.
Last job here was to part the job at 3/4" along the bar not including the turned spigot.
After all lathe work had been completed the buckles were chain drilled in the machine vice as a first step to the leaf spring slot. Next an end-mill was used to machine out to the scribed lines and then finished with files. Finally the spigot that fits into the spring plate was tapped 4BA.
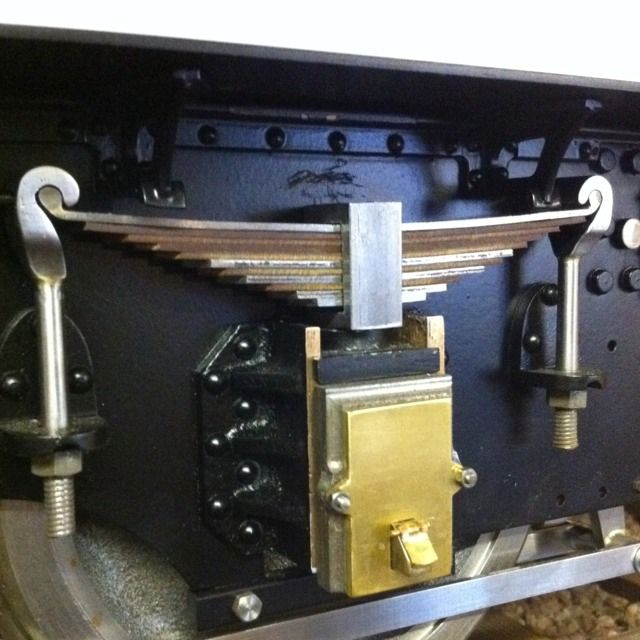
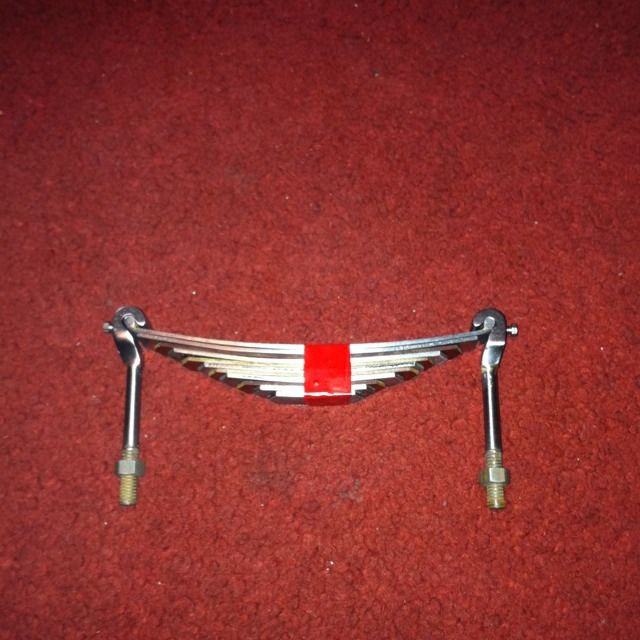
Here is an assembled spring, once the leafs had been fed into the slot and centred they are held in place with the 4BA grub screw.
Now at this point, I decided that the springs would be to strong as originally drawn and so I replaced another two steel leafs with tufnol. I didn't at the time know if this was enough until all springs were assembled and the chassis was fully loaded but it looked good. Today, now that the tender is finished i can report that the springs are working correctly for the given weight en counted

this was one of the milestone events, there have been a number since. But it was a big step in the tenders construction.
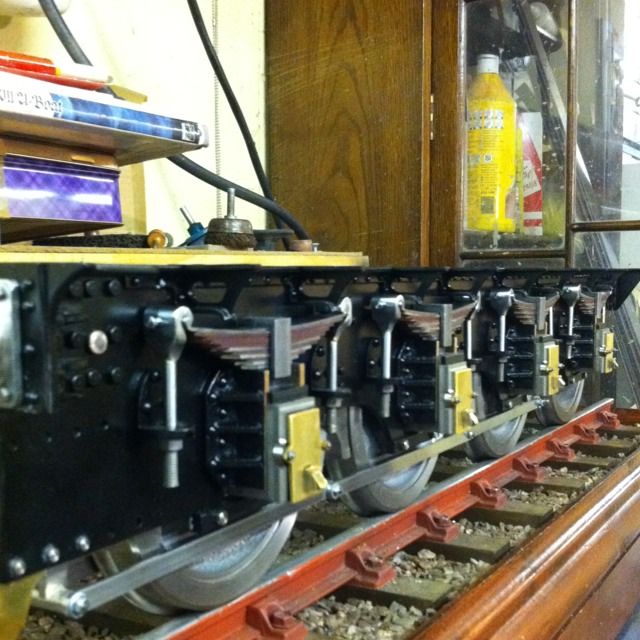
Finally with all the spring buckles finished, the springs could be fully assembled and fitted to the chassis.