
Well today we have the lamp irons...
Pic96
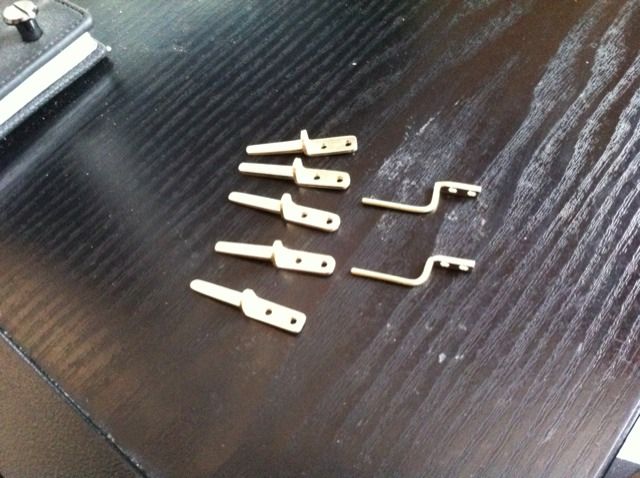
First I cut some suitable brass to length and then bent it 90' followed by a lot of filing to shape, this gave me the bottom part of the lamp iron. Next I silver soldered a suitable piece of brass as the picture shows. With these pieces joined I could them finish filing to match the photos that Trevor kindly supplied me. Oh yes and my fingers are now very sore... Lol
Attachments:

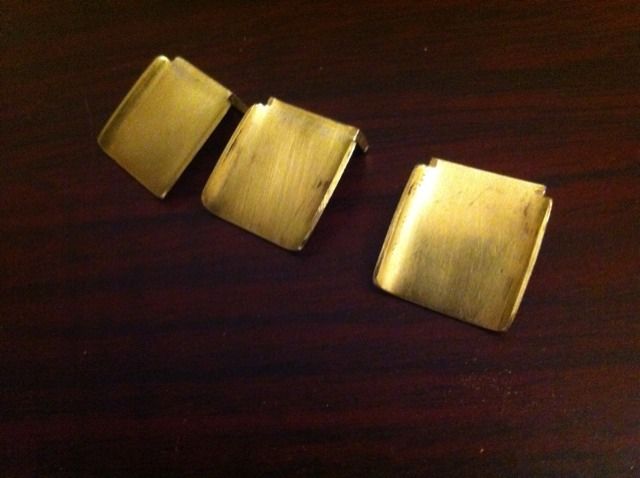
Here are the finished lamp irons, five of one type for the rear and two of another for the front. Don said to fix these with 3/64 rivets, the photos show that they are welded in place. I chose to follow Chris Vines advice from his great book " How (not) to paint a locomotive" where he suggests to have these items detachable to aid in the painting process later. I therefore drilled to accept 8BA hex head bolts.
Attachments:
Front lamp irons now fixed in place.
Attachments:
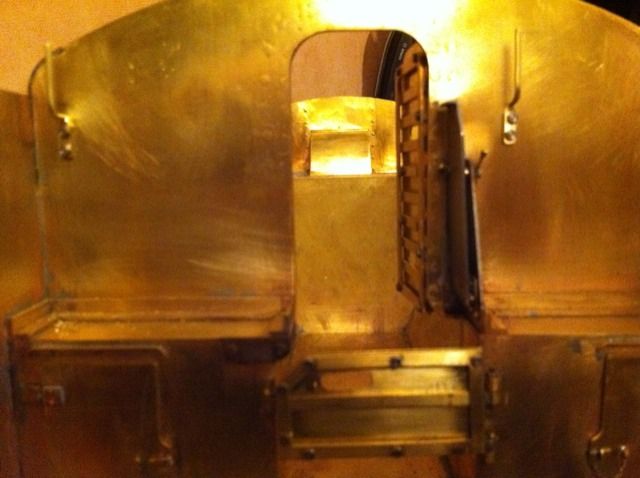
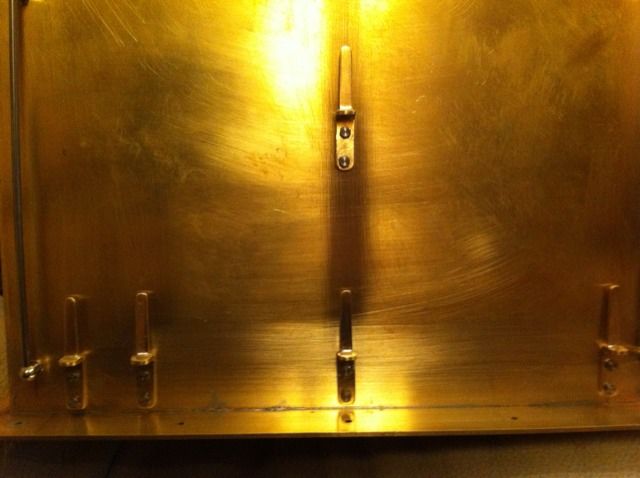
Rear lamp irons also fixed in place, currently these are held by steel hex head bolts, since these go through to the water tank I shall change these for stainless at a later date along with any others that do the same.
That's all for today guys, I got a stinking cold so not up to speed last few days, next job will be the rear steps which will also be detachable.
Pete
Attachments:
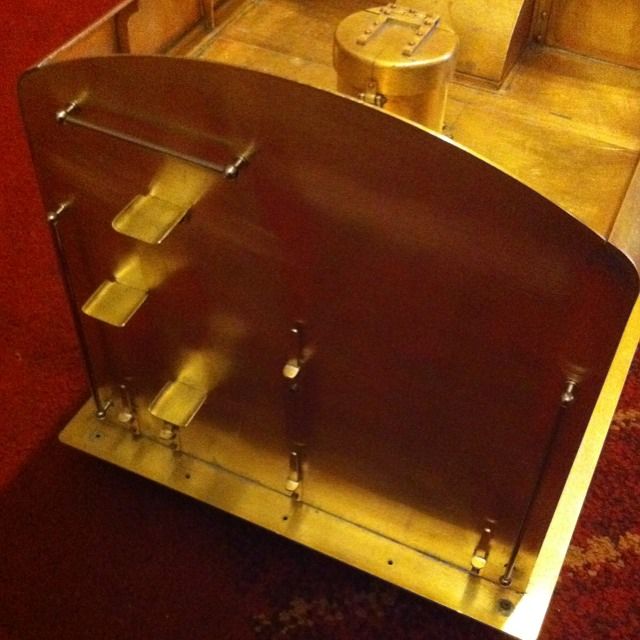
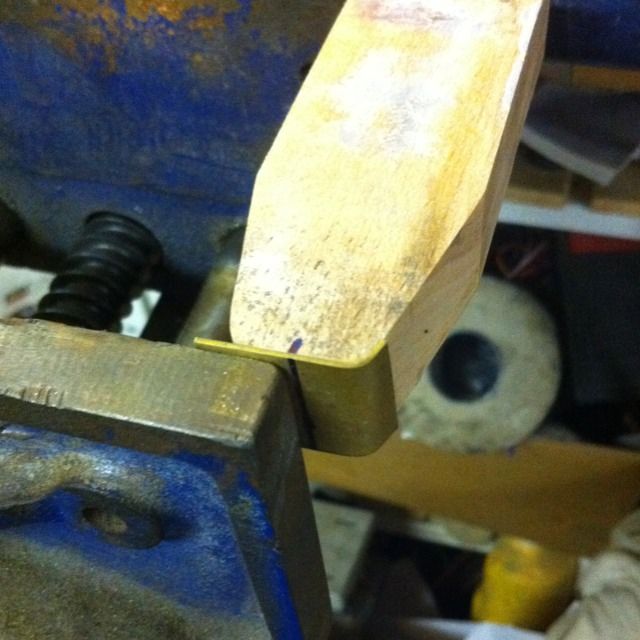
Here is the former for the step plate made from an Oak off cut, held in the vice squarely trapping the step material to the front jaw, it was a simple job of using a dolly one side at a time to beat to shape. With the basic shape formed this step was then silver soldered to a rectangular piece of brass for the support bracket.
Attachments:
Once cooled the steps were then filed to shape as shown here, this took a good few hours, I'll probably do a little more to finish when I go over everything before painting.
Attachments:
Steps fitted with 8BA hex heads like the lamp irons, I'm not sure whether to keep the hex heads when I later change to stainless of perhaps use socket counter sunk as they are less obvious, what do you guys think?
Pete
Attachments:
