

There's a lot of internal sections to this tender which adds greatly to it's strength. Don states that the tender design is capable of supporting a driver sitting astride it for ground level operation. You would, of course, need to take this into consideration when making the springs and perhaps it may be wise to modify the axle-boxes for roller bearings? You'd also need to consider how best to attach foot stirrups to the tender chassis.
With the soleplate finished I moved on to the water scoop dome and the top deck it attaches to. Here the dome has already been soft soldered together and fixed to the deck. Using some clamps as heat soaks and bars clamped to the deck keeping it flat I proceeded to fix the small right angle around the dome.
The tender has now been moved to the brazing area, having had trouble with the first soleplate (basically I got it too hot trying to silver solder it instead of the usual method using soft solder) and it distorted, I managed to get most of it flat but wasn't happy with it and knew I could do better so ditched it for a replacement. IIRC, the first of only 3 items to-date (over 11 years so far ) that I felt it best to replace.
To help keep the replacement soleplate flat, I attached it to the chassis. This worked very well as when the body was later removed from the chassis after completing the internal structure it remained true. Live and learn as they say...
This picture shows the 3 baffles dry fitted to the soleplate ready for brazing, the dome top deck has already been brazed to the top of the rear two baffles.During this and proceeding setups the squareness of the parts were constantly checked.
Rear coal wall with right angle supports riveted in place. The right angle sections are 1/4 x 1/4 x 1/16.
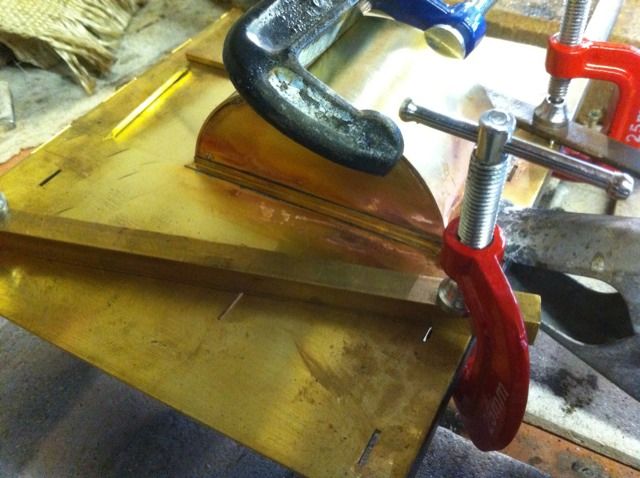
Front baffle held in place for brazing, top right angle strips also in place helping to keep baffle square. Malcolm's kit is very well thought out, the right angle support sections fit neatly into slots already cut to accept them.
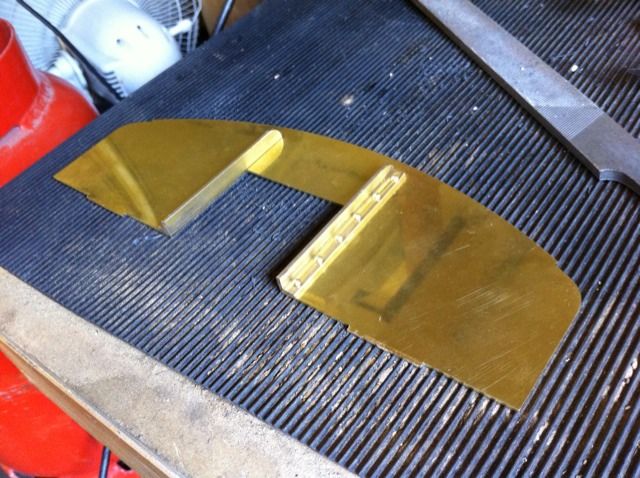
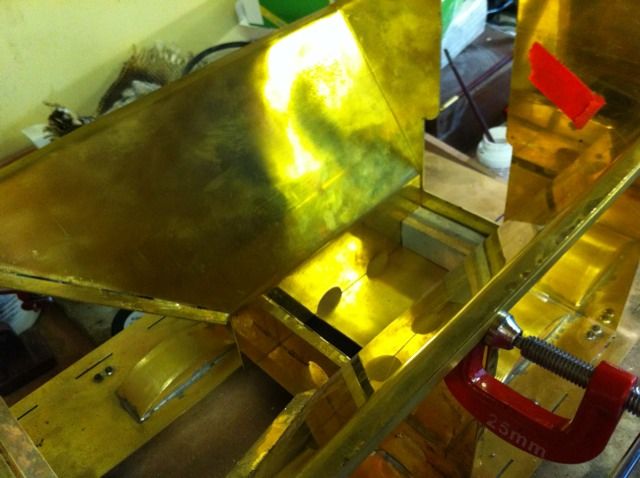
Here I have folded the coal chute sides to the correct angle and these slide into slots in the front baffle.
The front panel has been temporary put in place to help keep things square while the sides are fixed. it's important to think these things through, use as many parts to keep things square as possible, thin brass and heat are not good bed fellows, take your time and all will go to plan.
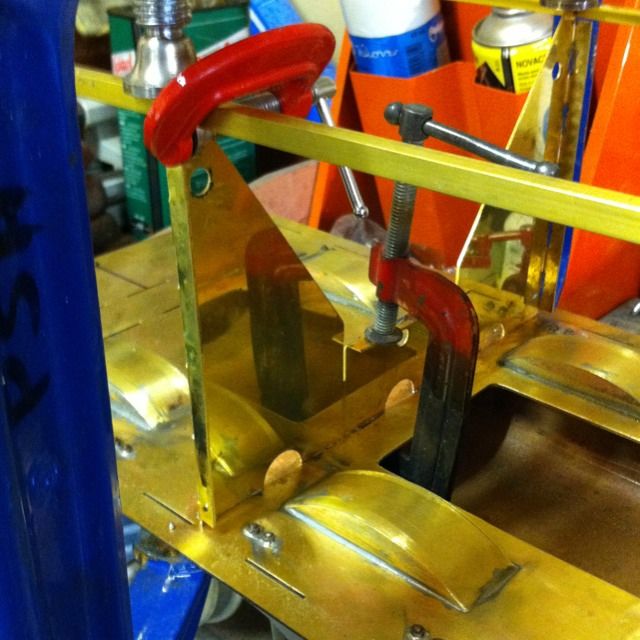
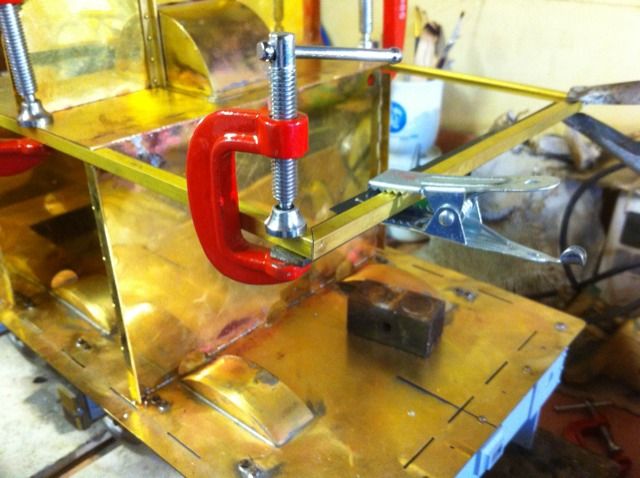
With the right angle now brazed to the baffles it was time to attach the rear section. The 45 degree angles on the right angle having been measured/cut in preparation for assembly.
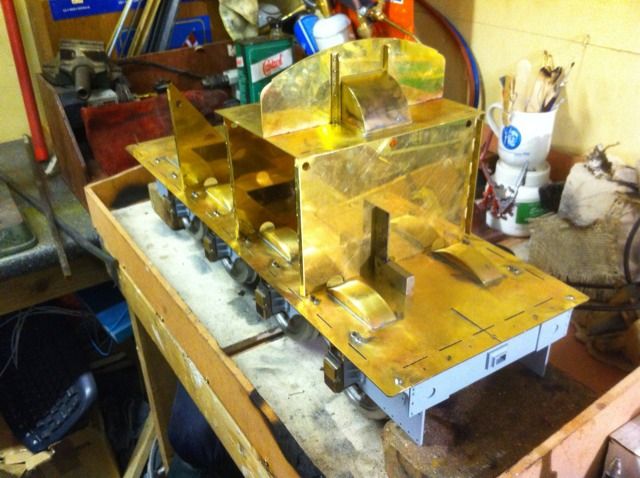
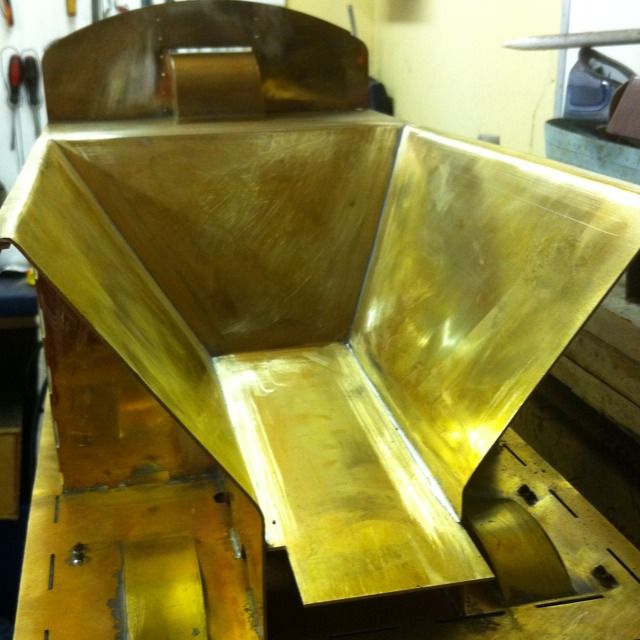
This picture is just to show progress of the body at this stage, one side panel and the end panel have been dry fitted to check all is well.
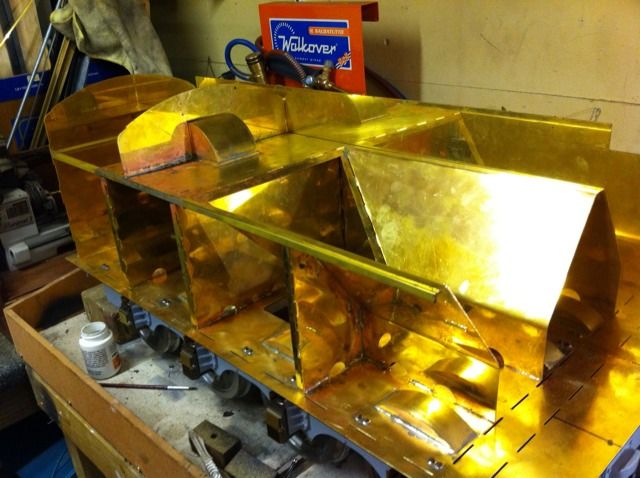
The next important step which I include as an 'internal' part is the fitting of the coal-chute. In this picture the section has been folded to shape and soldered in place.
Once the coal-chute was fixed I dry assembled all of the exterior panels to check that all was fitting as it should. There are a number of rolling sessions required before these panels can be permanently attached. Before I could do this, there were a number of other smaller details that I need to attend too first.
