The body will be 'super detailed' as will the entire model, I chose to use one of Malcolm High's brass laser cut kit (Model Engineers Laser) which saved me an awful lot of sawing/filing, there's plenty of that in this build as it is.
For those not familiar with MEL I can highly recommend Malcolm and his laser cut range. Malcolm already had a number of bits available for Doncaster when I began building this model, there are now many more parts in the range, a substantial amount were drawn up for me by John Baguley, some may recognise his name from the 2 1/2" gauge association. I am very much indebted to John for his superb drawings which have proved to be extremely accurate.
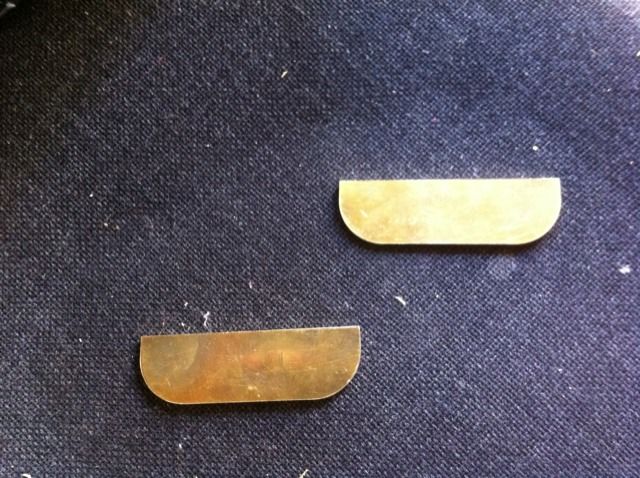
I started with the belly tank, this picture shows the two end plates for the tank, not much to see but included as part of the process, these are 3mm thick. I had to machine a small amount off the top edge to gain clearance between the bottom of the soleplate and the intermediate stays.
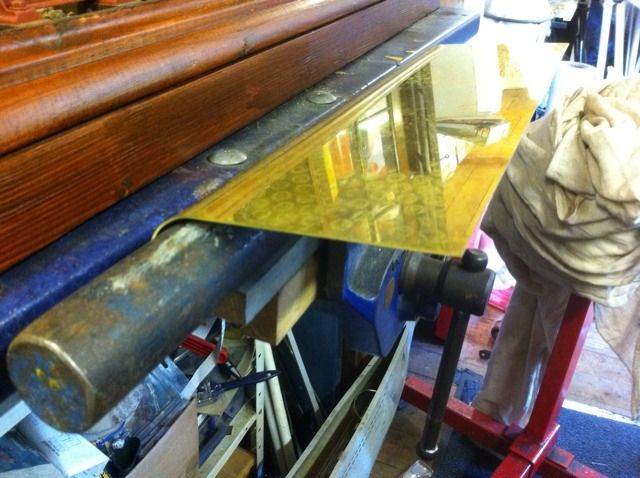
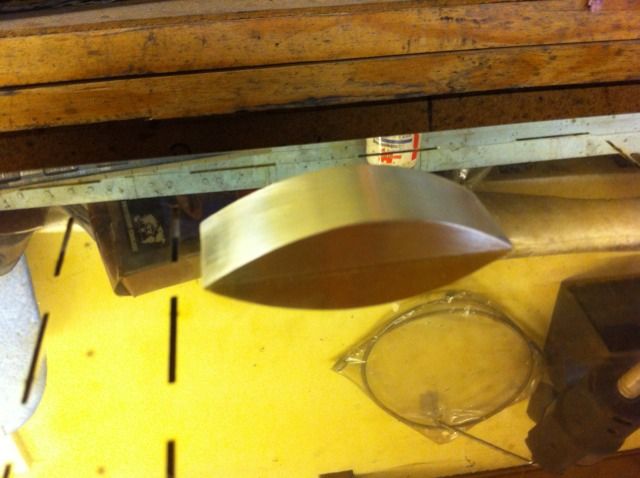
I have no rollers so had to use some steel bar to shape the tank, some panel beating hammers helped with this.
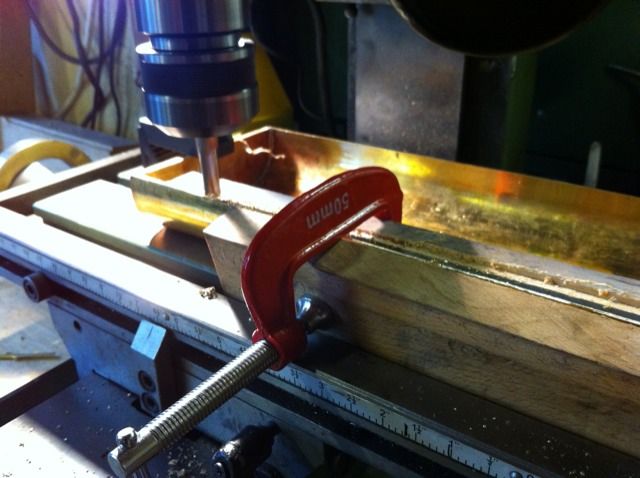
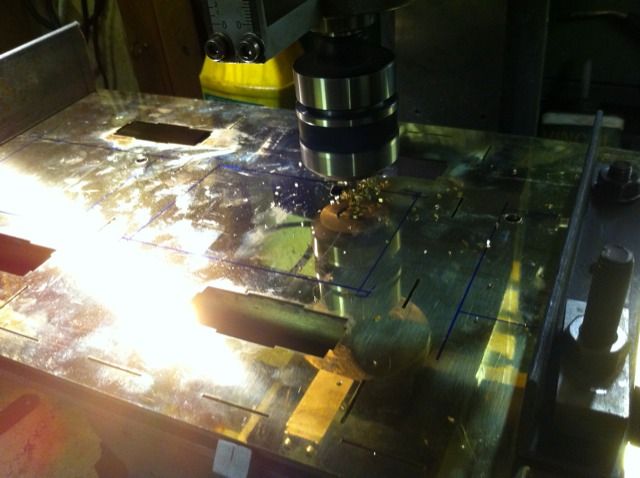
After the parts had been brazed (silver soldered) together the tank was clamped securely to the mill bed and the rolled sides were machined down to match ends
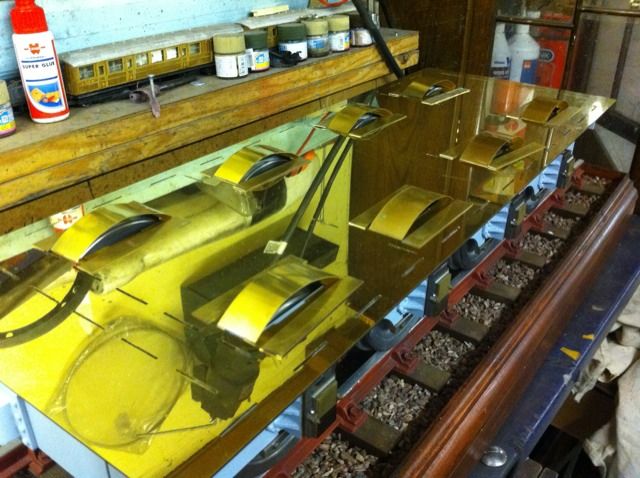
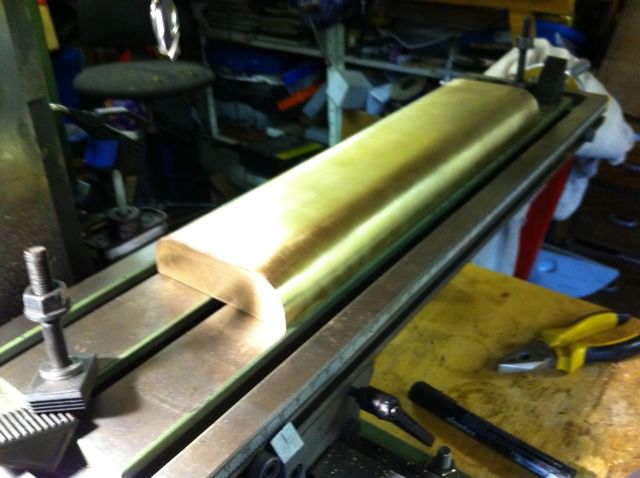
The finished belly tank being checked for the top edge being flat ready for brazing to the soleplate
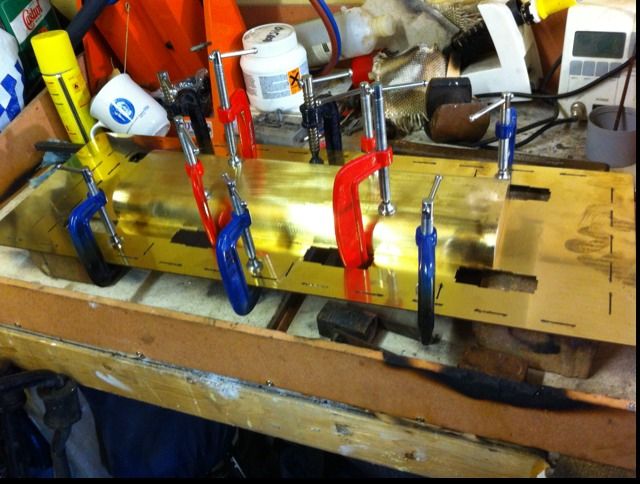
Belly tank held in place ready for brazing to soleplate. Brazing is the right word here as i was going to silver solder these parts together, bad move and I reverted to using soft solder in the end.
With the tank soft soldered to the soleplate it was time to construct the wheel splashers.
The kit has parts that basically make up into rectangular boxes, I didn't like these as they are not correct so made up my own, yes I know once built you'll never see them but I felt happier doing them as they should be.
Here you can see the components shaped ready for brazing.

A Simple jig was used to hold the parts for brazing, the sides will be profiled to shape after. Before that each arch will be turned upside down and filled with water to check for leaks which is very easy to do while the sides are still rectangular and level.
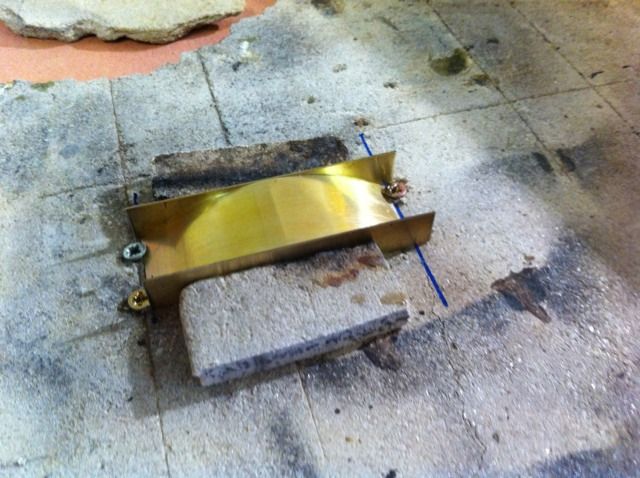
First arch complete and dry fitted, next was to get the other 7 to this stage and then fixed to the soleplate
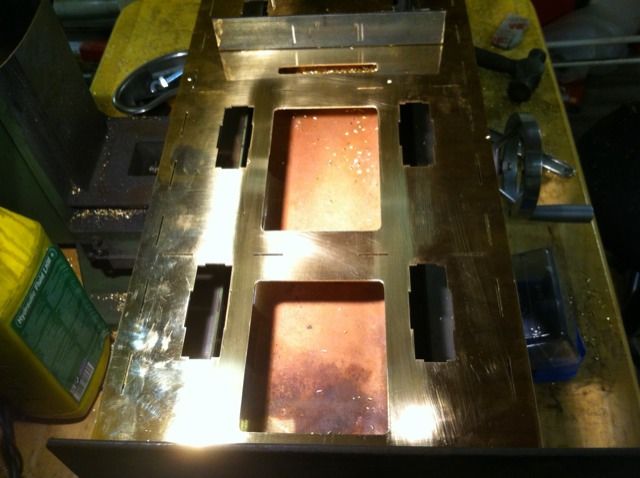
Oh before soldering the wheel splashers on, I had to machine the large water tank access holes into the soleplate
Tank access holes completed
Splashers fixed, soleplate bolted to chassis with 8BA hex head bolts , the nuts being brazed to the soleplate as once the tender body is completed they will be inaccessible .
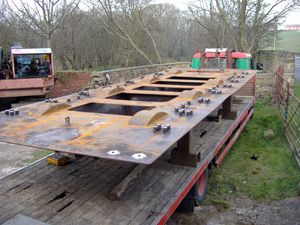
I'll leave you with a picture of Tornado's soleplate for reference