Although the oil trays are relatively simple things to make they do take a fair bit of work/time to complete and some bits are very small which doesn't help matters. Well not when doing them with my big hands at least.
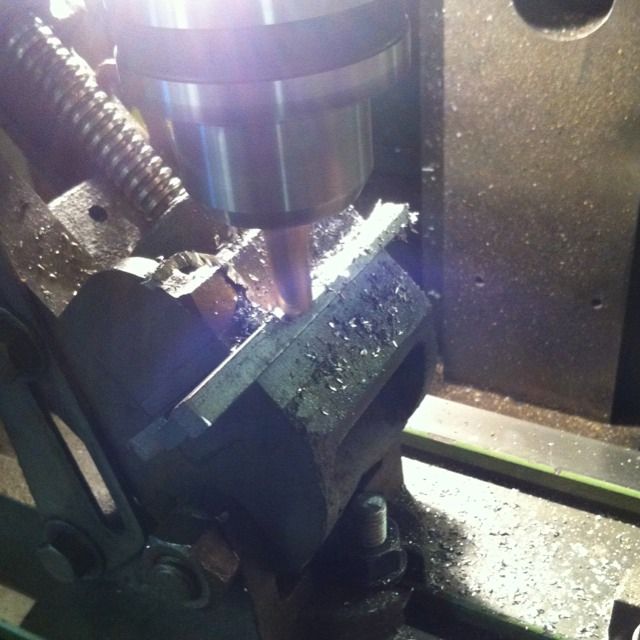
The first picture shows a length of 7mm square steel bar held in the angle vice, having the angled face that the oil hole goes into being machined. According to Don's words and music this should be 5/16th square brass bar. Well first of, I didn't have any of this in stock but also scaling from the pictures that I have of Mallards tender axle boxes, this would have stuck out to far, so I took the decision to use a smaller size which just happened to be in steel. When I can I try to do multiple parts as one piece until that need to be parted, these are a classic example of this procedure.
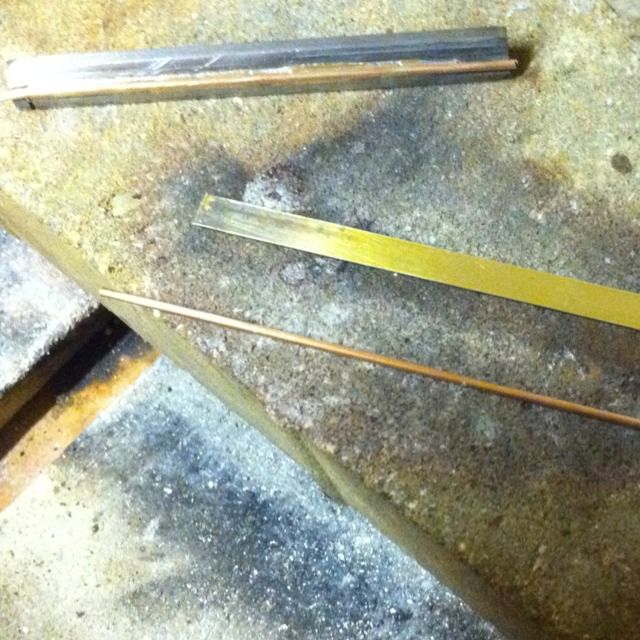
Here I have silver soldered a length of suitable copper tube to the 7mm steel for the hinge. Also ready to be soldered is the brass strip and copper tube which formed the oil way block hinge.
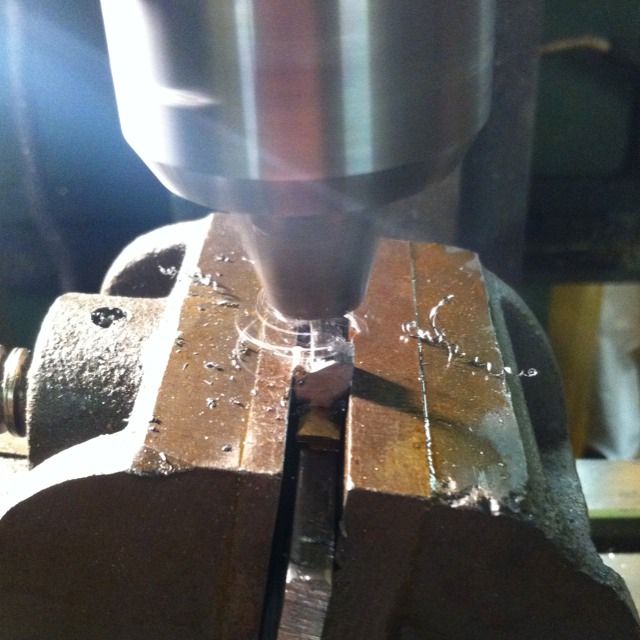
Here the oil way block has been cut to size and is now having the oil hole drilled. Due to the angle this was given a good hit with hammer and punch for the drill bit to get a good purchase on the angled face.
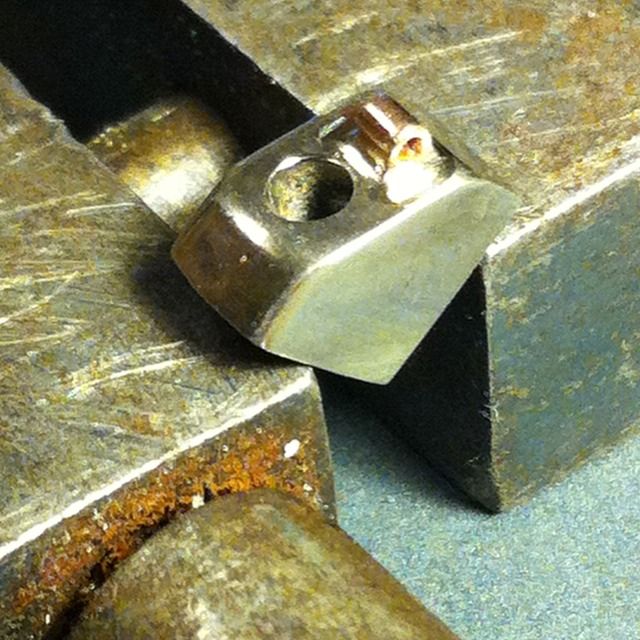
One of the finished blocks now filed to shape, sanded and then polished.
Next job is the lid and then to solder each block to it's oil tray.
Before tackling the lids, I decided to make the axlebox covers first. My apologies for the little information on both the axleboxes and the chassis construction so far, these were already partly built before I started to log the build.
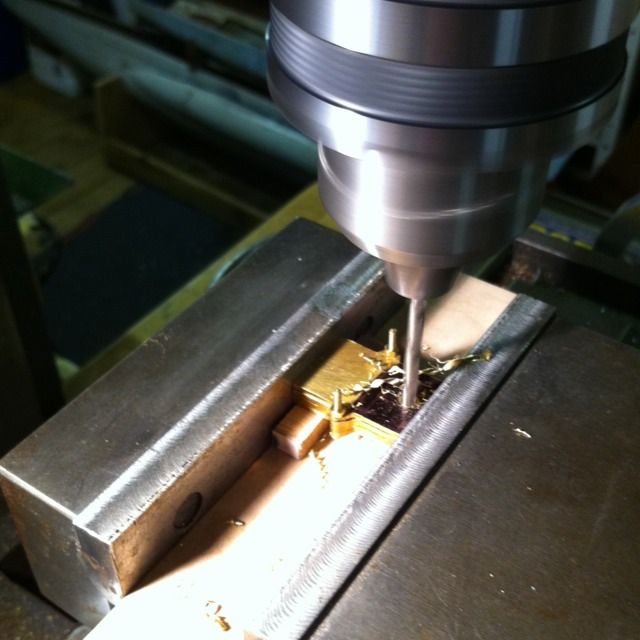
There are eight covers so I decided to do the machining in batches of four. Here the first four are having two No.43 holes drilled just inside the scribed lines marking out the oil way slot.
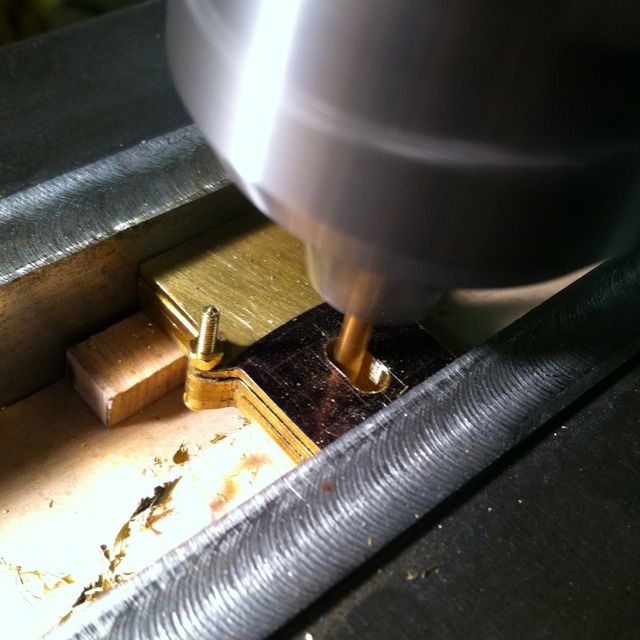
The covers were made in 'fours', drilled to match for the mounting bolts on the axleboxes and then had there slots machined within the ascribed lines that can just be seen. Once machined the slots were then filed rectangular to match the oil-blocks as they need to be able to pass through them.
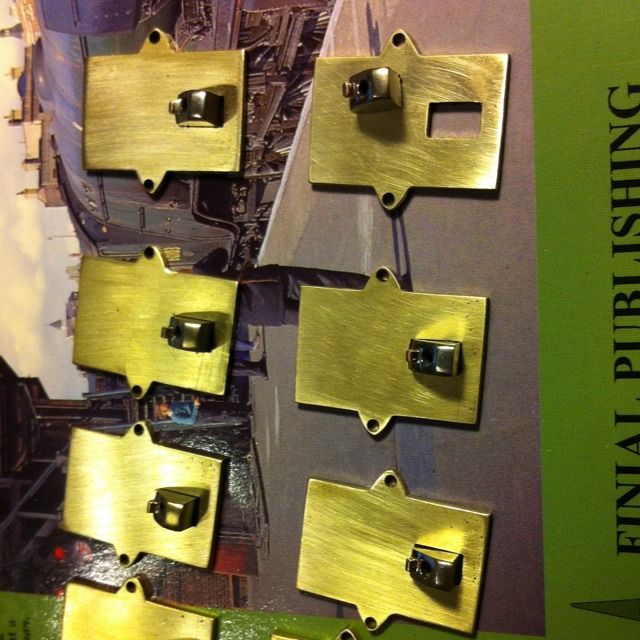
here are the covers now ready for fitting, The holes are a little off center, this is not so much an error on the covers but more me not getting things right when making the axleboxes themselves, therefore I made the covers to match so that they sit properly on the axleboxes. None of this is noticeable once all fitted and painted. It's a shame that I didn't log down the axlebox contruction. They very much follow the prototype with an interesting approach to journal/bearing surface. The bearing journal is only on the top half, it's not a complete circle, it and the axle are so shaped as to interlock with each other. The axle enters the rear of the axlebox at an angle and then pulls down to lock in the journal, something that was completely foreign to my previous experiences with bearing/journals. As can be seen in the picture, the oil-blocks are a close fit to the cover openings and they also need to be accurately fixed to the oil trays to function properly
Another job to do before the lids was to attach the oil-blocks to the oil trays. alas i seem to have a gap here in their construction and for the life of me can't remember how I made them. T be more accurate, I can't recall how i made the centre section, the two ends were soldered on. what I do know is that the overall shape had to match the opening that was machined into the axleboxs as these all fit together very snugly.
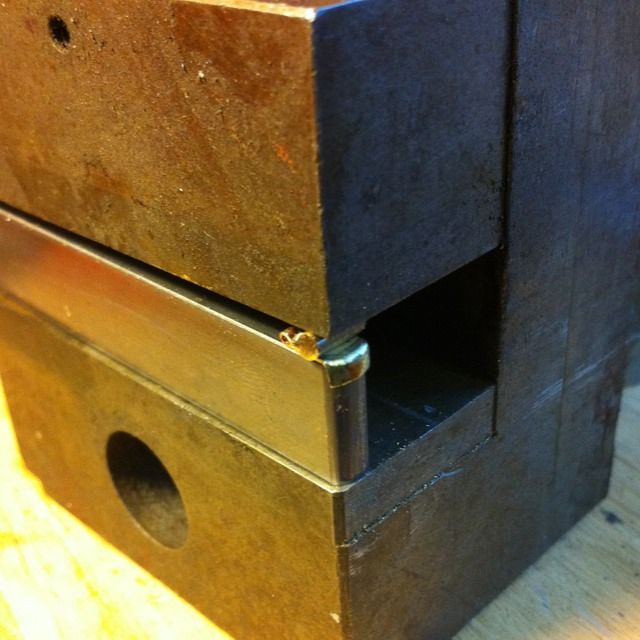
The oil trays themselves were soldered using soft solder so I had to be careful during attaching the blocks. I first aligned the blocks by fitting the axlebox covers in place and then using superglue stuck each one to it's oil tray through the slot to ensure it was in the right place. Next the tray was held in a vice and steel blocks were placed either side to act as heat sinks, I also put a small piece of thermo block on top to help with this. Using a gentle heat the blocks were all soldered in place.
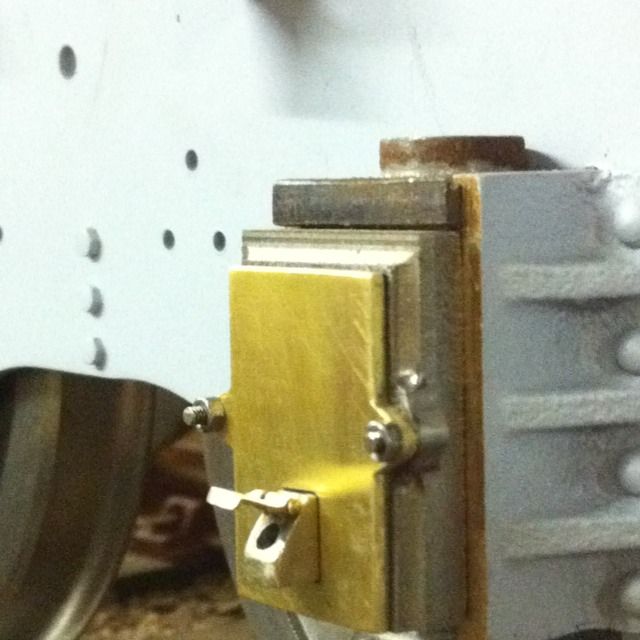
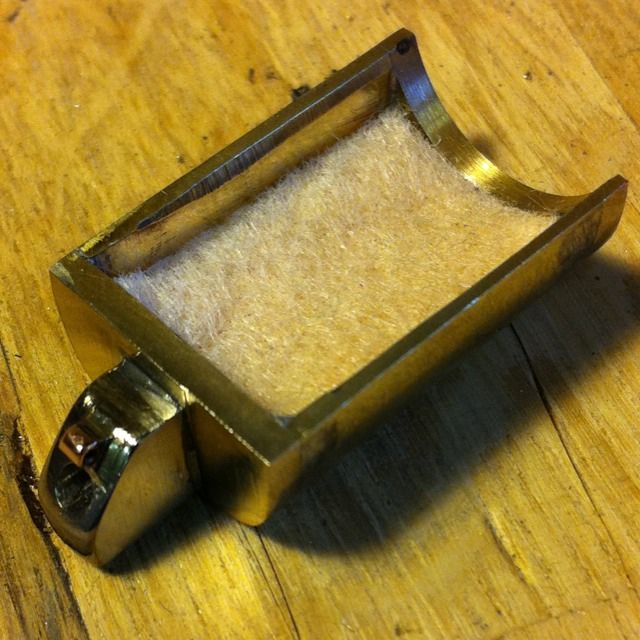
The finished tray, the oil way hole has been drilled through into the tray and it is angled so that the hole is at the bottom of the tray. A small piece felt has been cut to size and placed in the tray ready for the oil at a later date
Note that the rear of the oil tray has been shaped to match the axle end collar, This can just be seen in the very first photo showing the tender build, it's this collar that locks the axle in place and once the oil trays are fitted it's impossible to tilt the axle and remove it from the axlebox.
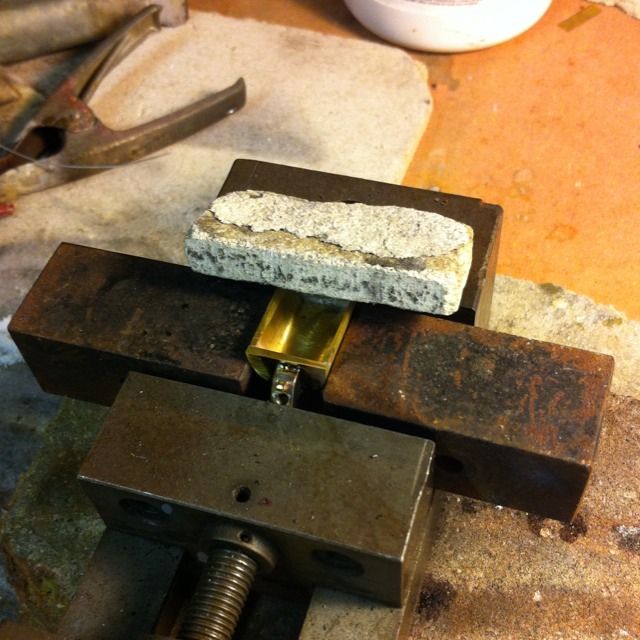
Finally onto the lids, I wanted to add the small lip that hangs over the block so after first fitting the hinge in place to mark out where the lip started the hinge was then held in a vice as shown. I had already shaped some steel bar to the profile of the block, using a small length of brass rod to protect the hinge the vice was tightened. I then used a small hammer to form the lip, after this picture was taken the lip was trimmed to size while still held in the vice.
The finished article, later I replaced the rivet used temporary until I had purchase some 3/64th stainless pins as to Don's instructions.
I have to say there was a lot of work involved in doing these little bits but they add so much to the detail of the model, I see very few model with these details, I tip my hat to those of you who have done likewise, time consuming yes, but worth every minute IMHO.