
With the front face finished it was then time to machine the backs, I mentioned before that I would make a decision on whether to flute the backs later, I have now decided not to do this. The main reason being that with the offset following full size and not Don's drawings ( it now has more of a dogleg) it's probably better to keep the extra strength that having no flute supplies, Don stated not to flute the rods anyway and so I will follow his lead on this one.
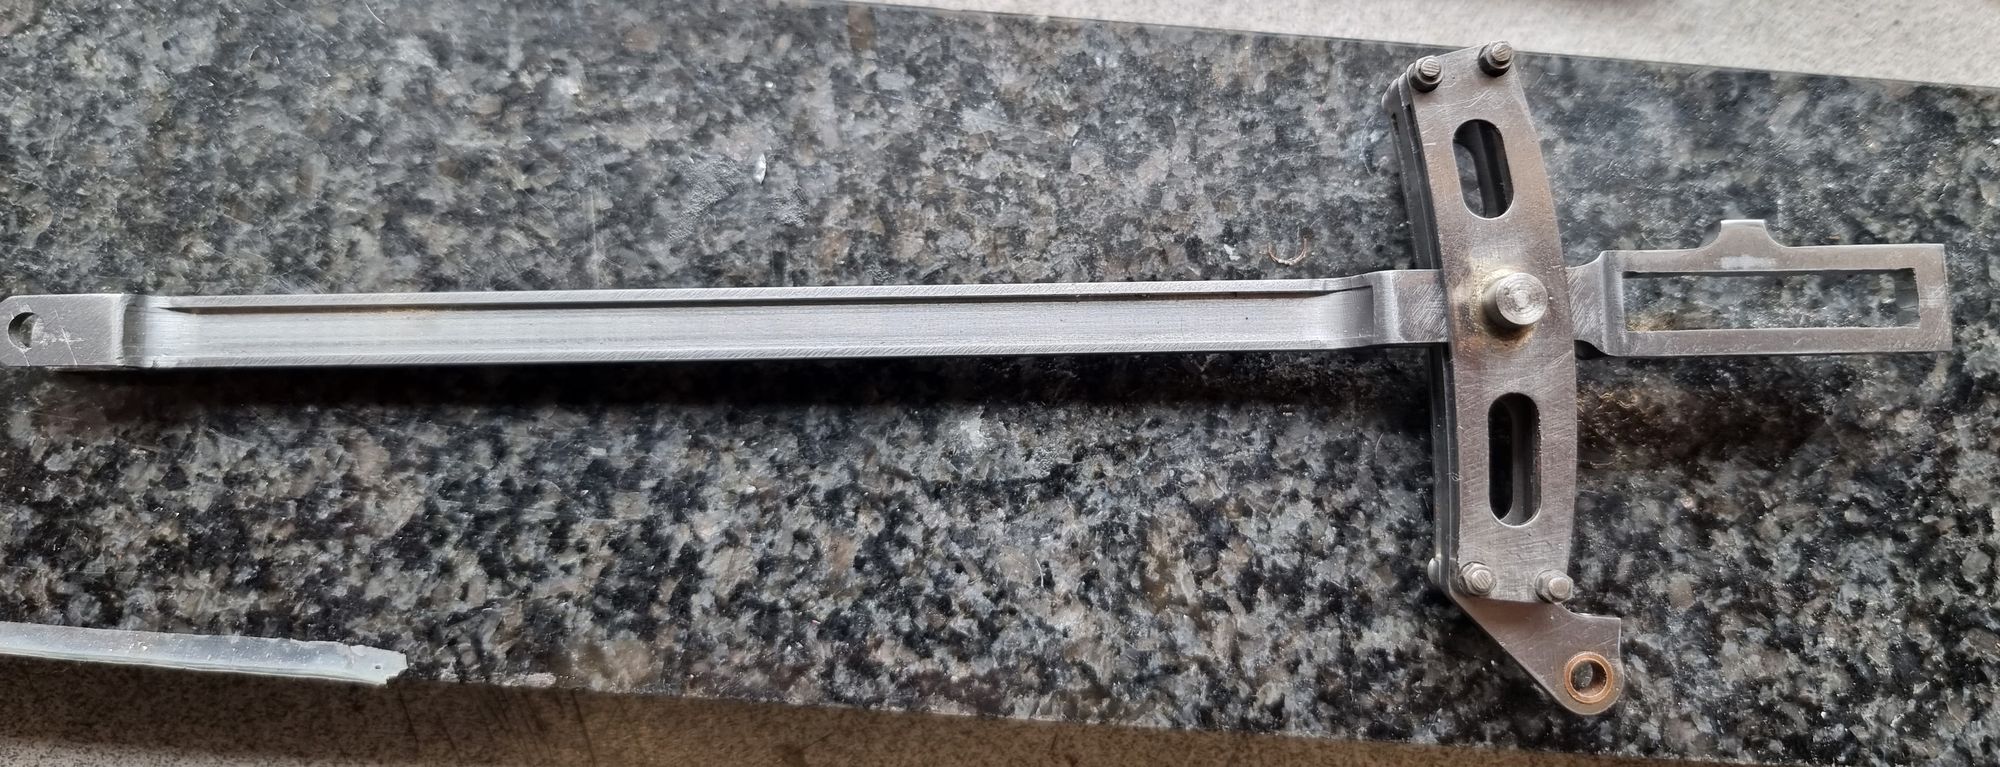
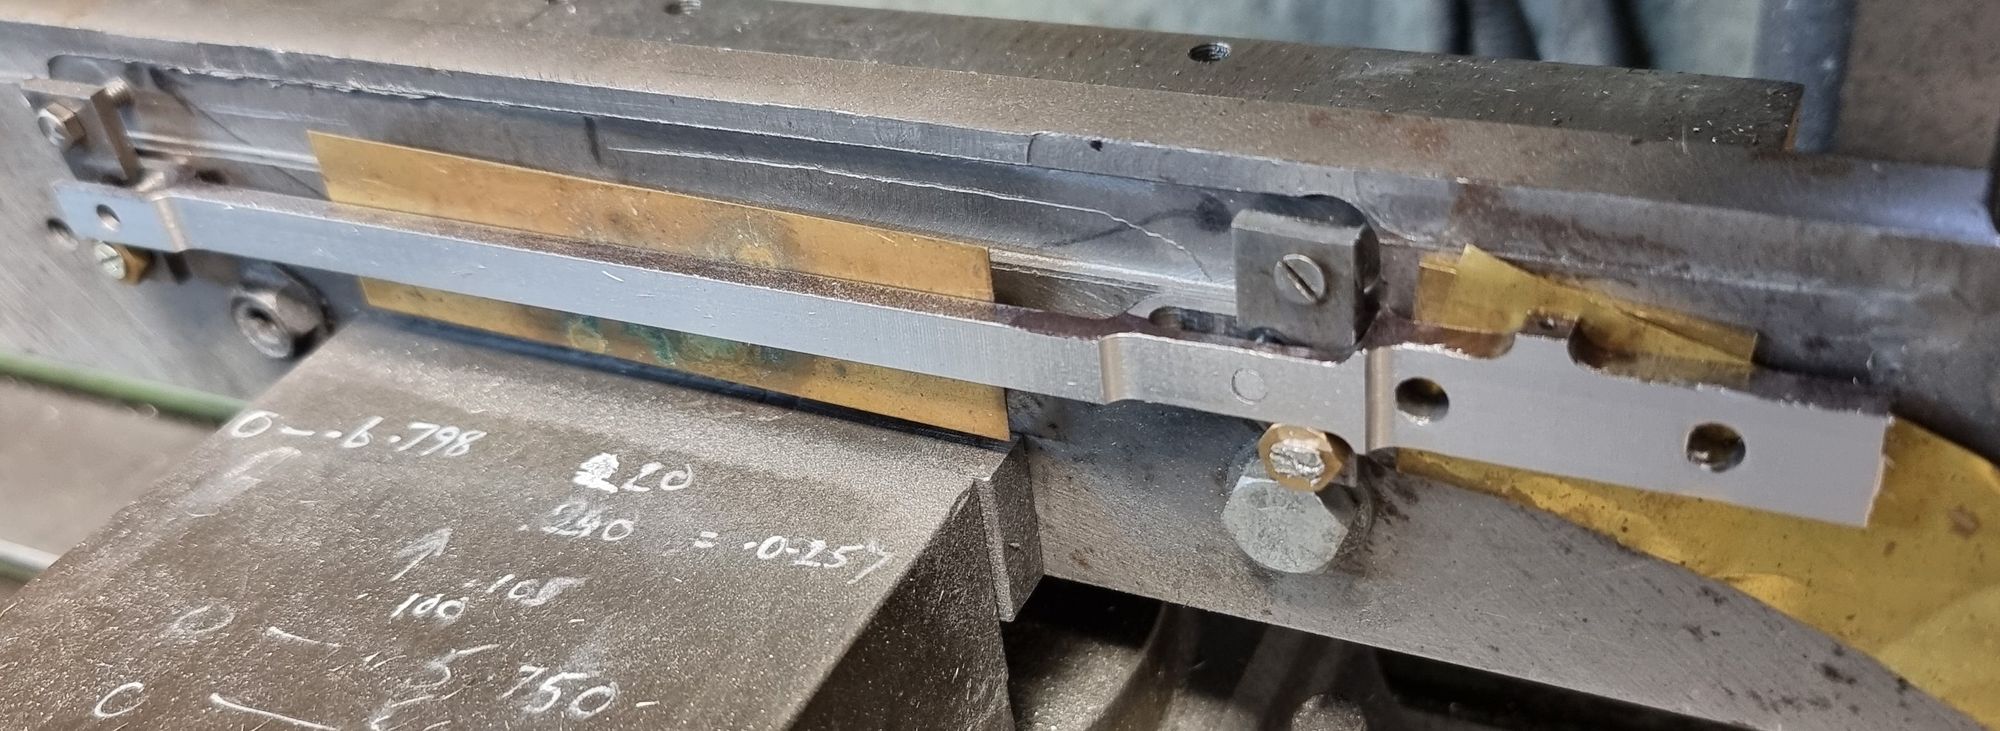
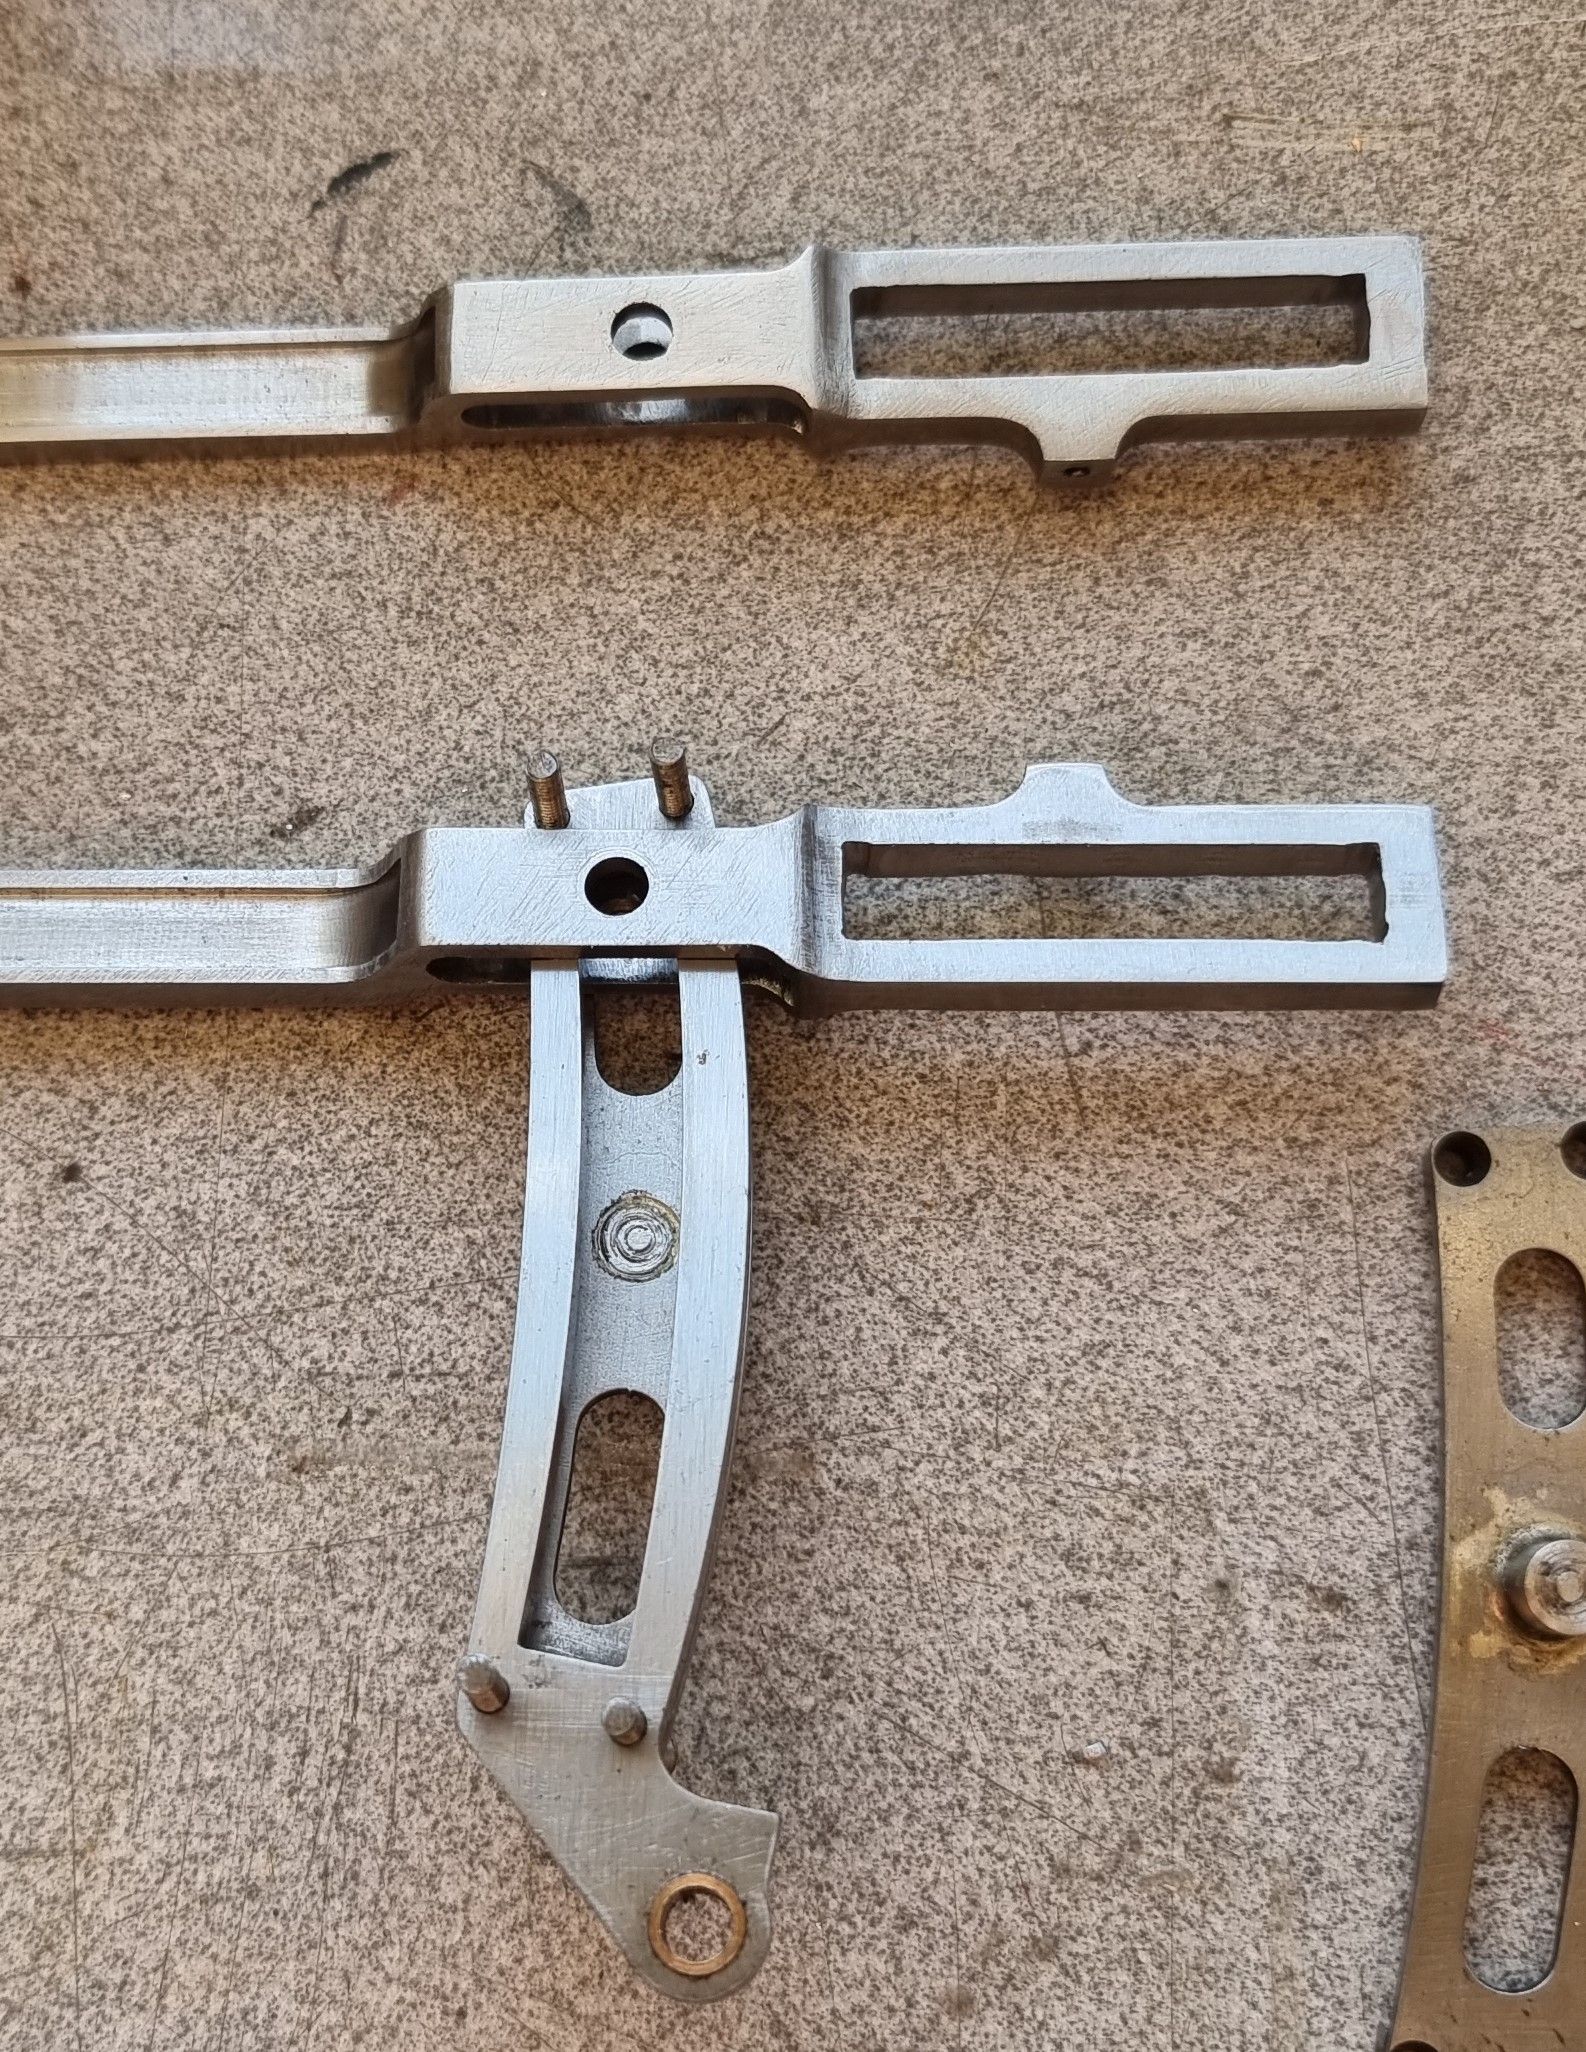
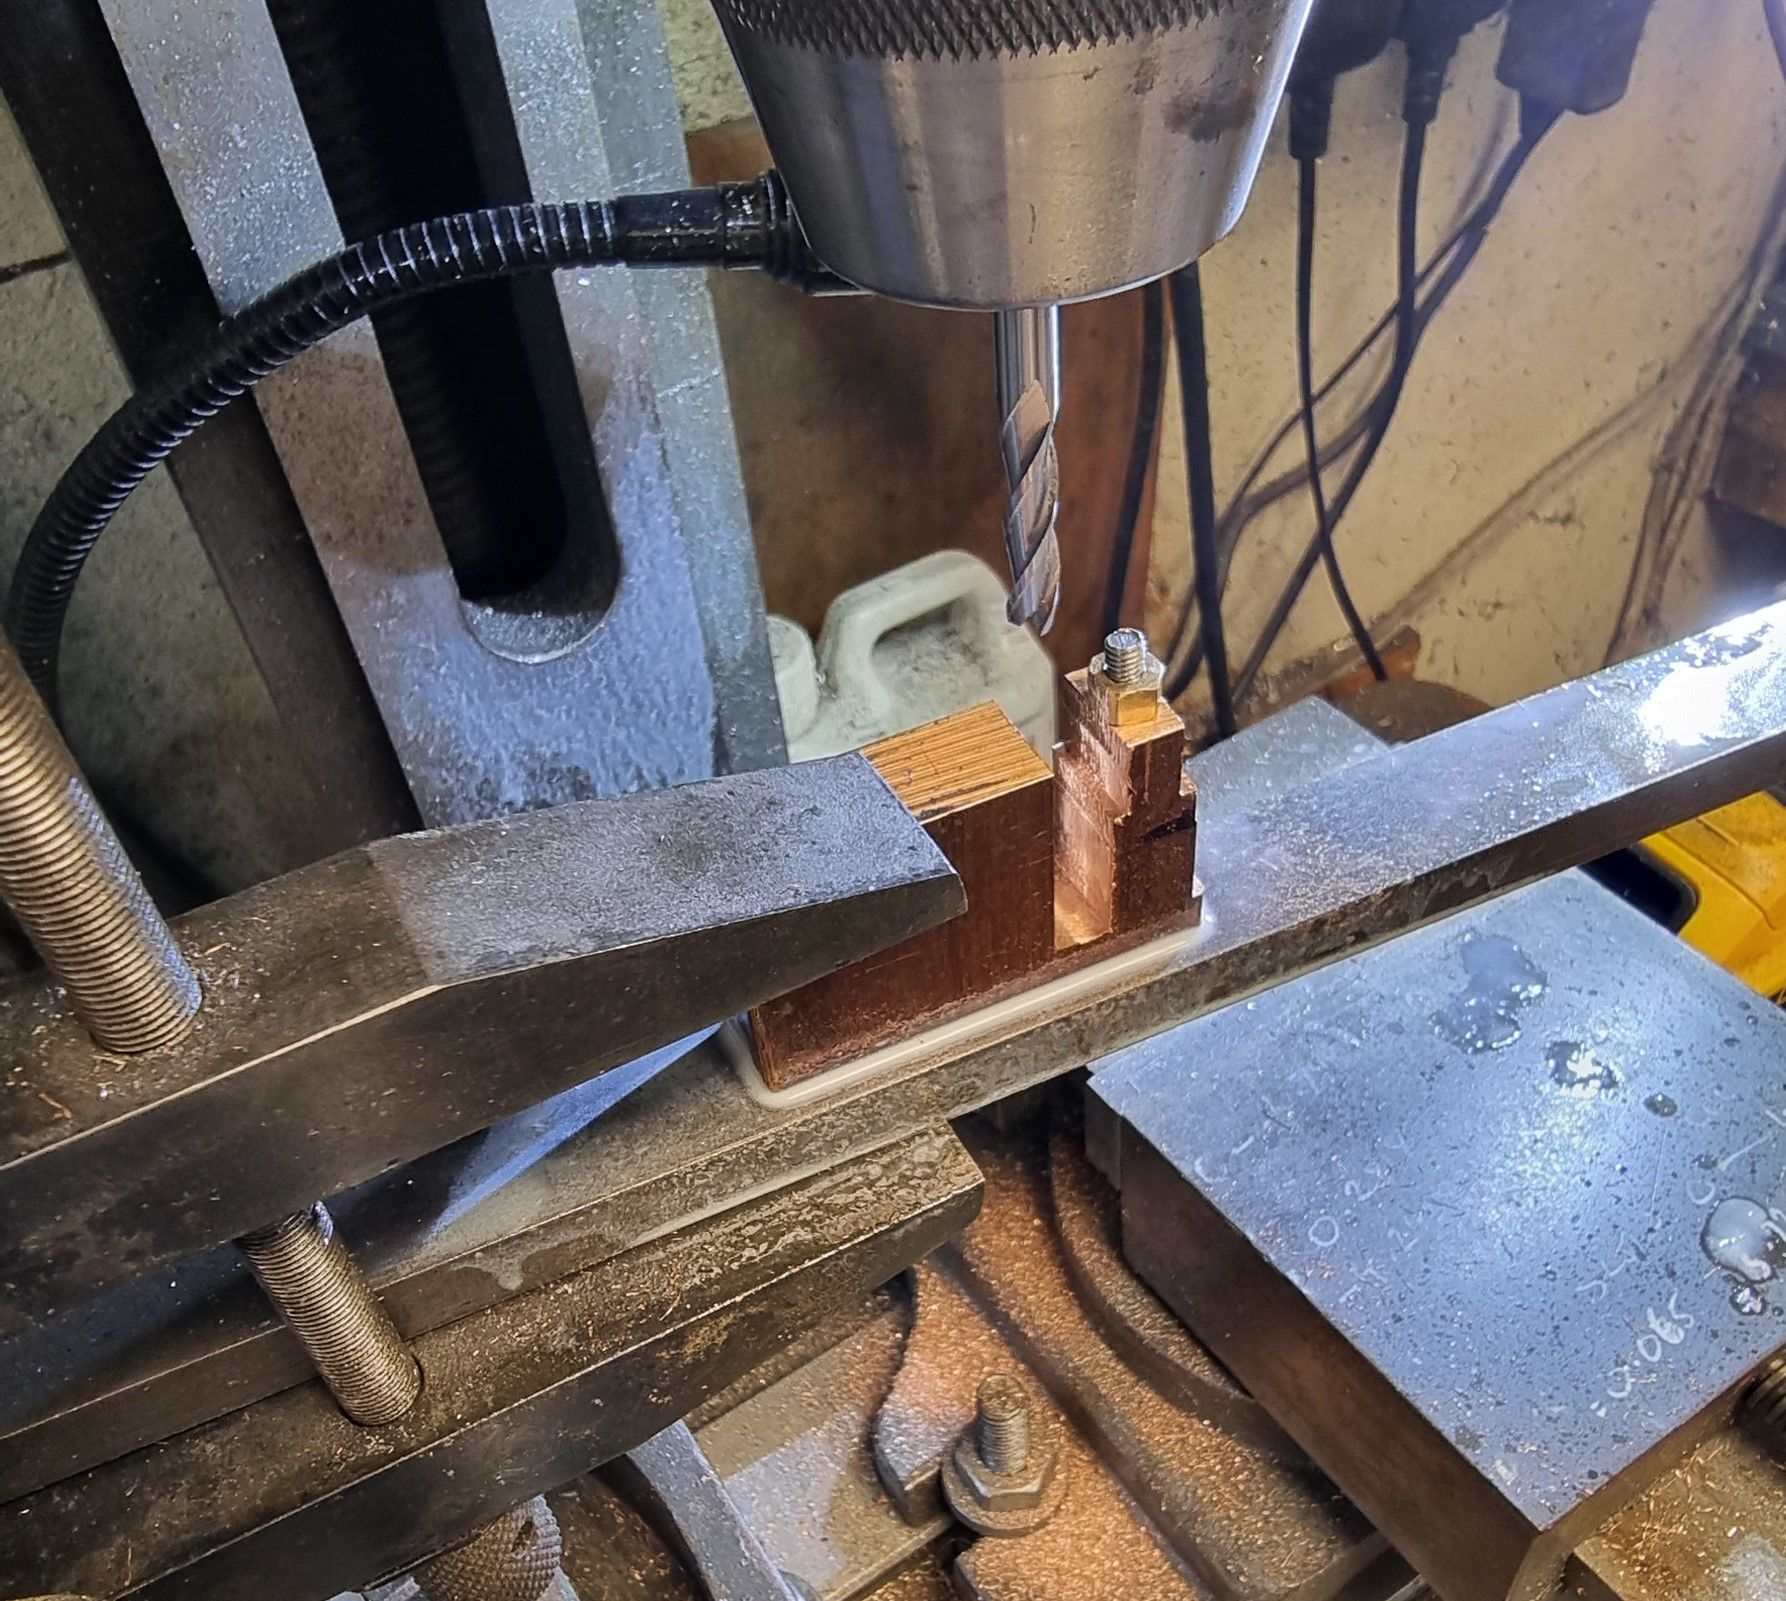
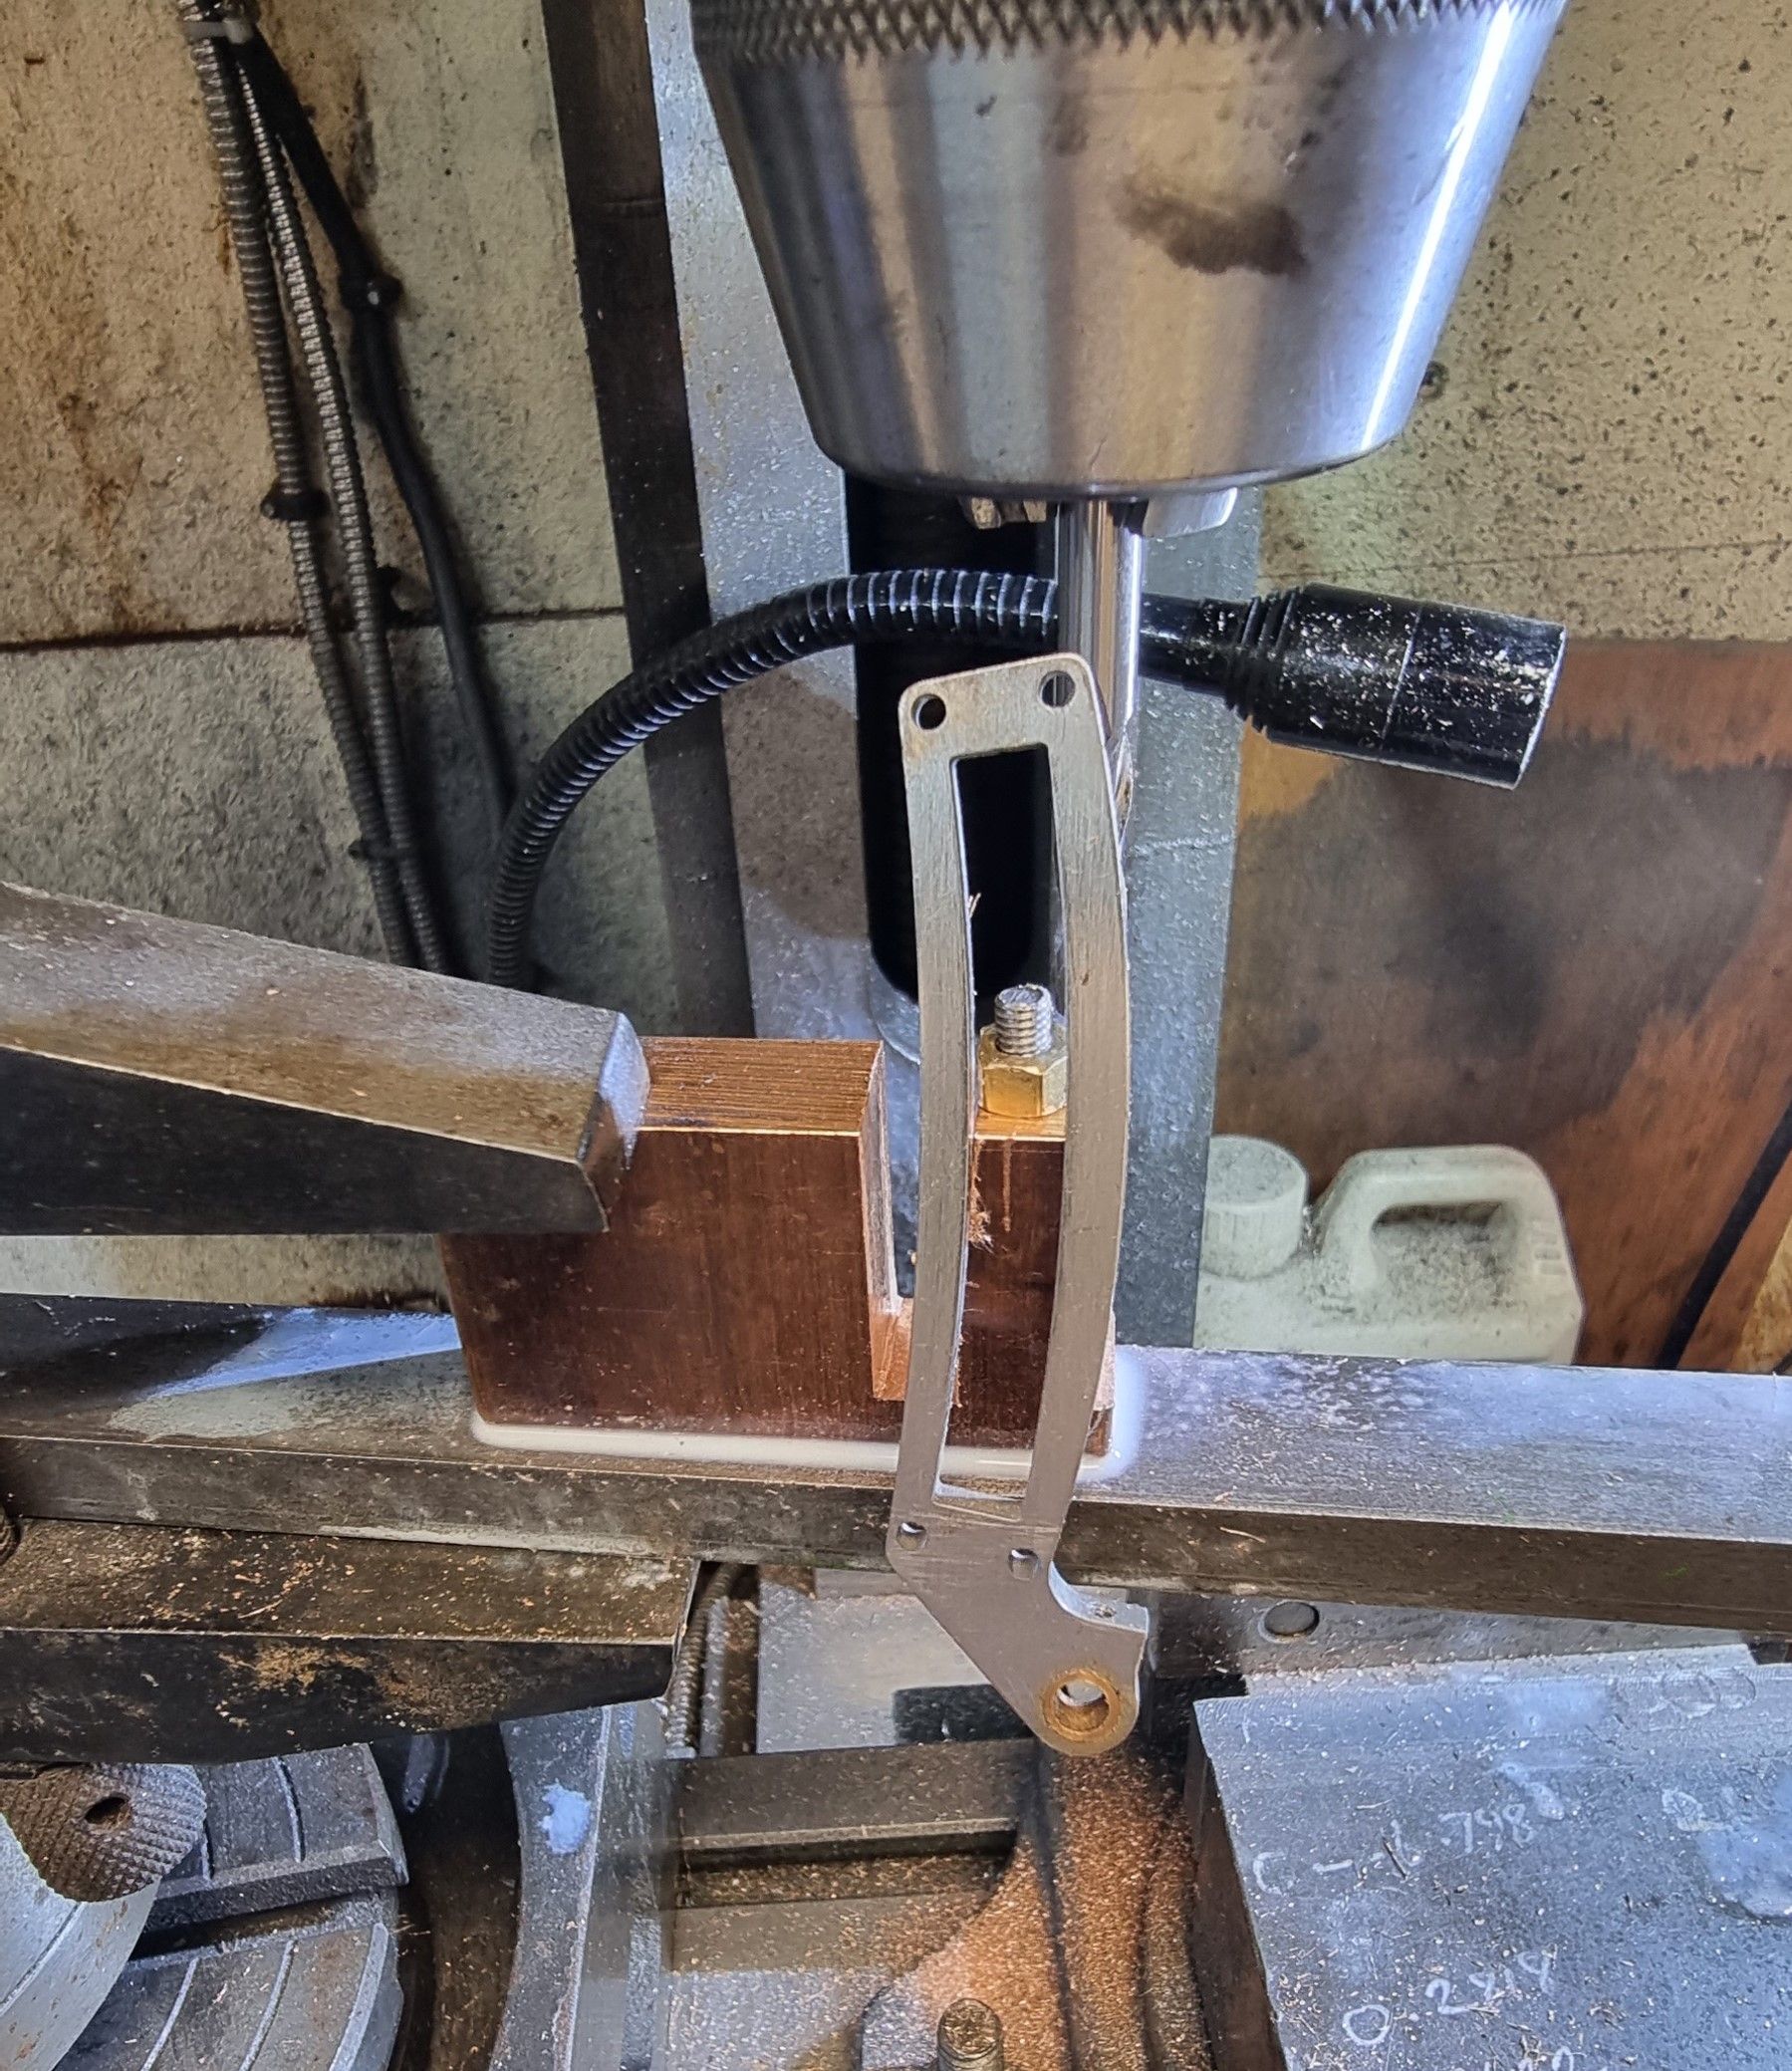
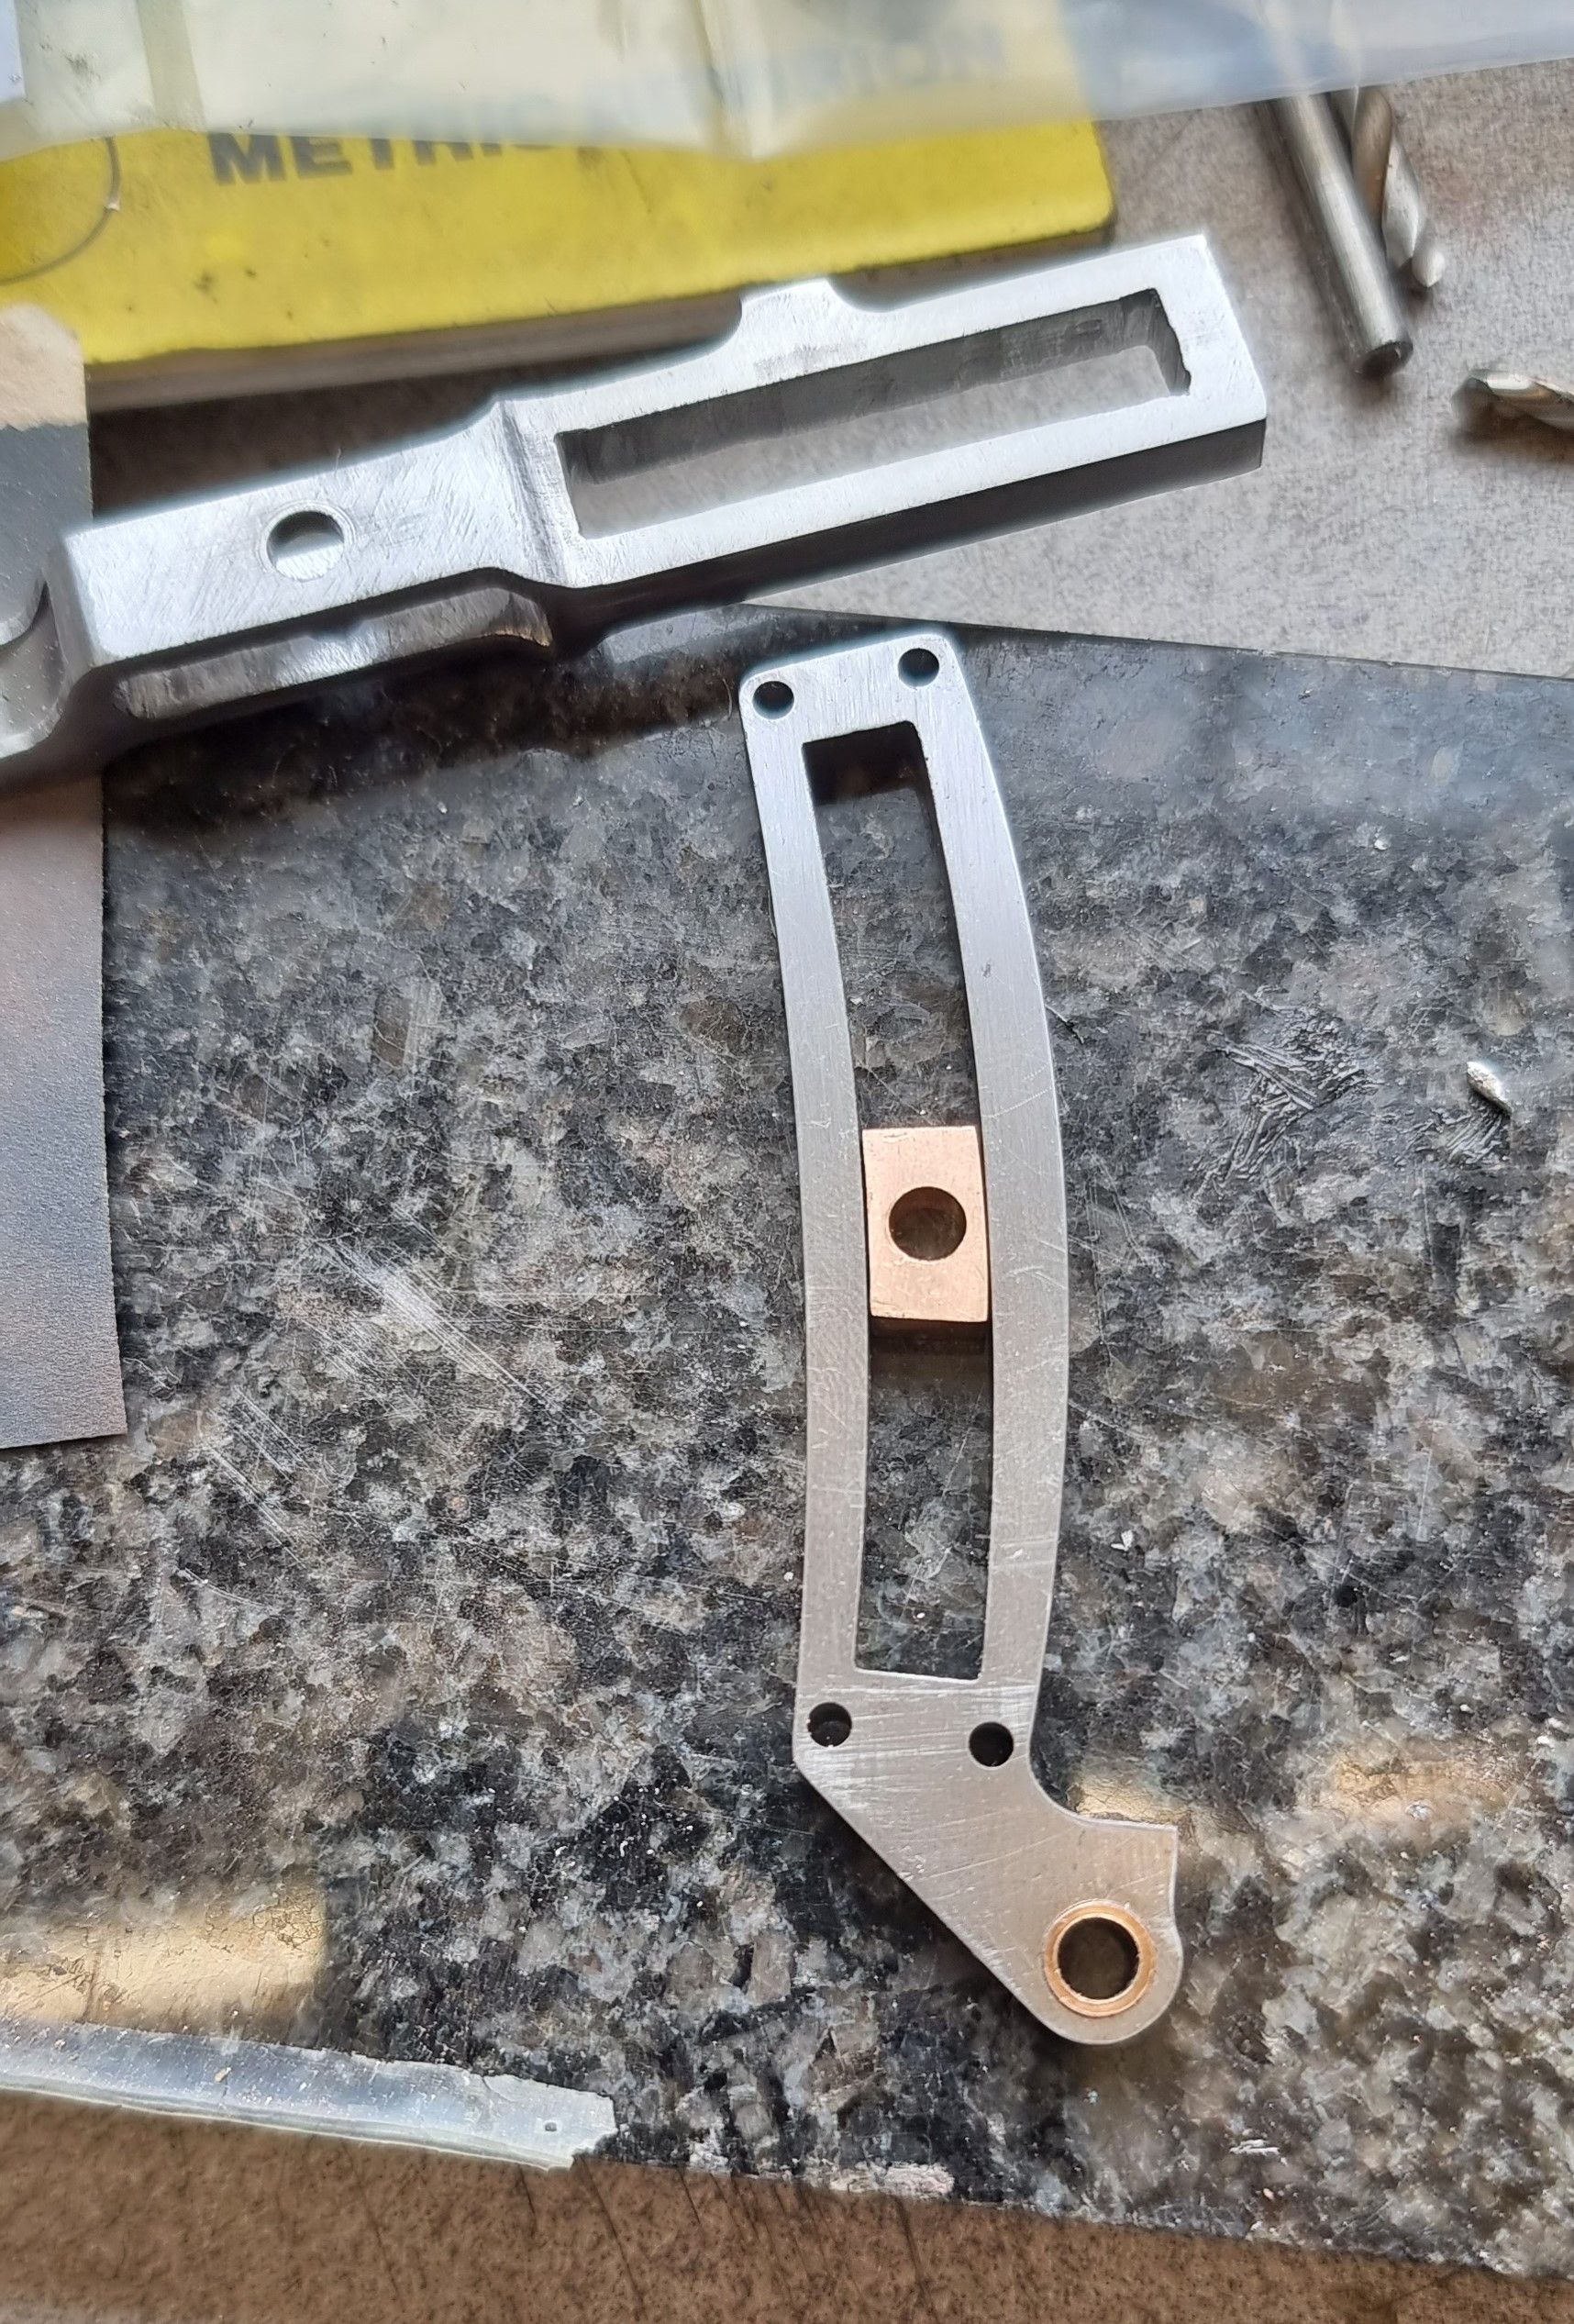
To hold the rod for marching the backs I needed to make a change to how each rod is held. I shortened the pins that locate the rod to it's centres and made up a couple of mounting plates which have a hole for the pin to go through and also a hole either end for a bolt to secure the plate to the jig, hopefully the picture is self explanatory. With this setup I could then machine all of the rear face including the lifting arm tail.
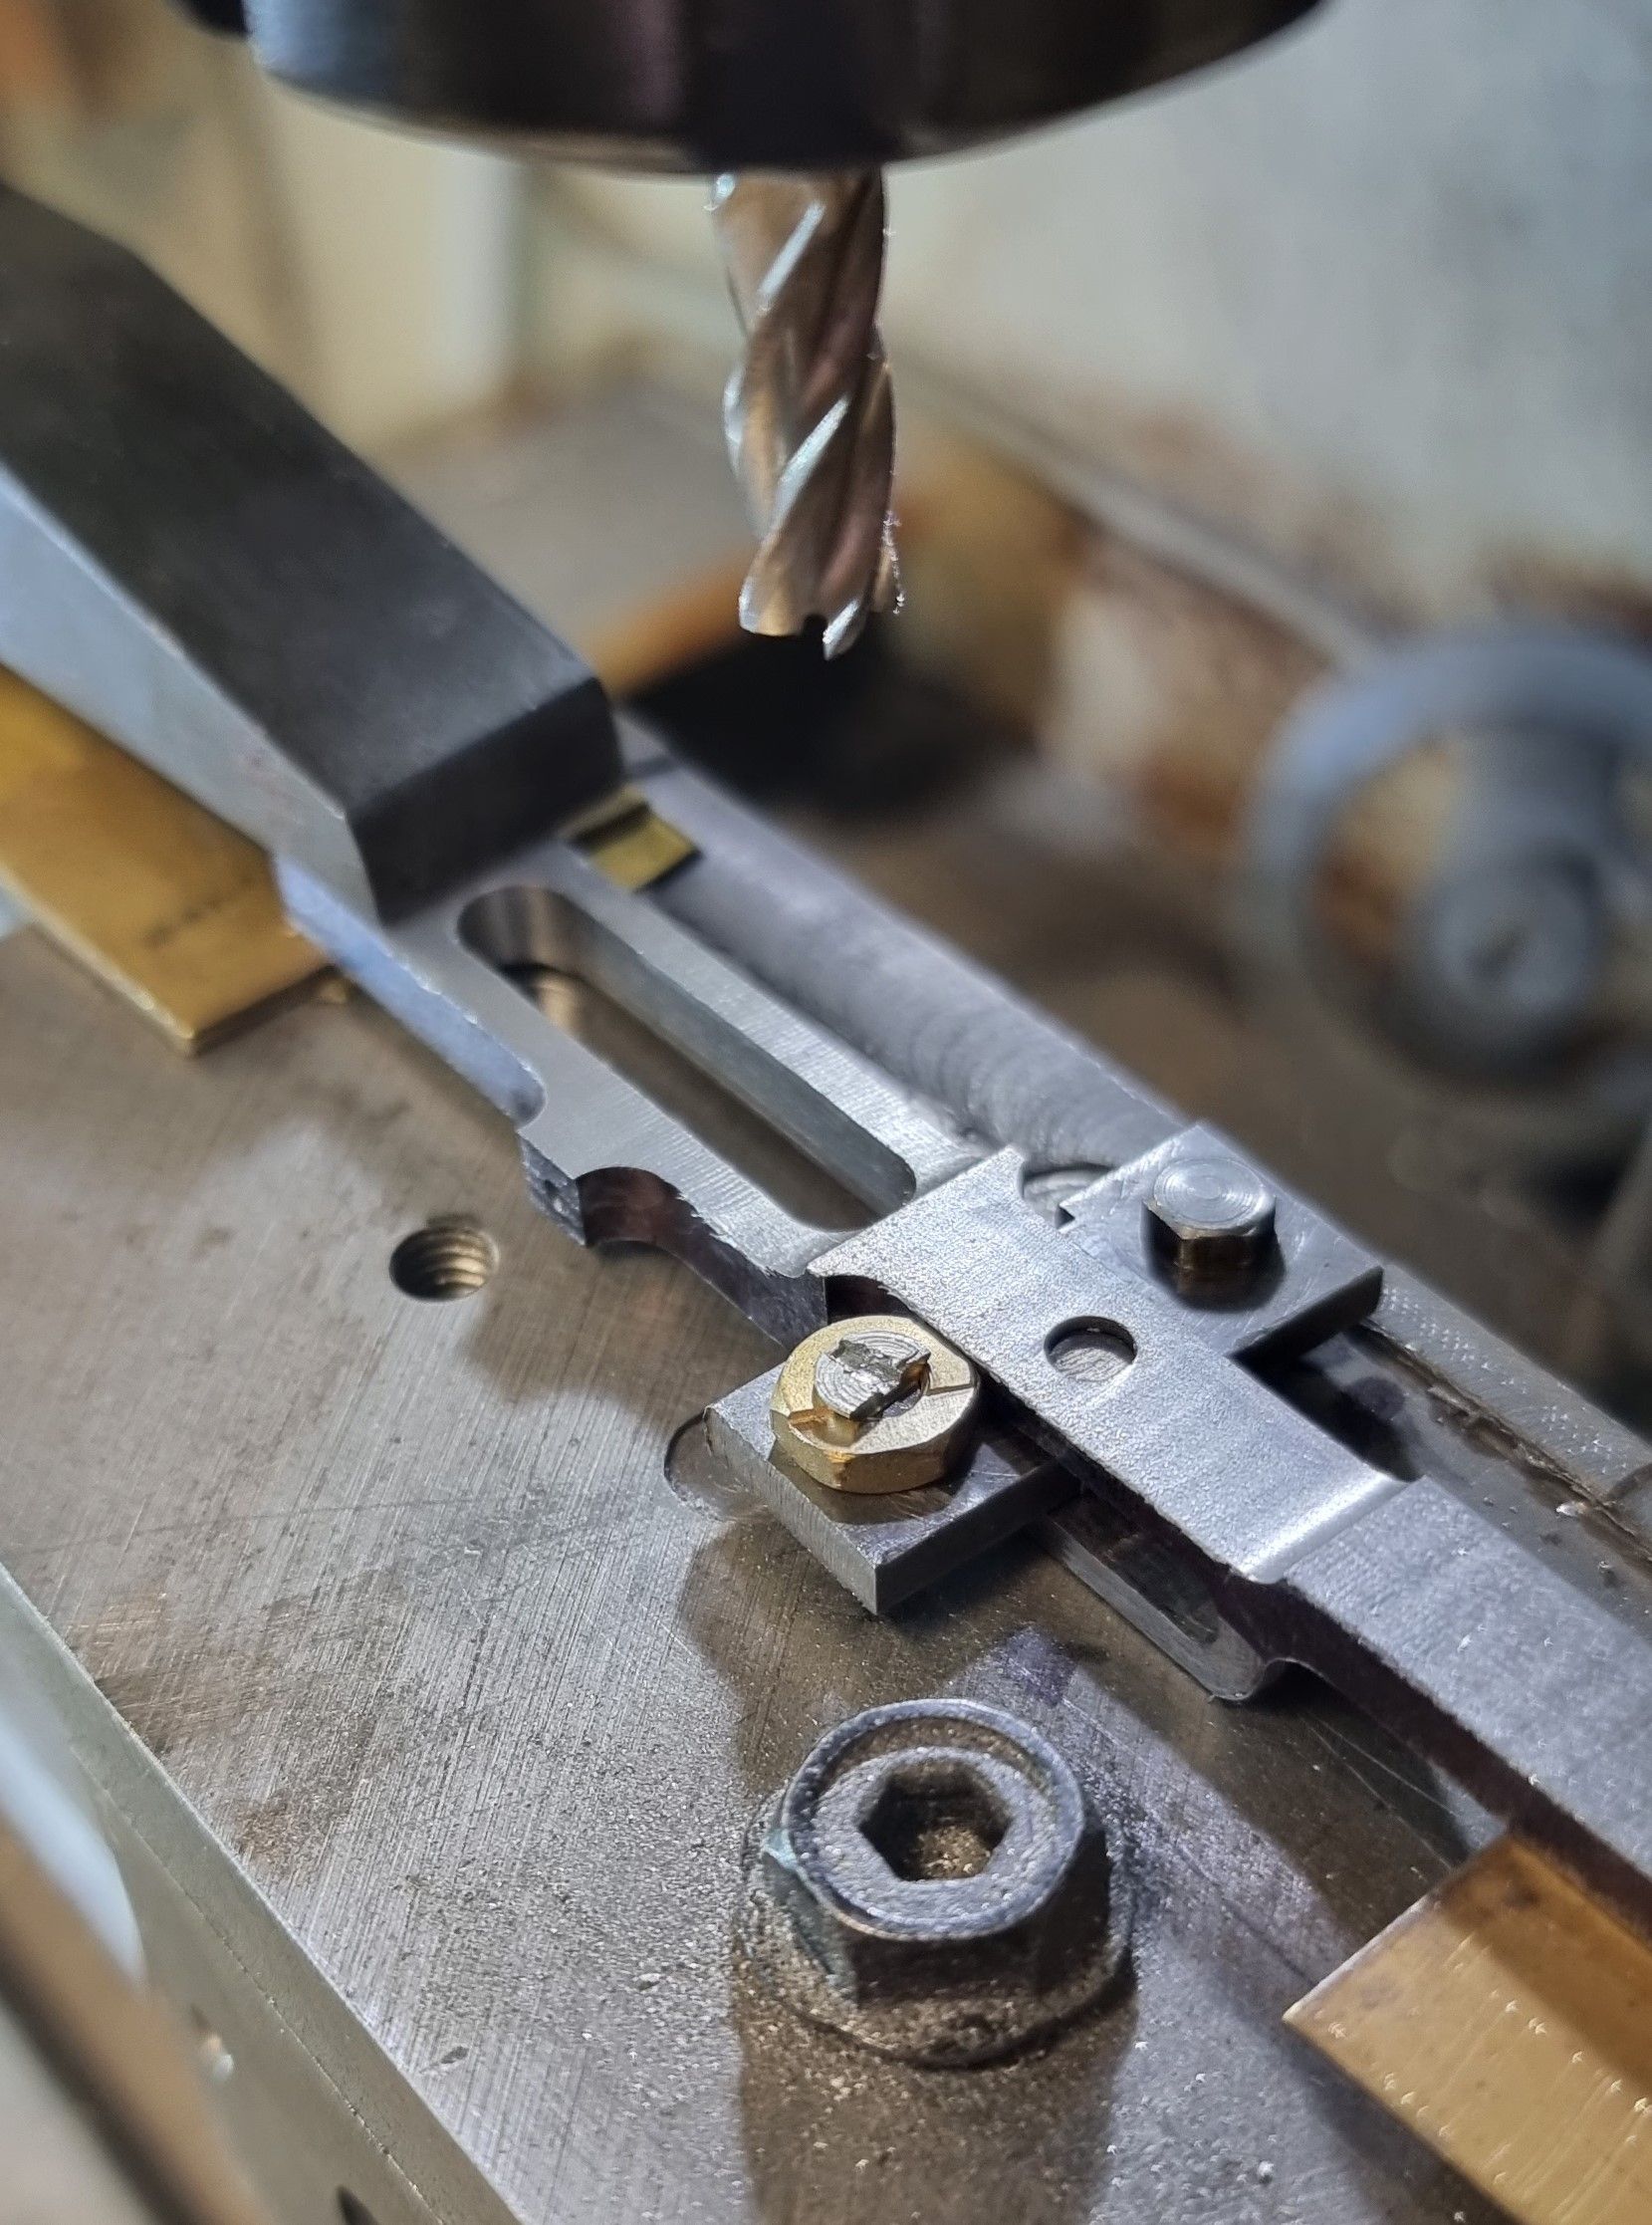
Once that was done the jig was clocked 90 degrees in the vice for the tail slot to be machined, this was chain drilled first and finished off with a 1/4 cutter.
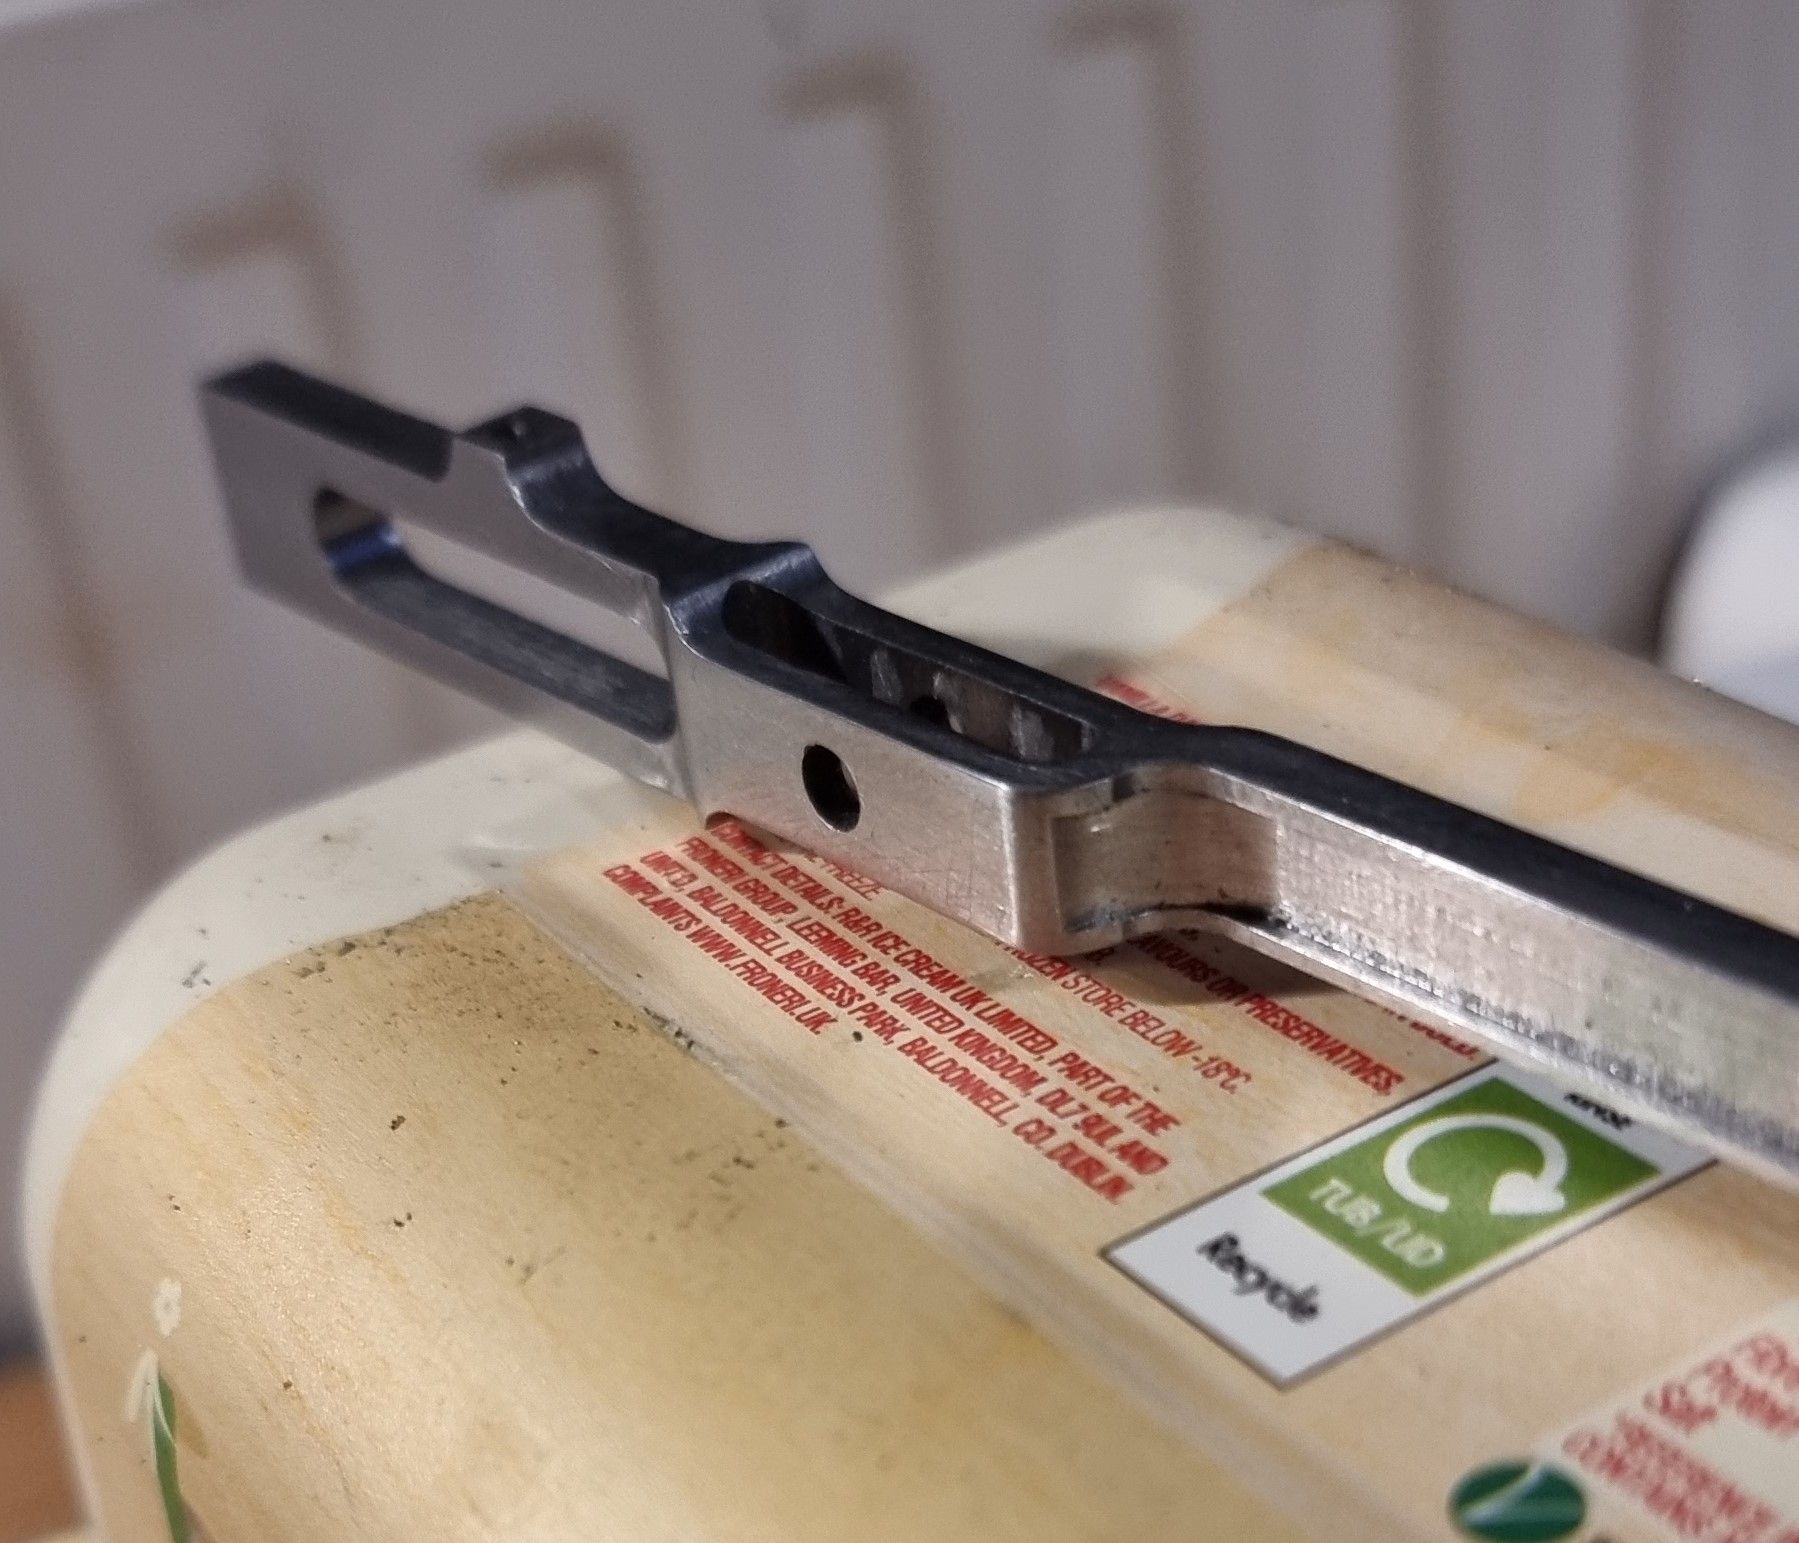
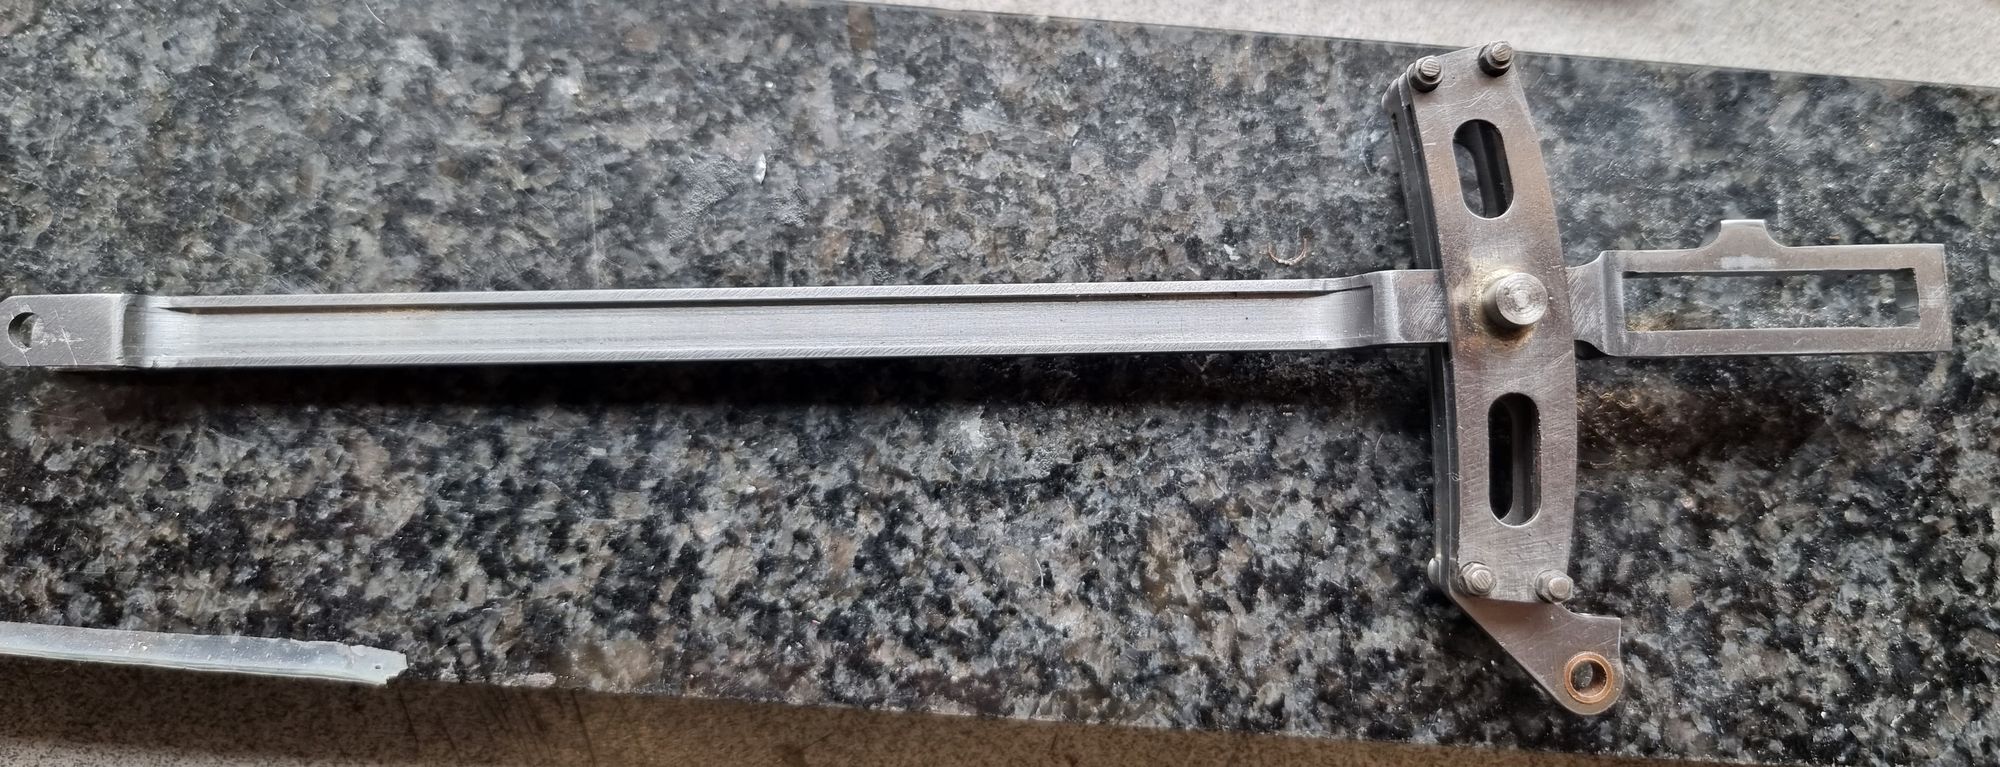
Once that was done I had a near completed set of radius rods, this picture gives a close up of the expansion link area, jobs left to do here are to square of the tail slot and also the rear of the expansion link slot.
It was then time for a few hours filing to square off the two slots and check that the expansion link fitted nicely into the slot. There are 3 things to get right here, the middle slot for the centre of the expansion link to slid into but also to ensure that with the expansion link assembled it didn't foul anywhere on the rod. I took a lot of extra care here as these parts do need to be good with no play and i'm happy to report that I achieved this nicely.
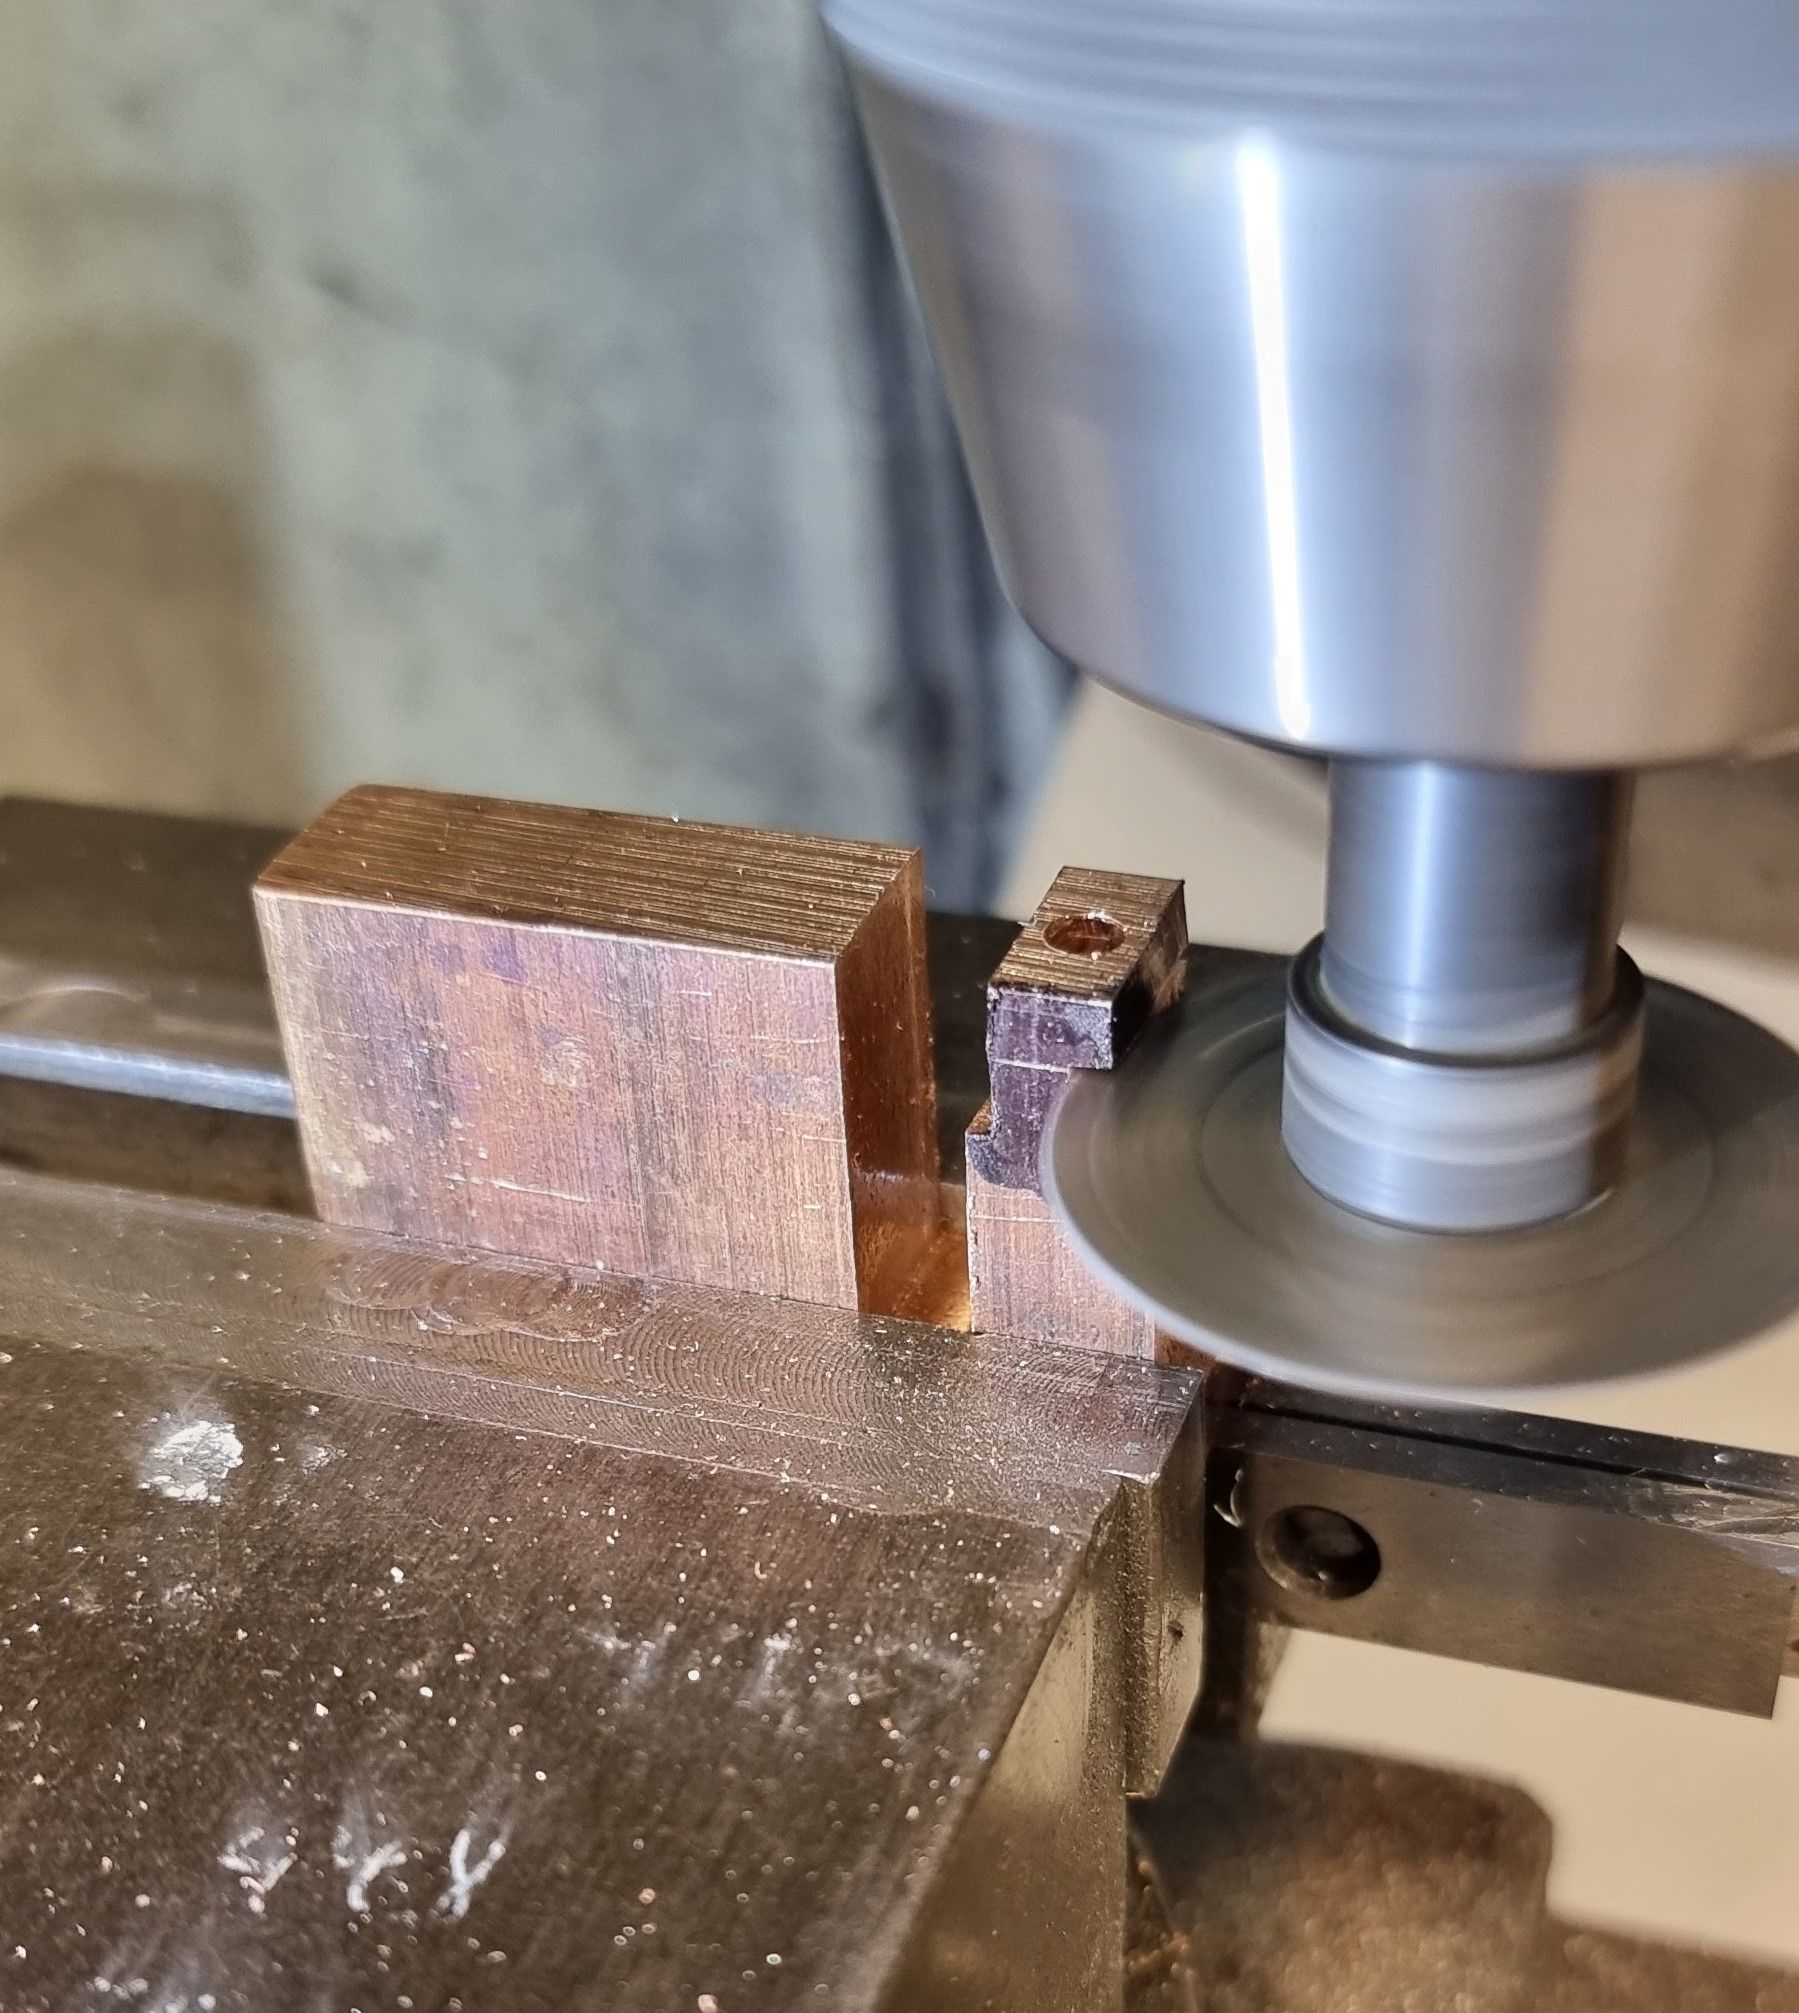
I then moved on to the die blocks and slide blocks, I decided to make these from the same block of bronze. I first machined a slot from the block allowing plenty of material for making both the 'curved' die blocks and 'straight' sliding blocks. With a suitable sized piece of bronze protruding up from the block I then set everything up on the rotary table for cutting the arcs in the top part only (bottom being for the slide blocks.
The arc required is 6.375 and , of course, I needed to allow for the die which has a width of 1/4". with the 6.375 center arc plotted I slowly reduced both inner and outer arcs until the expansion link centre piece was a push fit onto the die. As cab be se in the last photo I only machined down enough depth to cover for both die blocks, leaving the remaining (larger) section below for the slide blocks.
The bronze block was then removed from the rotary table and mounted in the machine vice to have the two die blocks removed using a slitting saw.
With the die blocks separated I then spent some considerable time in fine tuning their fit to each other. Both the blocks and expansion link slots were lapped using a cutting paste, resulting in a nice and smooth action with zero play.
And here we have the first one finished, I just need to finish lapping the other die block to get that side to the same stage.
There will be one more update covering the radius rods, in that one I'll complete the sliding blocks, make the lifting arms and assemble everything onto the model