At this point I decided to do the name plates, I'd got used to seeing it in the reference photo's while working on the running boards so perhaps it's a good thing to get out of the way now. Some years ago Diane Carney produced my set of plates for 4472 and they are a true work of art, not just in their quality but in their accuracy too.
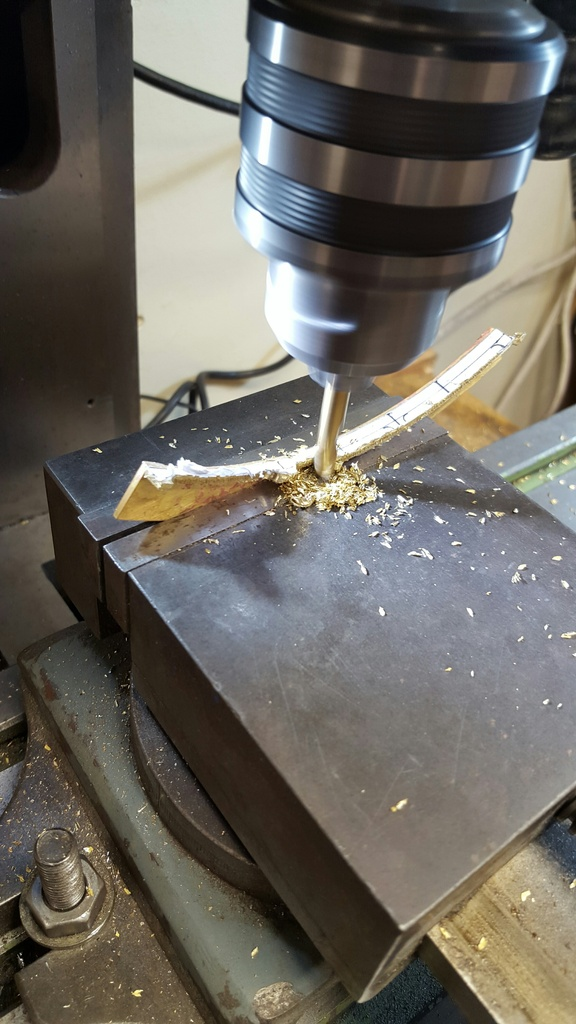
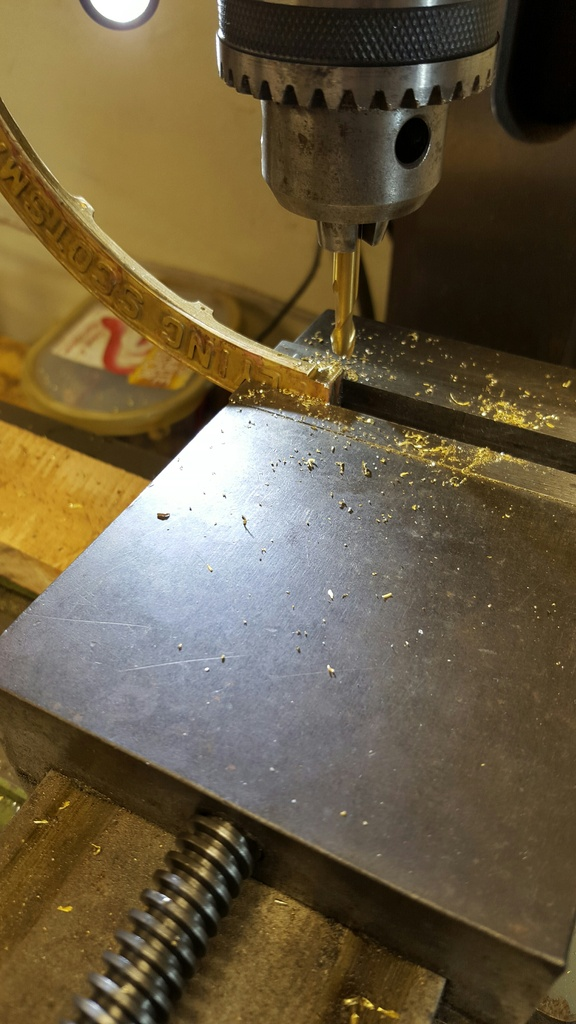
The first picture starts after I have cut most of the access material away from the edges and here I'm starting to remove the raised edging along the bottom edge as there isn't any on the prototype. When I first noticed this some time back I was a little confused as the rest of the plates were perfect, I thought this was an error but now it all makes sense as it was very easy to work to this raised line removing it to give me the arc required. It also became clear why the etch had the extra raised tab each end, I can show why later..
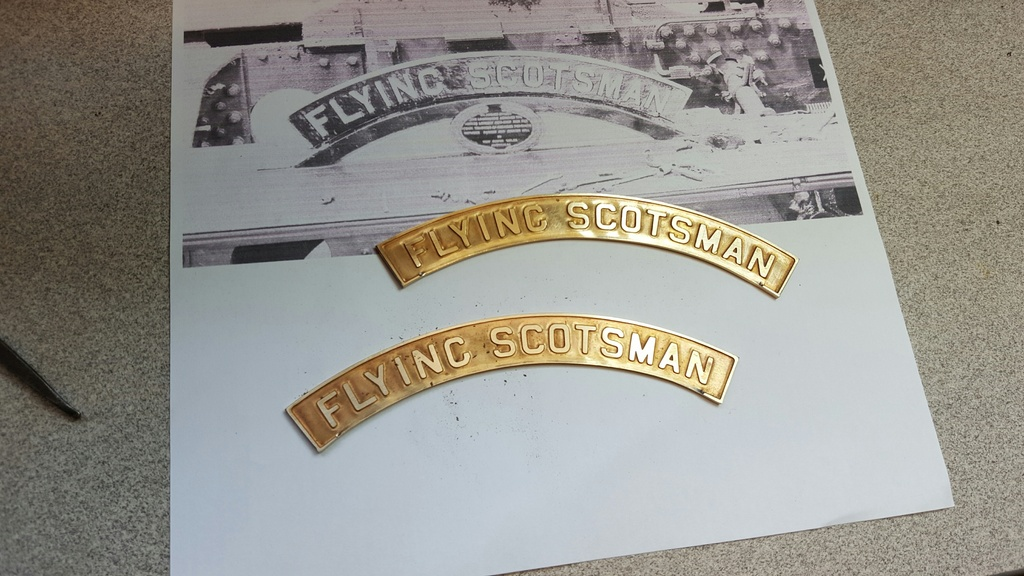
Here we have the two plates ready for the next stage
Next job was to roll a suitable piece of brass for the base support, I drew this shape up on paper using the reference photo for details. Silver soldered the parts together, cleaned up and glued the paper templates to each. I machined the outer edge of the support first 6 mm wide and then took away the recesses at 3 mm wide, this was an educated guess from the photo's, it looks ok, so doubt it's too far out, I needed to ensure that I could access the mounts for bolting to the splasher as a priority.
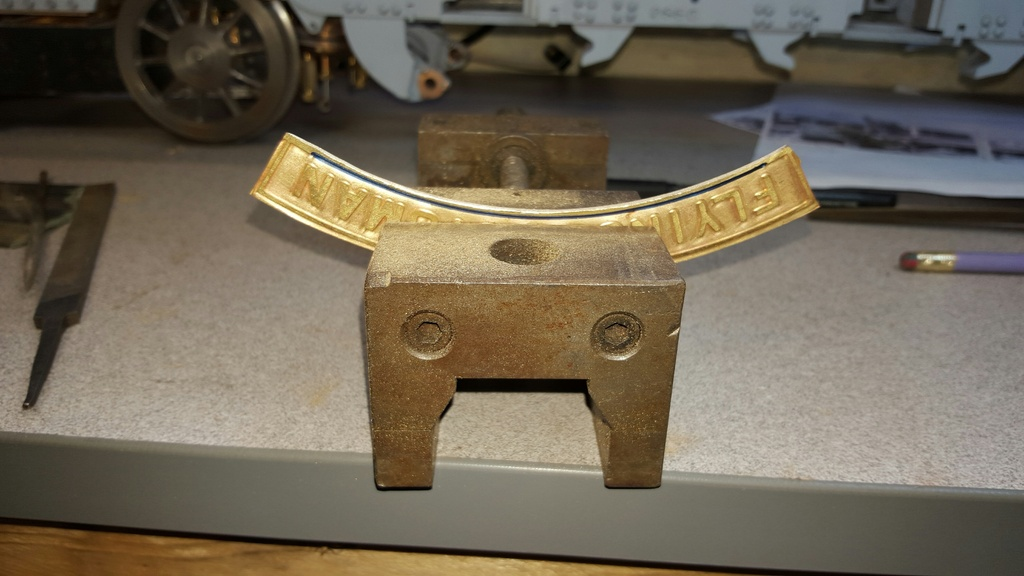
After a tidy up with files I concentrated on the strengthening webs between plate and support, there are two sizes, four 6 mm and three 3 mm for each plate, these aren't equally spaced with the webs being offset for the mounting points..picture shows the first web being soft soldered in place, I started at one end and worked my way along using a piece of steel as a heatsink for each web.
Now we come to those extra raised tabs mentioned....I believe that Diane included these to aid in machining away the steps at each end although there was no instructions to state this but to me they looked right and most certainly shouldn't be there as etched so I used them as my guide for machining ...picture shows one end being done..
The two plates showing both sides
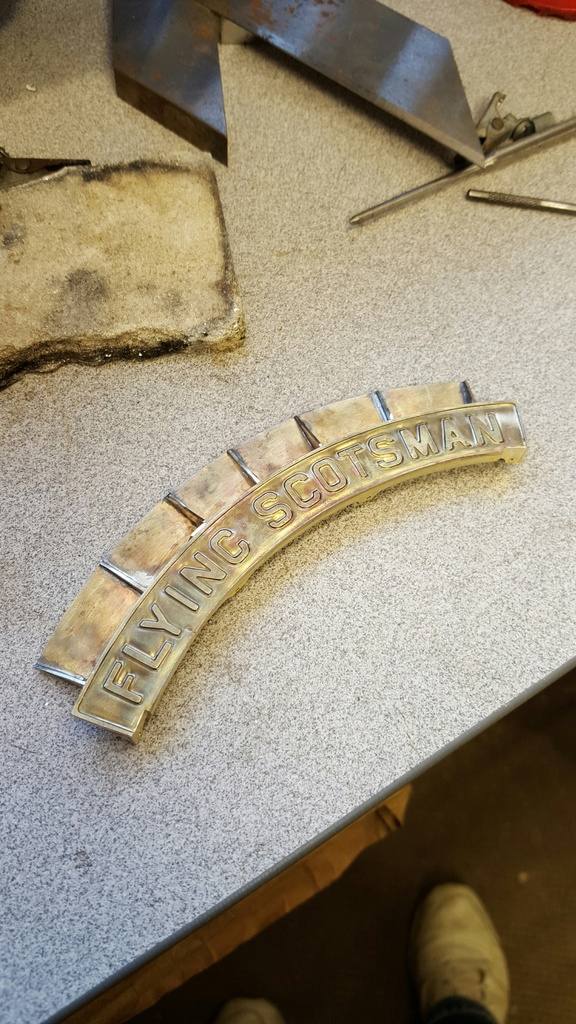
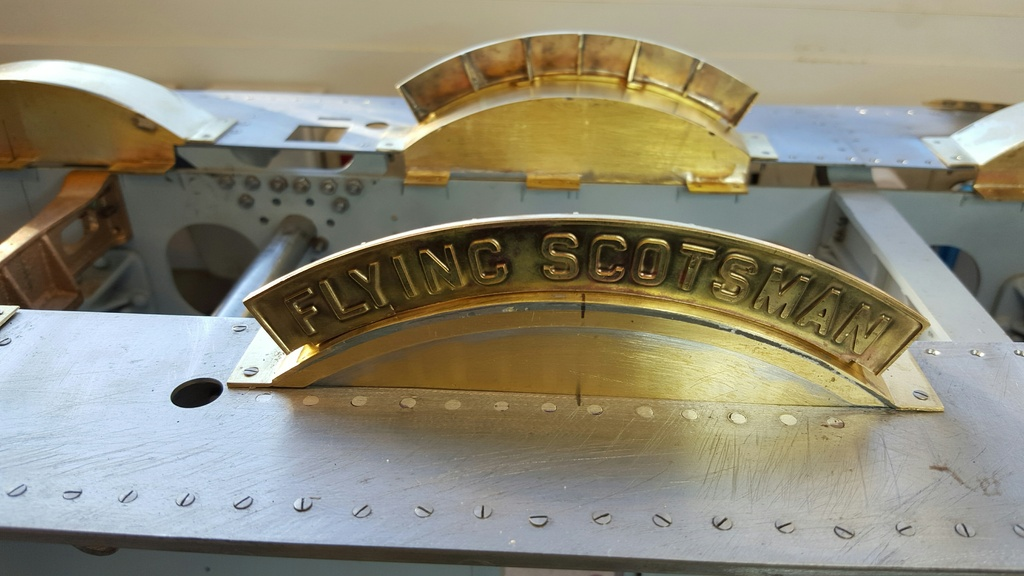
I tried to take this picture at a similar angle to one of the reference photo's used during in this process which I will show to complete this update ( has been shown before)...Something that I did pick up on is that the position of the nameplate seems to have moved over time. There are pictures in preservation where the plate seems to be mounted either right up to the splasher face or set back a little, from what I can see on photo's from my chosen era the plate was stepped back which is what I have done here. I drilled and tapped 12 BA which seems to be about the right size..I have used csk screws for now for ease of removing, these will be replaced with hex head for the final fitting.
NB: the nameplates has changed a little since first fitted... in the 20's they were set back further and were shorter, 1935 they were moved closer to the front edge and longer so that they nearly touch the running board ( my chosen era). Today they seem to be right up with the edge?
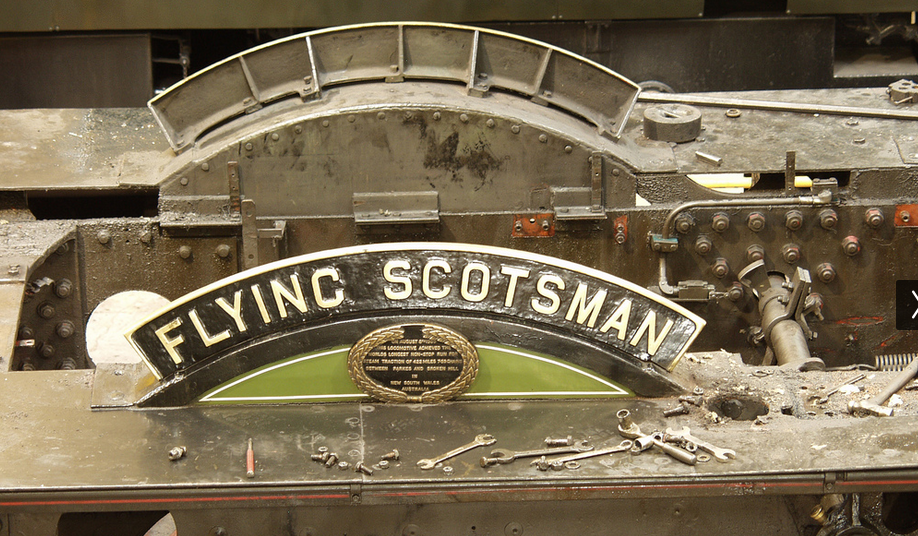
We have seen this photo's before when describing the csk screws but it was also perfect to work from for the nameplates.
Next i moved on to some detail work at the front on the 2:1 gear stay. After taking everything apart the first job was to machine the front face flat as shown here, I clocked this first as the back has curved ends that had been annealed and unlikely to be flat having not needing any machining. As it turned out it was pretty square being only 5 thou out.. For the next stage I seem to have forgotten to take some pictures so will try to describe what was done. First job was to machine the 7/16th slot that gives access to the 2:1 pivot pin for oiling, this is along the horizontal centre line with 11/32 between centres. Now if I was building 4472 as built this would be the end of the story as she had no cover until the 30's, just an elongated slot. Seems strange to leave this open just below the smokebox door? but that is how it was. It would seem that this caused problems to the 2:1 gear ( no surprise there) and so a cover was later added which I'll cover next. For those building Gresley Pacific's after the war this slot was changed to a larger rectangular opening with a sliding hatch, this was done to 4472 in 1947 and is how she is today. After the slot I drilled/tapped 8 BA the two mounting bosses for the hinge.
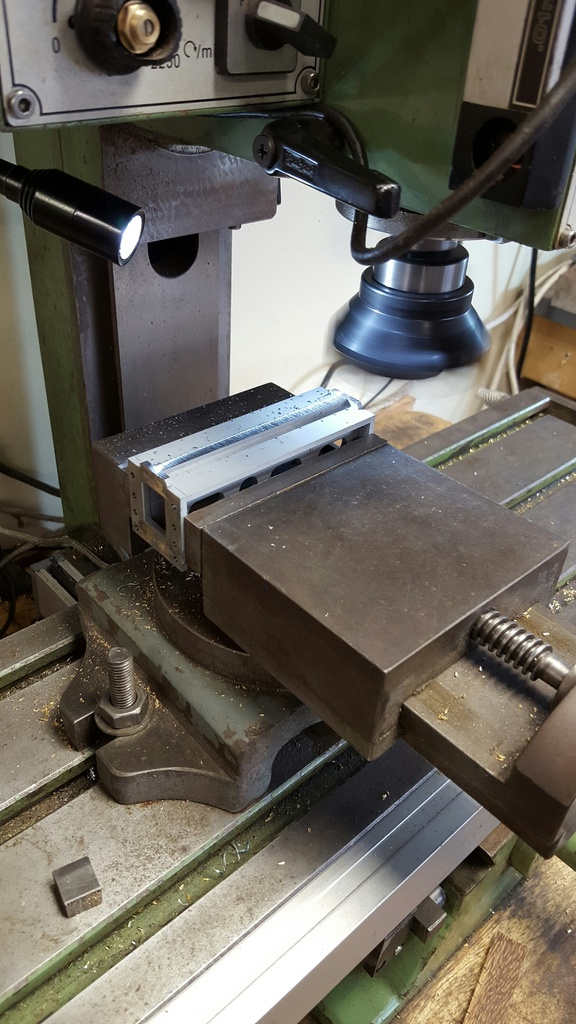
The cover plate is 1.2mm steel, according to the drawing the hinge itself is 5/32, In scale terms that's far too large and so I reduced it closer to the prototype, I used brass tube here as it's quicker than machining up some bar. I used an oversize off-cut of steel, filed one edge flat and silver soldered the tube to the edge, marked the width and trimmed with a hacksaw as shown in the picture. Filed down to 11/32 wide and 27/32 long from the hinge centre and profiled to shape.
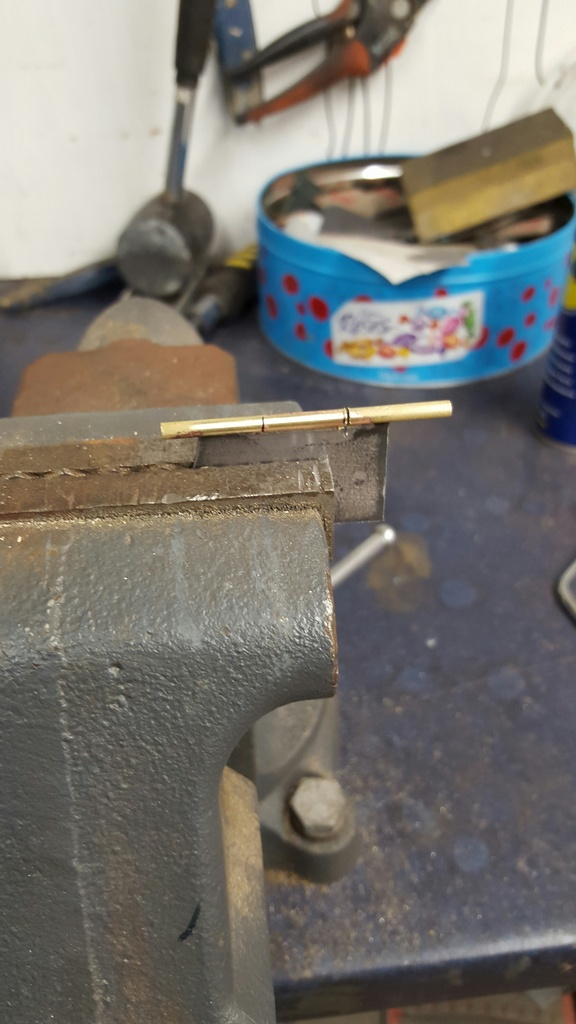
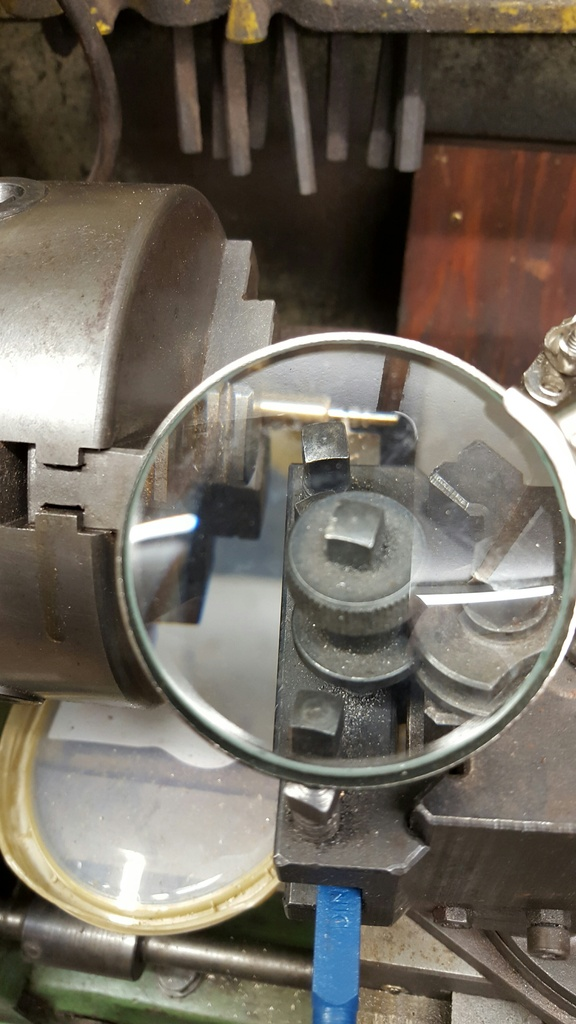
The cover is opened via a small knob more or less centrally positioned on the cover, it's only 1/8 dia and difficult for me to see while machining so I used a magnifying glass to help which made things much easier...I chose to cut an 8 BA thread for fixing to cover.
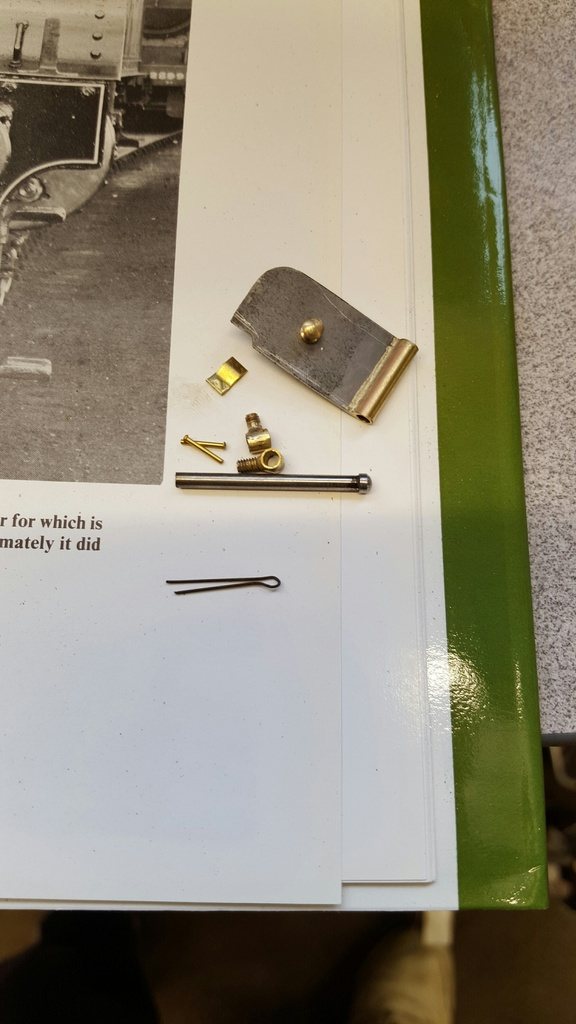
After some time I ended up with this kit of parts..the hinge bosses where made of the same brass tube with 8 BA mounting lugs silver soldered on, hinge pin is stainless steel with a small hole drilled (not done yet in the picture) to accept a small split pin. Split pin was made from fine piano wire, about 15 thou dia, hole in hinge pin is 31 thou. The catch is a small piece of brass and the rivets are 1/32, I only used 1 rivet in the end.
I decided the easiest way to place the catch correctly ( the hinge pin is longer than the hinge to allow the cover to be pushed up and thus free of the catch for opening) was to assemble the parts and plot it's position, remove it, drill the stay and then drill the catch separately..
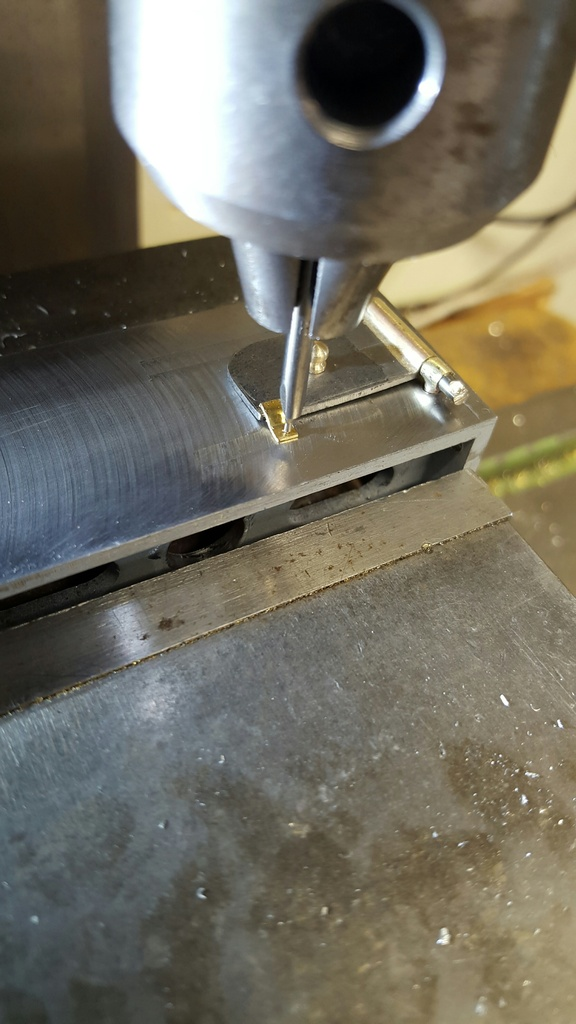
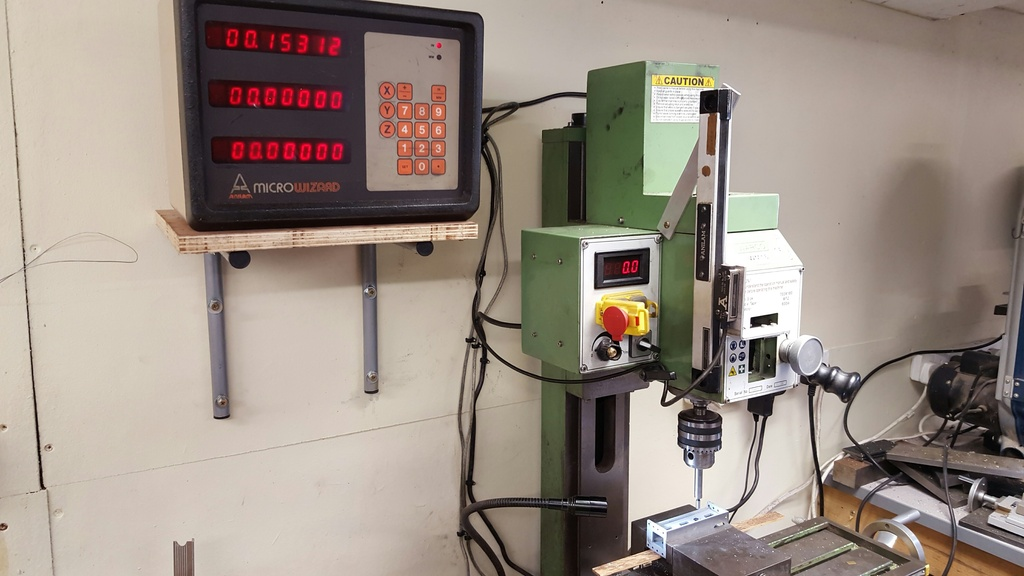
Last job before reassembly was to accurately drill the position for the 2:1 pivot bearings, this job I had left as I wasn't happy with the tools that I had to hand for measuring...this is no longer a problem thanks to the recently installed DRO. The bearing centre is 1 17/32 from the left hand side or 1.5312, simple with an edge finder, -100 thou ,half it's width and bobs your uncle...so to speak...
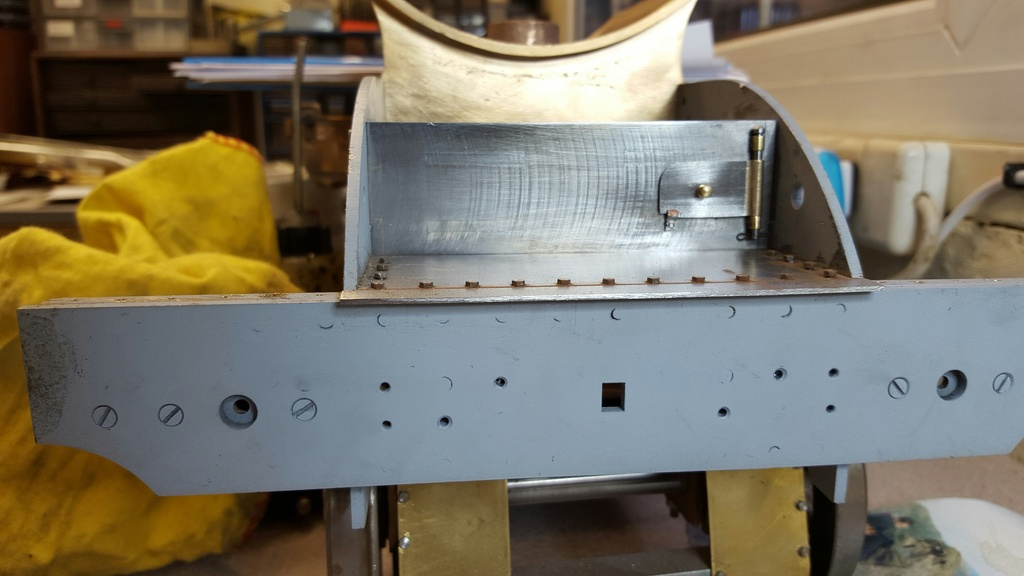
final two pictures of the latch... first with the cover closed...
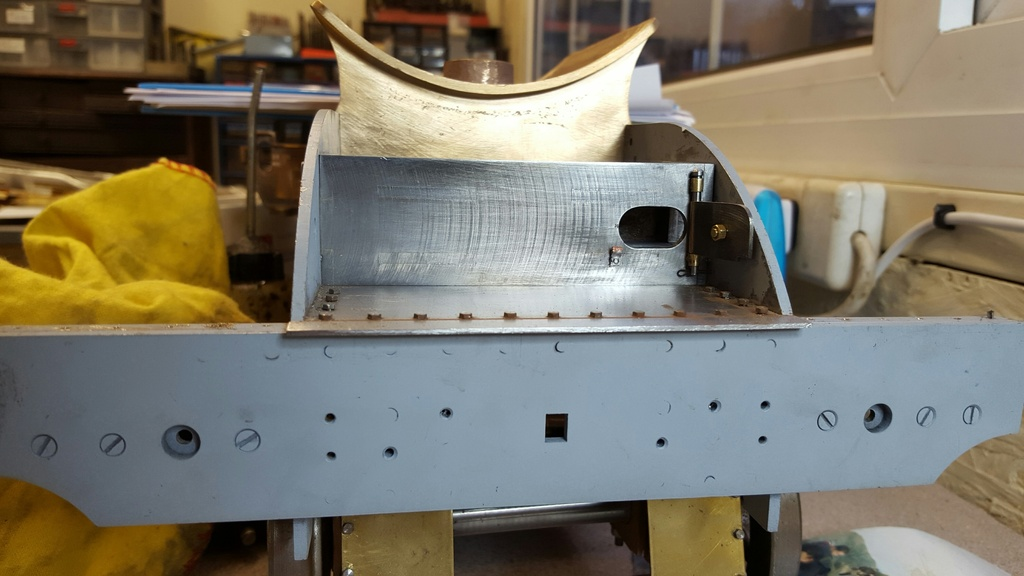
and open, as I said, you lift the cover to clear the latch and then open the door, just as on the prototype from the mid 30's until the larger sliding hatch was fitted.
I then drilled and fitted the cylinder flanges, just another one of those jobs that needed to be done at some point, Here I am drilling the datum hole, for want of a better word.
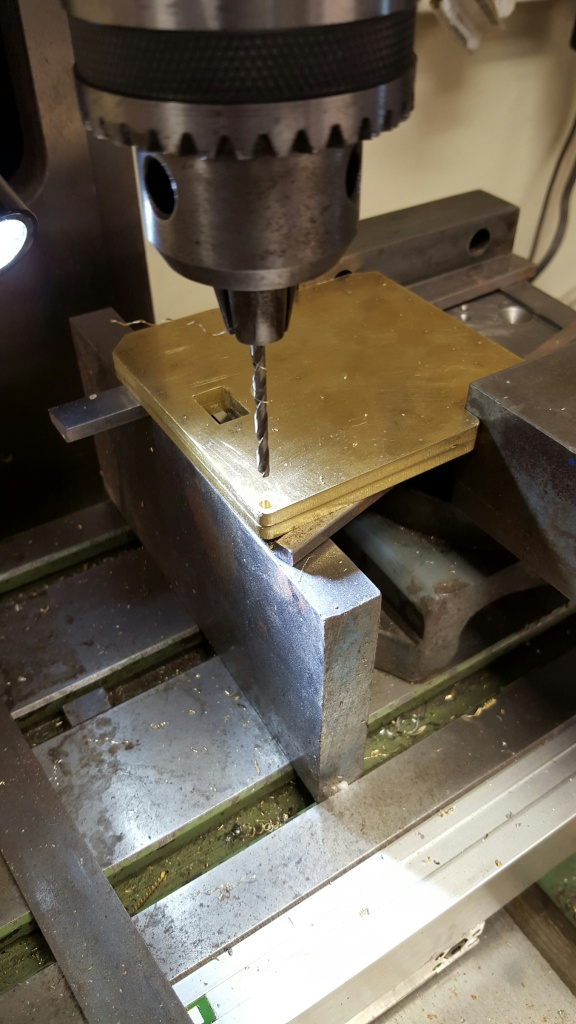
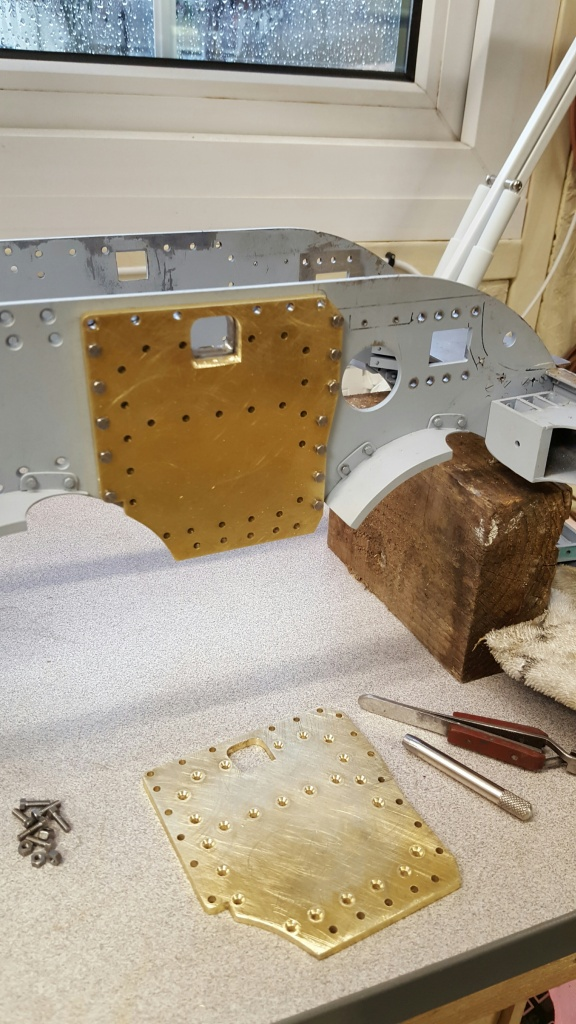
Now A lot of work was done to get to the stage in this next picture...one plate was fixed to the inside of the frames with clamps and via the hole drilled for my datum point, position was checked with a square from the top of the frames and also along the bogie mount, once happy a second hole was drilled in the opposite corner to the first, both held via bolts and then the rest were drilled through, fitting a bolt after each one. This took care of the mounting holes for the flange to frames, the flange was then removed and bolted to the other side as a check that I had drilled the holes square. All was good so the two plates were bolted together using the datum corner and put back in the vice for transferring the holes to the second plate, I also chain drilled a number of holes around the arc that needed cutting out to clear the bogie wheels, this was done later using a jewelers saw and files. I then plotted the mounting holes that fix the cylinder to the flange, drilled and csk all except for one along the bottom front corner, I can't drill this hole as it's too near one of the bogie mounting holes. I can see why this is the case and it's no big deal but for anyone building this loco in the future and if using the side control bogie be warned that this will be something to note. When using the side control bogie the mounting holes in the frames are move forward by 1/8th and this interferes with the bottom front cylinder bolt which isn't really needed as it's only for a part of the cylinder that sticks out separate to the main body so no real problem. The back of the cylinder has a very large opening for the exhaust which I plan to take advantage off...I have made a start on opening/streamlining the exhaust passage but will leave the final touches until the cylinders are ready to be fitted.
NB: In my enthusiasm to get good free flowing exhaust gases I took too much material away at the top of the holes, I later silver soldered on a piece of brass to correct this. Basically, I forgot that the exhaust opening is angled downwards.
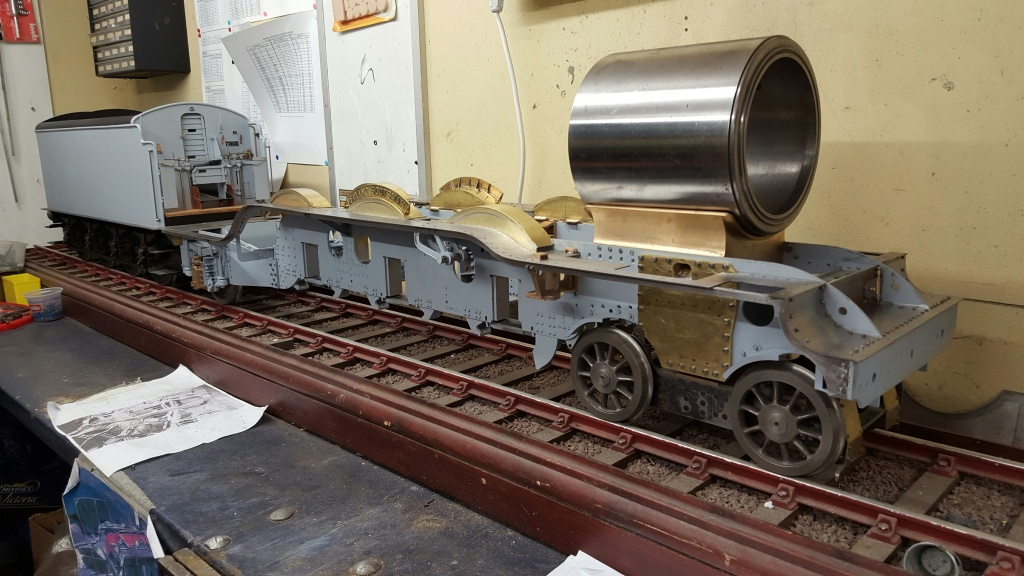
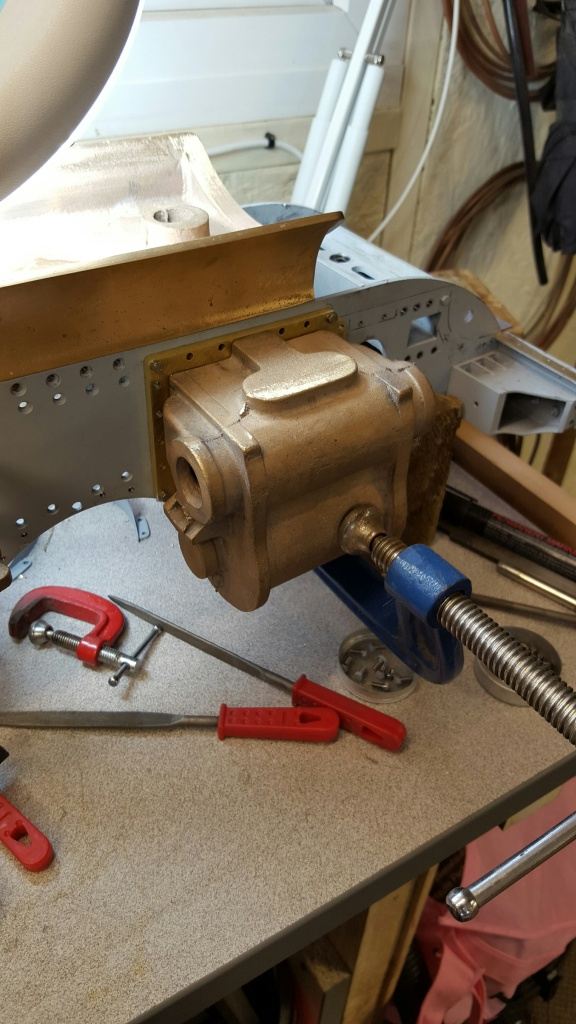
Having checked that everything was ok I began putting parts back together and couldn't resist clamping a cylinder to one of the flanges...the cylinder will sit a little higher than shown here but it gives an idea of the size of the thing.
Last picture to show progress so far, looking more like a Gresley pacific at each stage.
