

The next step was to get a little paint onto the parts made to date, as far as the body was concerned this just involved primer and a little satin black, the chassis was painted and lined but this was a little later.
First all the bits and pieces had to be taken off, then the body had to be thoroughly cleaned. After that I gave it the first coat of etch primer, then some filling, more primer and then a light sanding. I then masked up and gave the underside and coal bunker area a base coat of satin black. That was it in as far as painting on the body was concerned, I will do the various top coats once the loco is also ready for painting to ensure there's no colour variation between them, I'll be using Precision enamels. However the Chassis was painted fully as soon as it was ready, same went for the wheels. I will cover the chassis painting in a future update.
Before any painting took place i tested the tank for any leaks, there was a couple but nothing much. I was faced with a decision here, did i risk heating the body up and swirling some soft solder around in the hope that it sealed the small leaks or did I take a more modern approach, to be honest the jury was out on this one with views from both camps. I decided to play safe and use a resin designed for sealing fuel tanks etc, this tender has long thin brass side sheets, a slight buckle due to misplaced heat would not be a good thing, even if all the prototypes are/were so buckled, on a model this would stand out like a sore thumb. So after receiving some advice on this, the product 'Petseal' was the chosen evil. I had not used this product myself before but once it arrived and I read the instructions, it was basically just Resin A with a hardener and perhaps a little more flexibility which I have worked with many times before during my years in Film/TV visual effects.
Using this 'Petseal' as recommended went without any problems. and worked as planned.
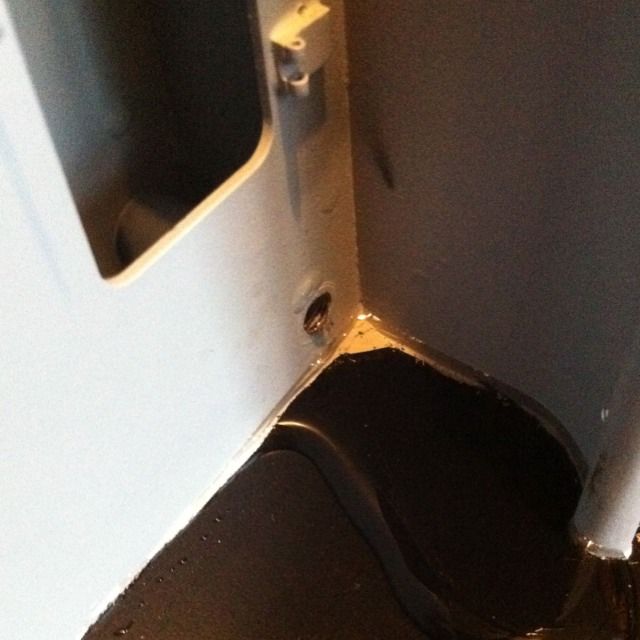
The next morning after applying the product which was applied in what we in film work call a 'slush mould' process, that is you pour a small quantity in (amount worked out before hand) and slush it around until it covers all of the inside and keep twisting/turning the mould around until the resin has cured, this takes a little time and when said mould is in fact a large heavy brass tender body it was very heavy work. So, the next morning I did a water test and I'm happy to report no leaks except where it's supposed to at the water gauge outlet as shown in the photo. Next I spent some time cleaning out the various holes that had been taped over for the sealing process and then put the various bits and pieces back on once painted, this was for safety more than anything else, to stop me loosing anything .
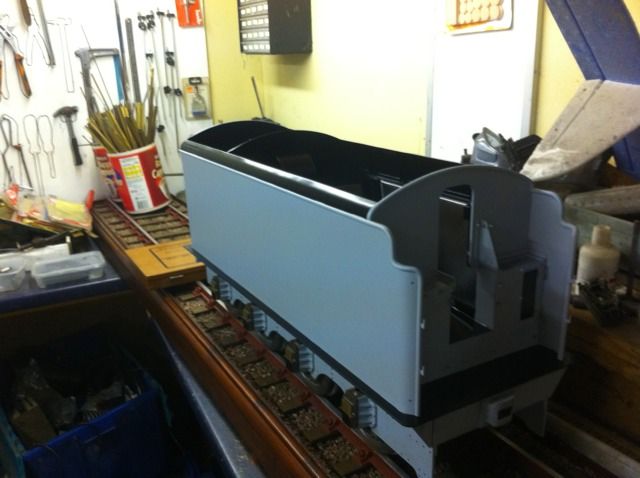
Before moving back to the chassis, I added two pictures to show the progress achieved so far on the body .
View from the rear, note none of the bolts have been primed, these will be changed for stainless later.
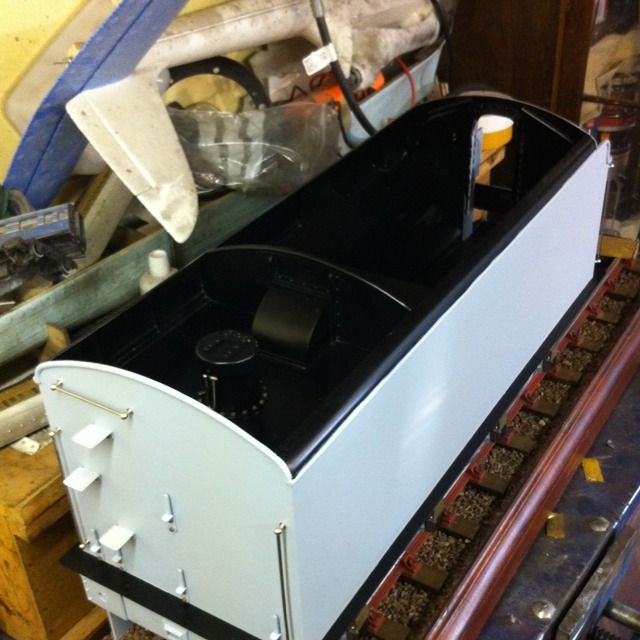
And this view of the front, at this stage there was still a hell of a lot more work to be done here, both in what's shown on the drawings but also in extra detail added by myself.
