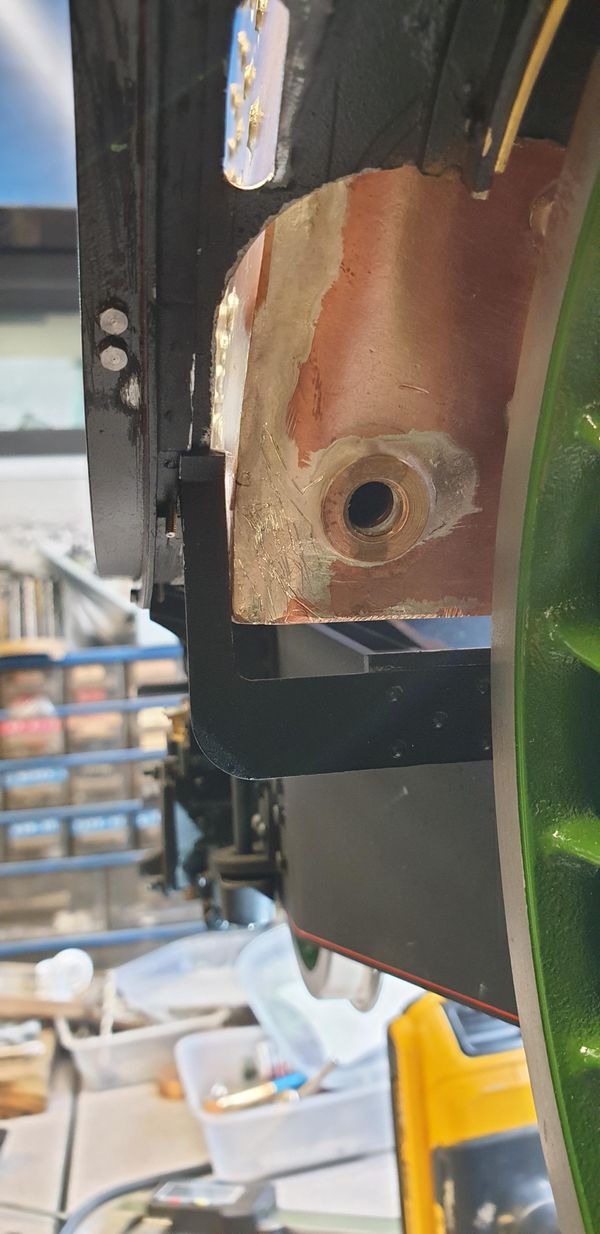
Flying Scotsman Boiler work and various odds and sods Continuing on, I have taken a look at a way to secure the rear of the boiler, this is something that is omitted from some designs including 'Doncaster' relying on
Flying Scotsman Smokebox: Steam pipe covers and firebox steps So onto the outside steam pipe covers, I'm sure glad that I'm posting more regularly as tonight alone there are 9 pictures which takes a fair while to write up.
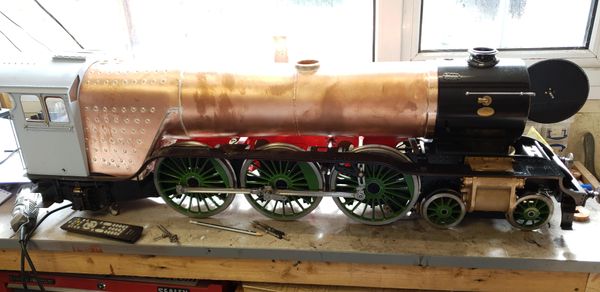
Flying Scotsman The Boiler: Fitting So, I mentioned that I would sort out the running boards as my first priority but before I can do this I needed to ensure that the boiler was in
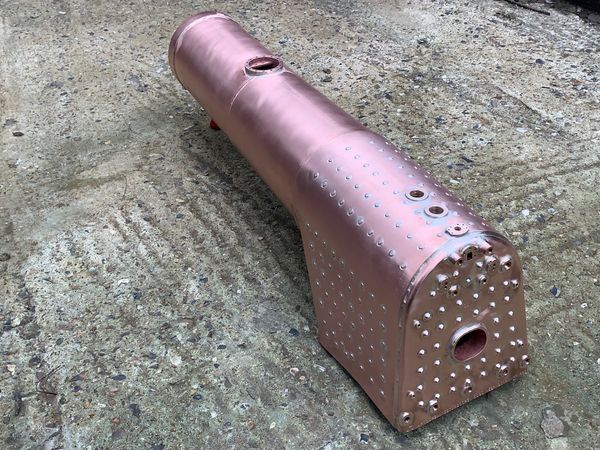
Flying Scotsman The Boiler: Construction NB: This really is getting very 'Deja Vu' as it wasn't that long ago that I gave these details on this page. However, it needs recording on the blog and
Flying Scotsman Cylinder: Steam chest covers NB: This is only a short entry covering the start on the steam chest covers, it was at this time that Paul Tompkins (Southern Boiler Works) began work on my
Flying Scotsman Outside Cylinder: Covers etc I now move on to the cylinder covers, these come as cast discs including a spigot with the cylinders. First job was to true up the spigots, for this, I
Flying Scotsman Outside Cylinders I wasn't really sure what to do next as I fancied a less stressful job for a few days but since I've got back into the 'cylinder mode' I thought
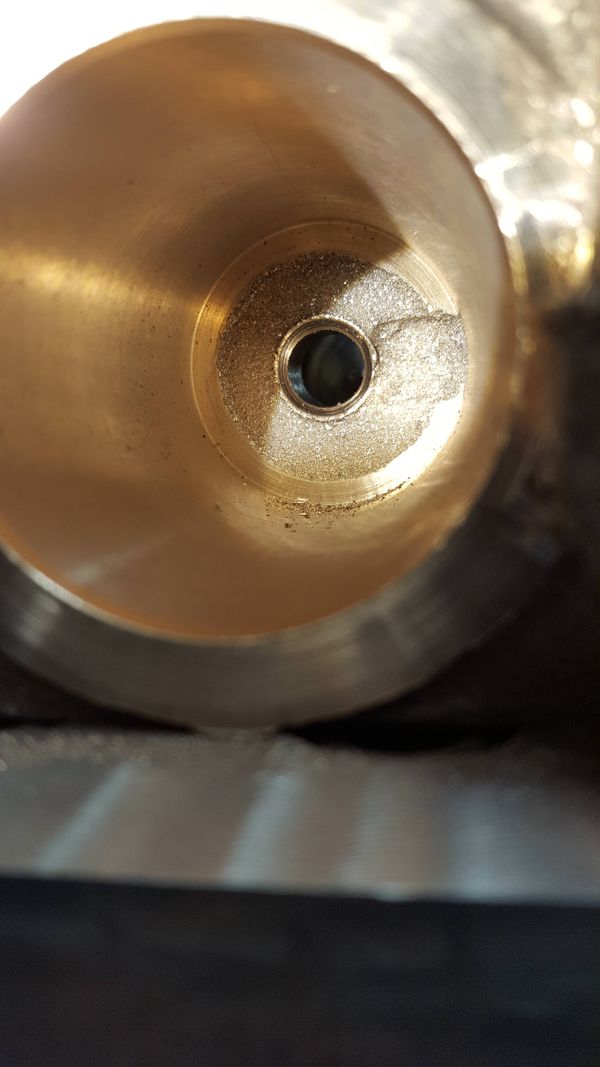
Flying Scotsman Middle Cylinder: Main Bore and Rear Steam-chest covers covers Next on the list was the cylinder cover for the main bore, I had machined a slightly oversized cover some months back when last working on the cylinder where you
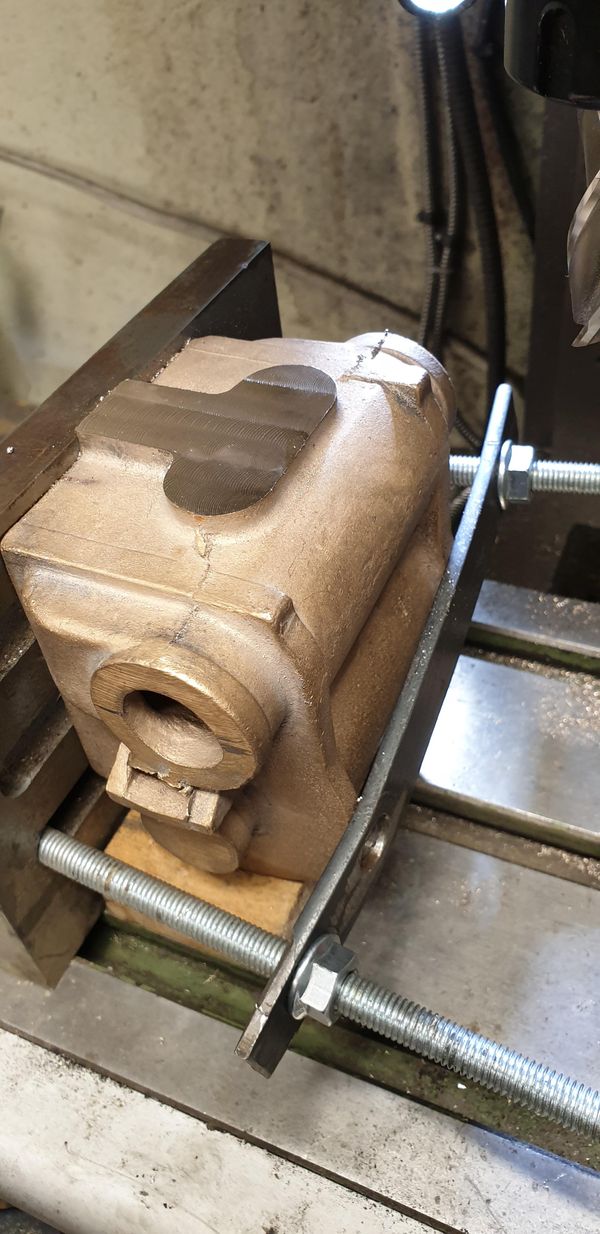
Flying Scotsman Middle Cylinder: Steam-chest Back with the middle cylinder then, I took my time setting this up on the lathe's cross slide. After bolting the angled wedge to the cross slide and checking it
Flying Scotsman Locomotive Brake Shaft: some bits and pieces My first thought for today was to fit the leading coupled axle so that I could turn the chassis over but realised that in doing so I wouldn't later be
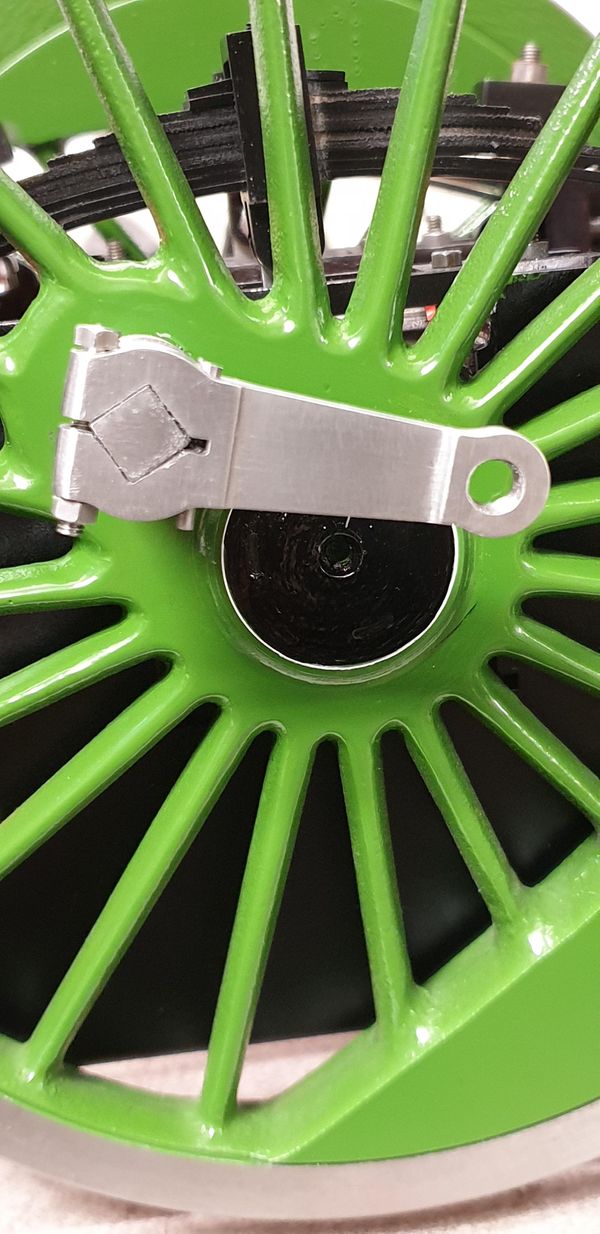
Flying Scotsman Return Crank Return Crank: Lots of pictures for this job. First up to show what's actually being made, this is Don's drawing which more or less follows full size, in fact, the
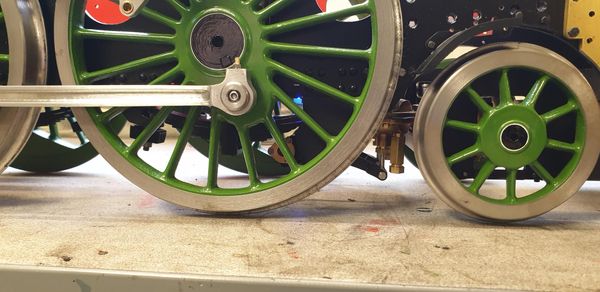
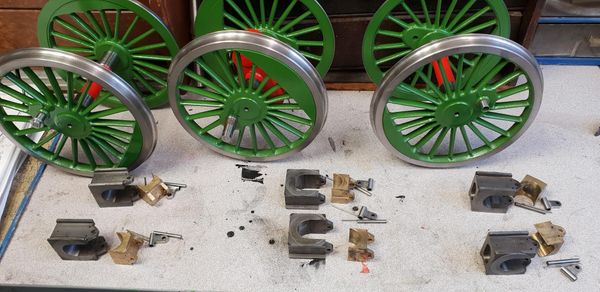
Flying Scotsman Axleboxes Completed and Axle ends painted and lined Last time I laid out my plans on what to do next, one of the jobs on the list was to radius the axlebox slots and that's what I have
Flying Scotsman Completing the Main axle spring gear Spring Hangers, or in fact machined bolts, simple enough but there's twelve of them. Specs are 1/4 Hex head, a plain shank of 5/32 x 1" long and
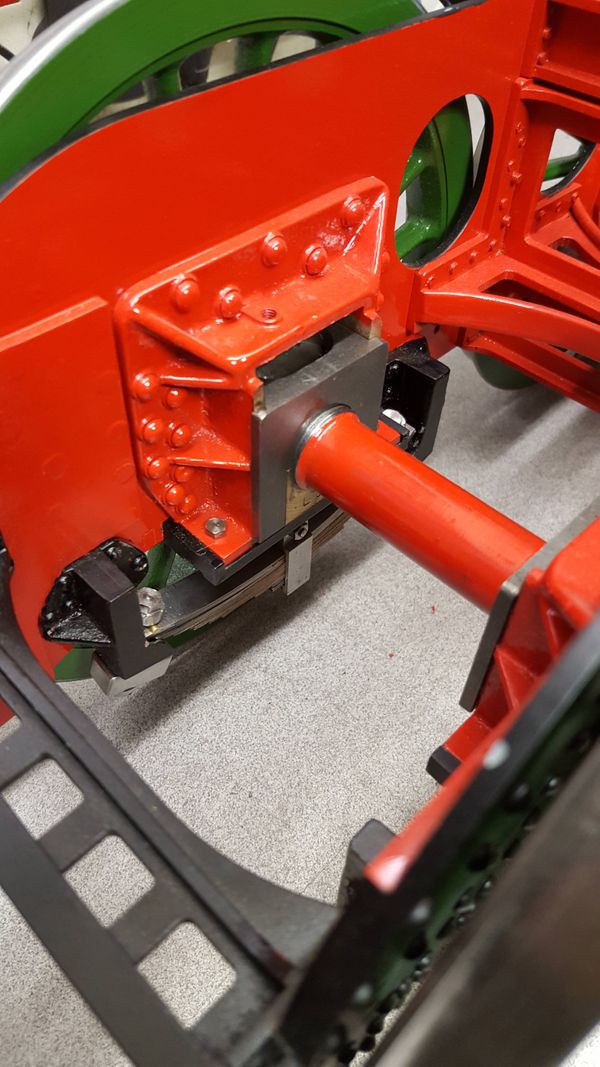
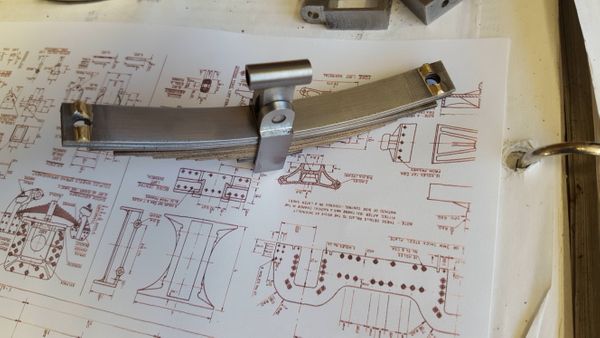
Flying Scotsman Main Axle spring arrangement Next on the list is the spring gear for the main drivers . I think I have most of what's required, I bought the spring steel some time ago and since
Flying Scotsman Expansion Links: Their bearing oil cups and the Weighshaft NB: There's not that much work from me on these very important parts as the expansion links were water cut and if you recall the weighshaft was CnC'd by my
Flying Scotsman Chassis painting: Part 3, we have colour Well tonight see's 4472 with the first bit of colour, yes I managed to get paint on the inner frames. It's a little warm for enamel's really but I left
Flying Scotsman Chassis Painting: Part 2, getting everything ready for top coat Continuing with the painting, deciding to paint now was not really my first choice, this decision has been made for me in a way as yesterday I was kindly asked
Flying Scotsman Chassis stripped for painting: Part 1,weighshaft fabrication, bits and pieces. Nb: There was a lot of editing for these updates so please forgive me if they aren't totally clear So I now look at the painting and a few other
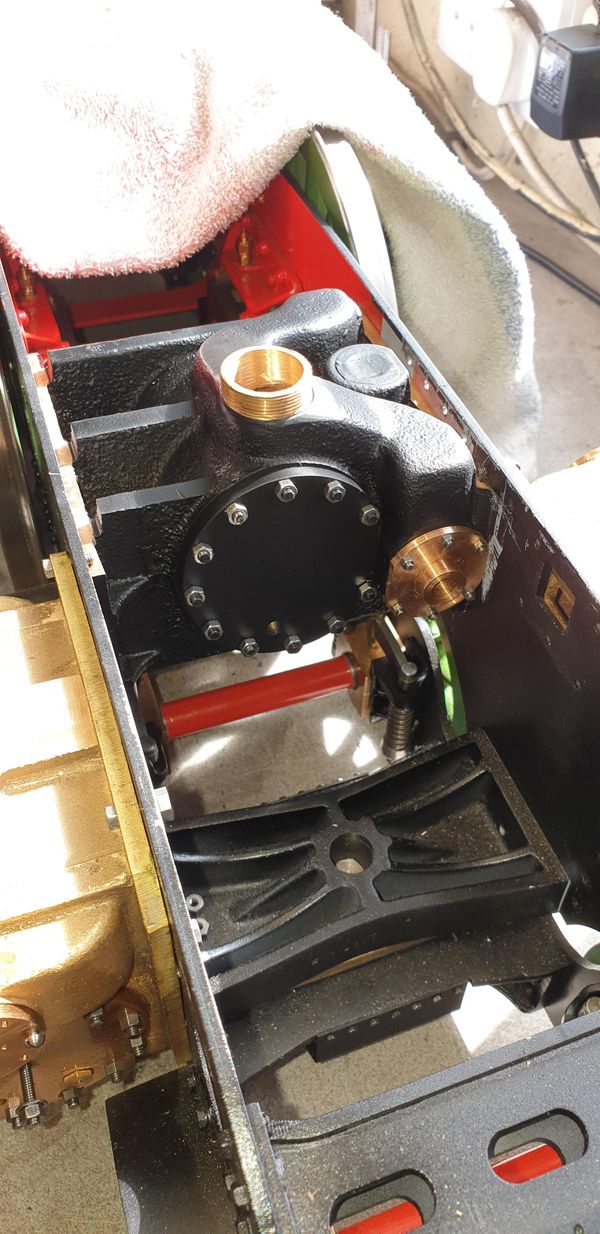
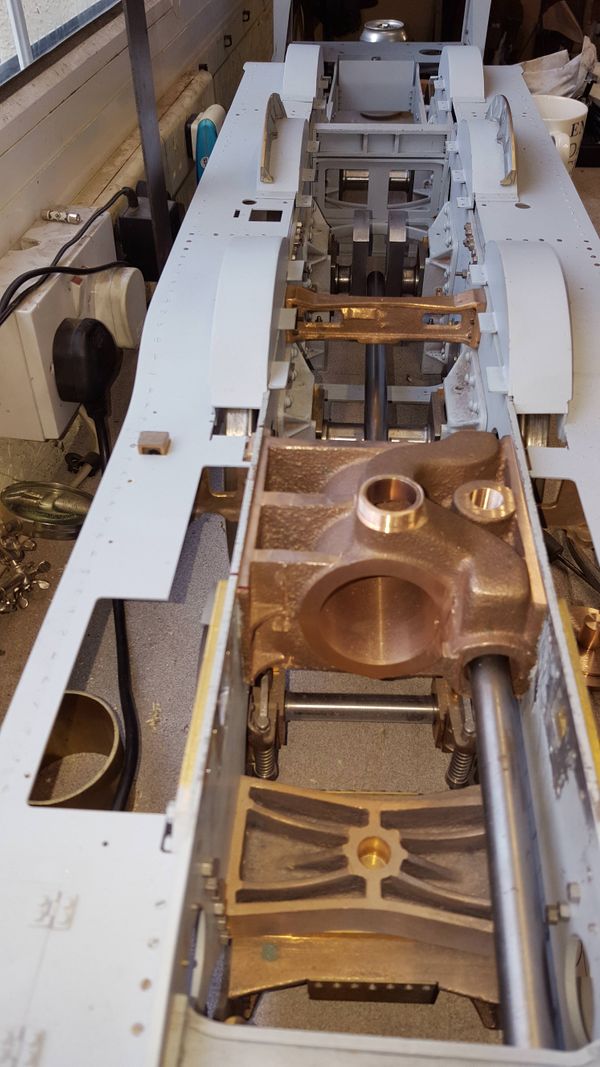
Flying Scotsman Middle Cylinder: alignment with saddle NB: You know, when I reread these updates and edit them to make sense I sometimes look in awe at what work is involved in making what basically is a
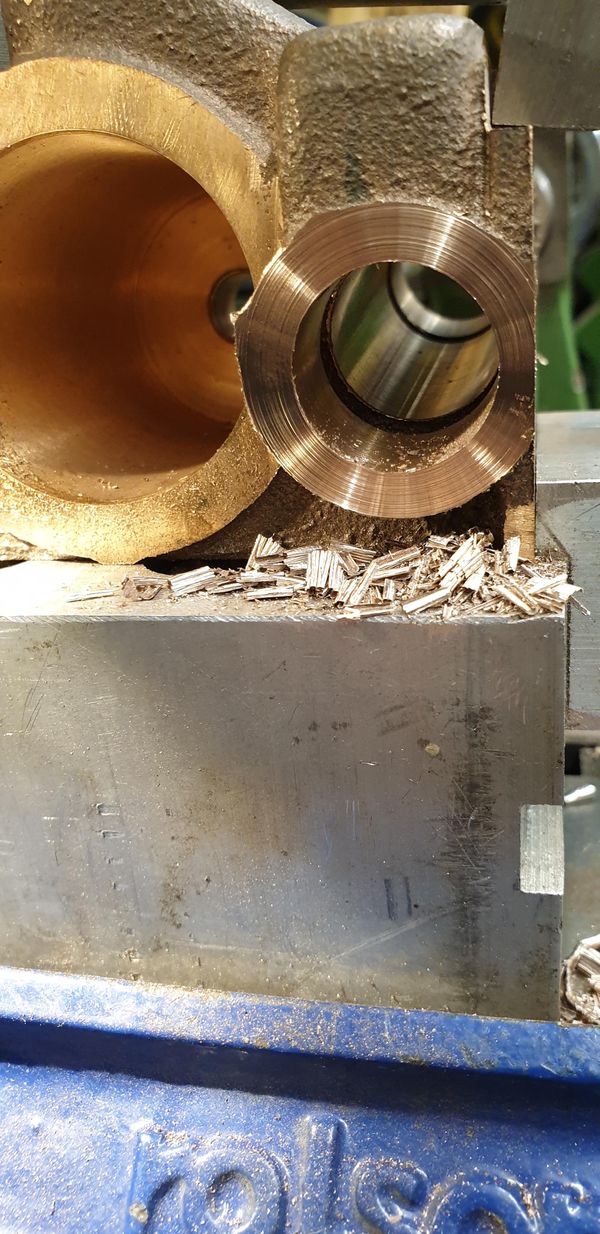
Flying Scotsman Middle Cylinder: Part 2 Next I wanted to machine the rear of the bore and after giving it a little thought I decided on using the boring head in the mill for no real
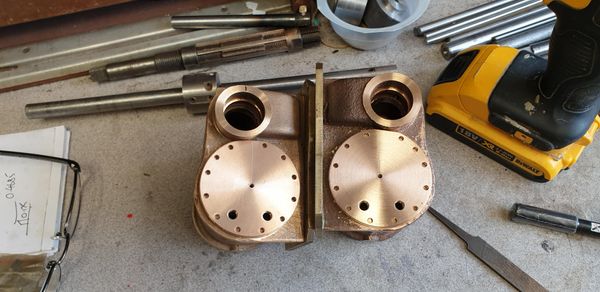
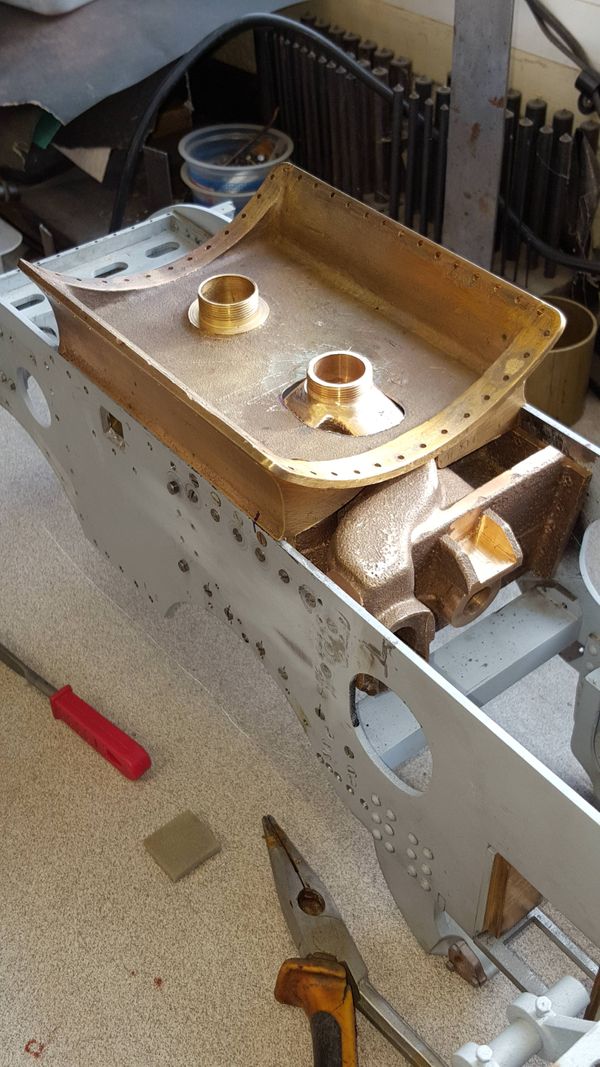
Flying Scotsman Middle Cylinder: Part 1 Now we come to one of those jobs that I am most apprehensive about, it's not that there's anything particularly difficult about this but there is very little, actually probably
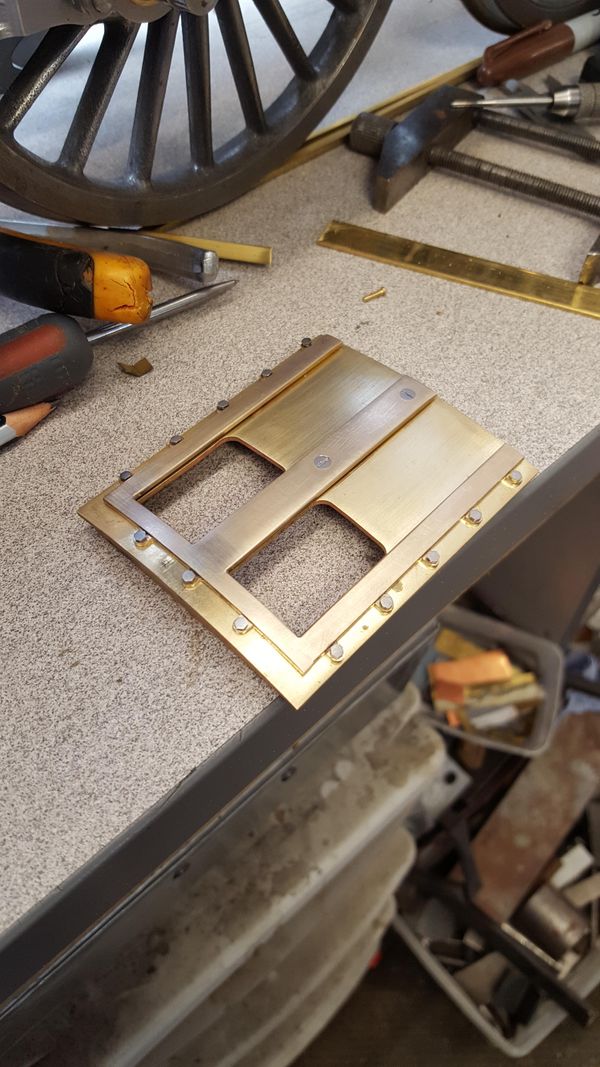
Flying Scotsman Cab: Part 4- Washout plugs A little more done to the cab today, this time the washout plugs and cover. I have followed Don's overall dimensions with a slight change in design, I'll explain.. the
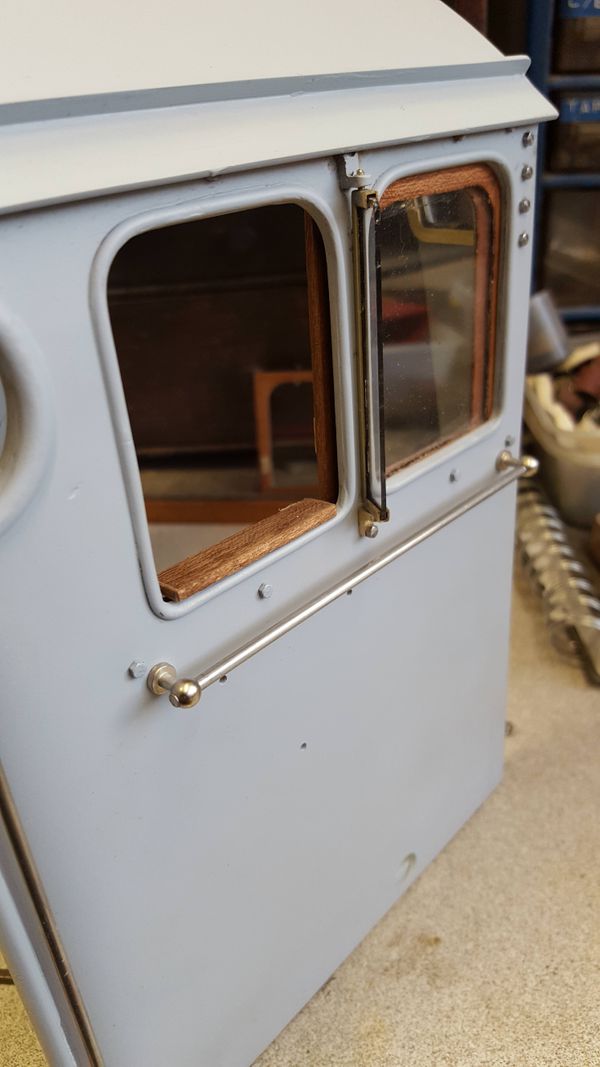
Flying Scotsman Cab: Part 3-windows Today I made a start on the window frames, I made templates for the side windows first although forgot to take any pictures of these. there's not much to see
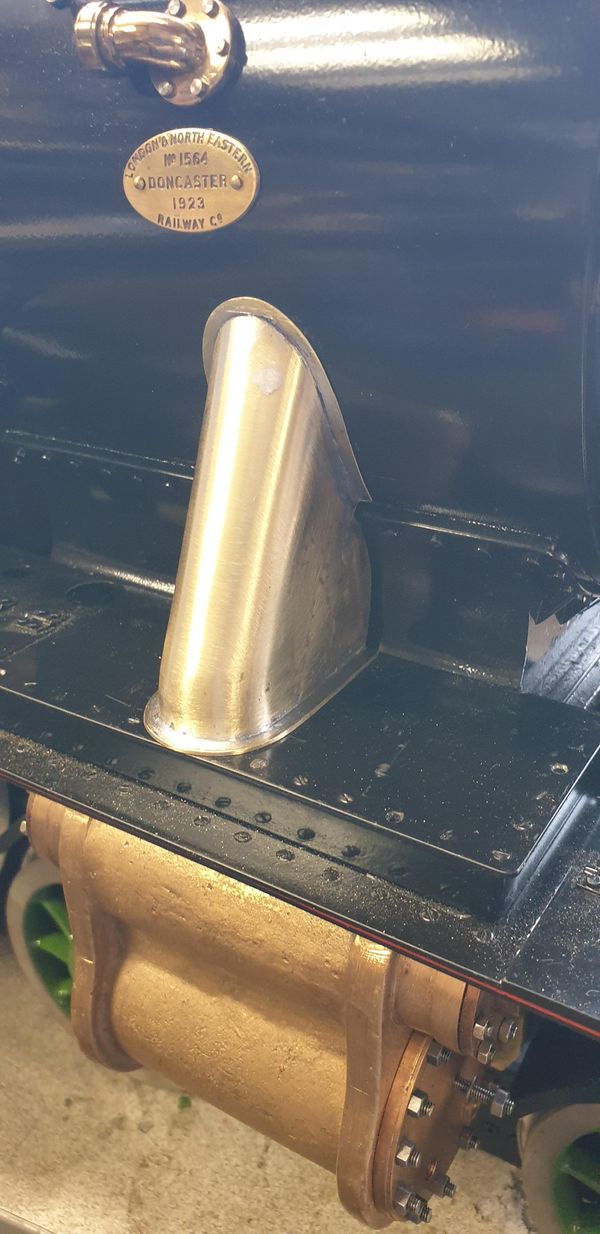
Flying Scotsman Cab: Part 2-Ventilator housing Now, I stated early on that I would make this a removable item, this is for two main reasons, first it gives me a better view of the manifold and
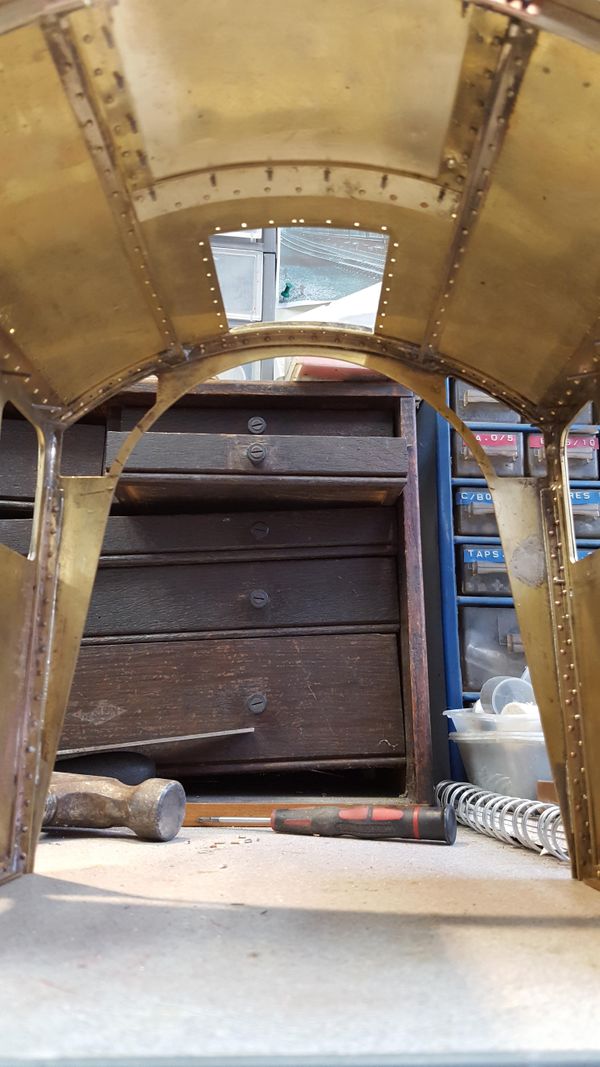
Flying Scotsman Cab: Part 1- main structure I then made a start on the cab, again I have made use of Malcolm and laser cut parts, this cab when completed will be highly detailed, I plan to