

Don says " We now come to an area where everything is interdependent" Actually he says this later when reaching the construction of the sleeve, thrust plate and nut. Still, the next part is also very much interdependent of other later parts. The brass dial plate gauge for example is related very much to the backhead cleading, its fitting and the position of the plate and the strip that connects the reverser shaft to the plate. I, therefore, decided to take a look at these now before fabricating the sleeve itself, I will though make the screw as I need to work out the length of the marking strip and position of the plate.
First some pictures to show the relative parts, the plate as it is today on Flying Scotsman, I took this picture in York in 2016, a great reference for those building a Gresley pacific.
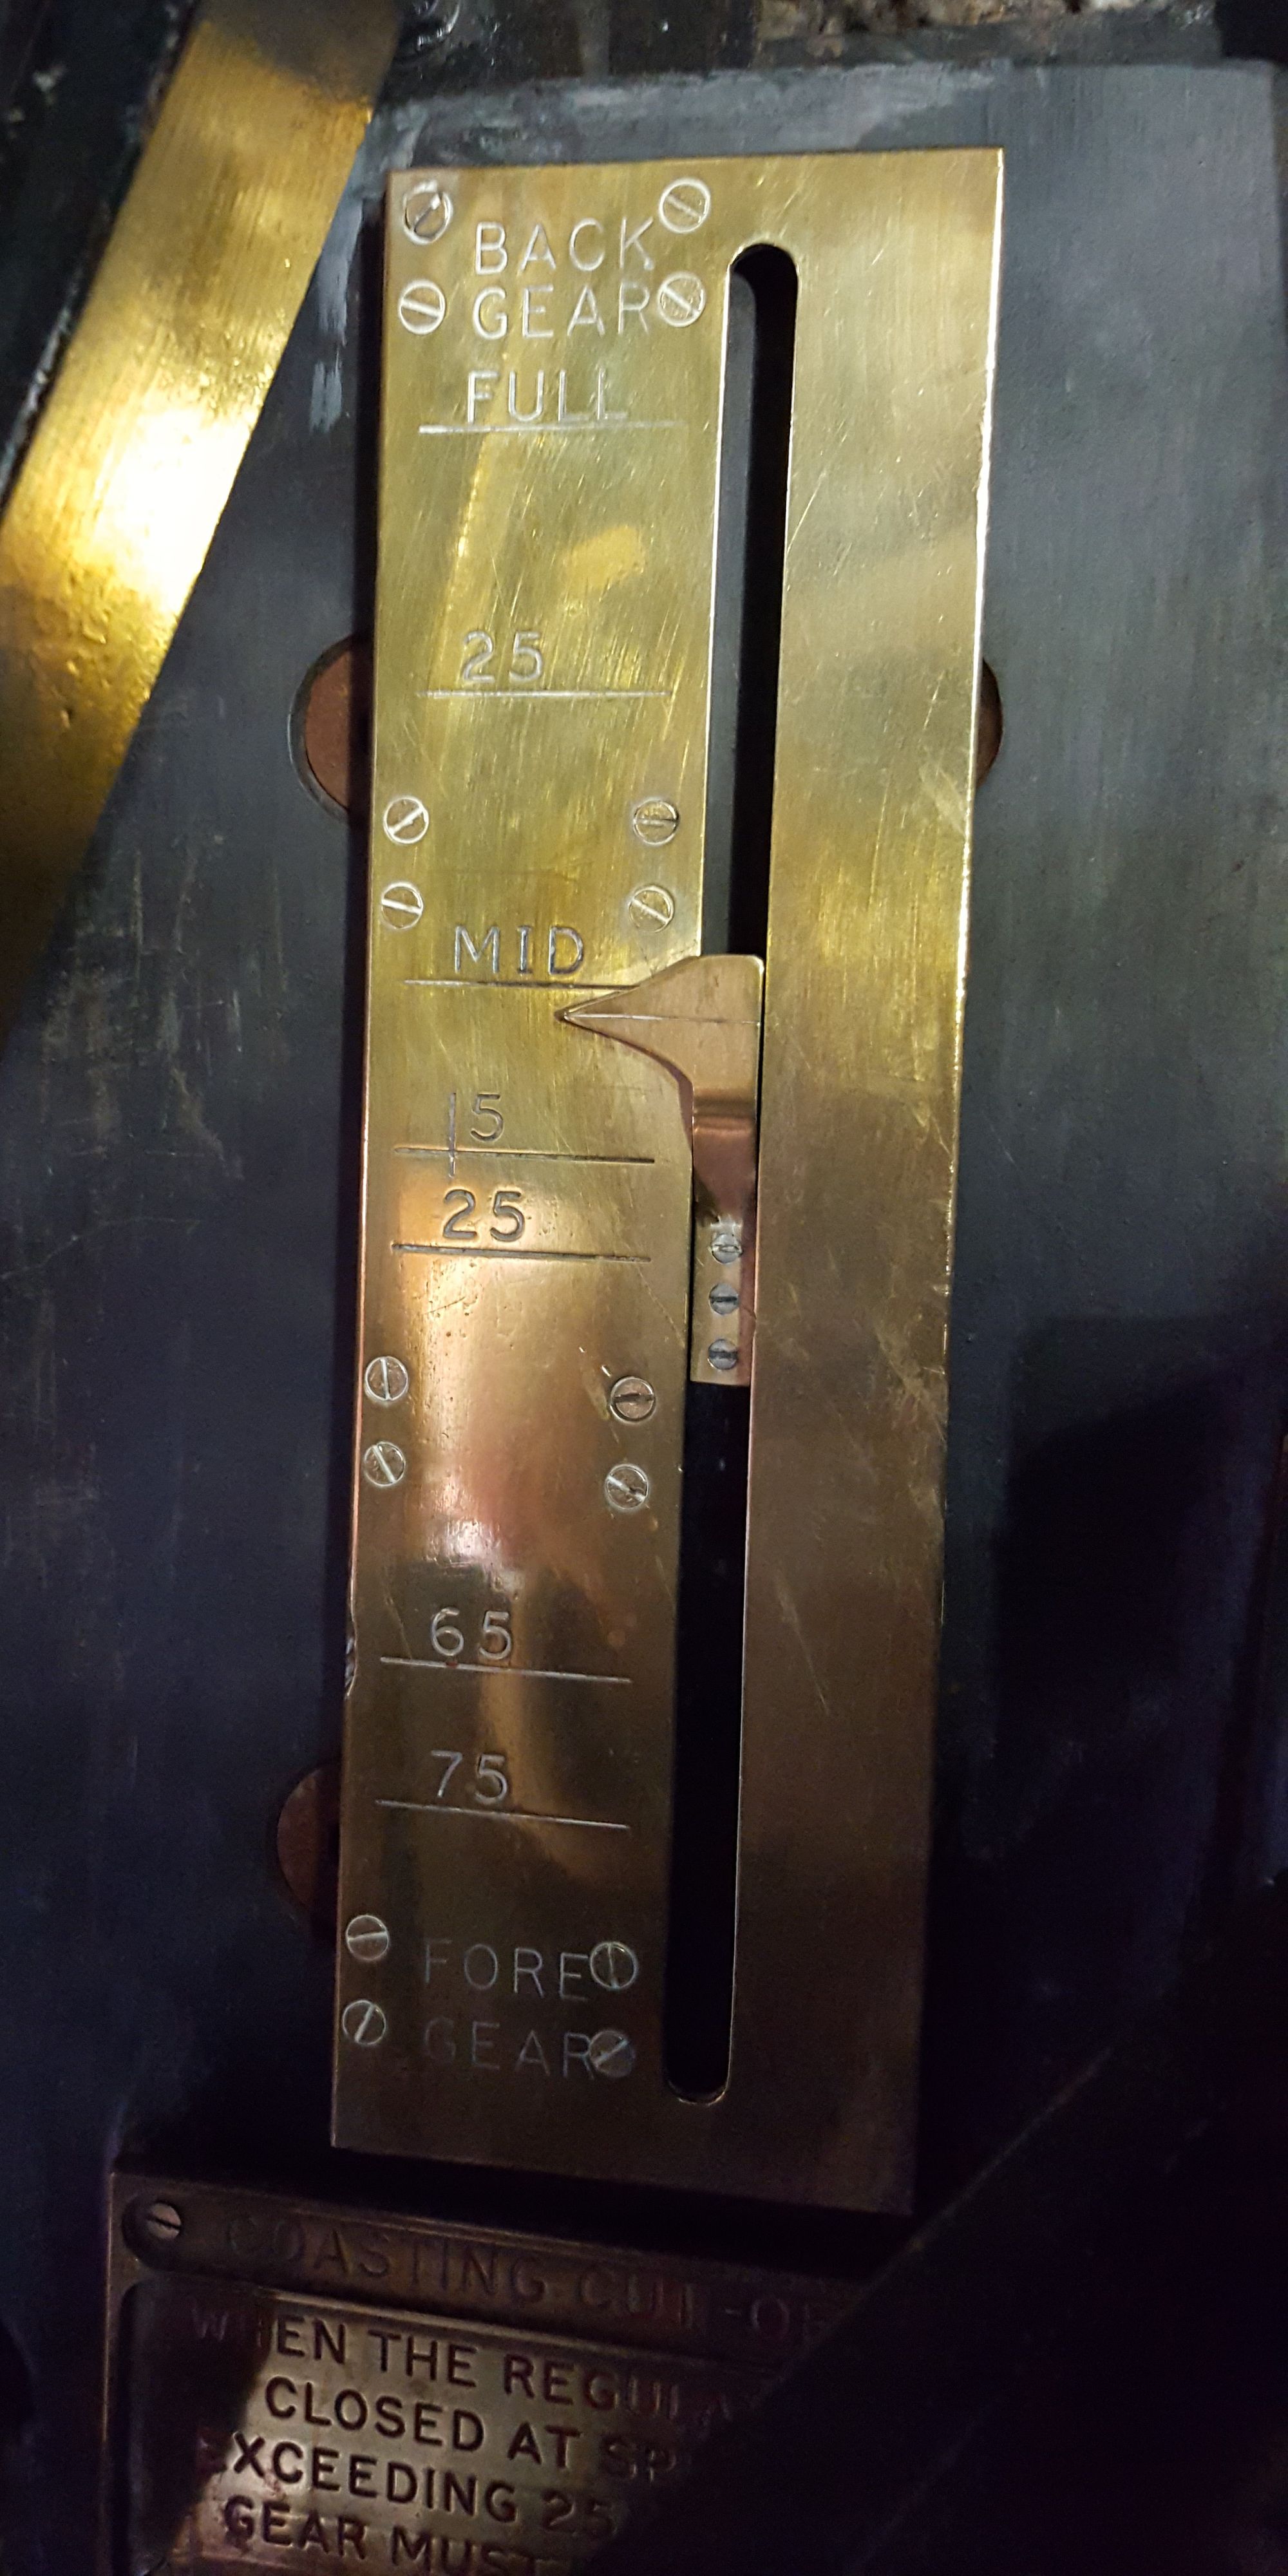
Technically, this is not correct for my chosen era as it shows a 75% cutoff; for my chosen late 30s, it should be 65%. As I have zero chance of finding a close-up image of the correct plate I have decided to use this later version, no one will know..well except you lot...
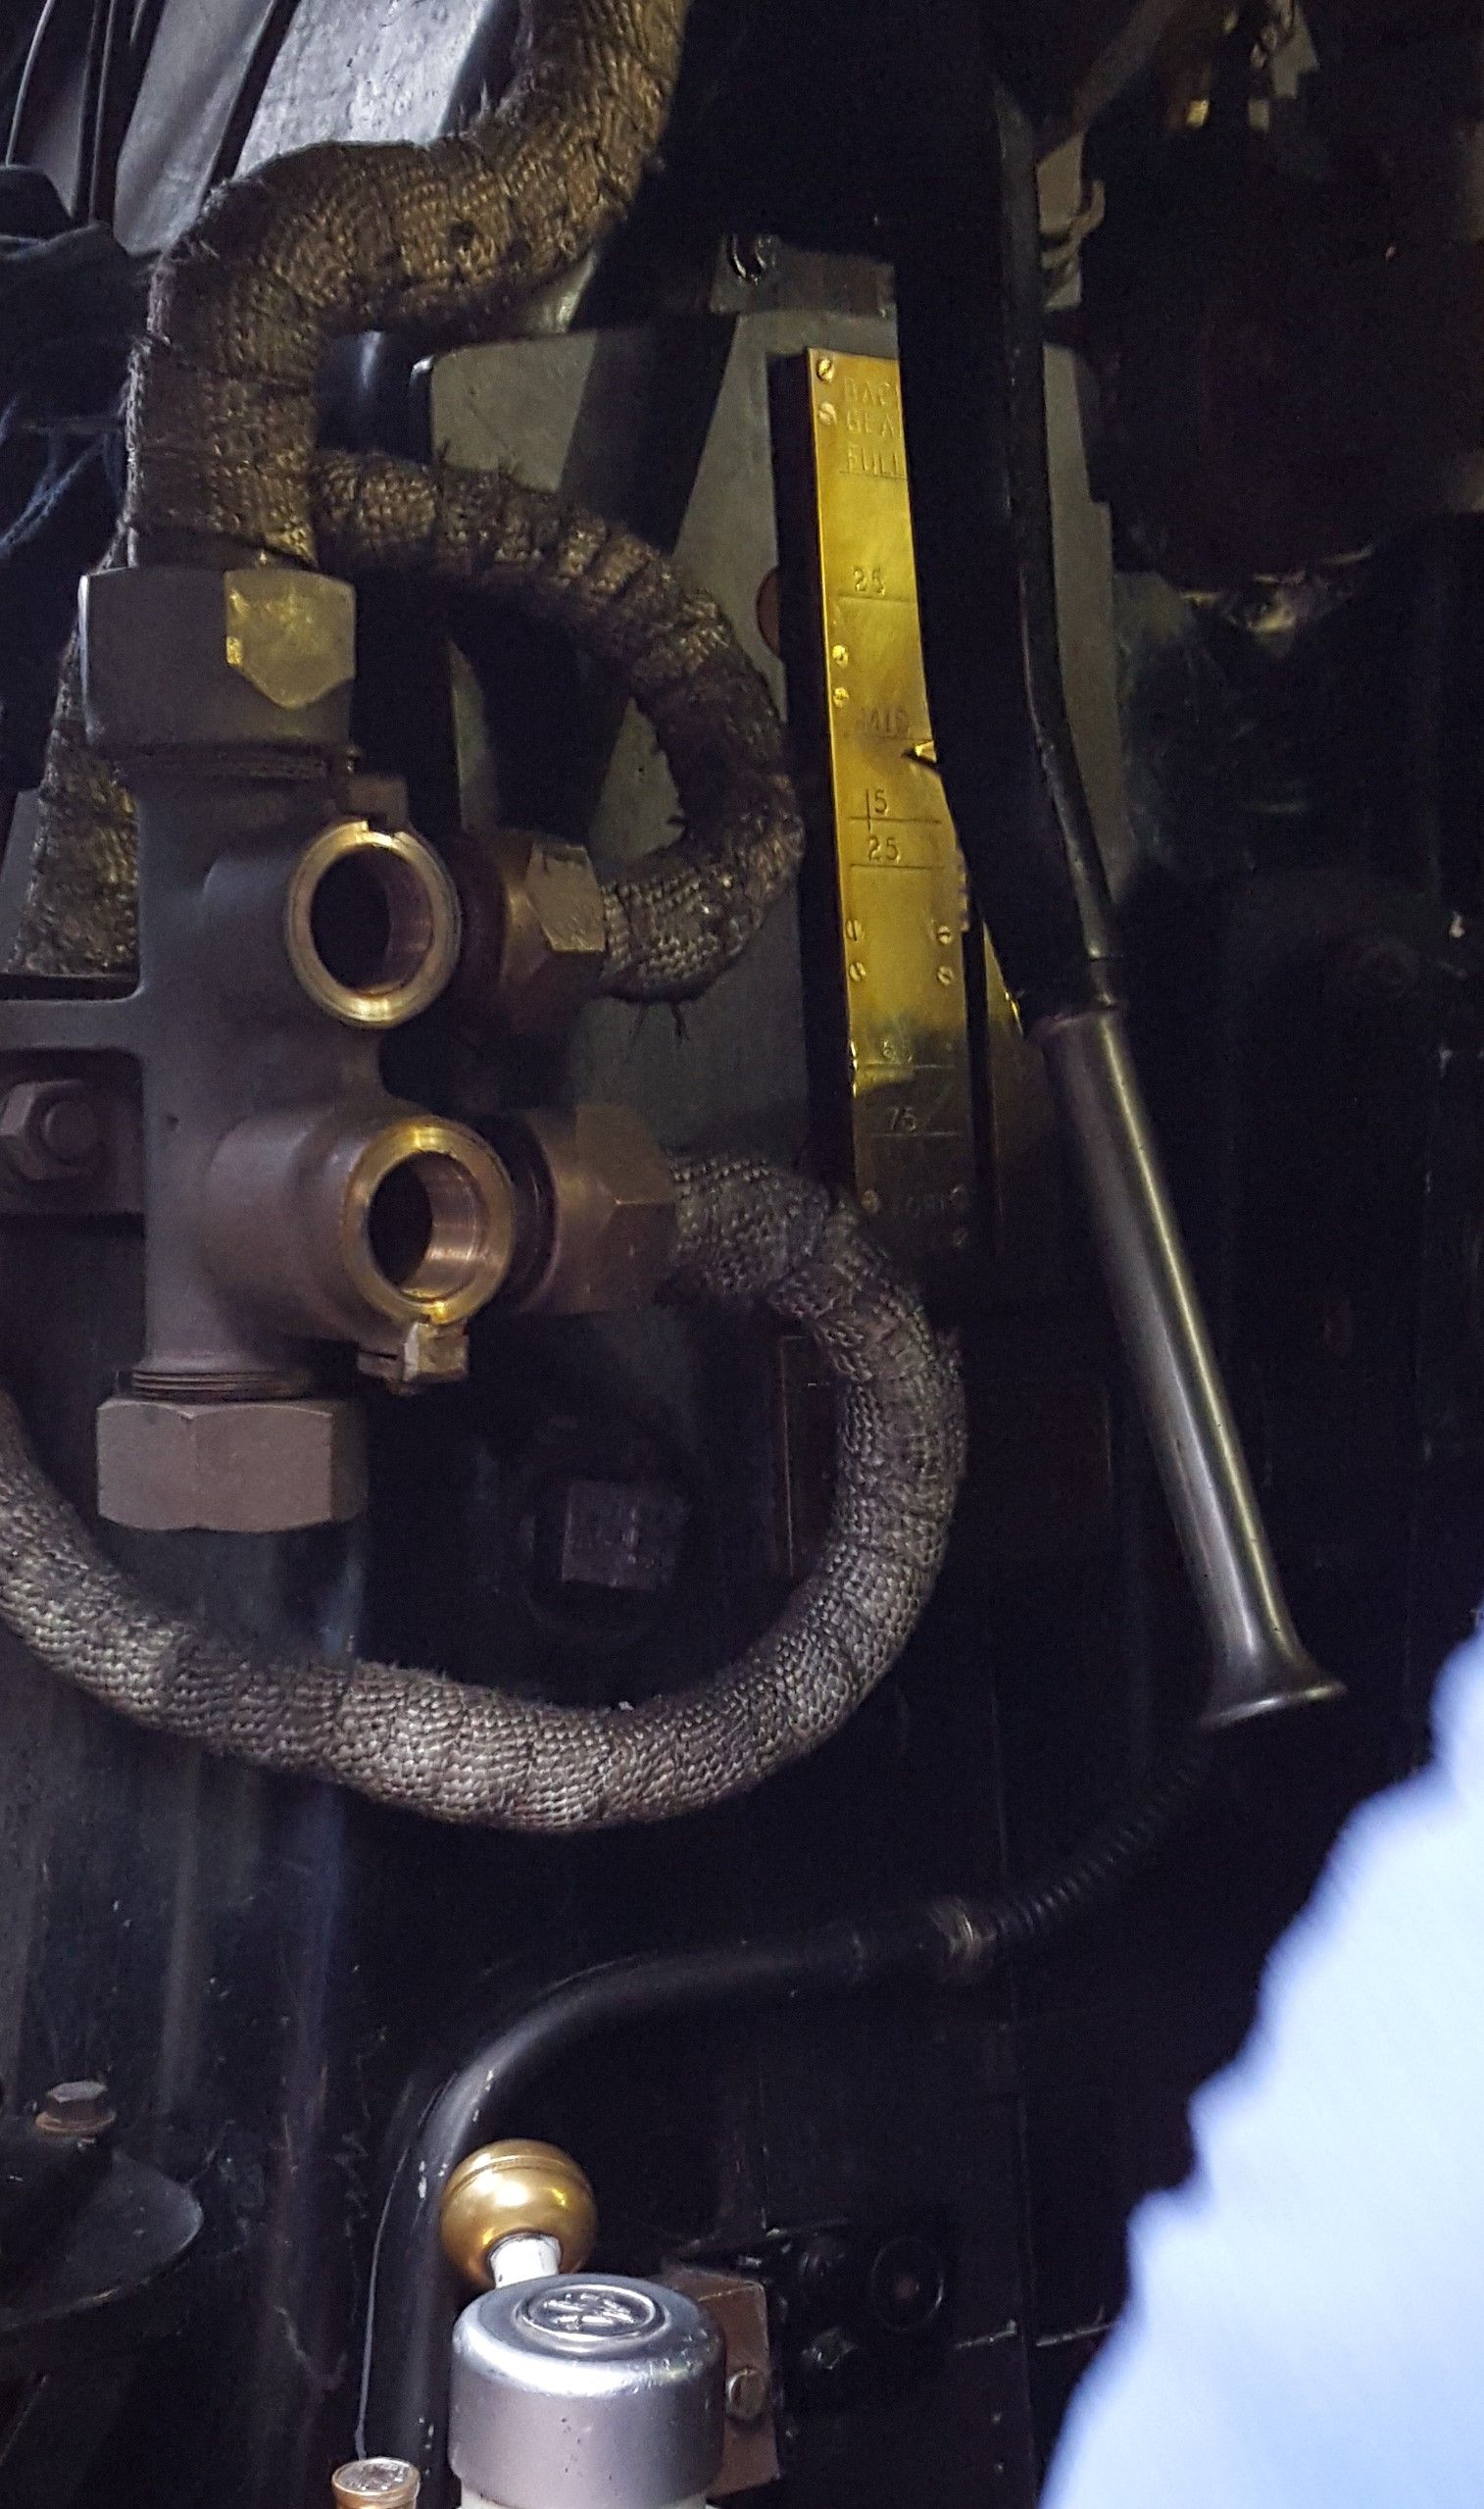
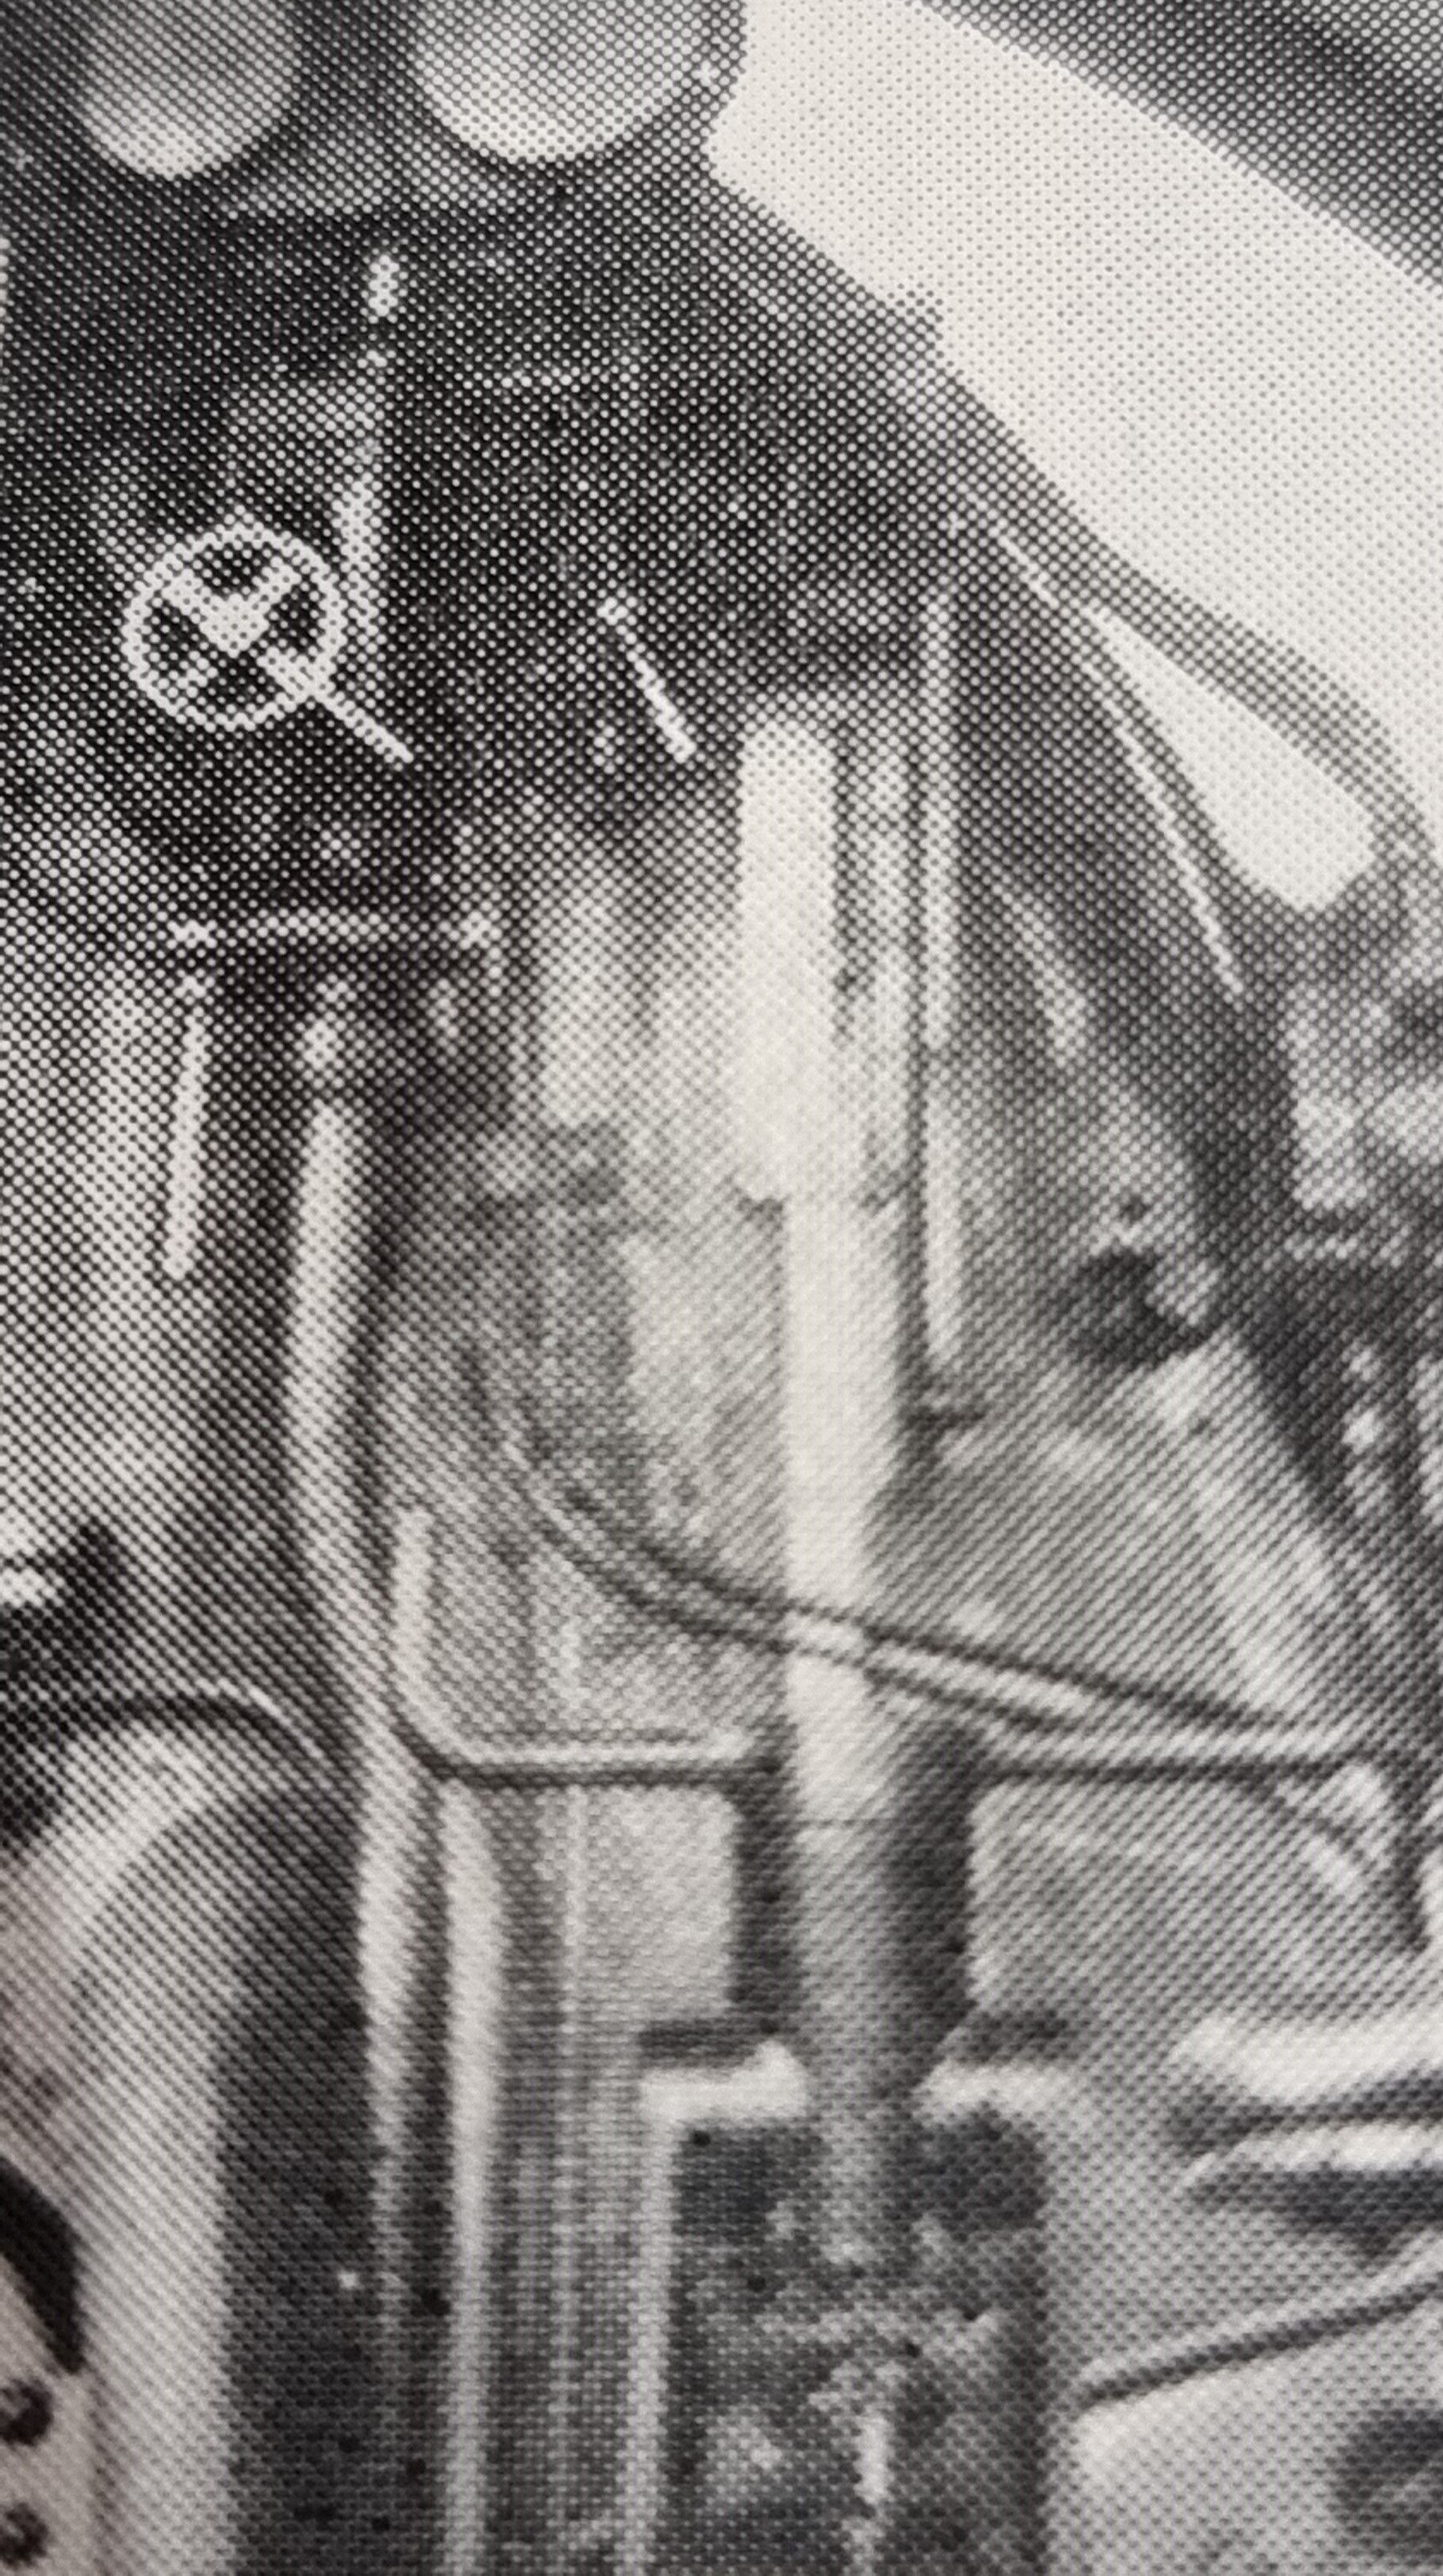
One thing that I do need to change though is the mount that the plate sits on as seen above, most of what's seen in this picture were not there in her previous life. I will therefore ditch the somewhat angular back mount and follow what Mallard has today and what also seems to be present in an early image of Great Northern's backhead when launched. The below image is what I am aiming for and for lack of a photo from my era is probably the most likely state of FS for the late 30's. Please excuse the poor quality, it's been blown up a lot for me to be able to see the detail. This also shows the marking strip between the plate and the reverser screw. Although not very clear here we do have some great photos of Mallard easily available online, they show the same type and thus a good quality reference.
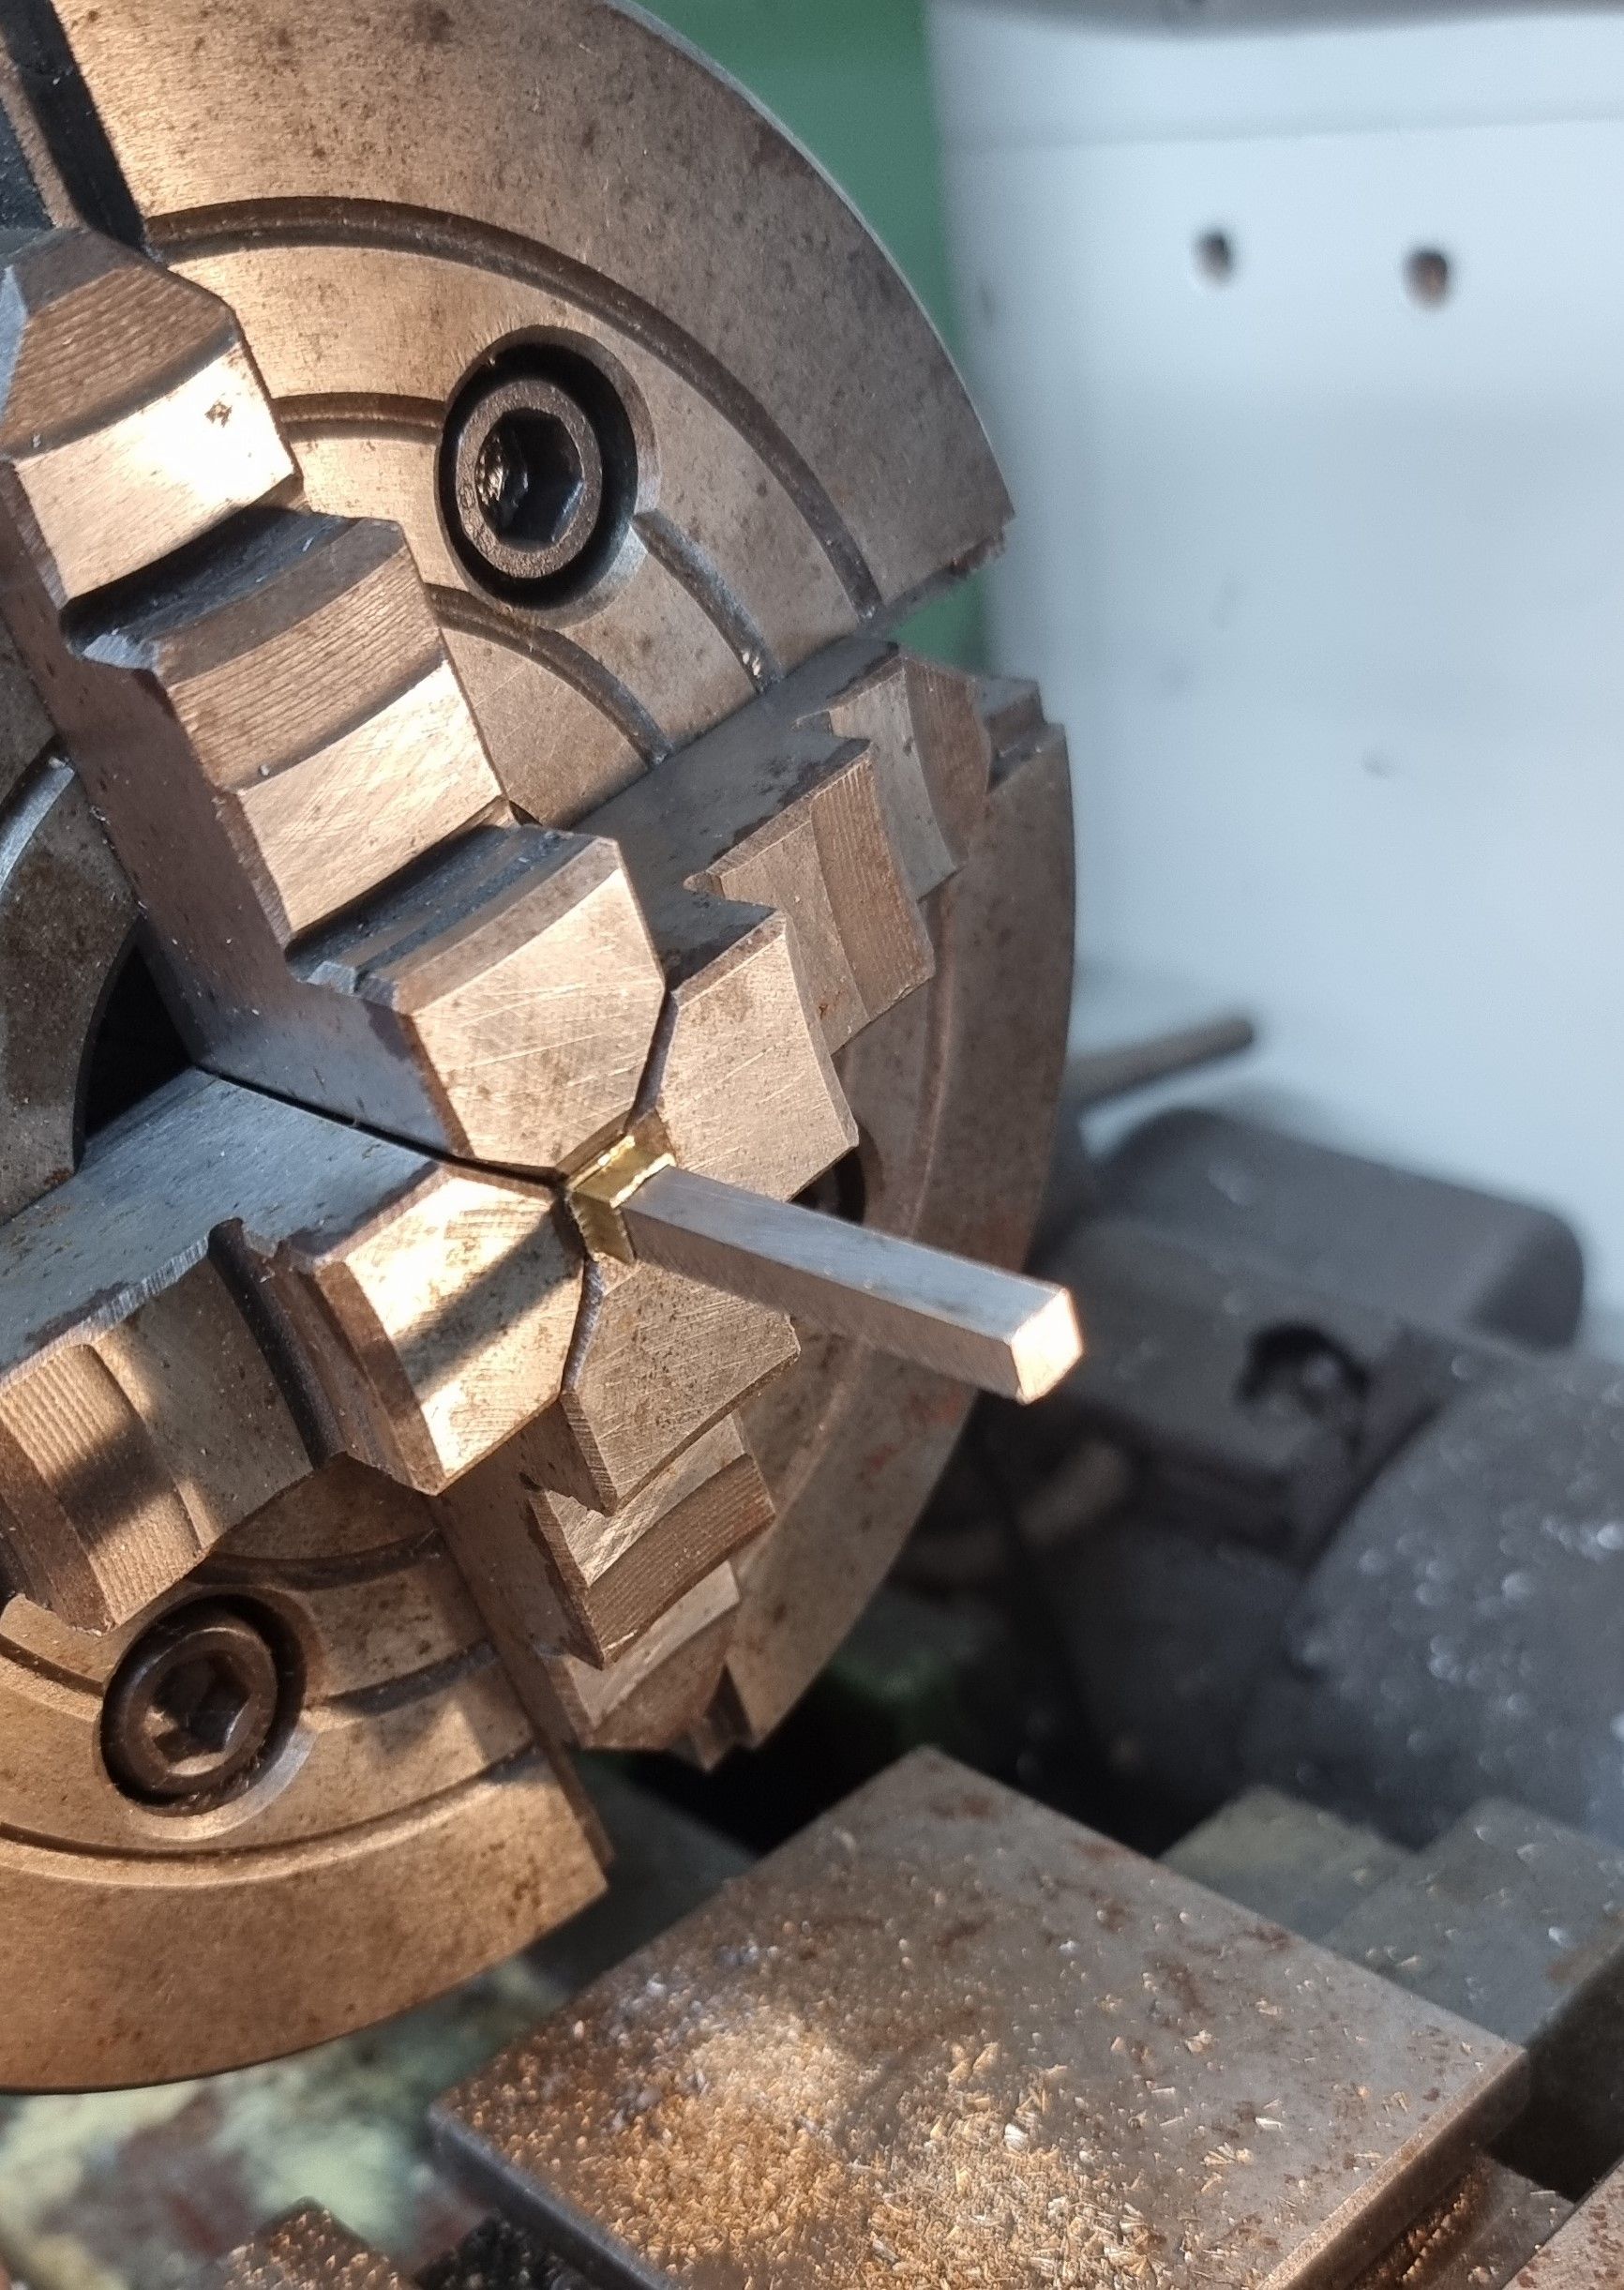
Ok, so on to the next part which is the screw, Don describes a simple 5/32 forked rod which is crossed-drilled to hold the marking strip. I have chosen to replace the rod with a length of 3/16 square bar, silver soldered to the 5/16 fork and then turned down to 5/32 for a length of 1"1/8, 5/32x32 Whitworth thread.
This gives me a flat surface for the marking strip to sit flat on, much stronger than a cross-drilled 5/32 rod which will not be easy to get at if it fails. The making of the screw is fairly straightforward, I will share a tip here as my lathes 4 jaw chuck can't close up far enough for this size bar, K&S SQ brass tube comes to the rescue as shown here.
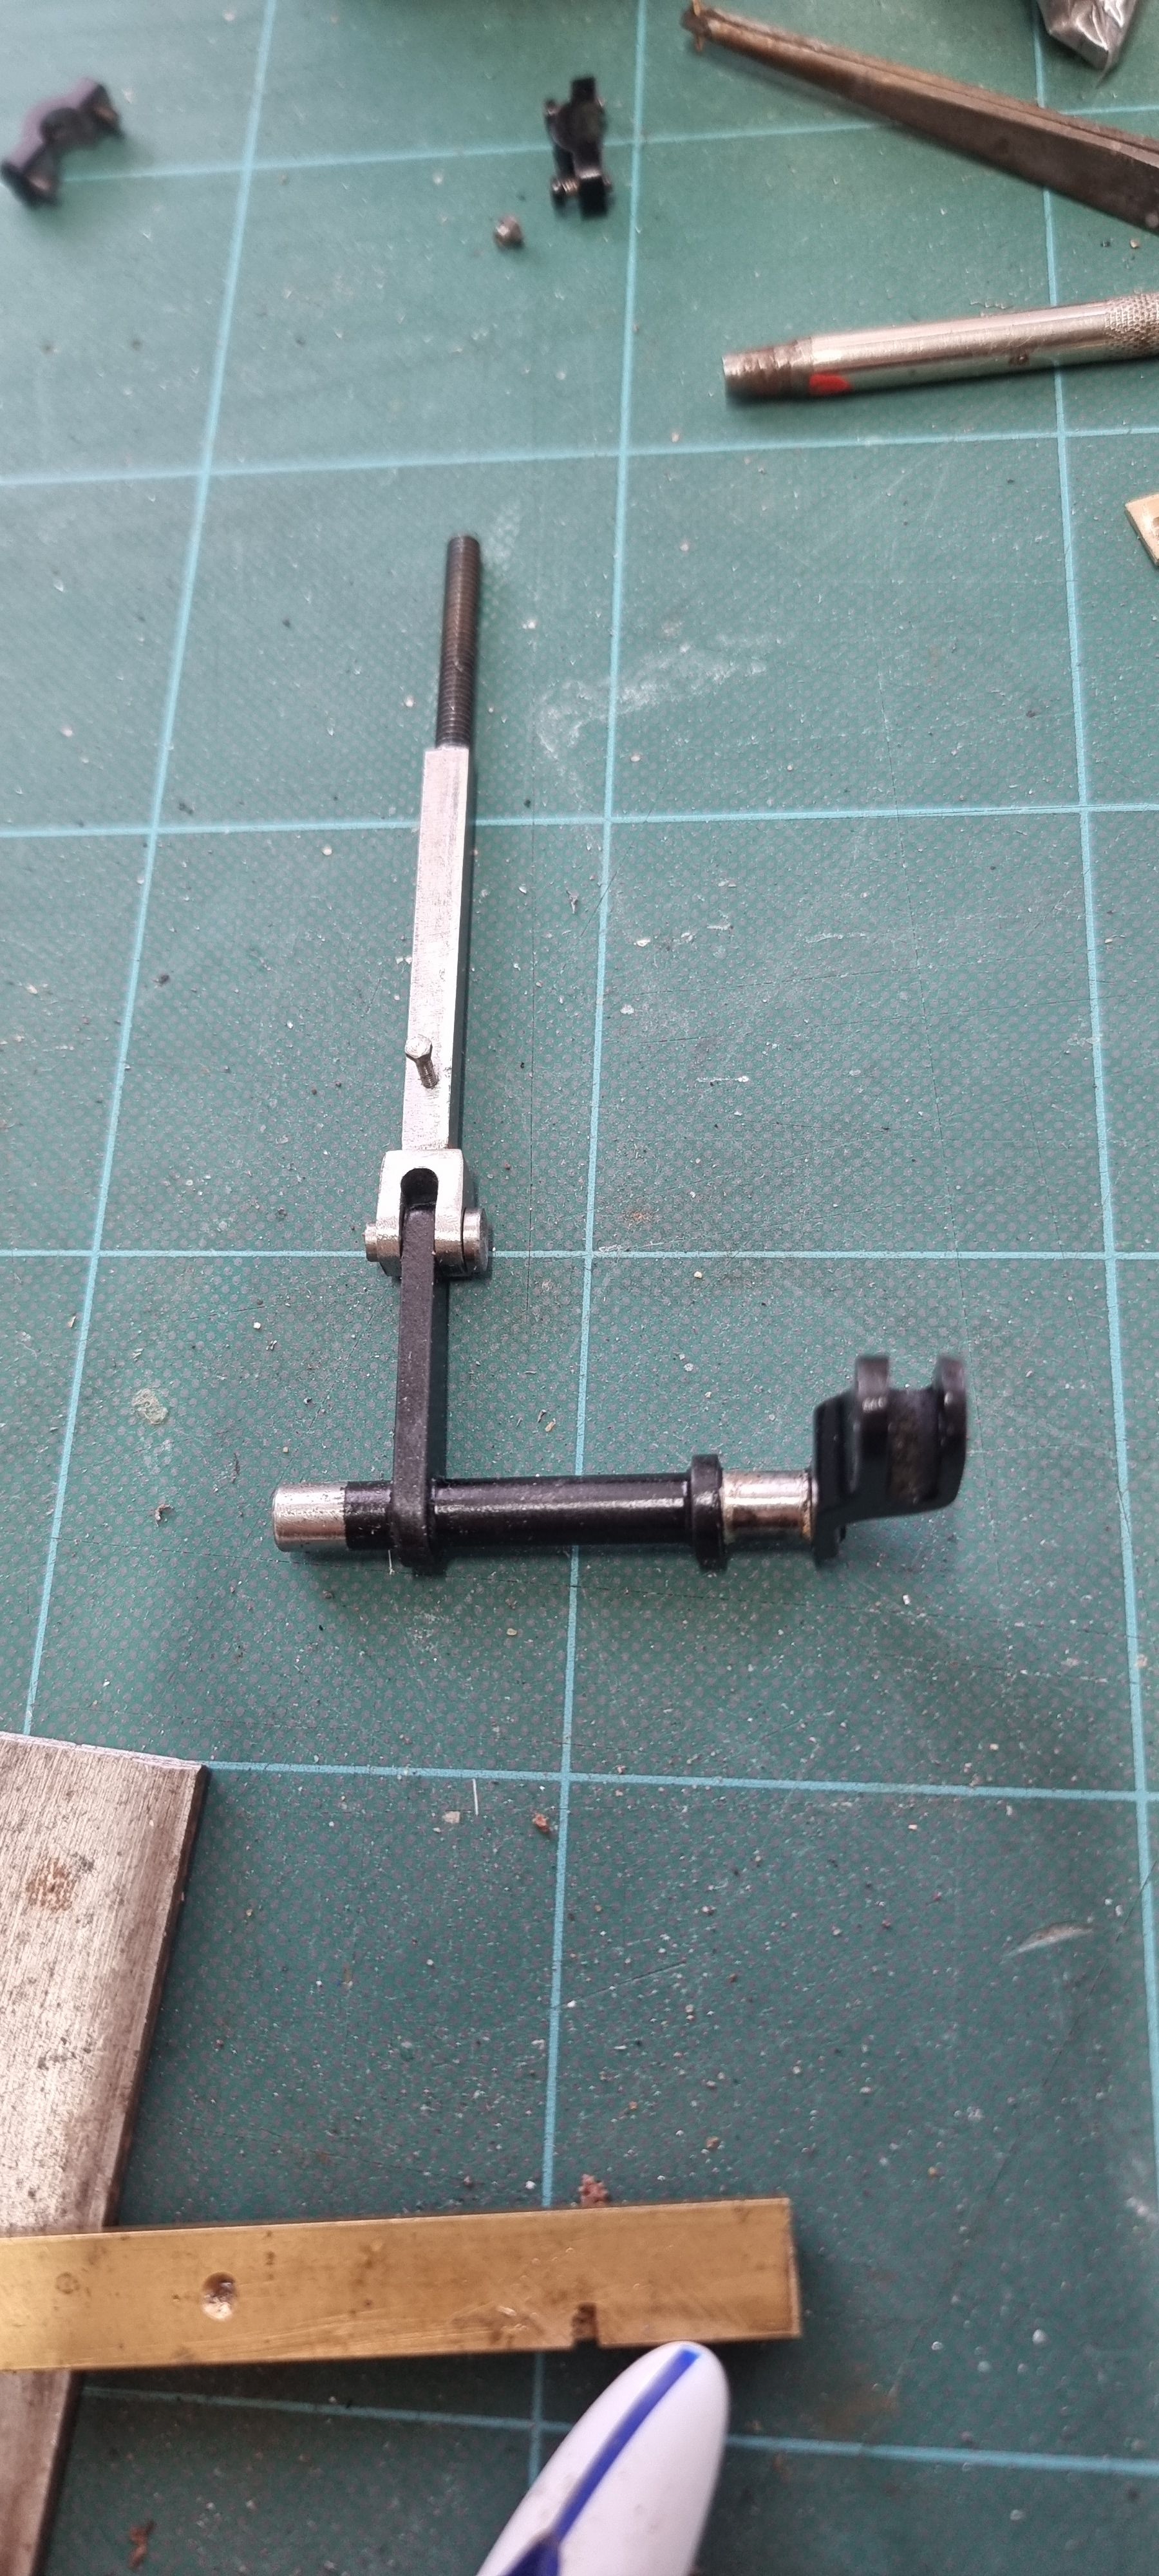
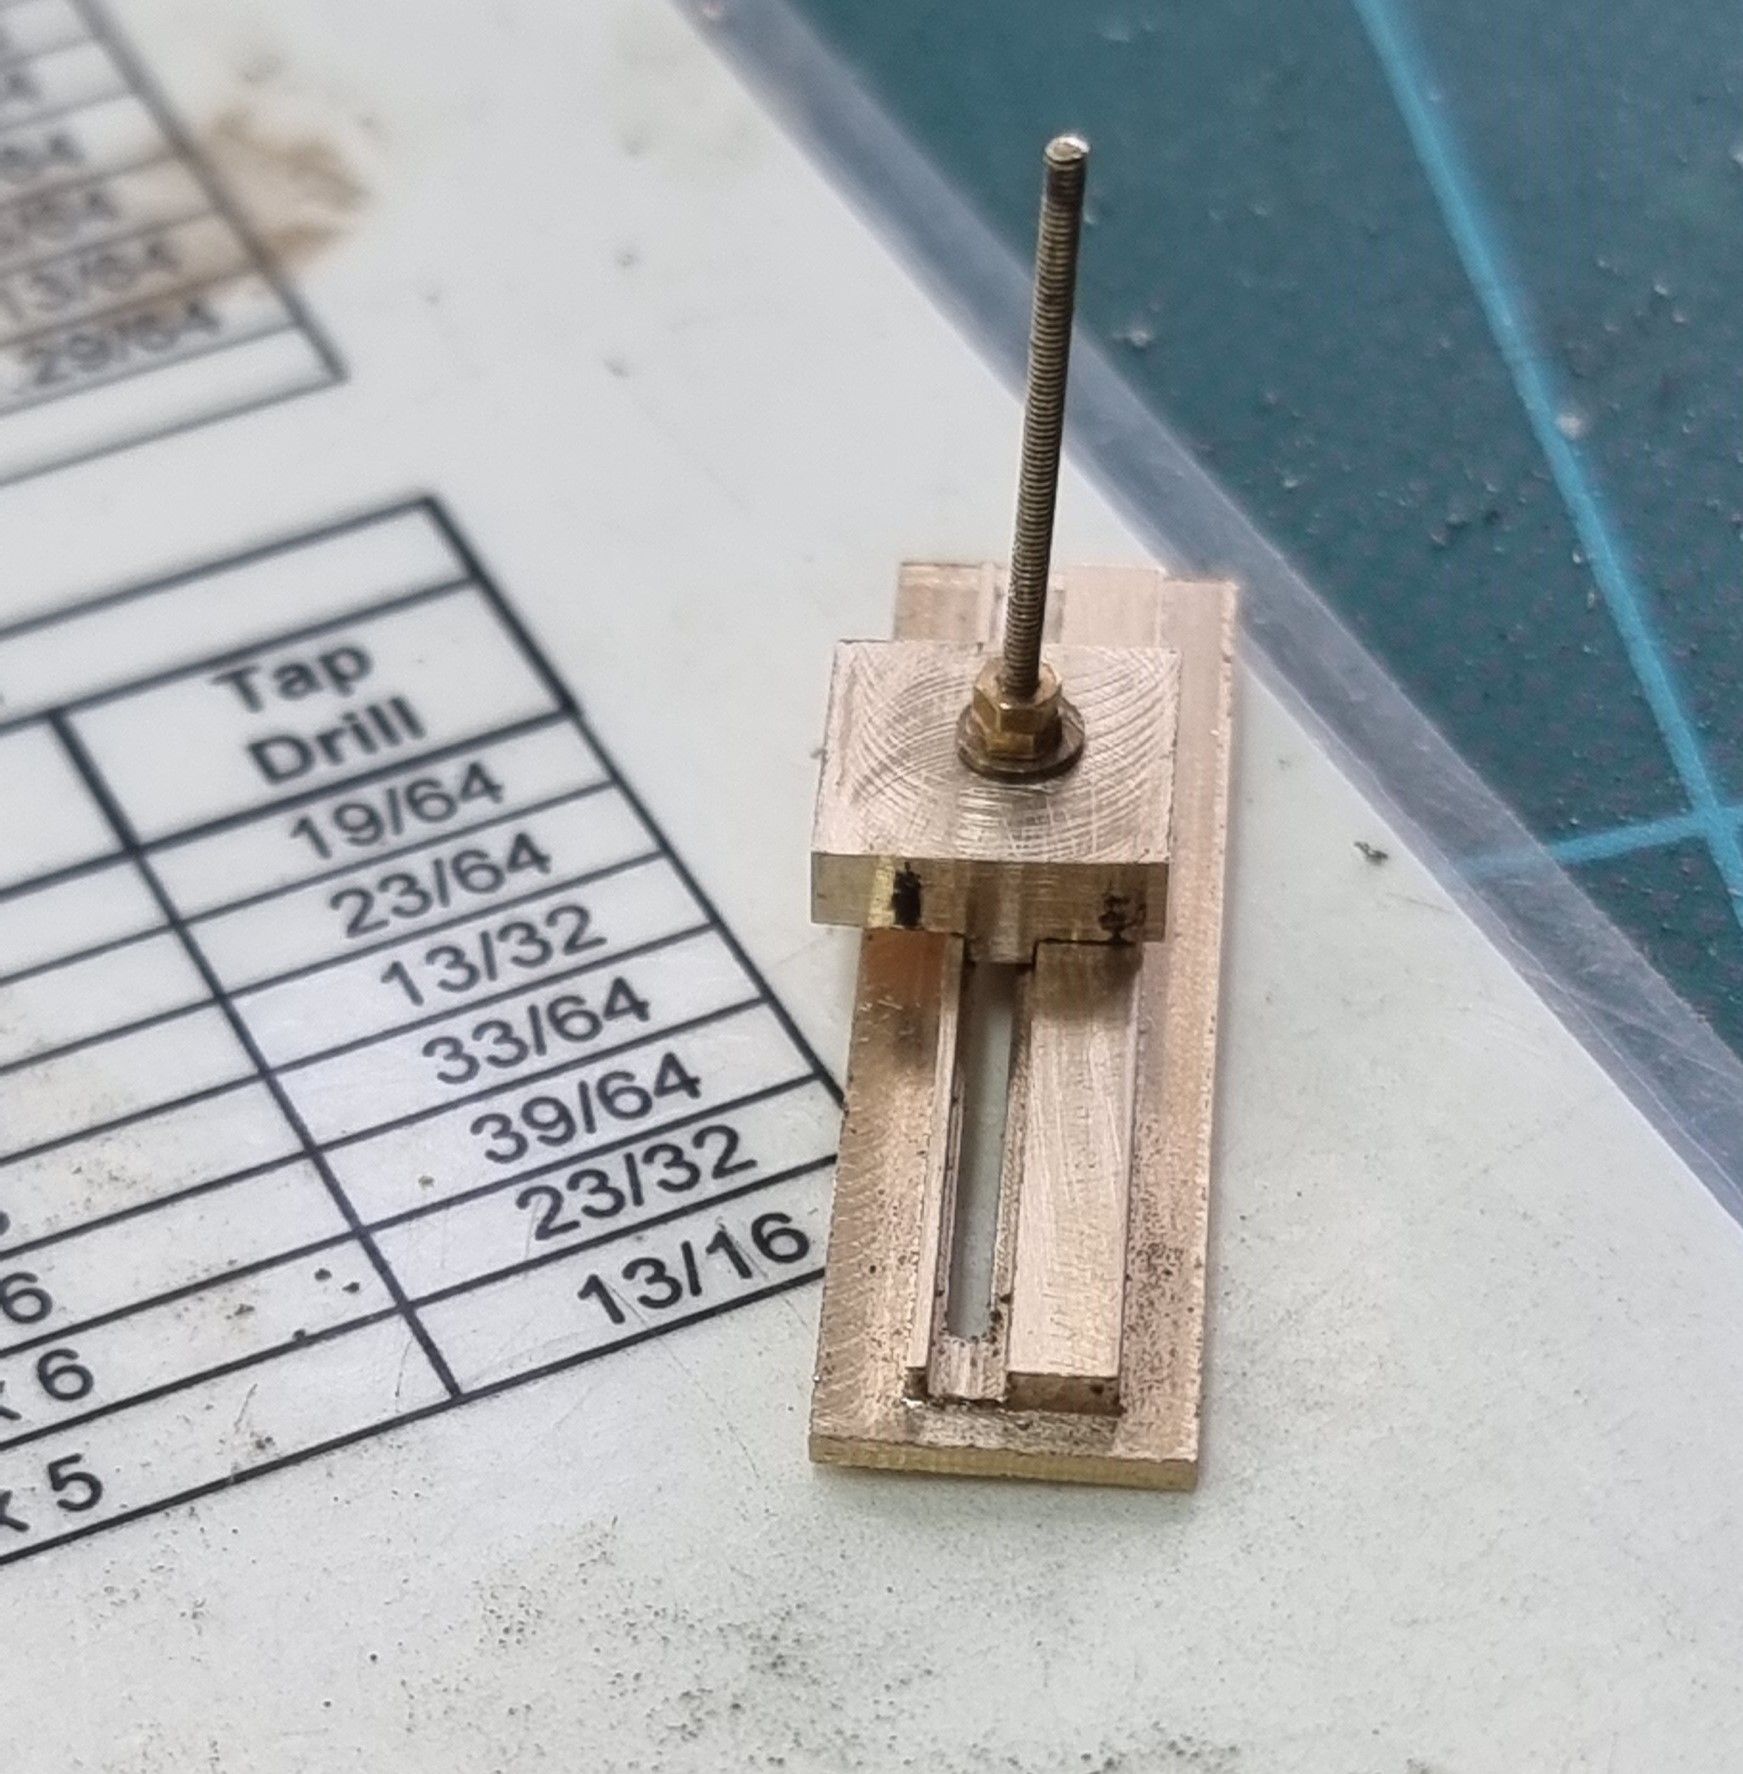
A picture to show the completed screw temporarily attached to the shaft. I have also turned up a small flanged pin to connect the two together that fits easily inside the stand, to finish, this will be cross-drilled for a small split pin.
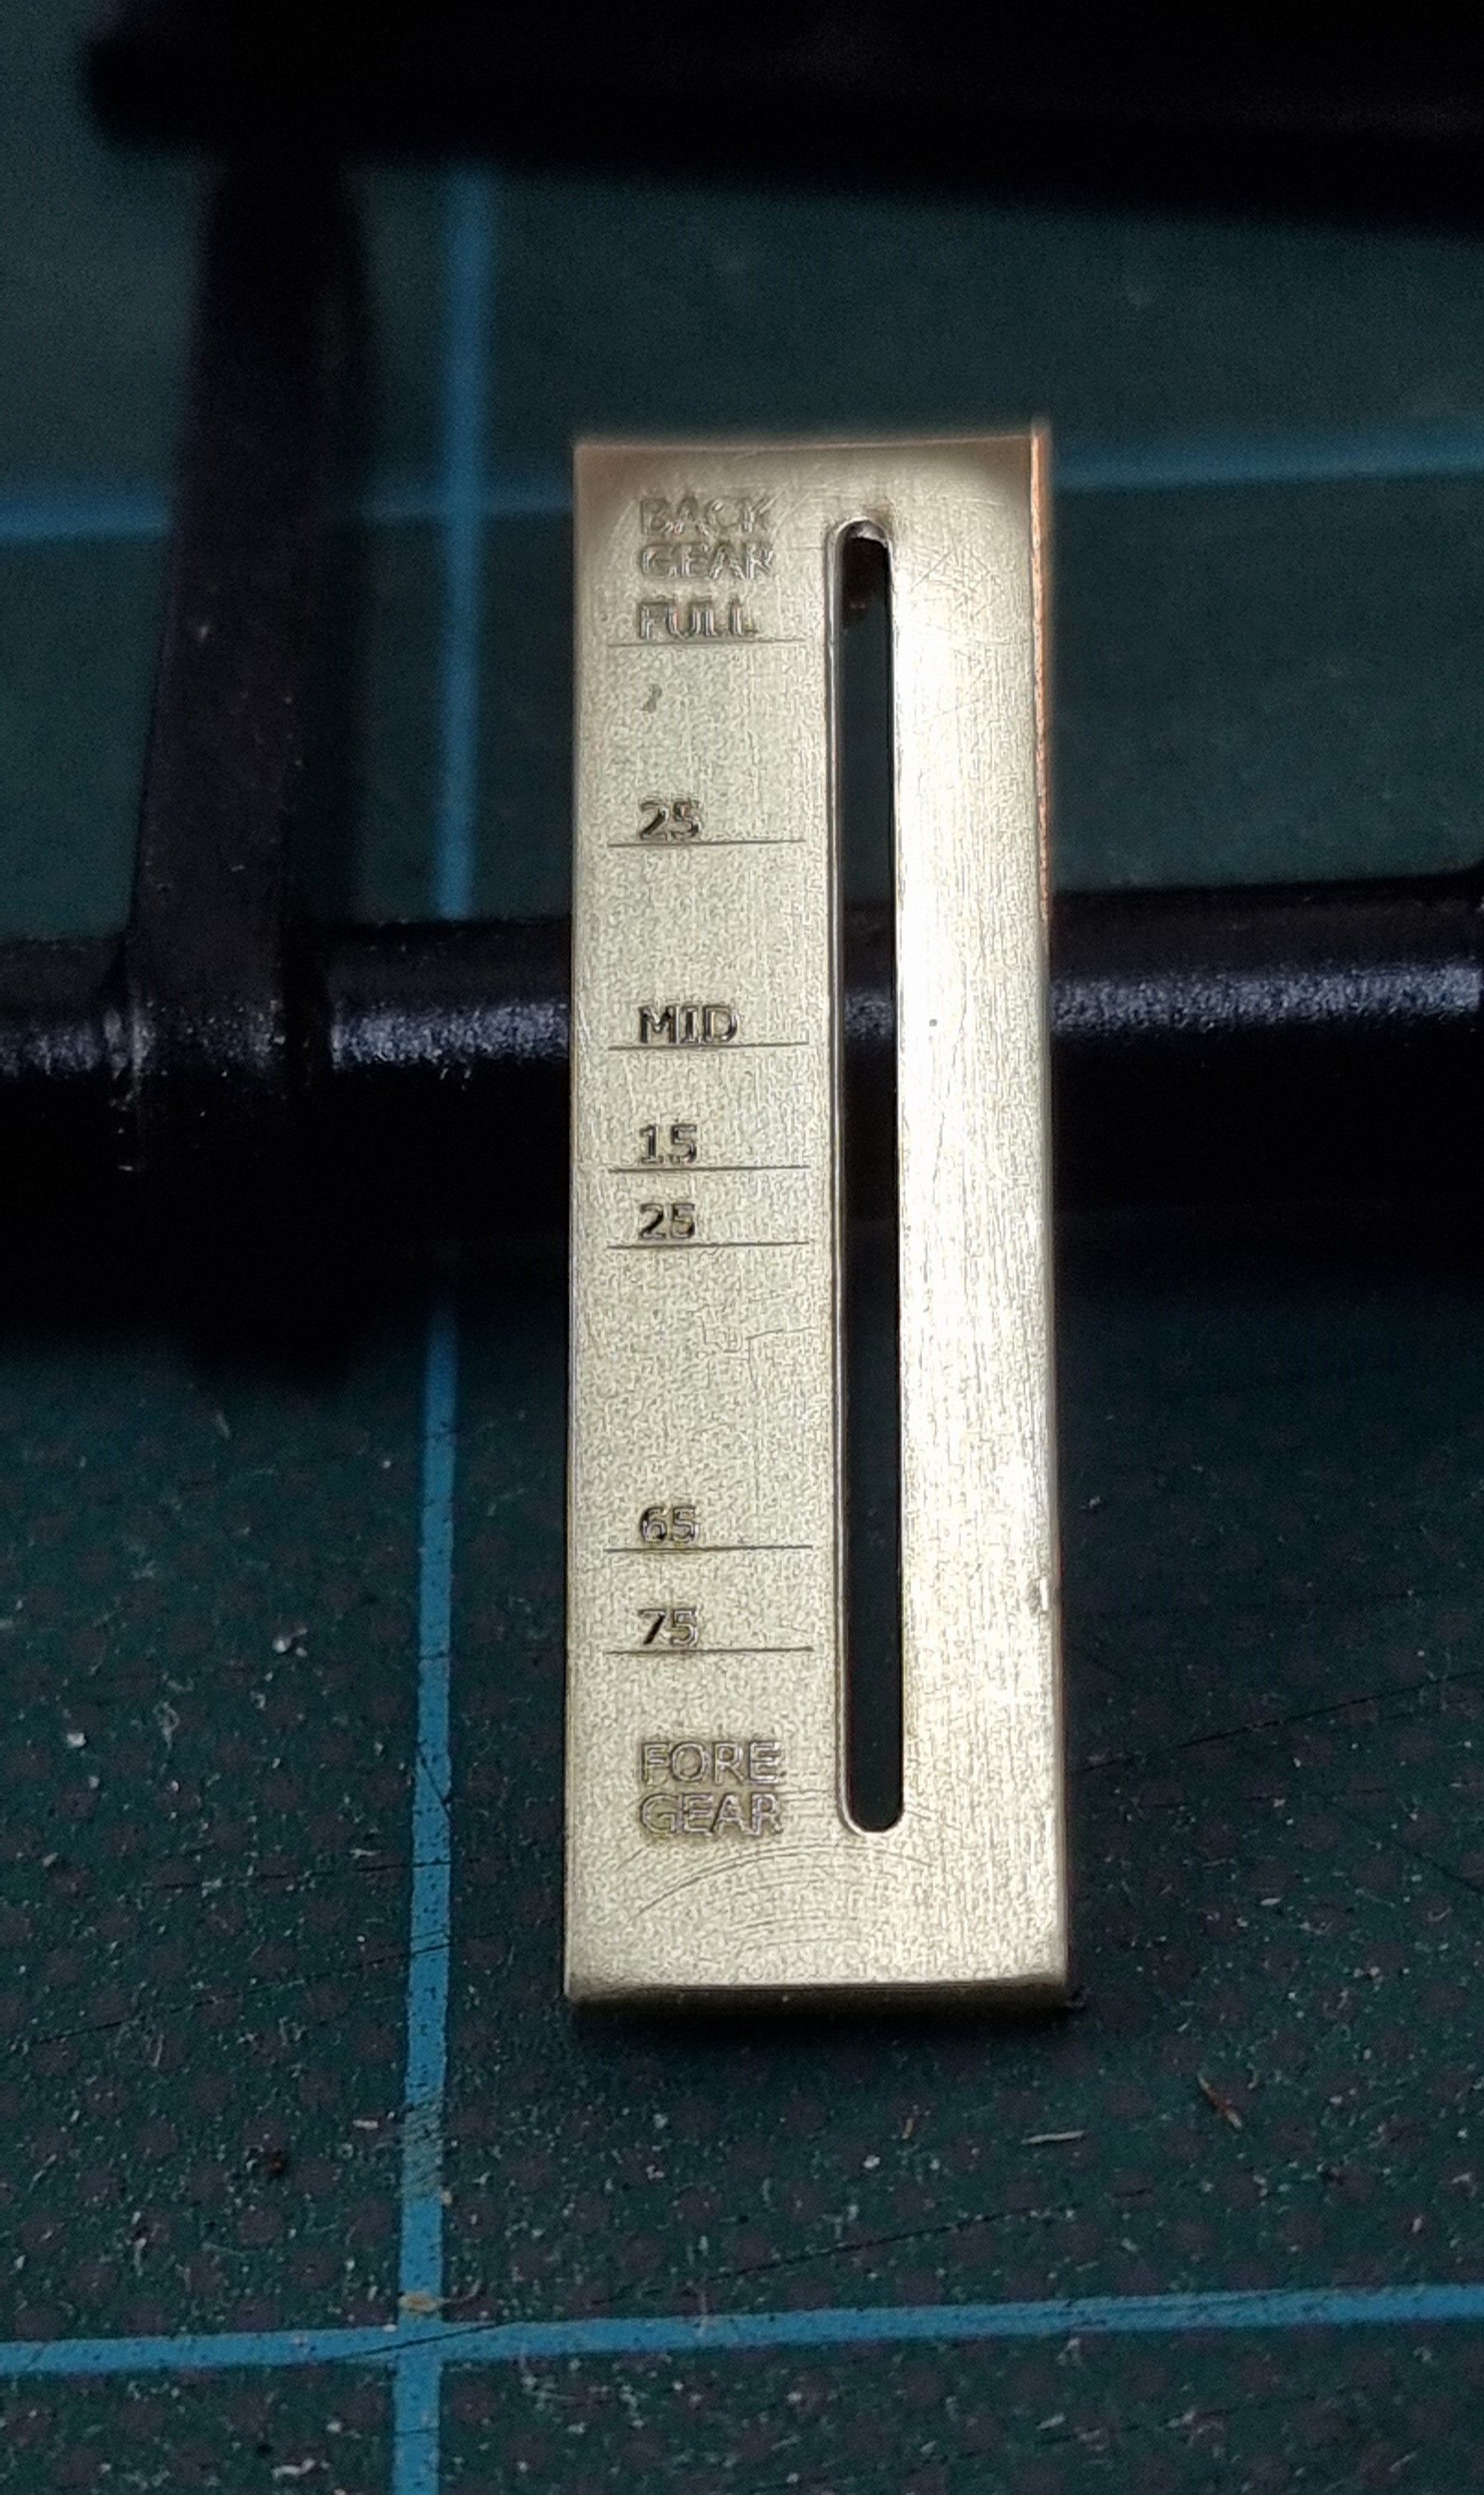
Some years back my son James did some laser etching at his old work for my model, we've not seen these in action yet but the batch included the brass indicator plate which was scaled from the photo shown at the beginning of this update, I can now finally make use of my son's fine work. The size of the plate was taken from Don's drawing, the etching was scaled from the photo as said.
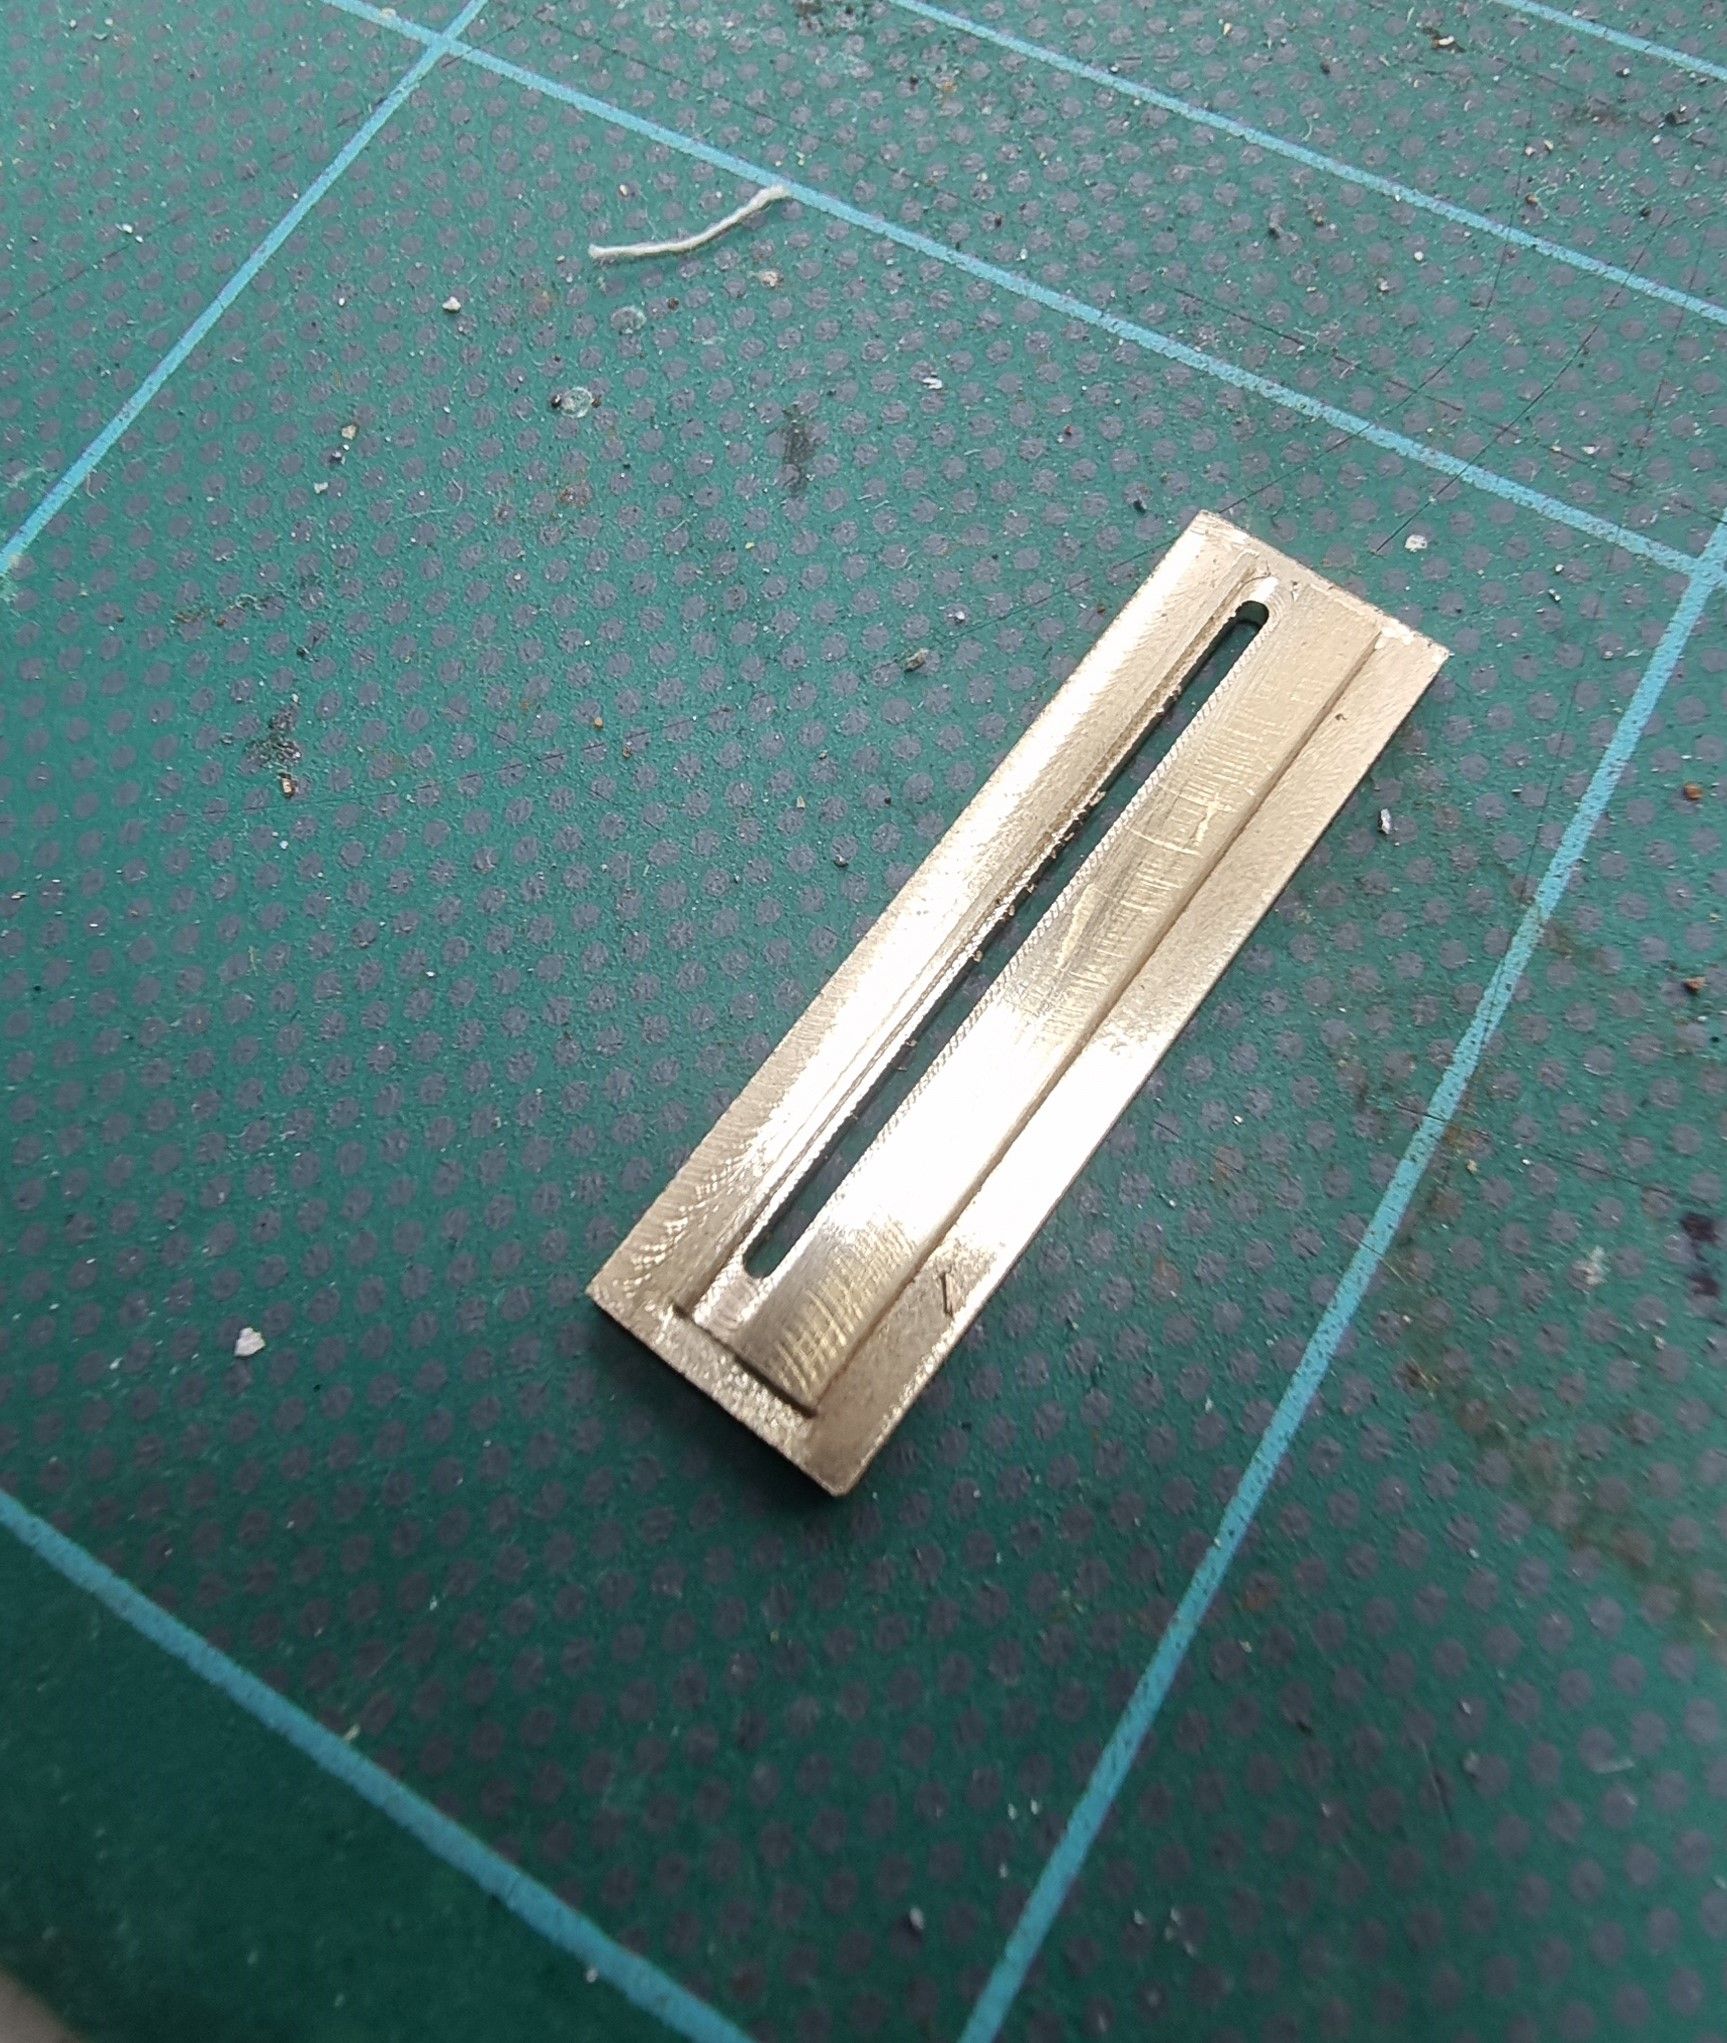
The first job was to carefully machine a 1 mm narrow slot as seen in the next image.
Next was to machine the reverse side, first, a step was machined around the edge which will allow the plate to sit in a mount and then a 1/16 slot was also machined over the 1 mm slot for holding a plate to slide in.
A marker was then cut/shaped from a piece of brass shim and a 14BA threaded rod ( cut from a 14BA screw) was silver soldered to its rear.
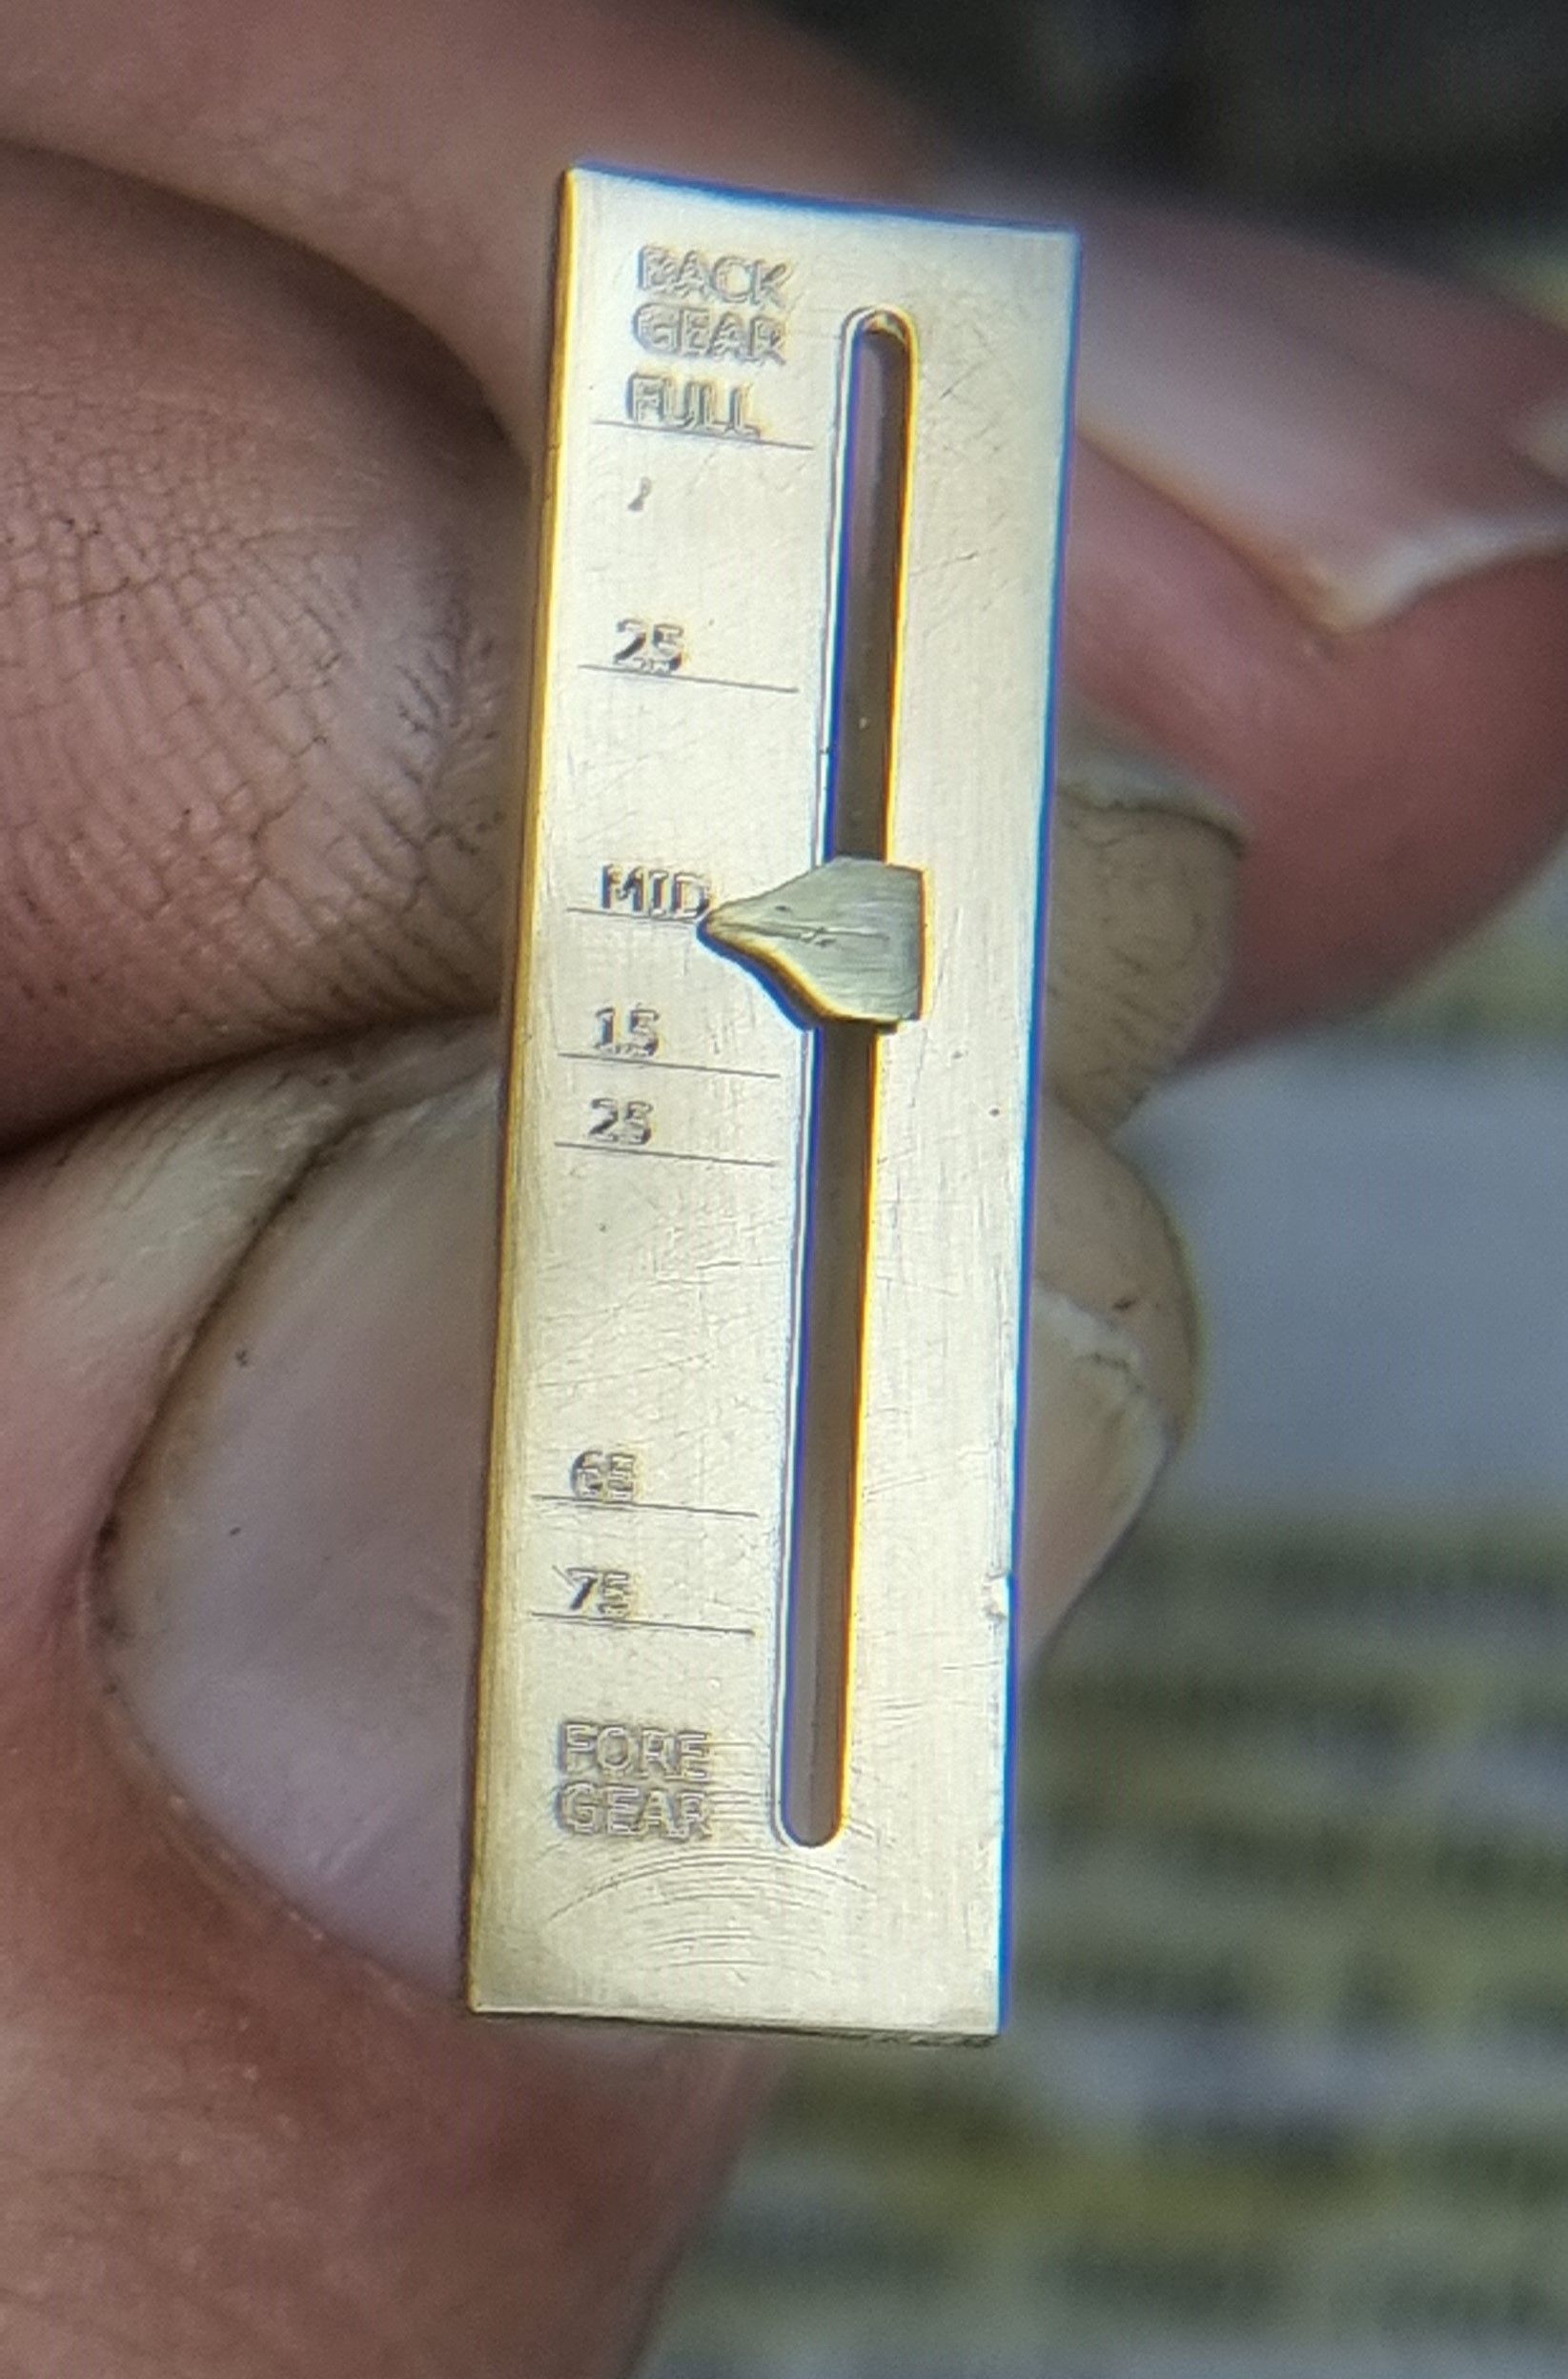
This is the reverse side when assembled, the back plate still needs sizing in this picture, you can get an idea from the marks I have put on the sliding pad, it also still needs to be thinned for clearance, I'll do this once I have decided on and made the mount. This is very much still a work in progress.
The last piece of the puzzle for the gauge is the various screws that can be seen in the earlier prototype picture, I am still awaiting delivery of the very small 16BA brass CSK screws ordered. Wanting to get on I will, therefore, cover this later. I will also give the plate a highly polished look, as seen with the prototype.