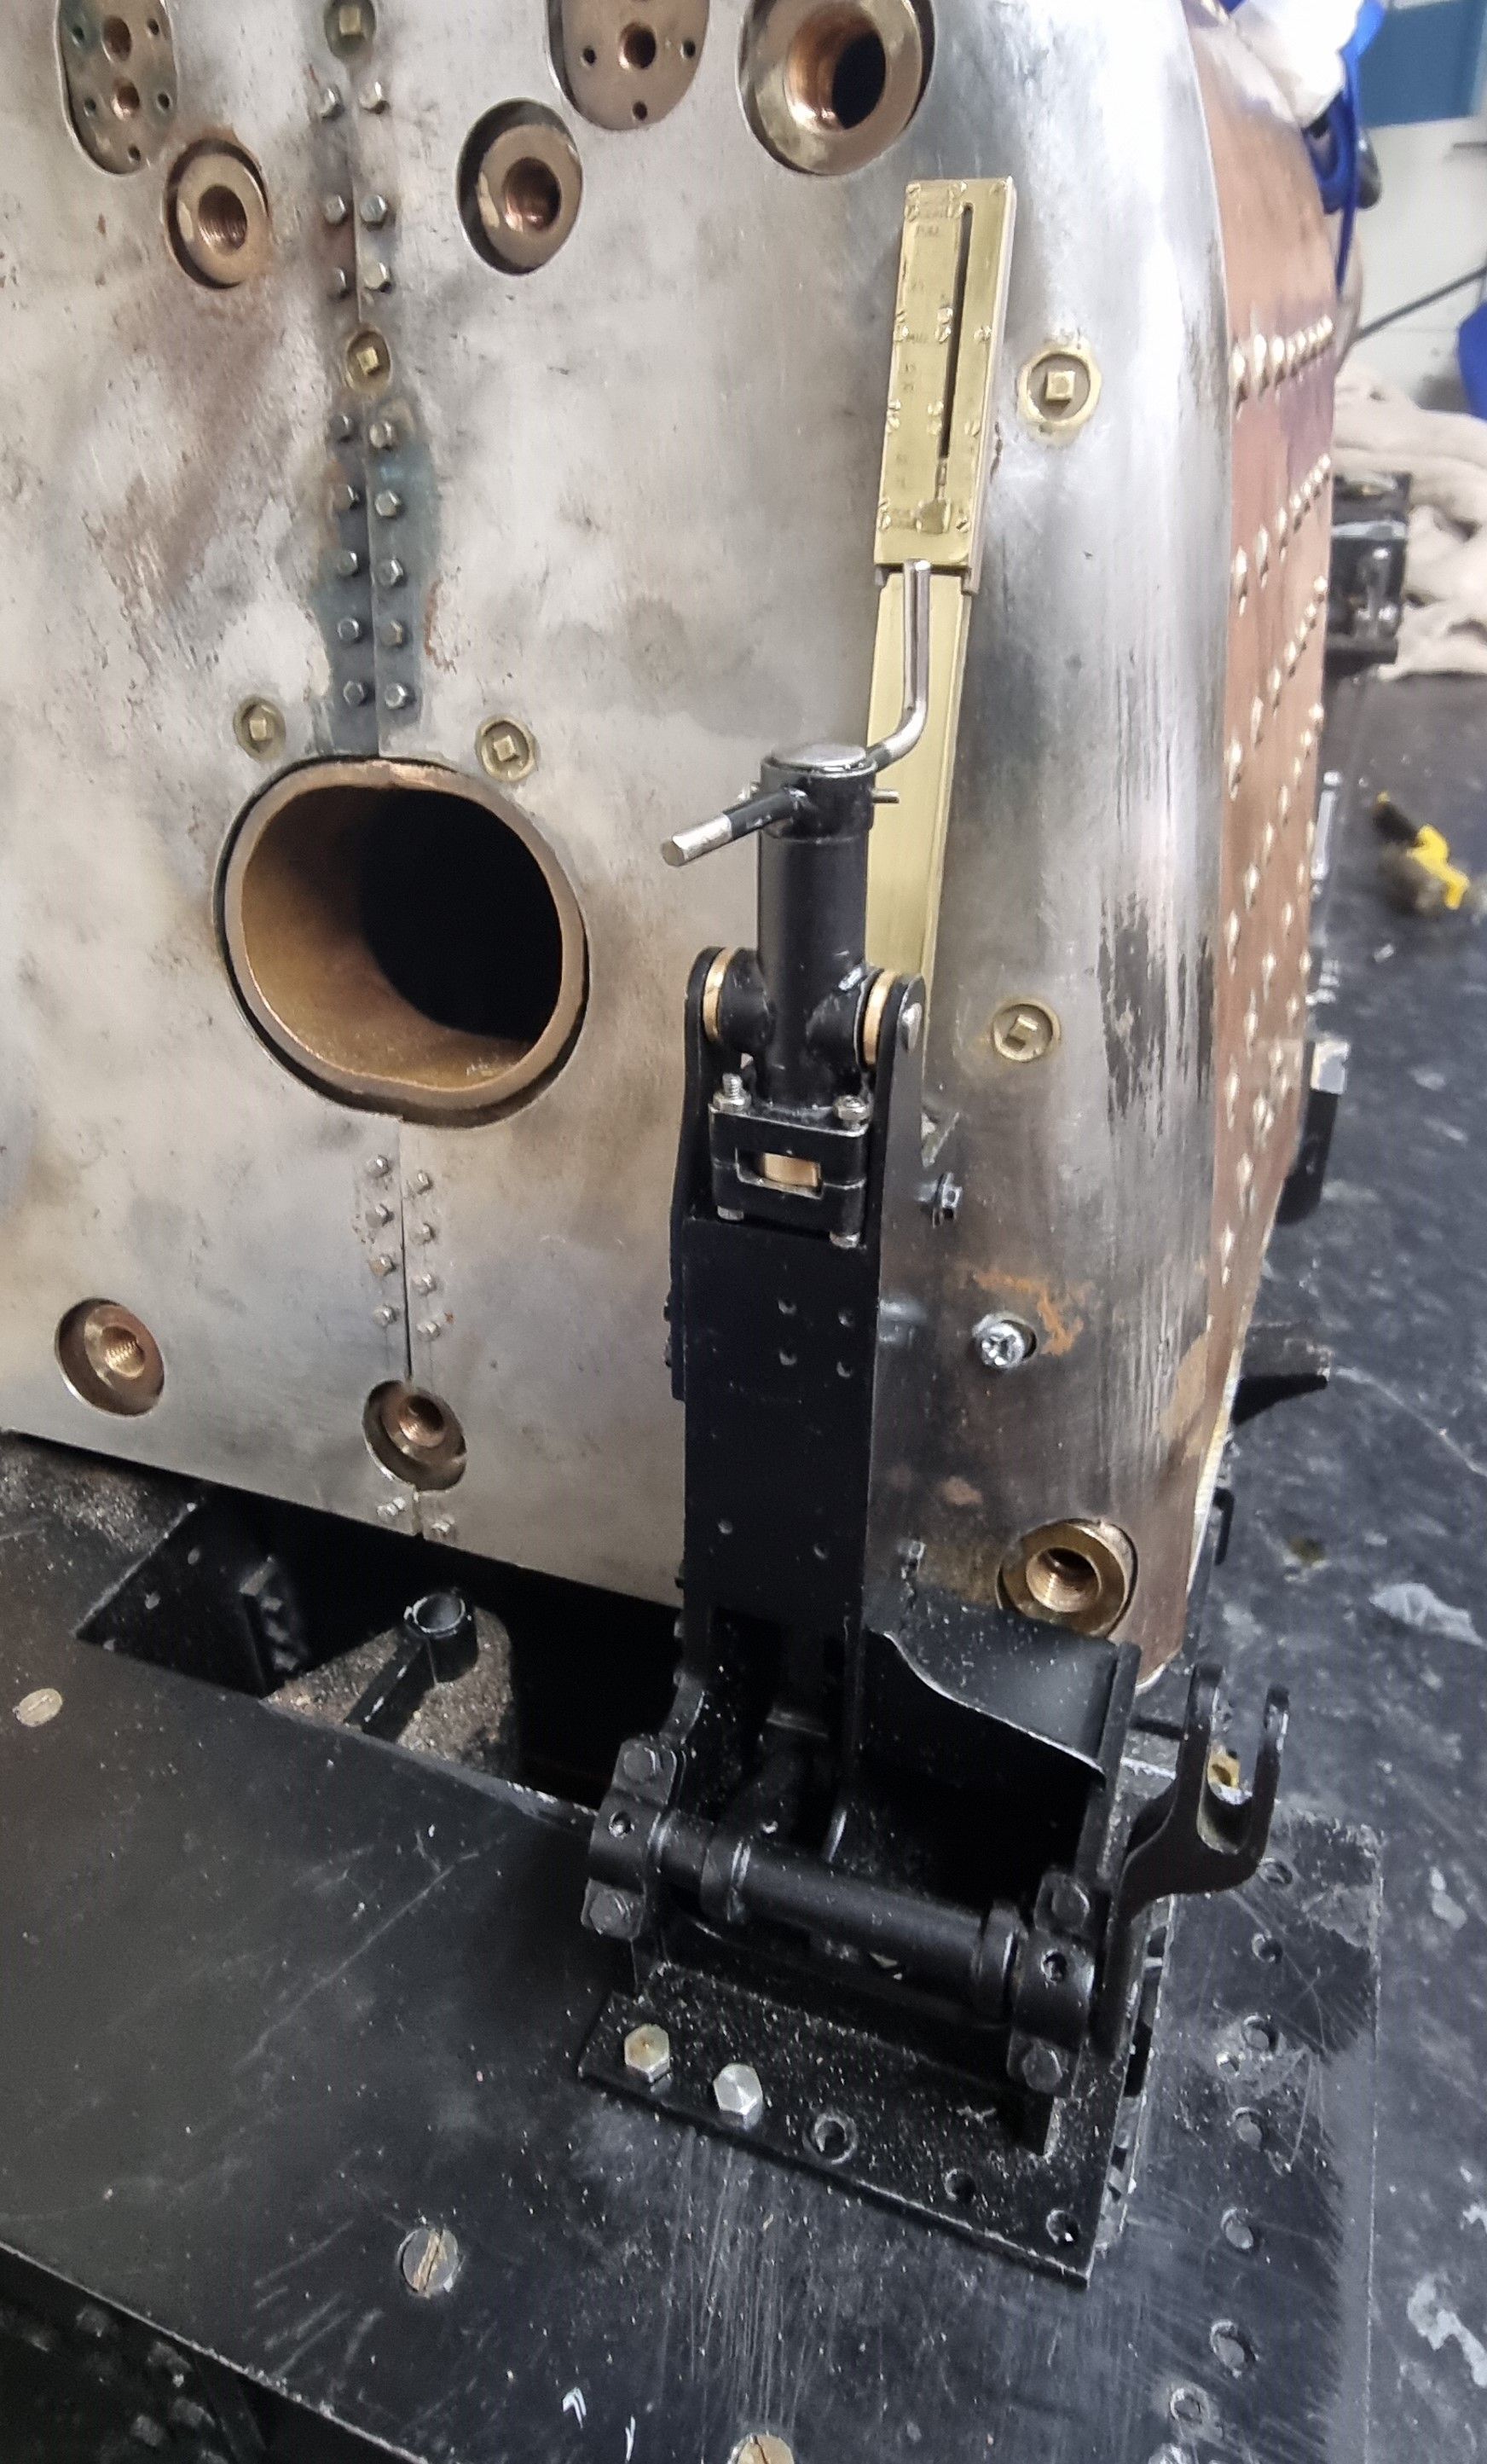
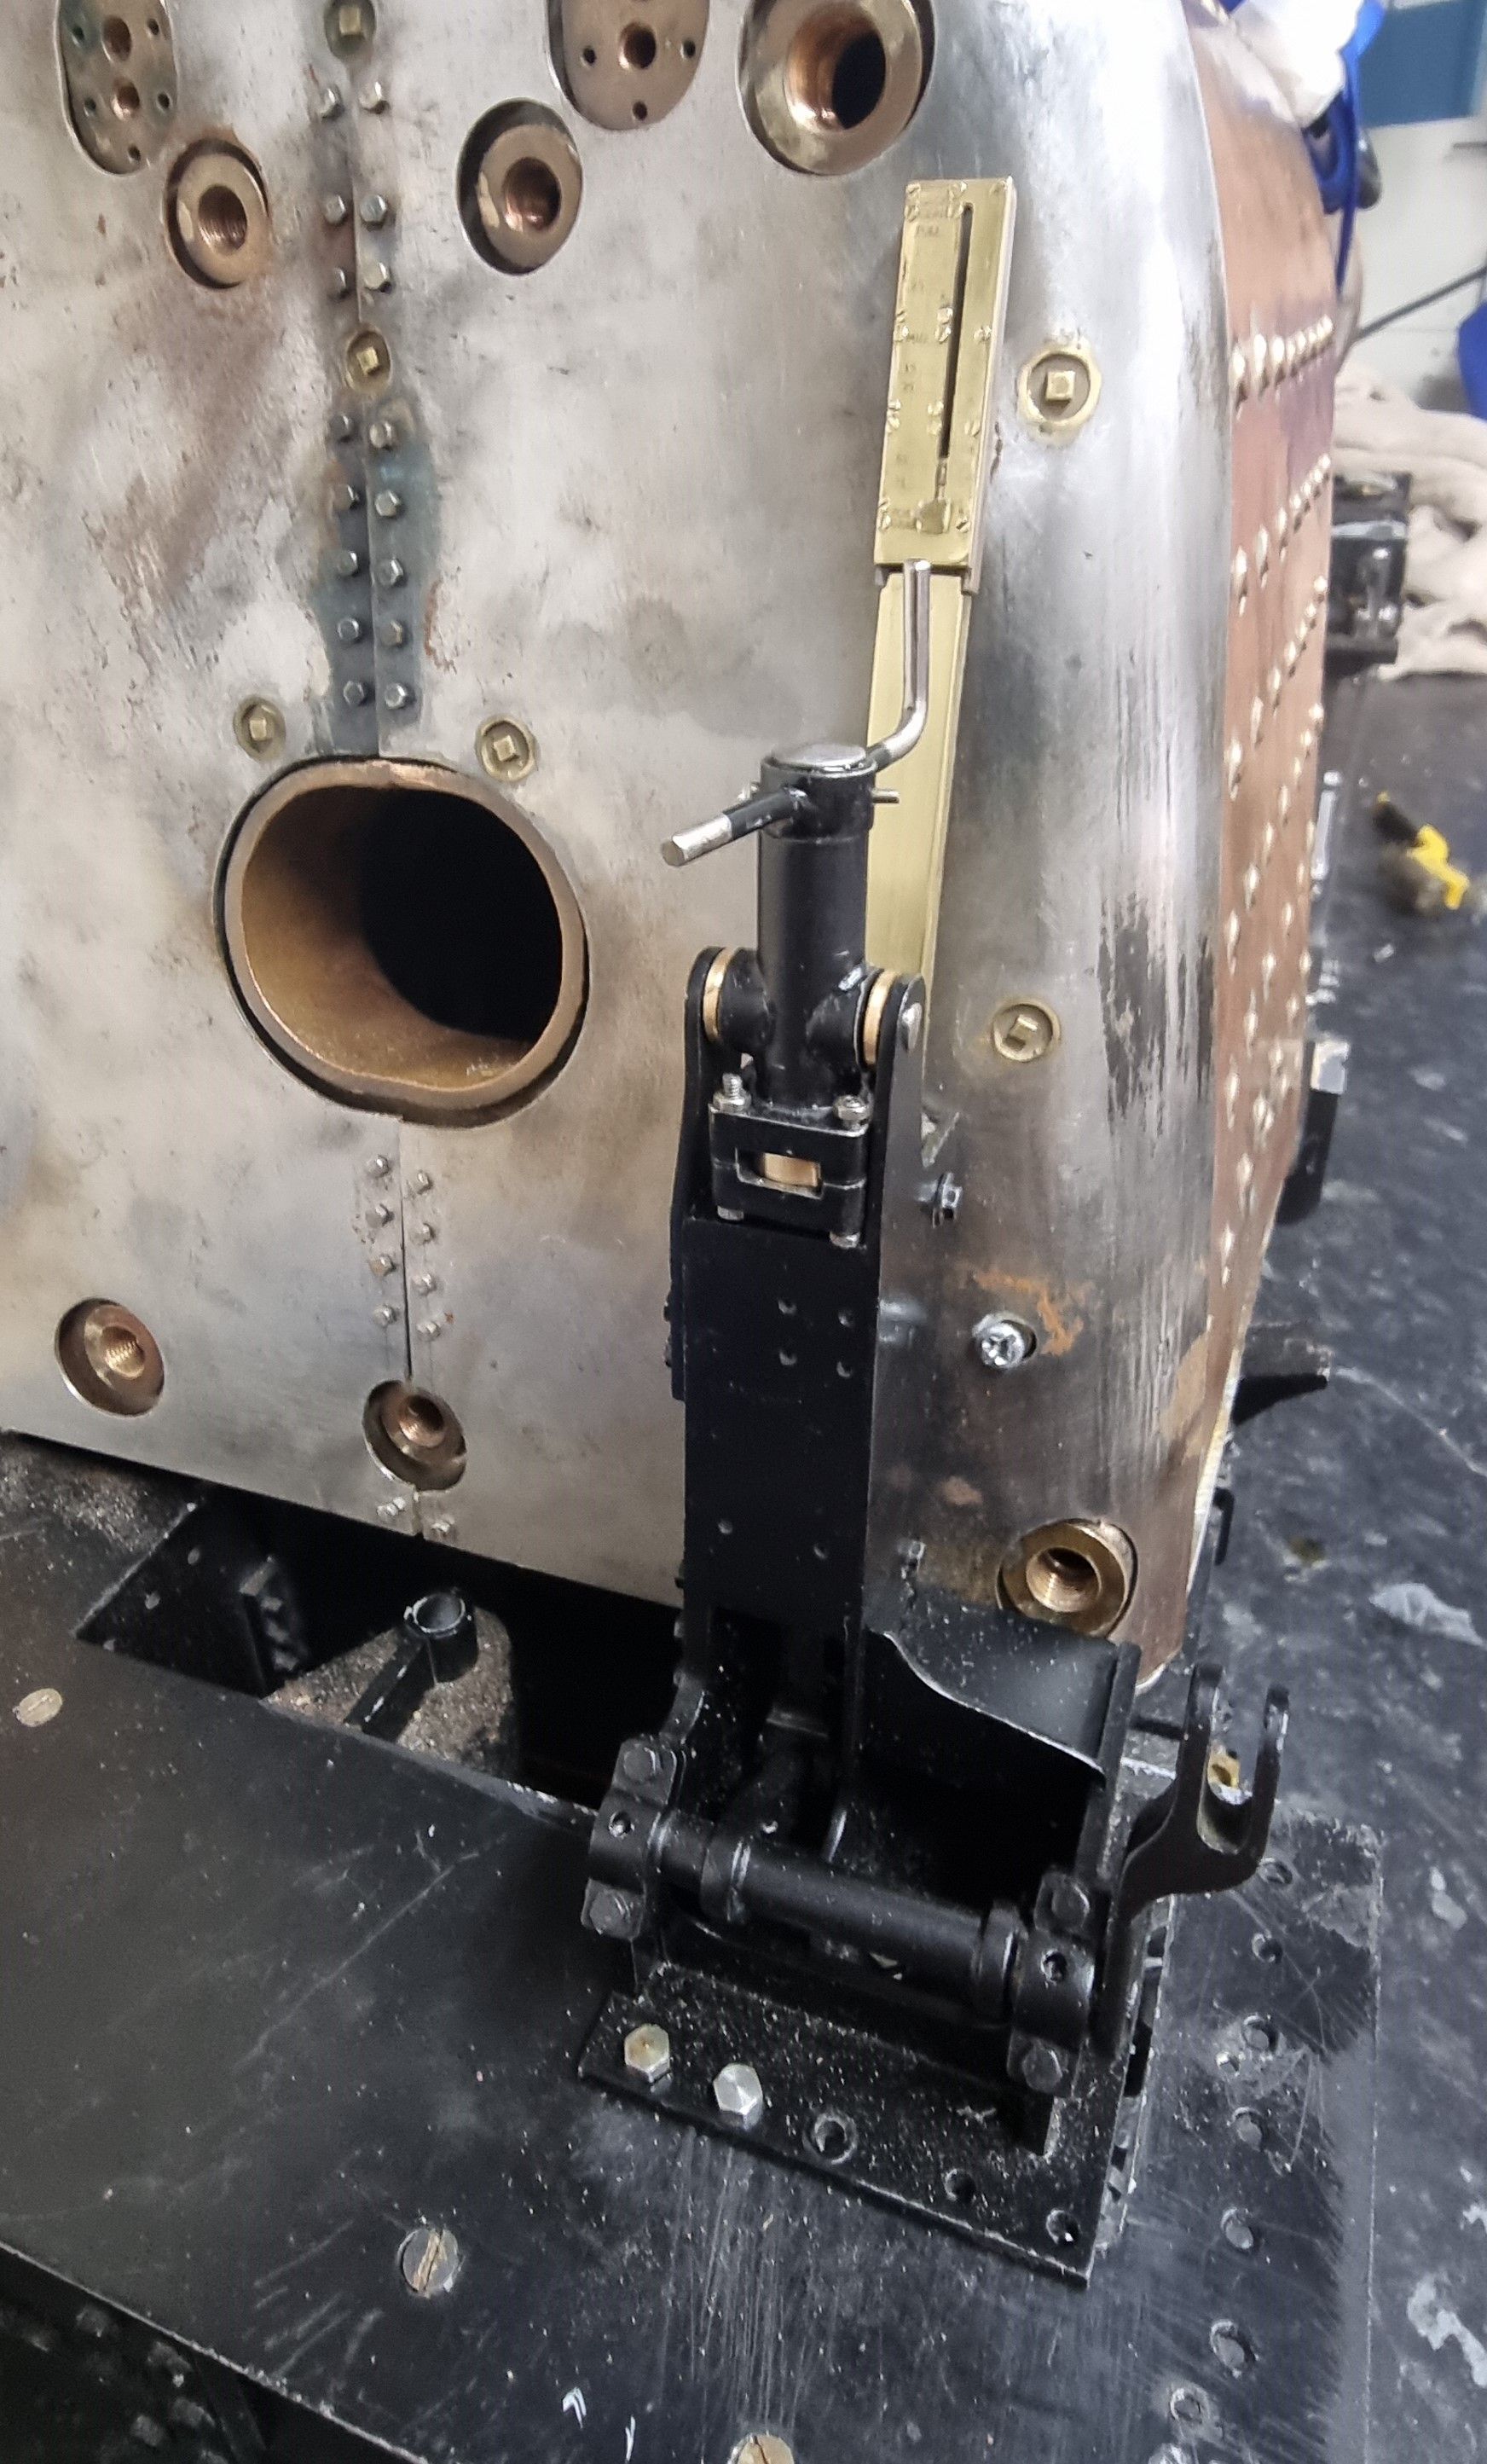
With the cleading nearing completion I felt confident enough to finish off the reverser dial gauge and its track which in part is connected or, in my case, leaning to said cleading. When saying 'track' I am referring to the link between the reverser itself and the gauge. I have no drawing for this but photo's suggest some form of housing (track) running behind up the cleading between the two. On looking at various images found online and my own I formed a plan to have the dial gauge fixed (hinged) to the reverser stand making it adjustable to match the cleading angle, my thinking being that this would not only make maintenance easier but also keep the gauge more consistent in its readings. Now Don has drawn a metal strip as the link between the two, photos suggest some form of an arm from the shaft with a UJ which then goes into the housing strip or something like that, I'll stick with a strip.
I will make something that at least, looks like the prototype, while also making it a one-piece component. This means the reverser can be removed with its gauge by simply removing the mounting bolts, housing clip and the reach rod pin.
I have not drawn for this, it will simply take shape as I progress.
I begin with a large (and heavy) bronze tube, which is 20mm OD with 4mm wall thickness.
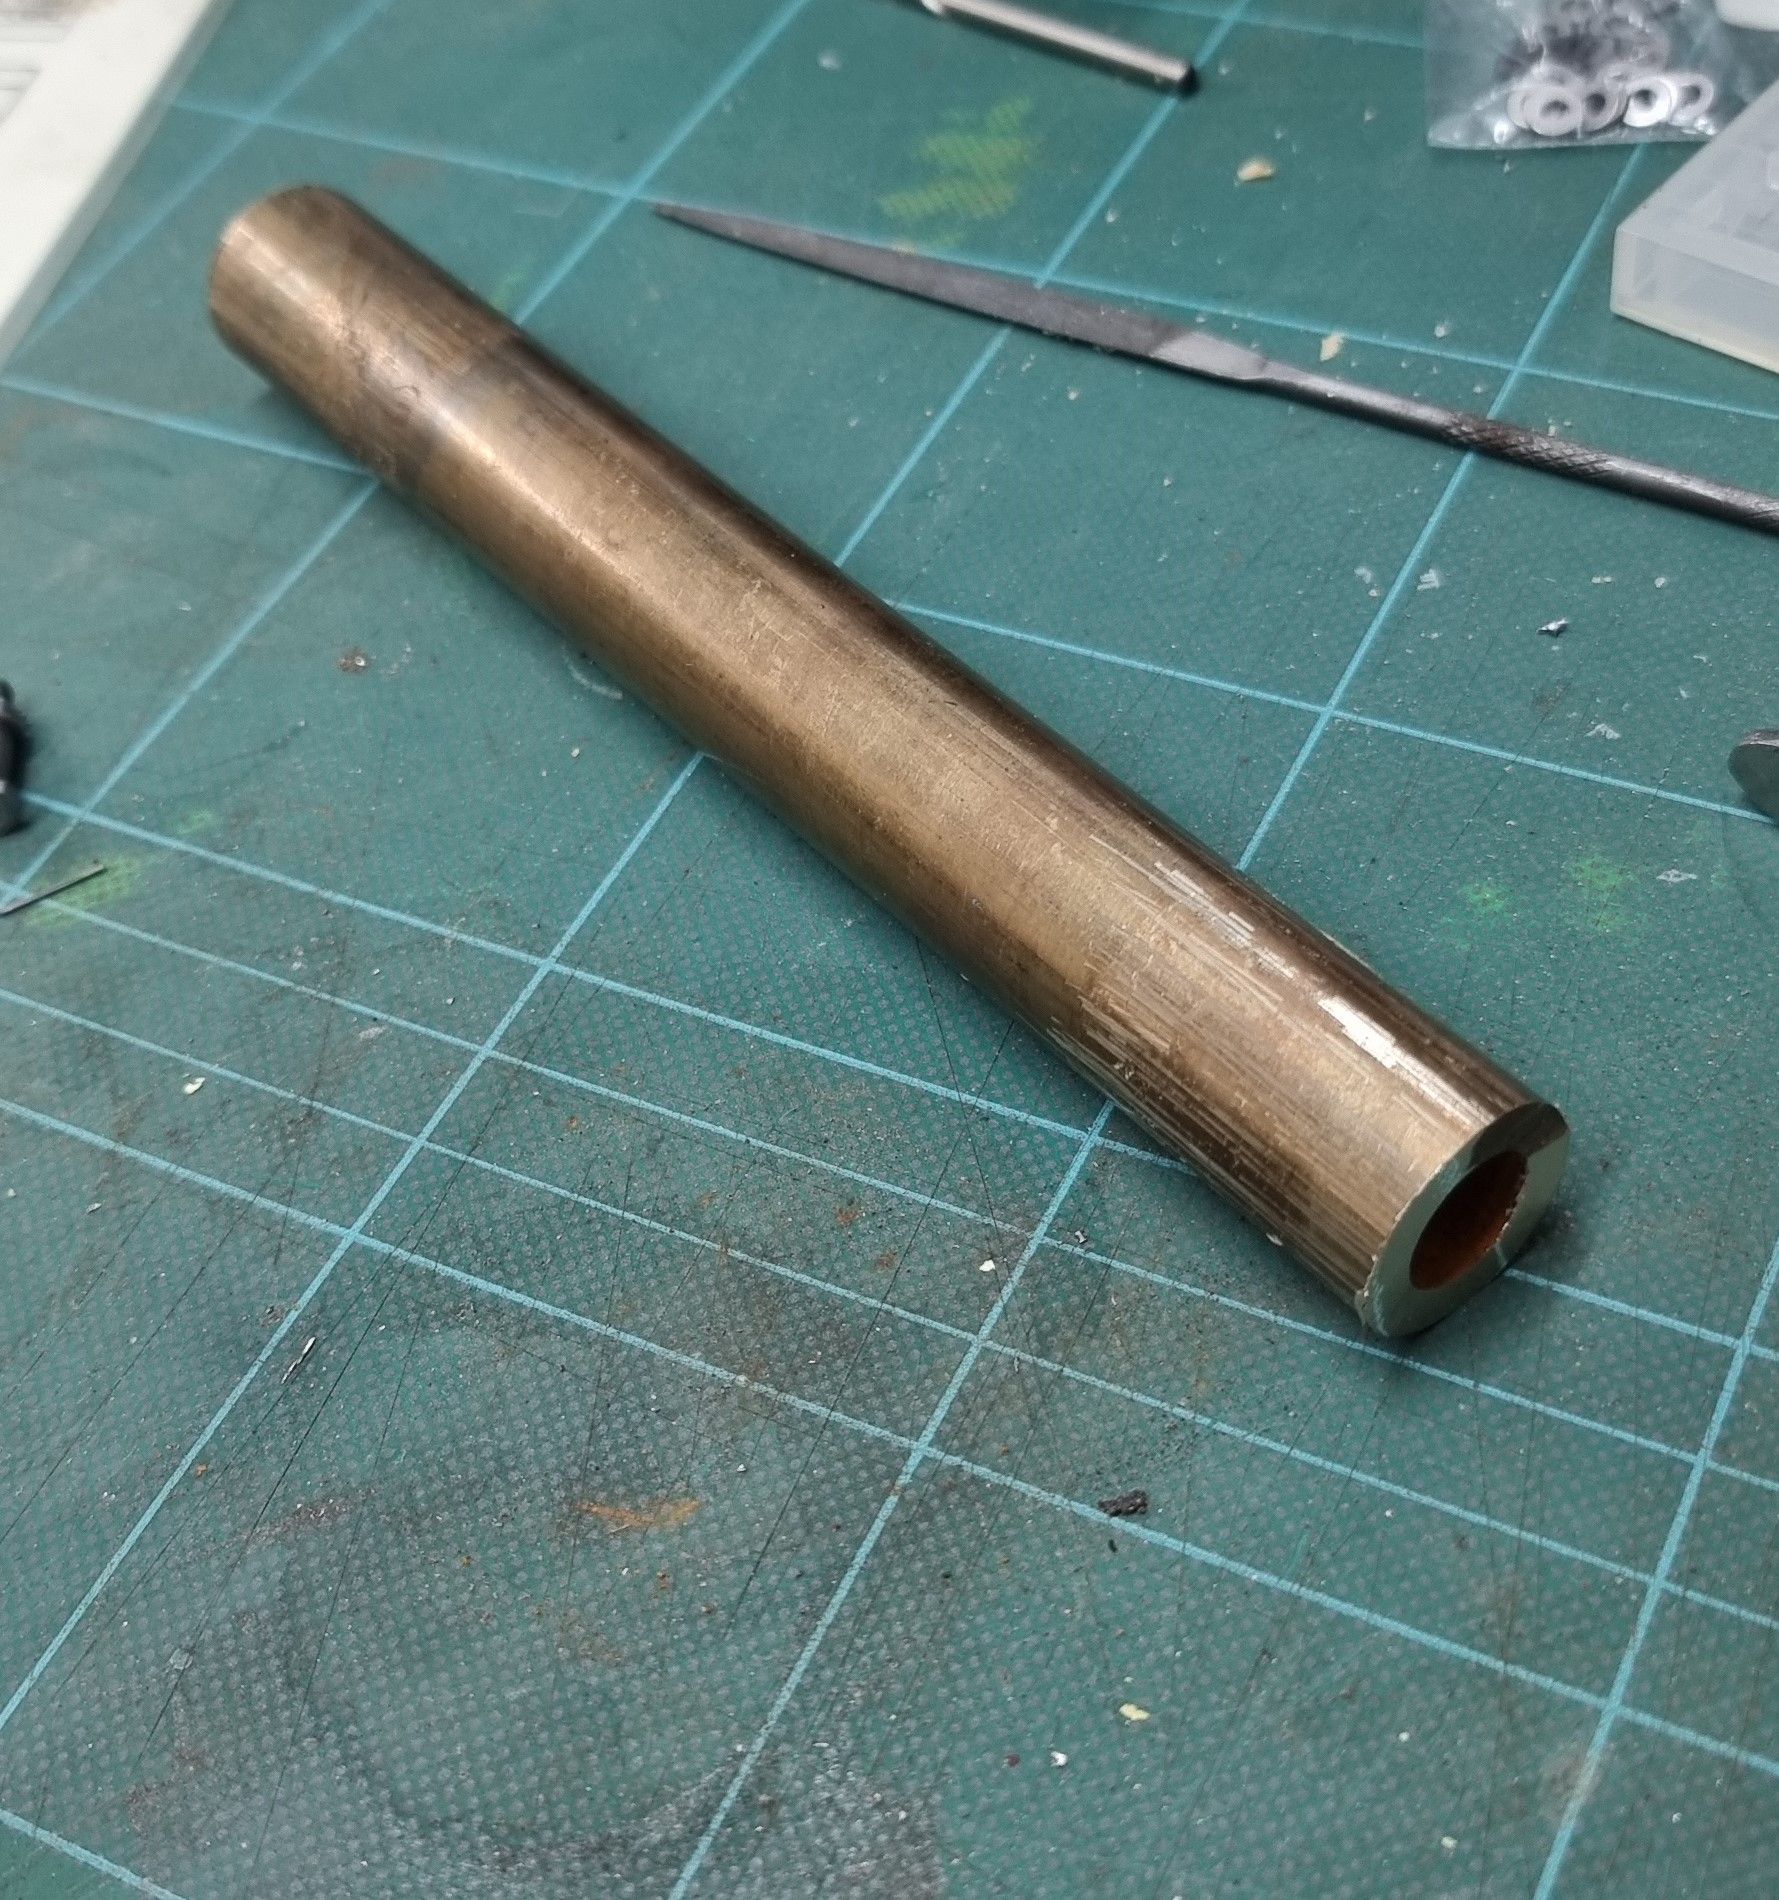
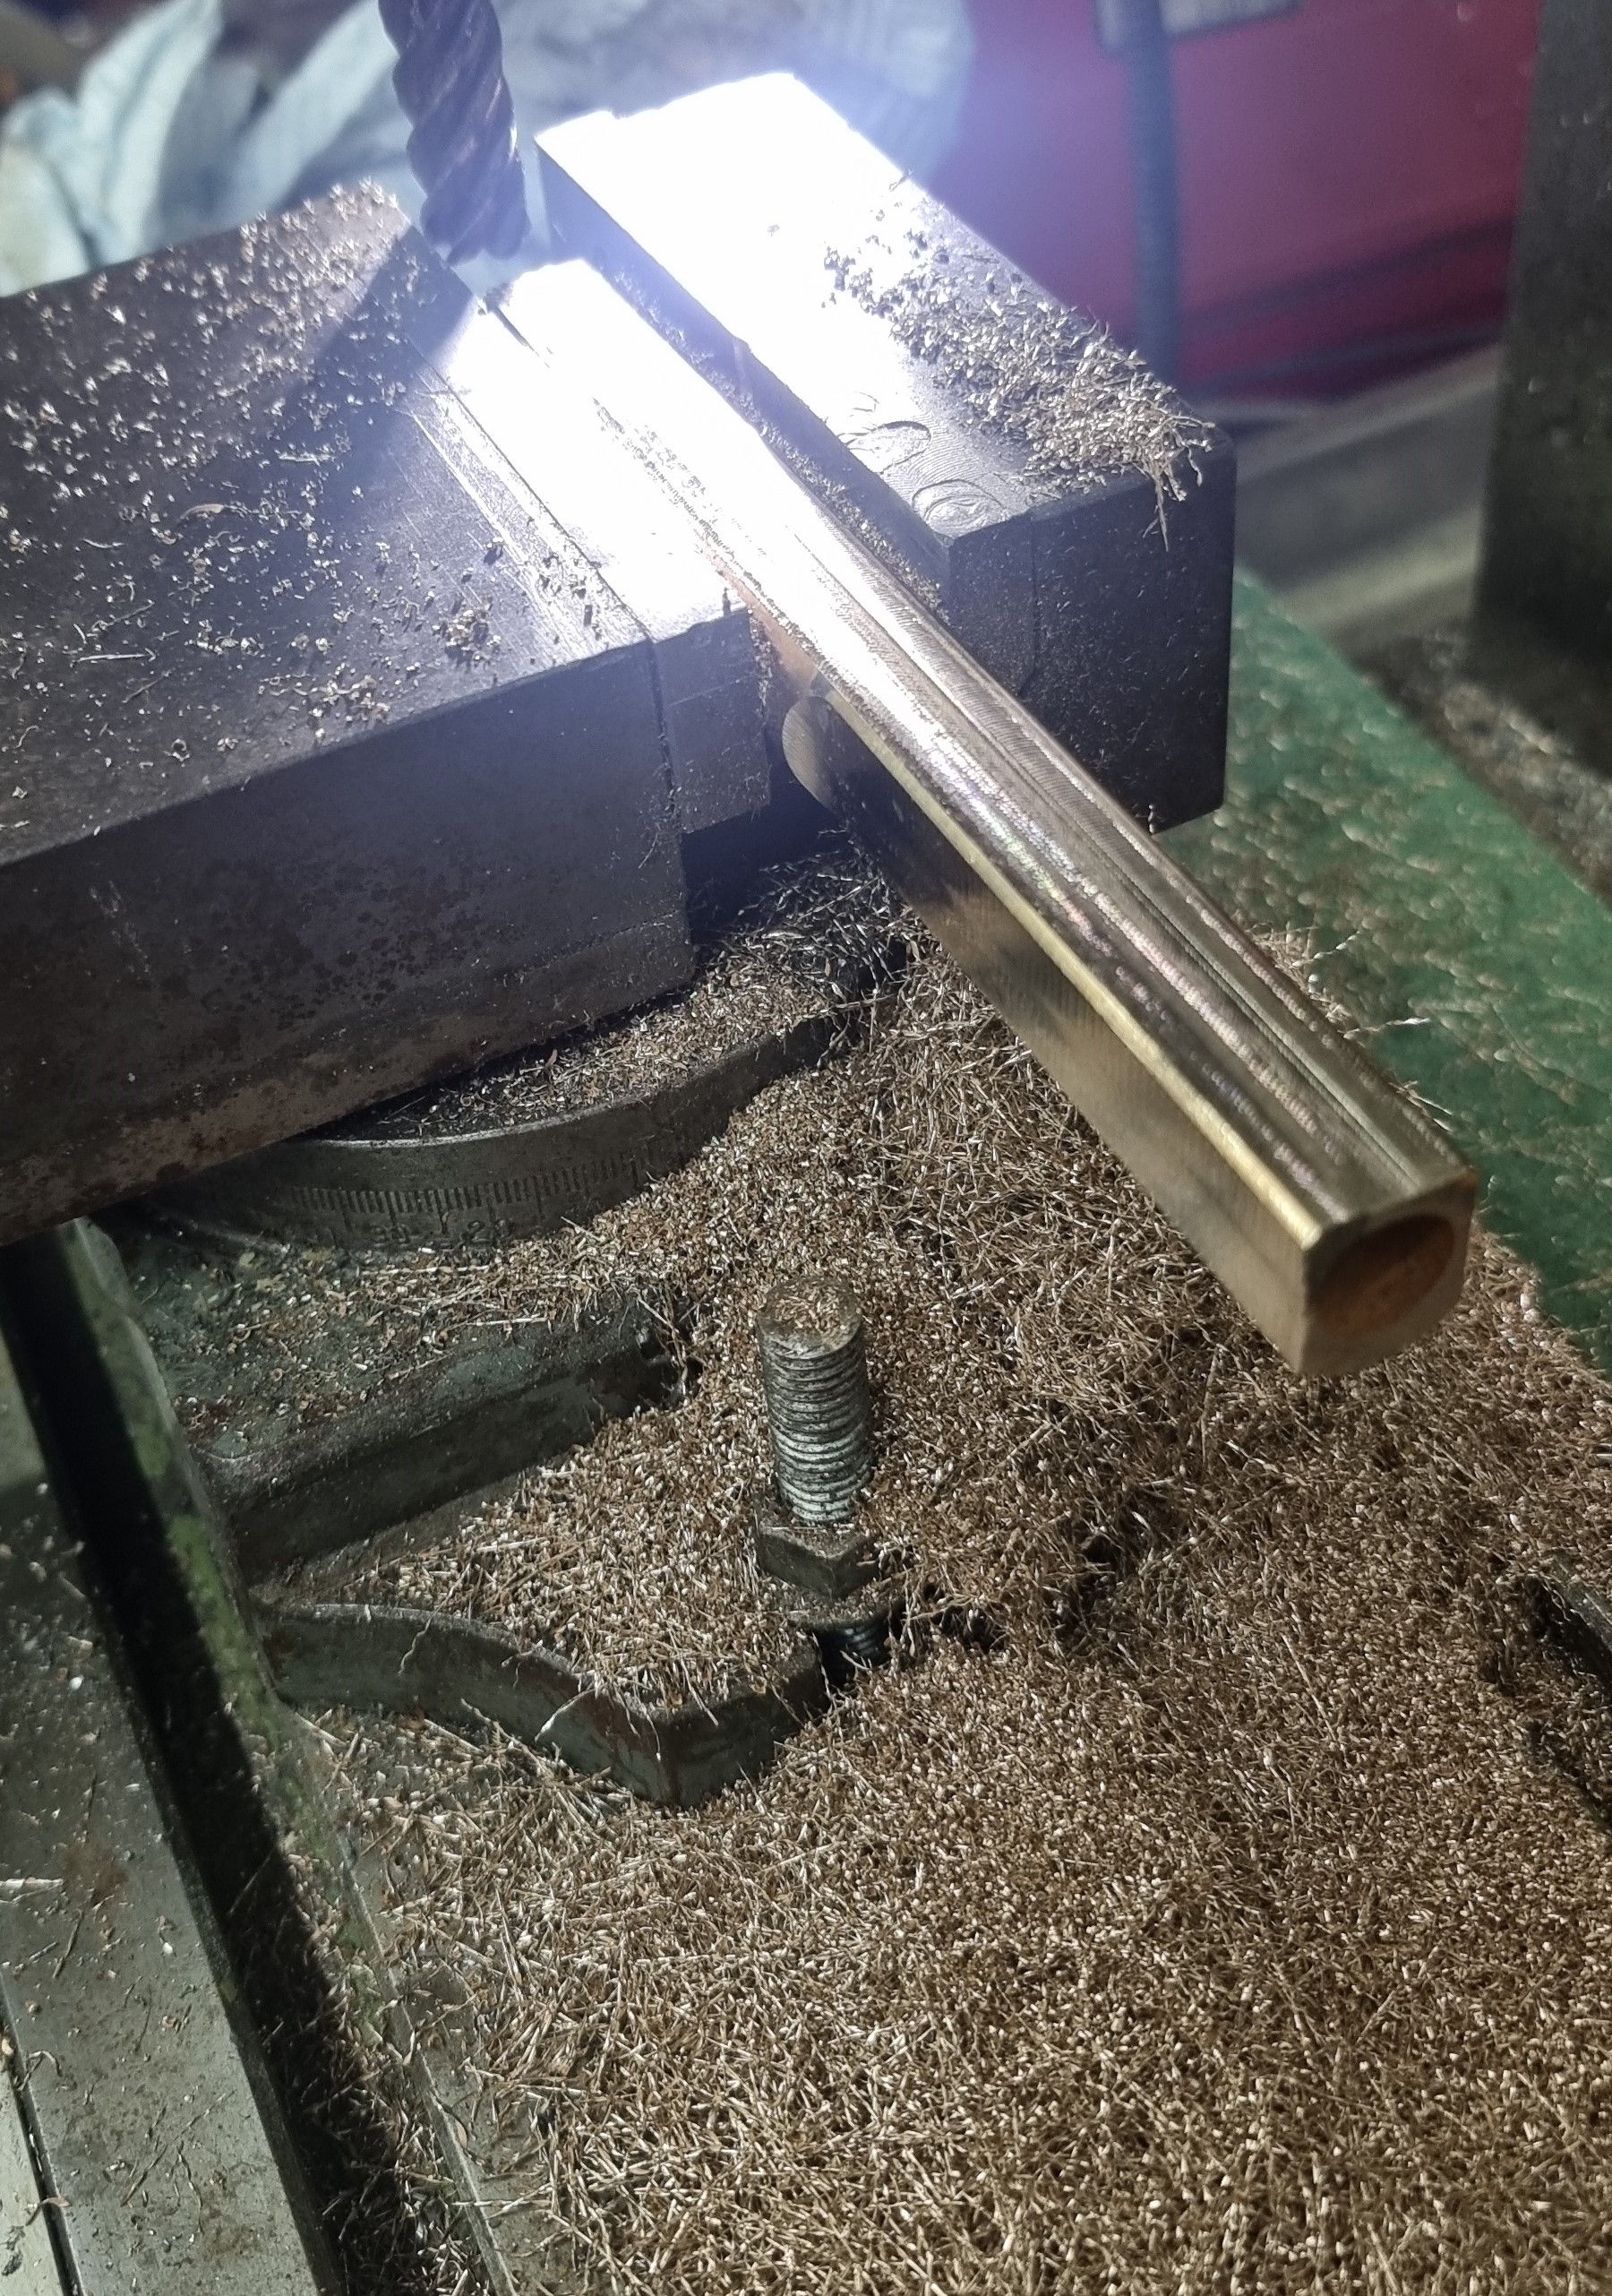
I plan to machine this into a 'U' channel, representing the back of the track section, with lots of swarf here. The first job was to turn the round into a square, yep.. certainly a lot of swarf as can be seen here..:)
before making any more changes to the track I first placed it in its correct position and transferred the drilled holes from the stand to the rack housing.
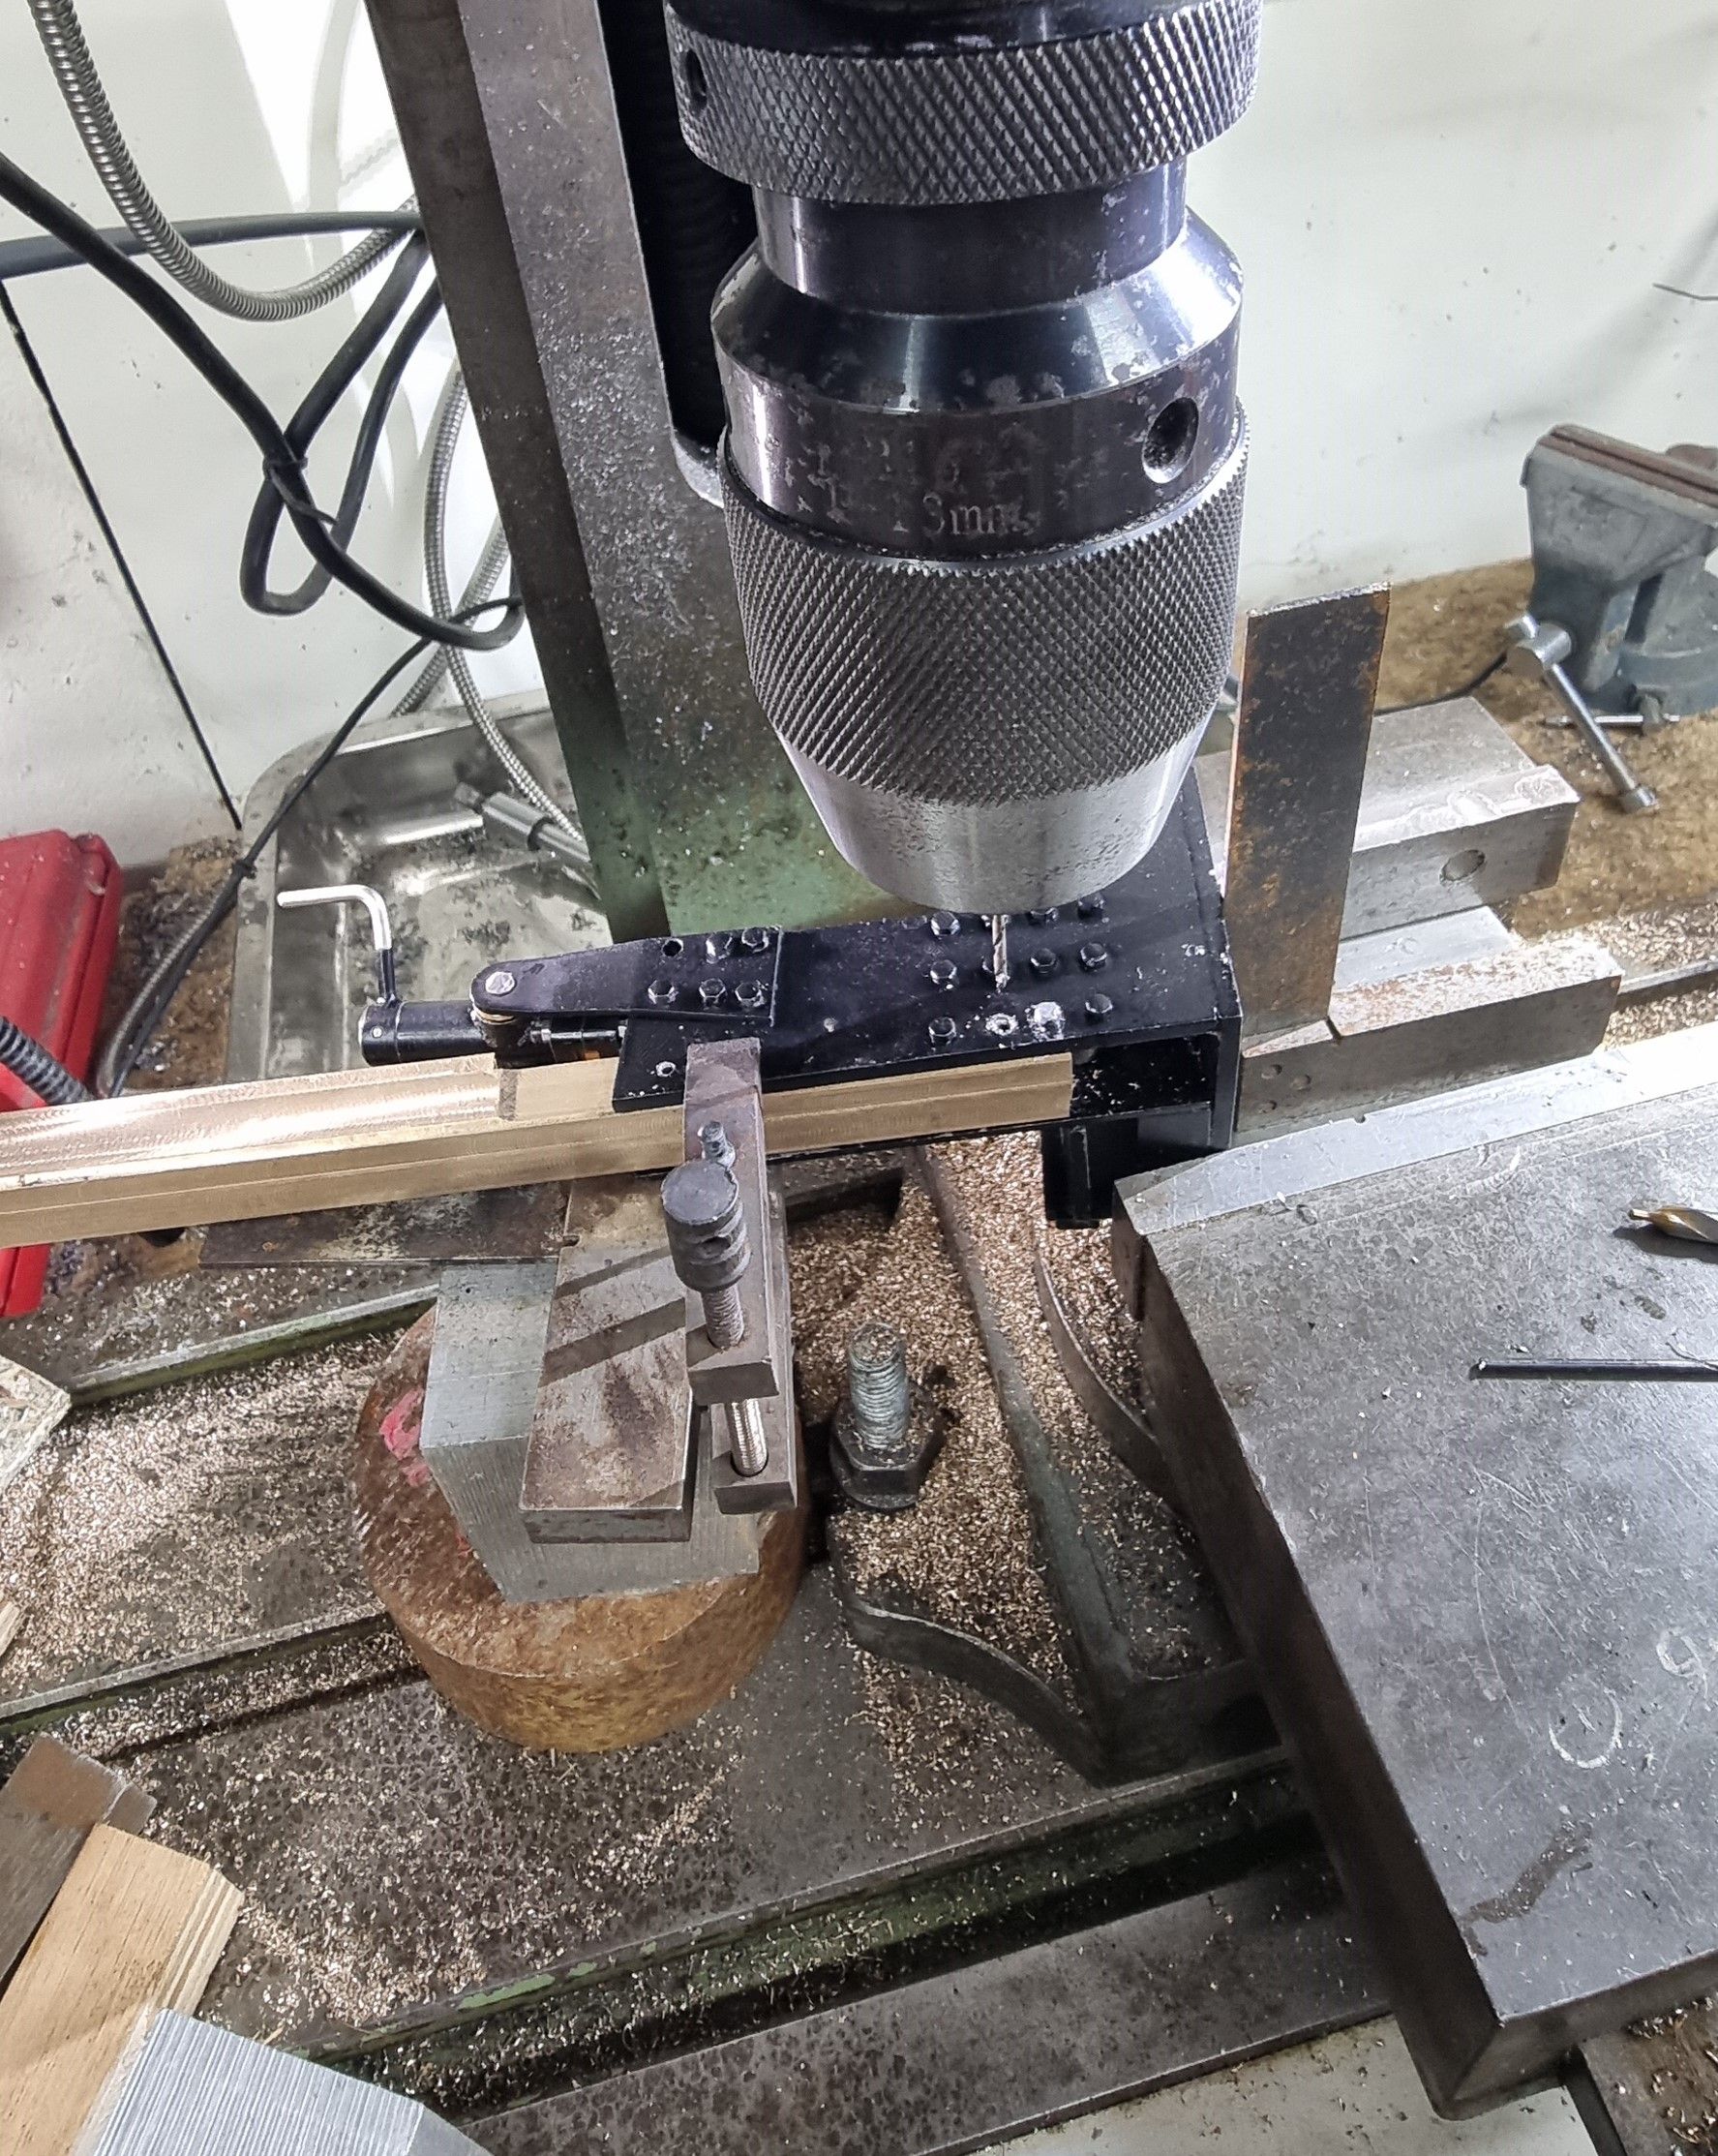
Fast forward and we get to a stage where the track housing begins to take shape. Sometimes I enjoy the time taken making swarf, this is such a time. The reason is that machining sessions like this give me plenty of time to think about what comes next, especially when I haven't drawn up a plan. A little explanation of what we see in this photo, we have the track that is deeper at the bottom (right) and shallower as we go to the top (left). The width is constant and now matches the gauge but later shall be narrowed in the middle as we progress. Holes have been drilled/tapped 8BA ready for fitting to the stand.
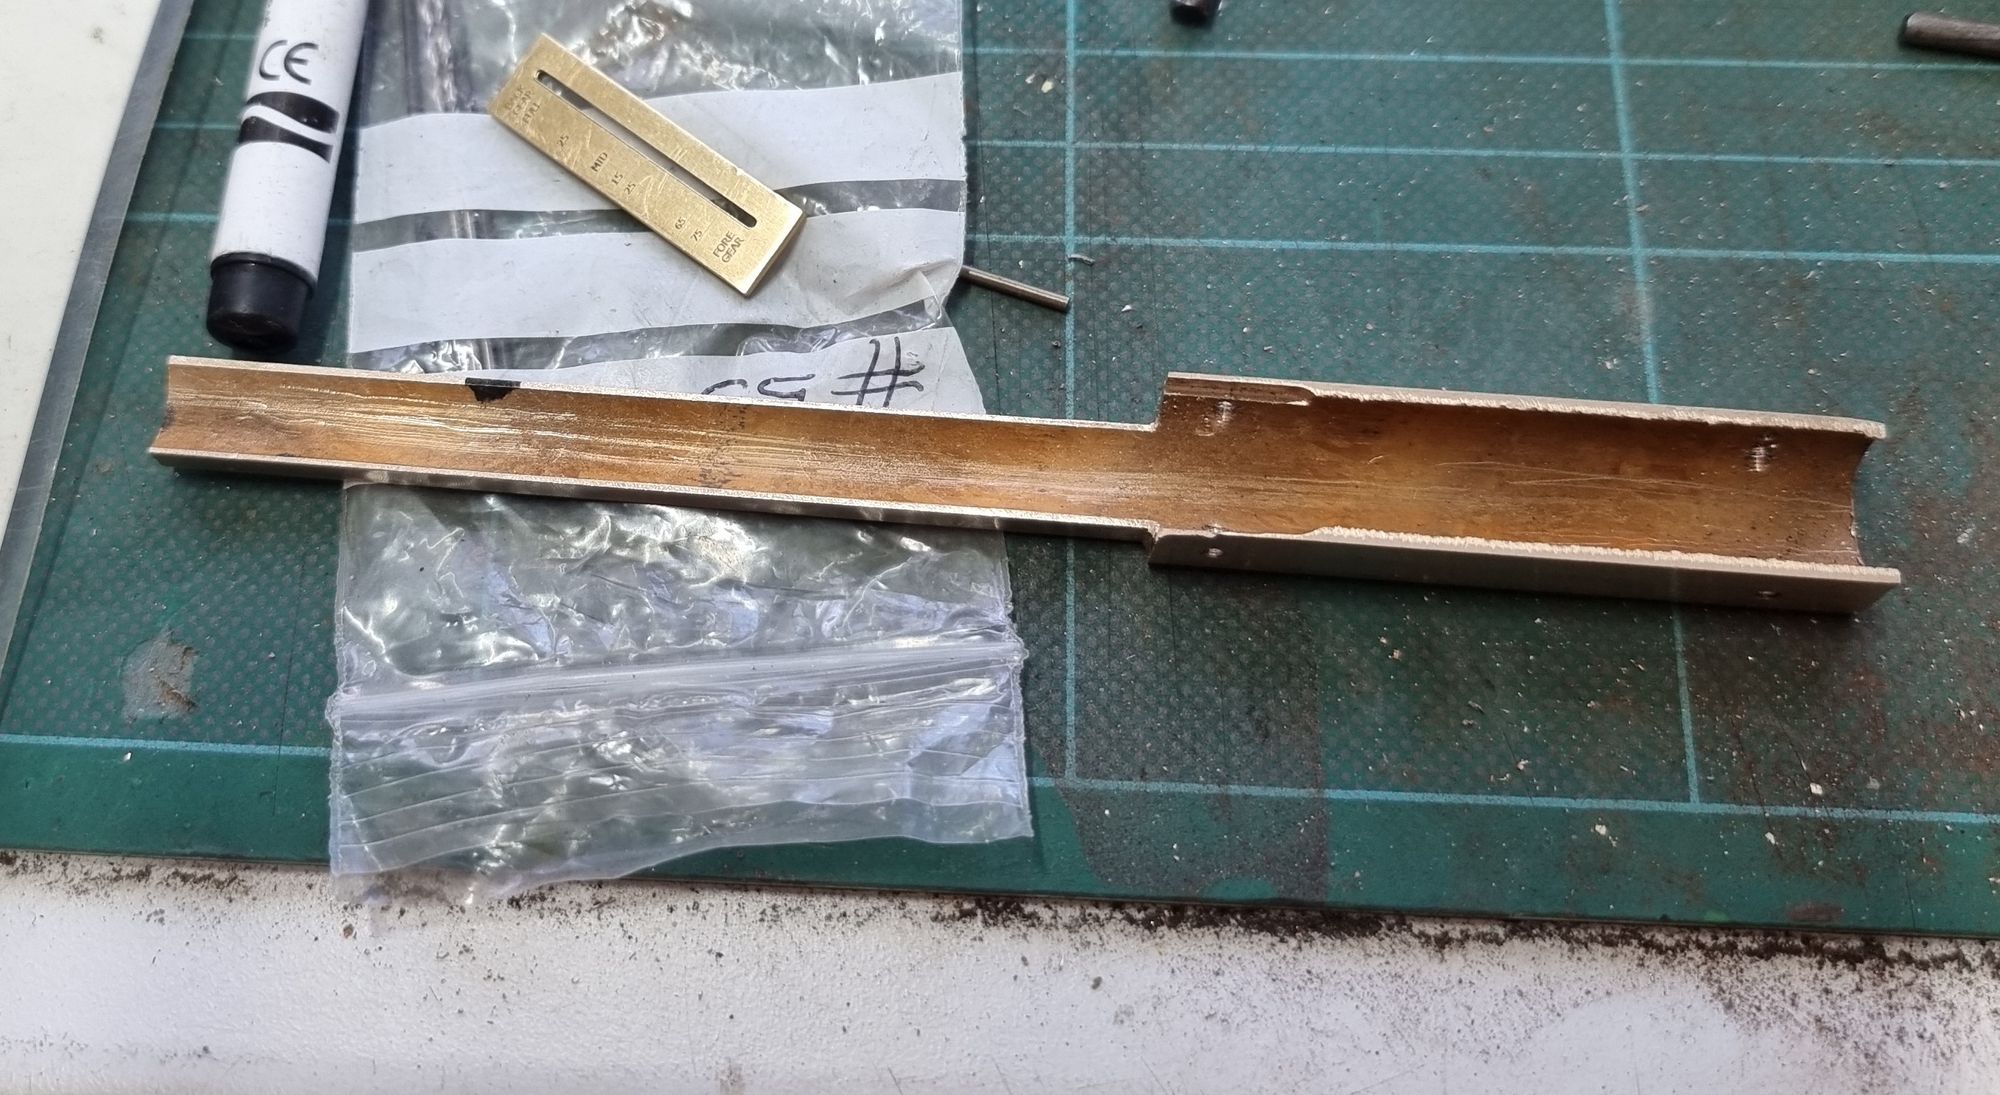
Here we see the dial gauge placed in its position to check for fit, The section above in this photo will be where the track latter narrows.
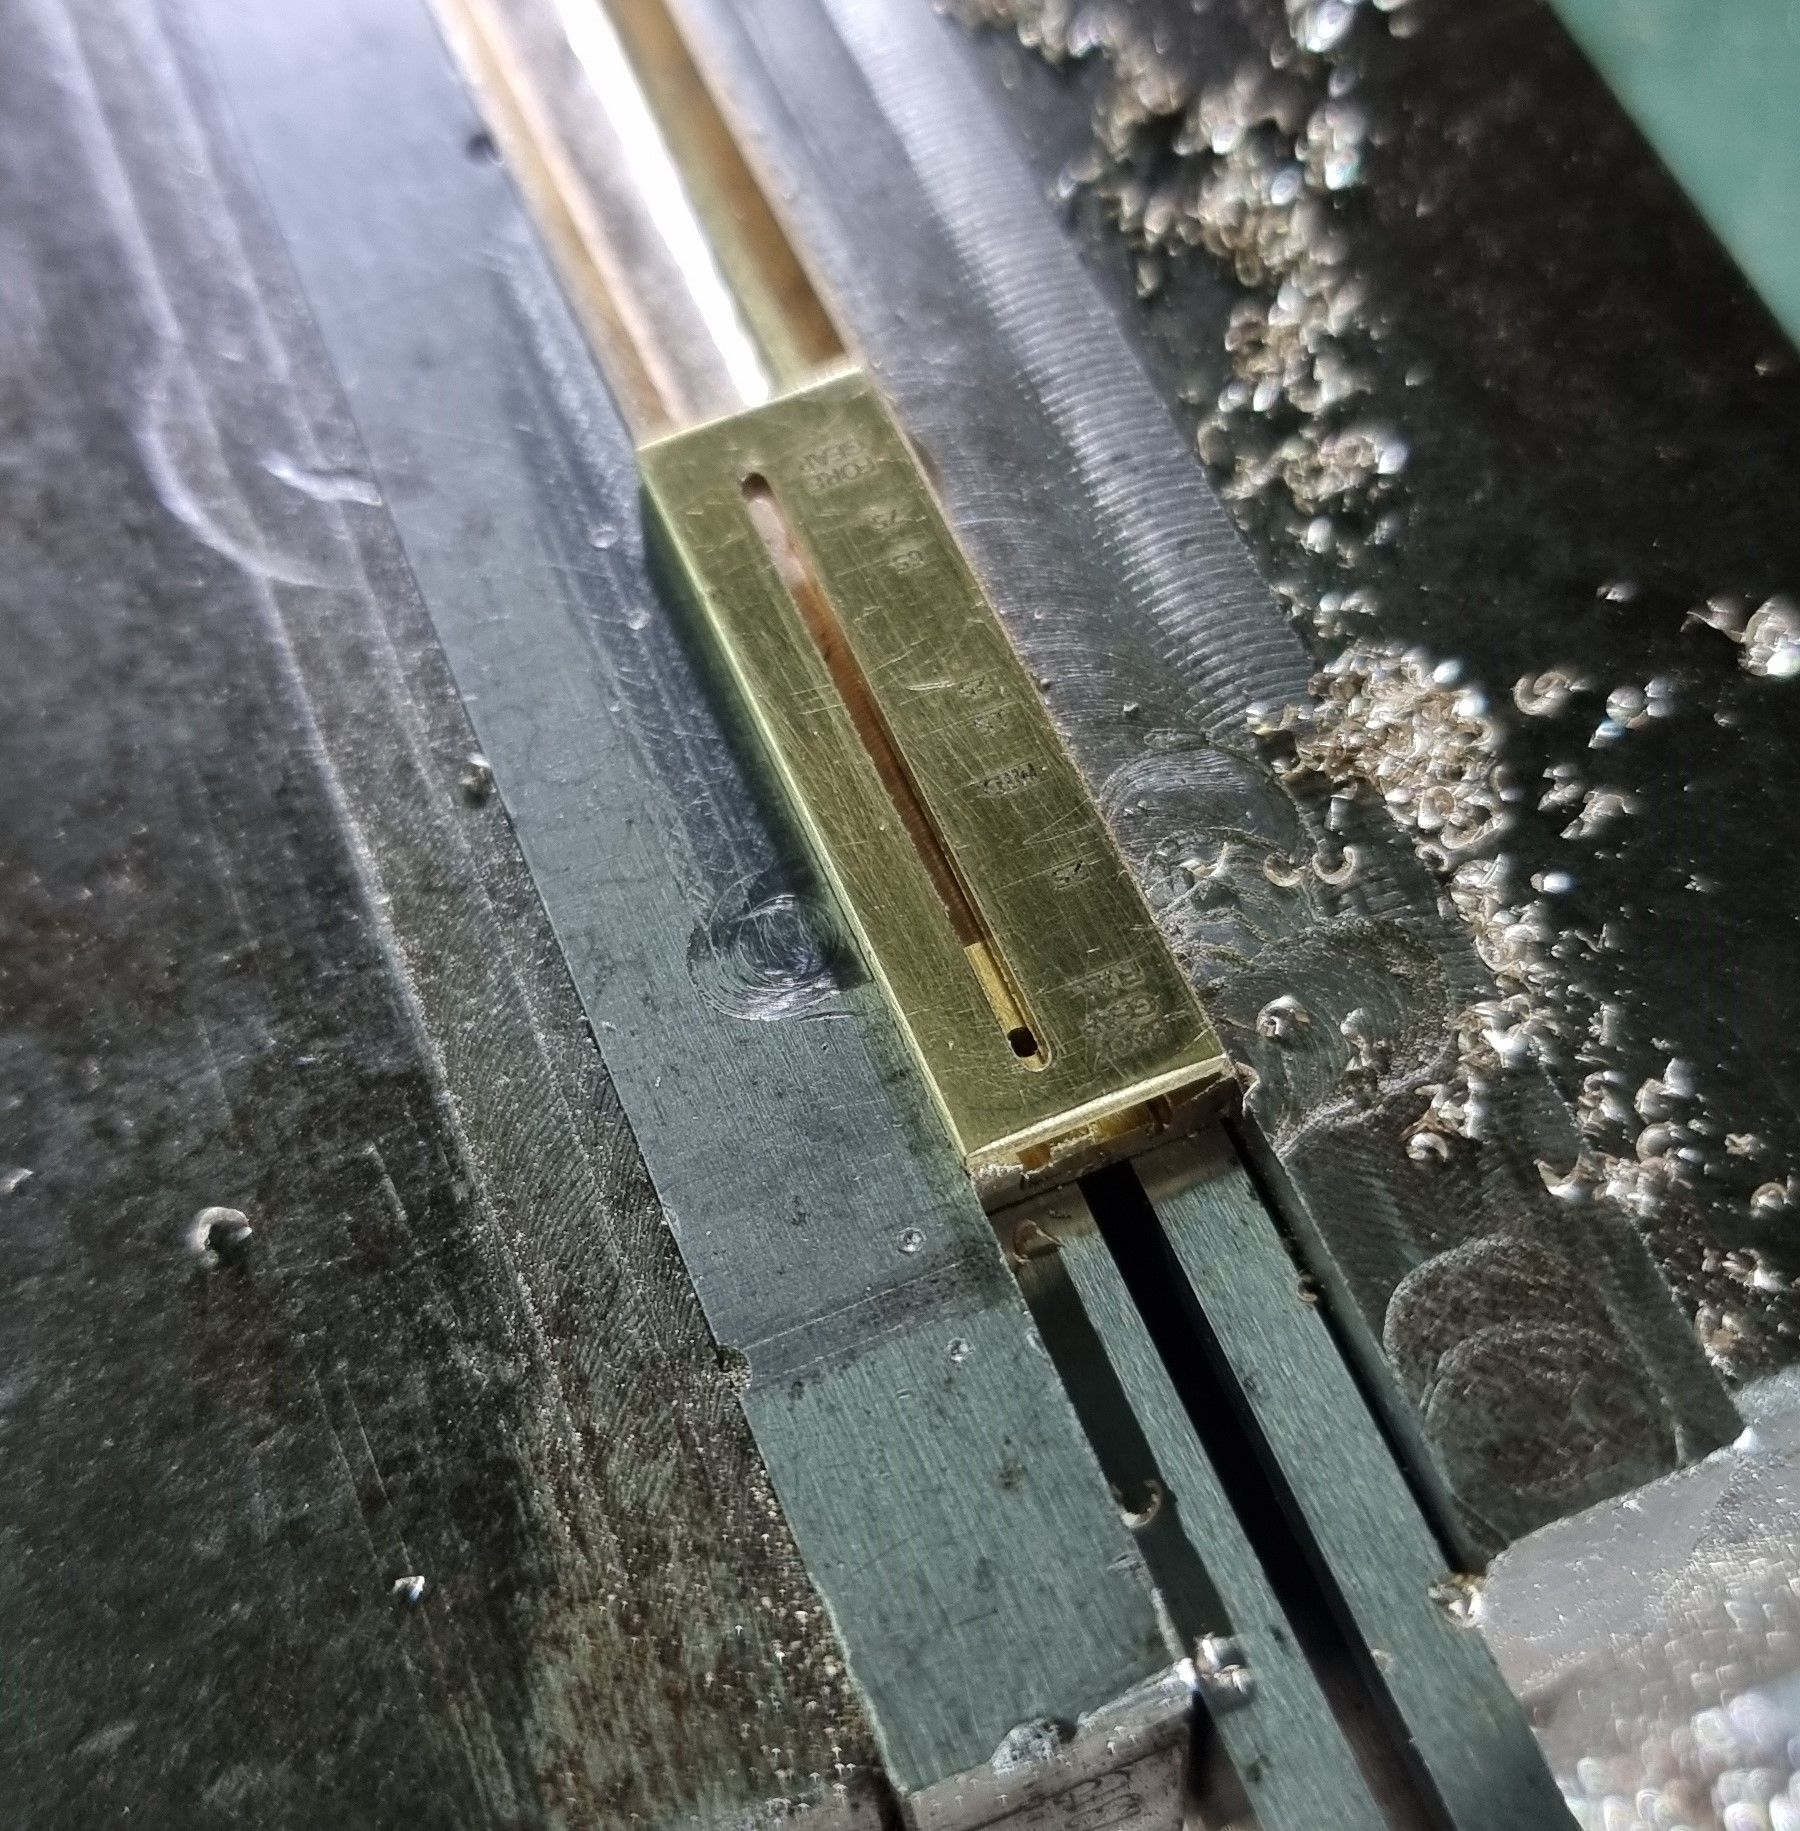
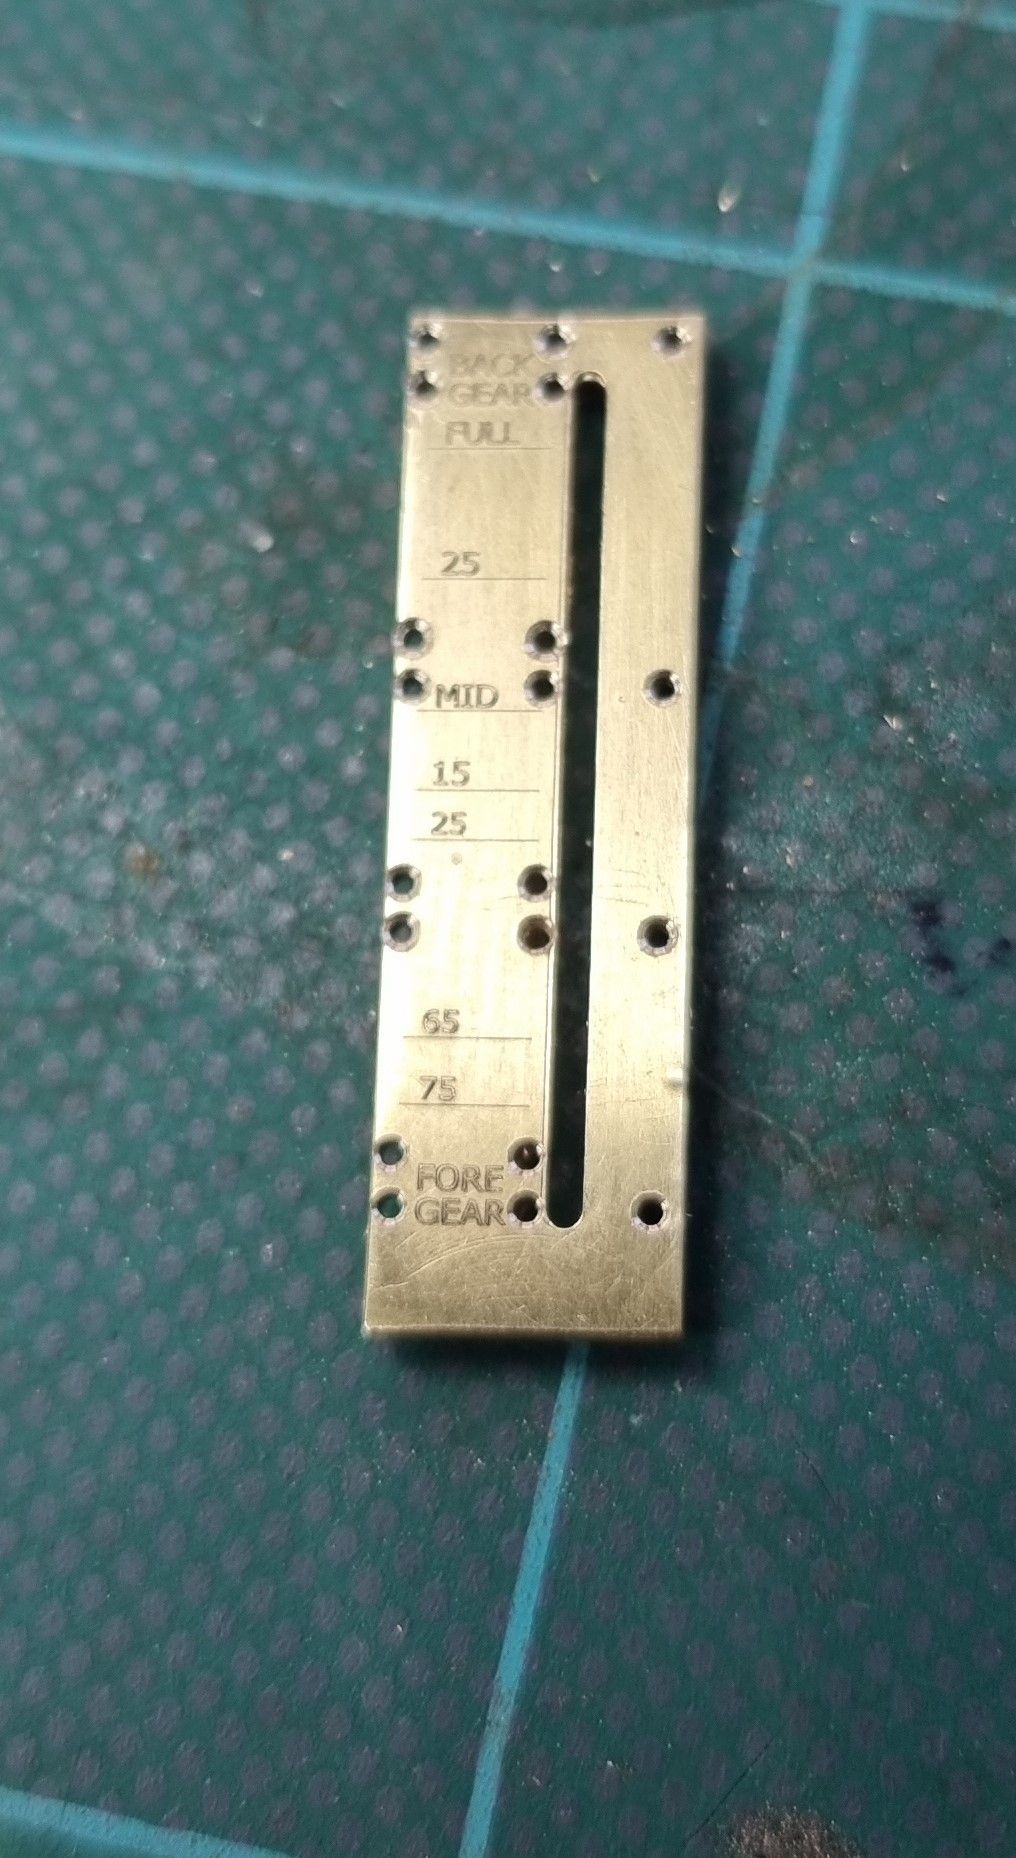
I then paid attention to the dial gauge plate itself, the first job was to drill 20 x 0.7mm holes using a PCB drill bit. I have used this partly done photo to point out that when things don't go to plan, stop and wait until you have the tools required. In this case, my PCB drill bit which is a few years old, has chosen this point to lose its sharpness, as seen by the last hole bottom right. As the holes all need to be counter-sunk, the job itself isn't affected/ruined. There was no point in continuing and forcing the drill as it would probably break and most certainly drill larger holes. I therefore stopped at this point and ordered new bits to be delivered the next day. It just ain't worth it guys...
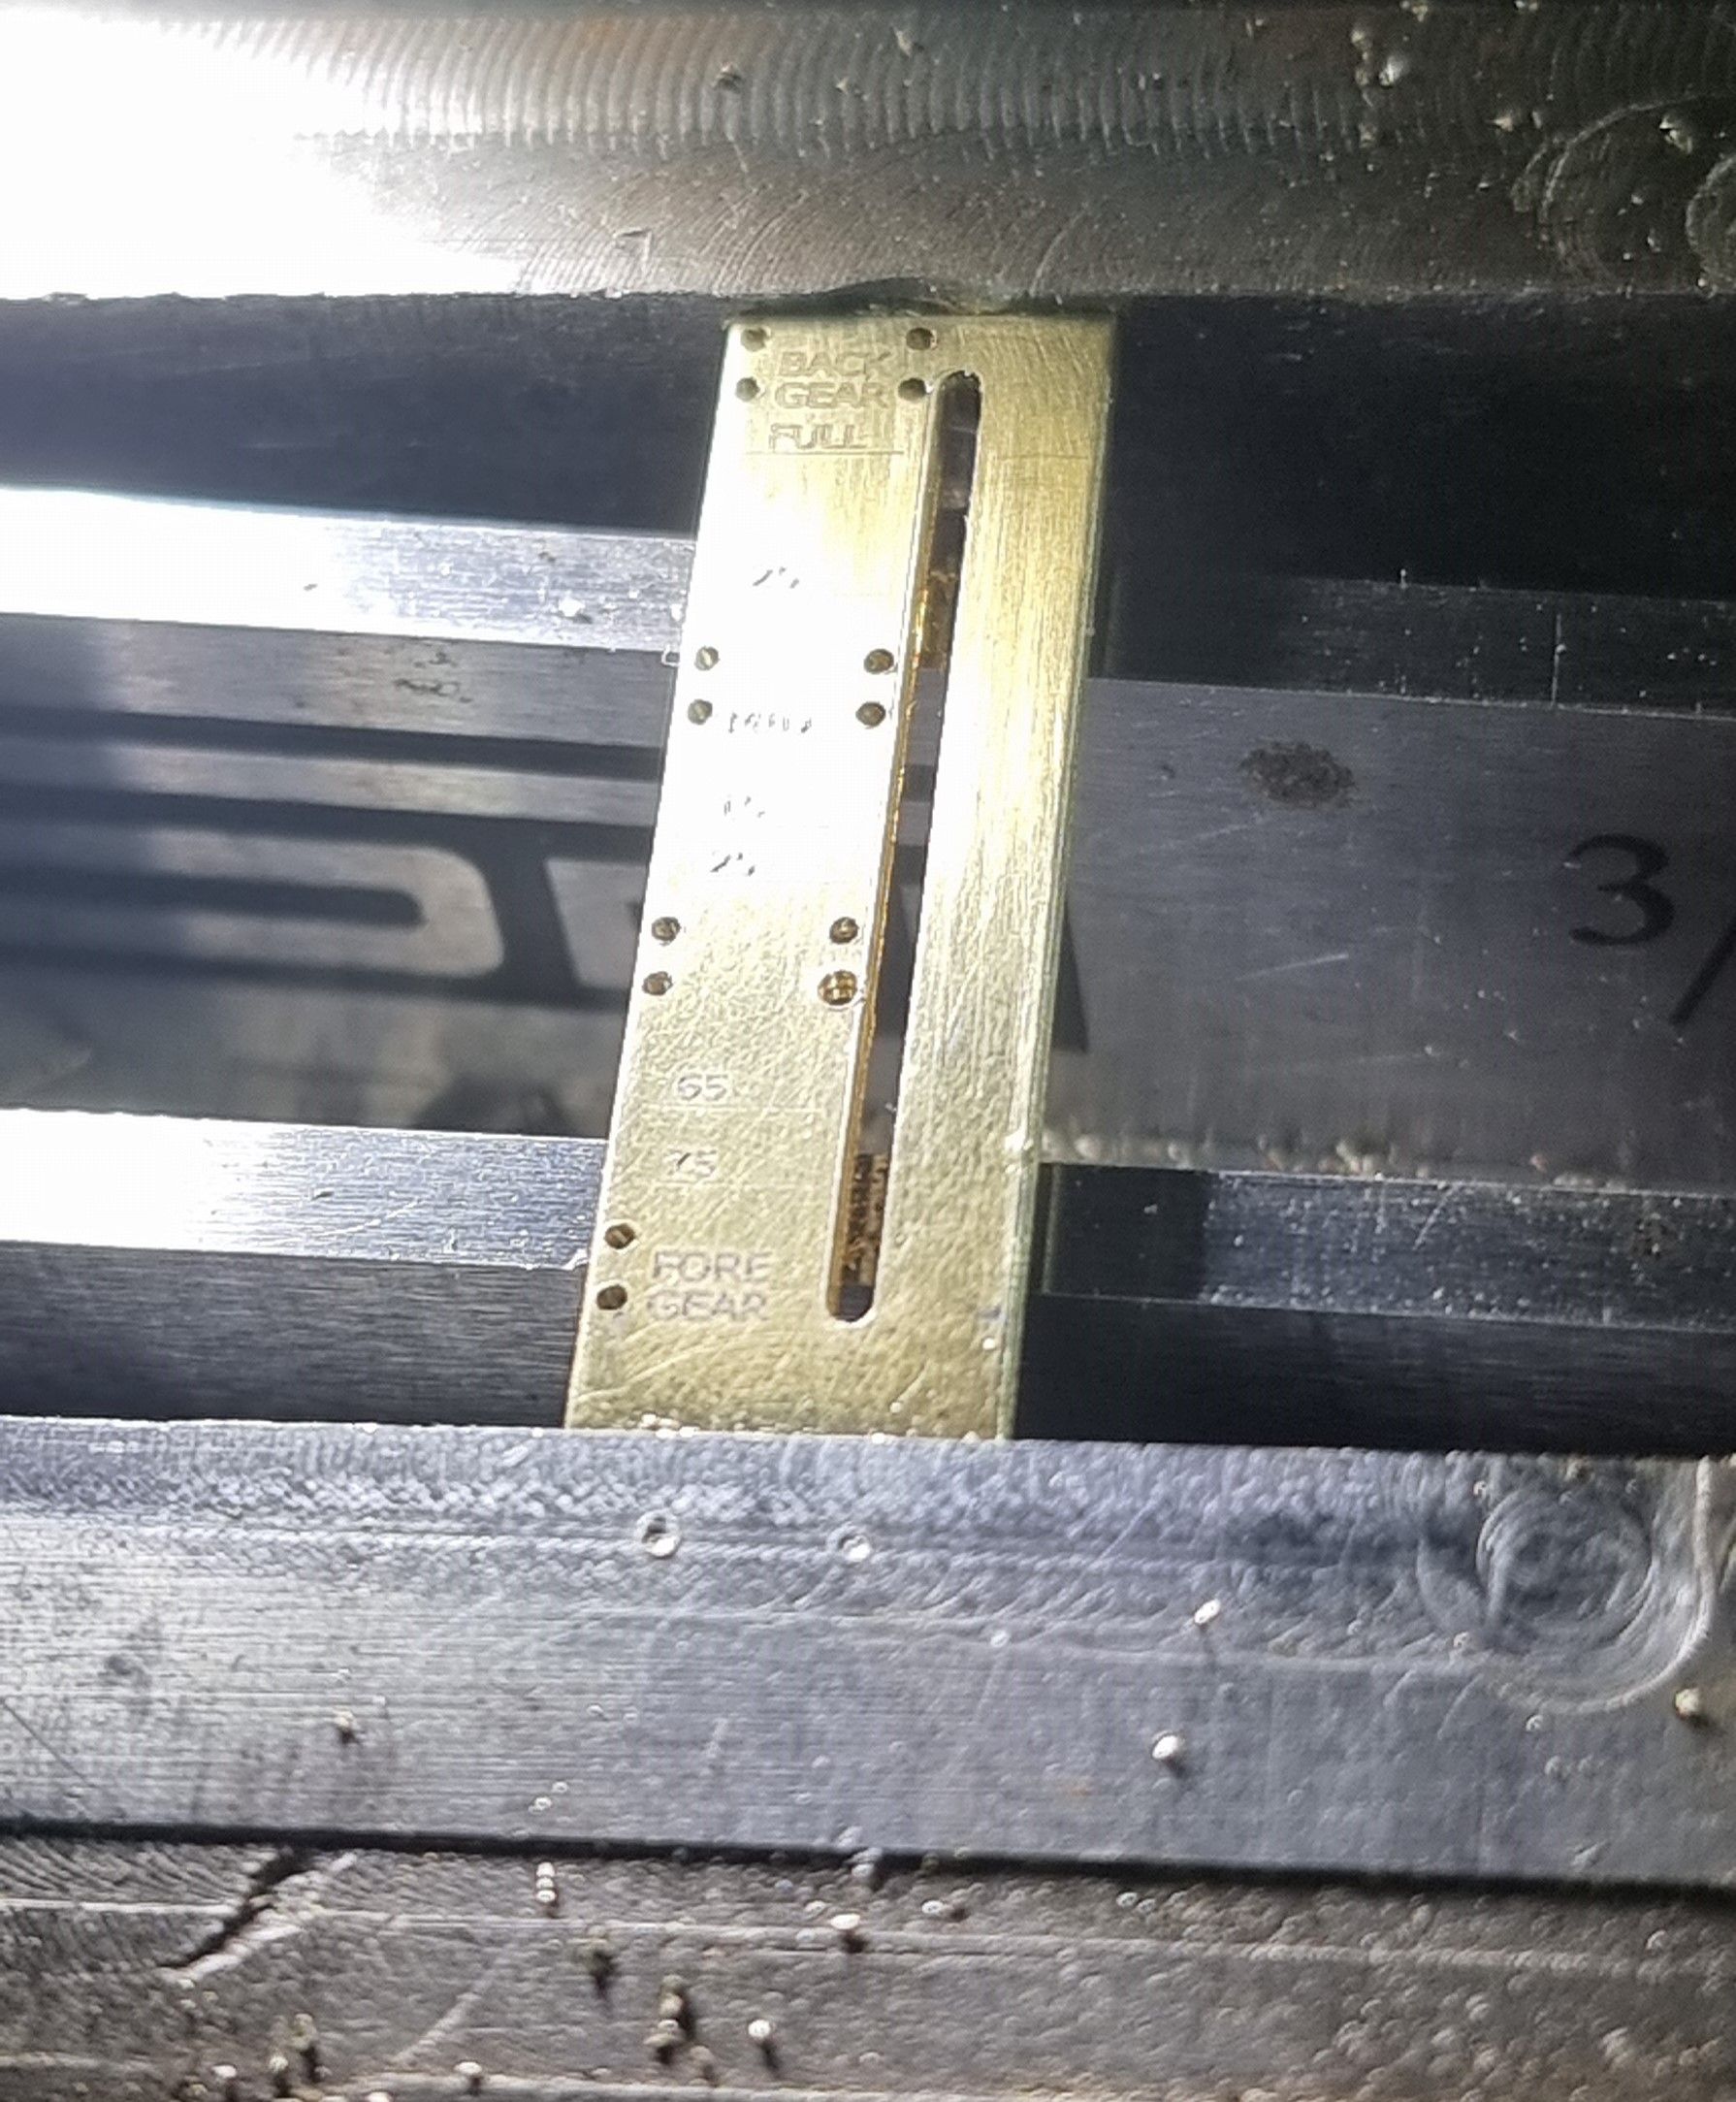
Anyway, the drill bits duly arrived and I proceeded from where I had left off. These holes are drilled and tapped for 16BA CSK brass screws, I would have used 18BA if I could find any. The solution was to use the larger 16BA and turn down the heads to be closer to scale. Finding a 16BA tap for a reasonable price proved fruitless so I went with a clockmaker's metric size which as both are metric threads worked out fine. I bought a cheap set of said taps from eBay, 0.6 to 1mm and settled for the 0.7mm making life much easier to cut the thread. It wasn't exactly 0.7, a little smaller at 0.68 but worked out well. I used a suitably sized drill bit as a CSK, setting the mill quil as a depth gauge. A word on the holes, I have followed the prototype for the holes on either side of the gauge markings and added a row of 4 to the other side. The reason was that I needed 4 corner holes to mount the plate to the housing. The holes still need de-burring in this very close-up picture. I later changed my mind and soldered the plate to the housing instead of drilling more holes, there was no need to have the gauge plate removable.
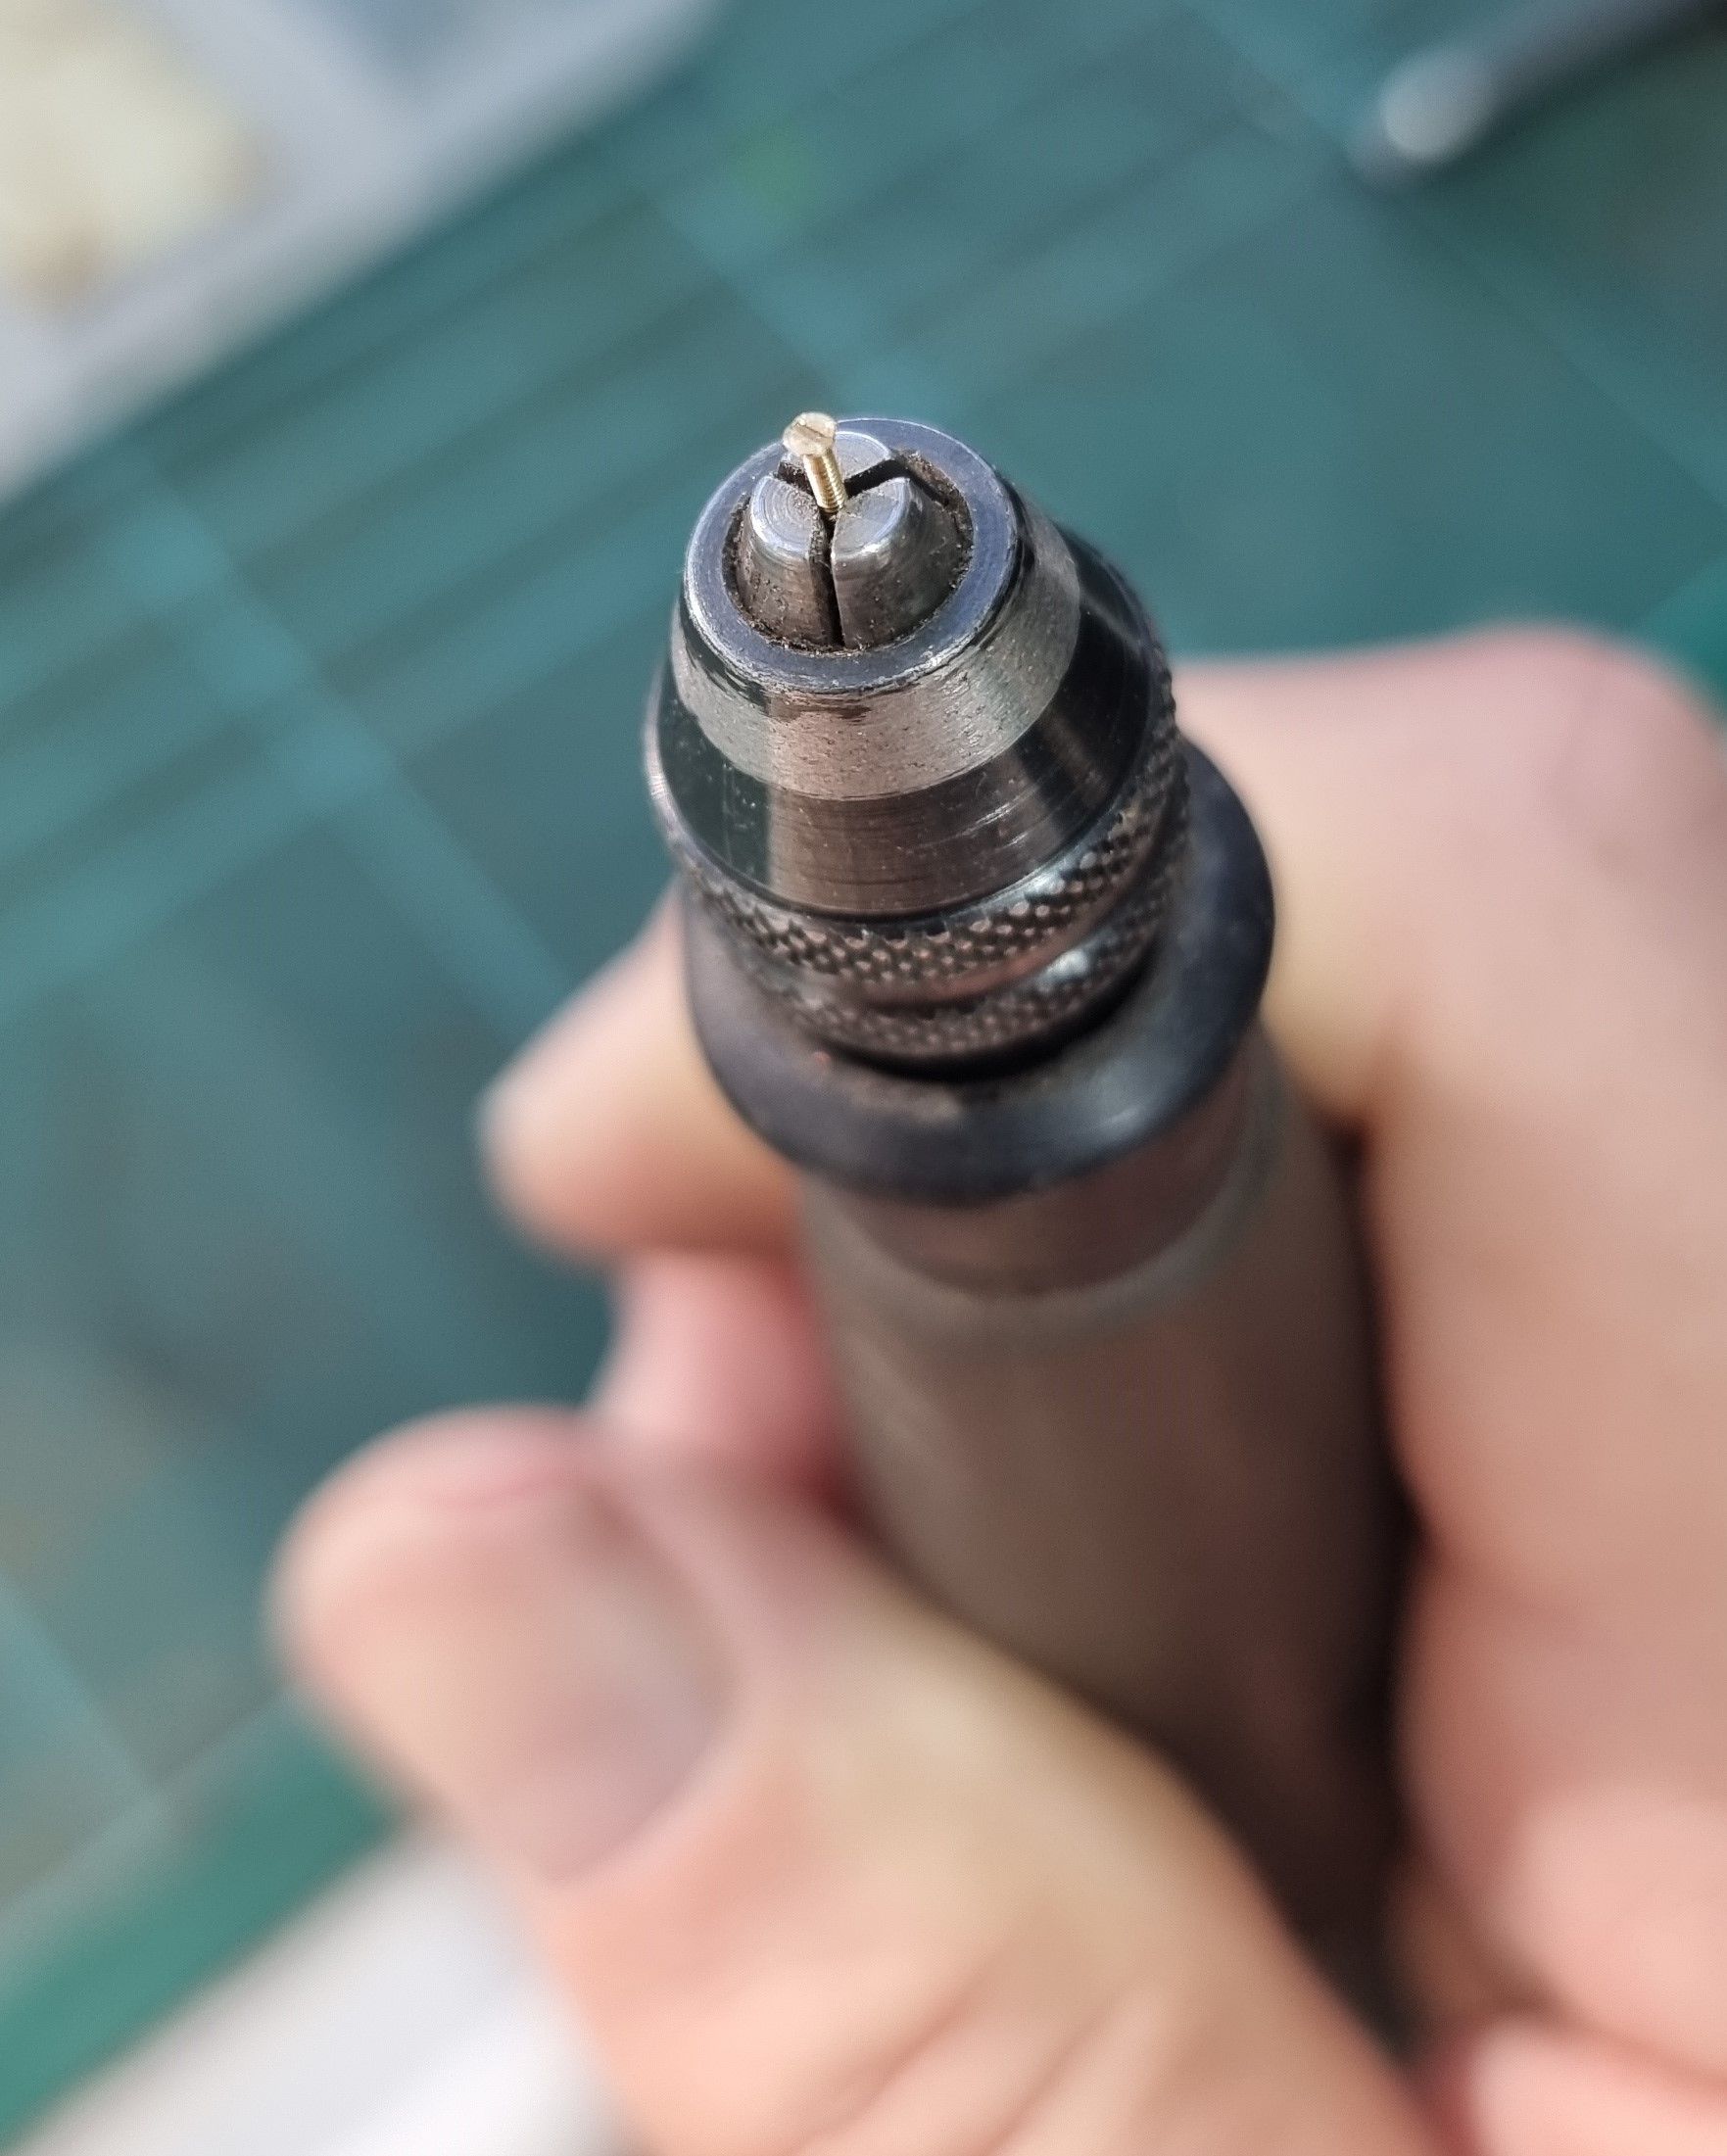
To turn the screws down I used a Dremel and a needle file, this was surprisingly quick and easy, with heads taken down to approx 1.2mm dia. I found a lit magnifying glass very helpful here.
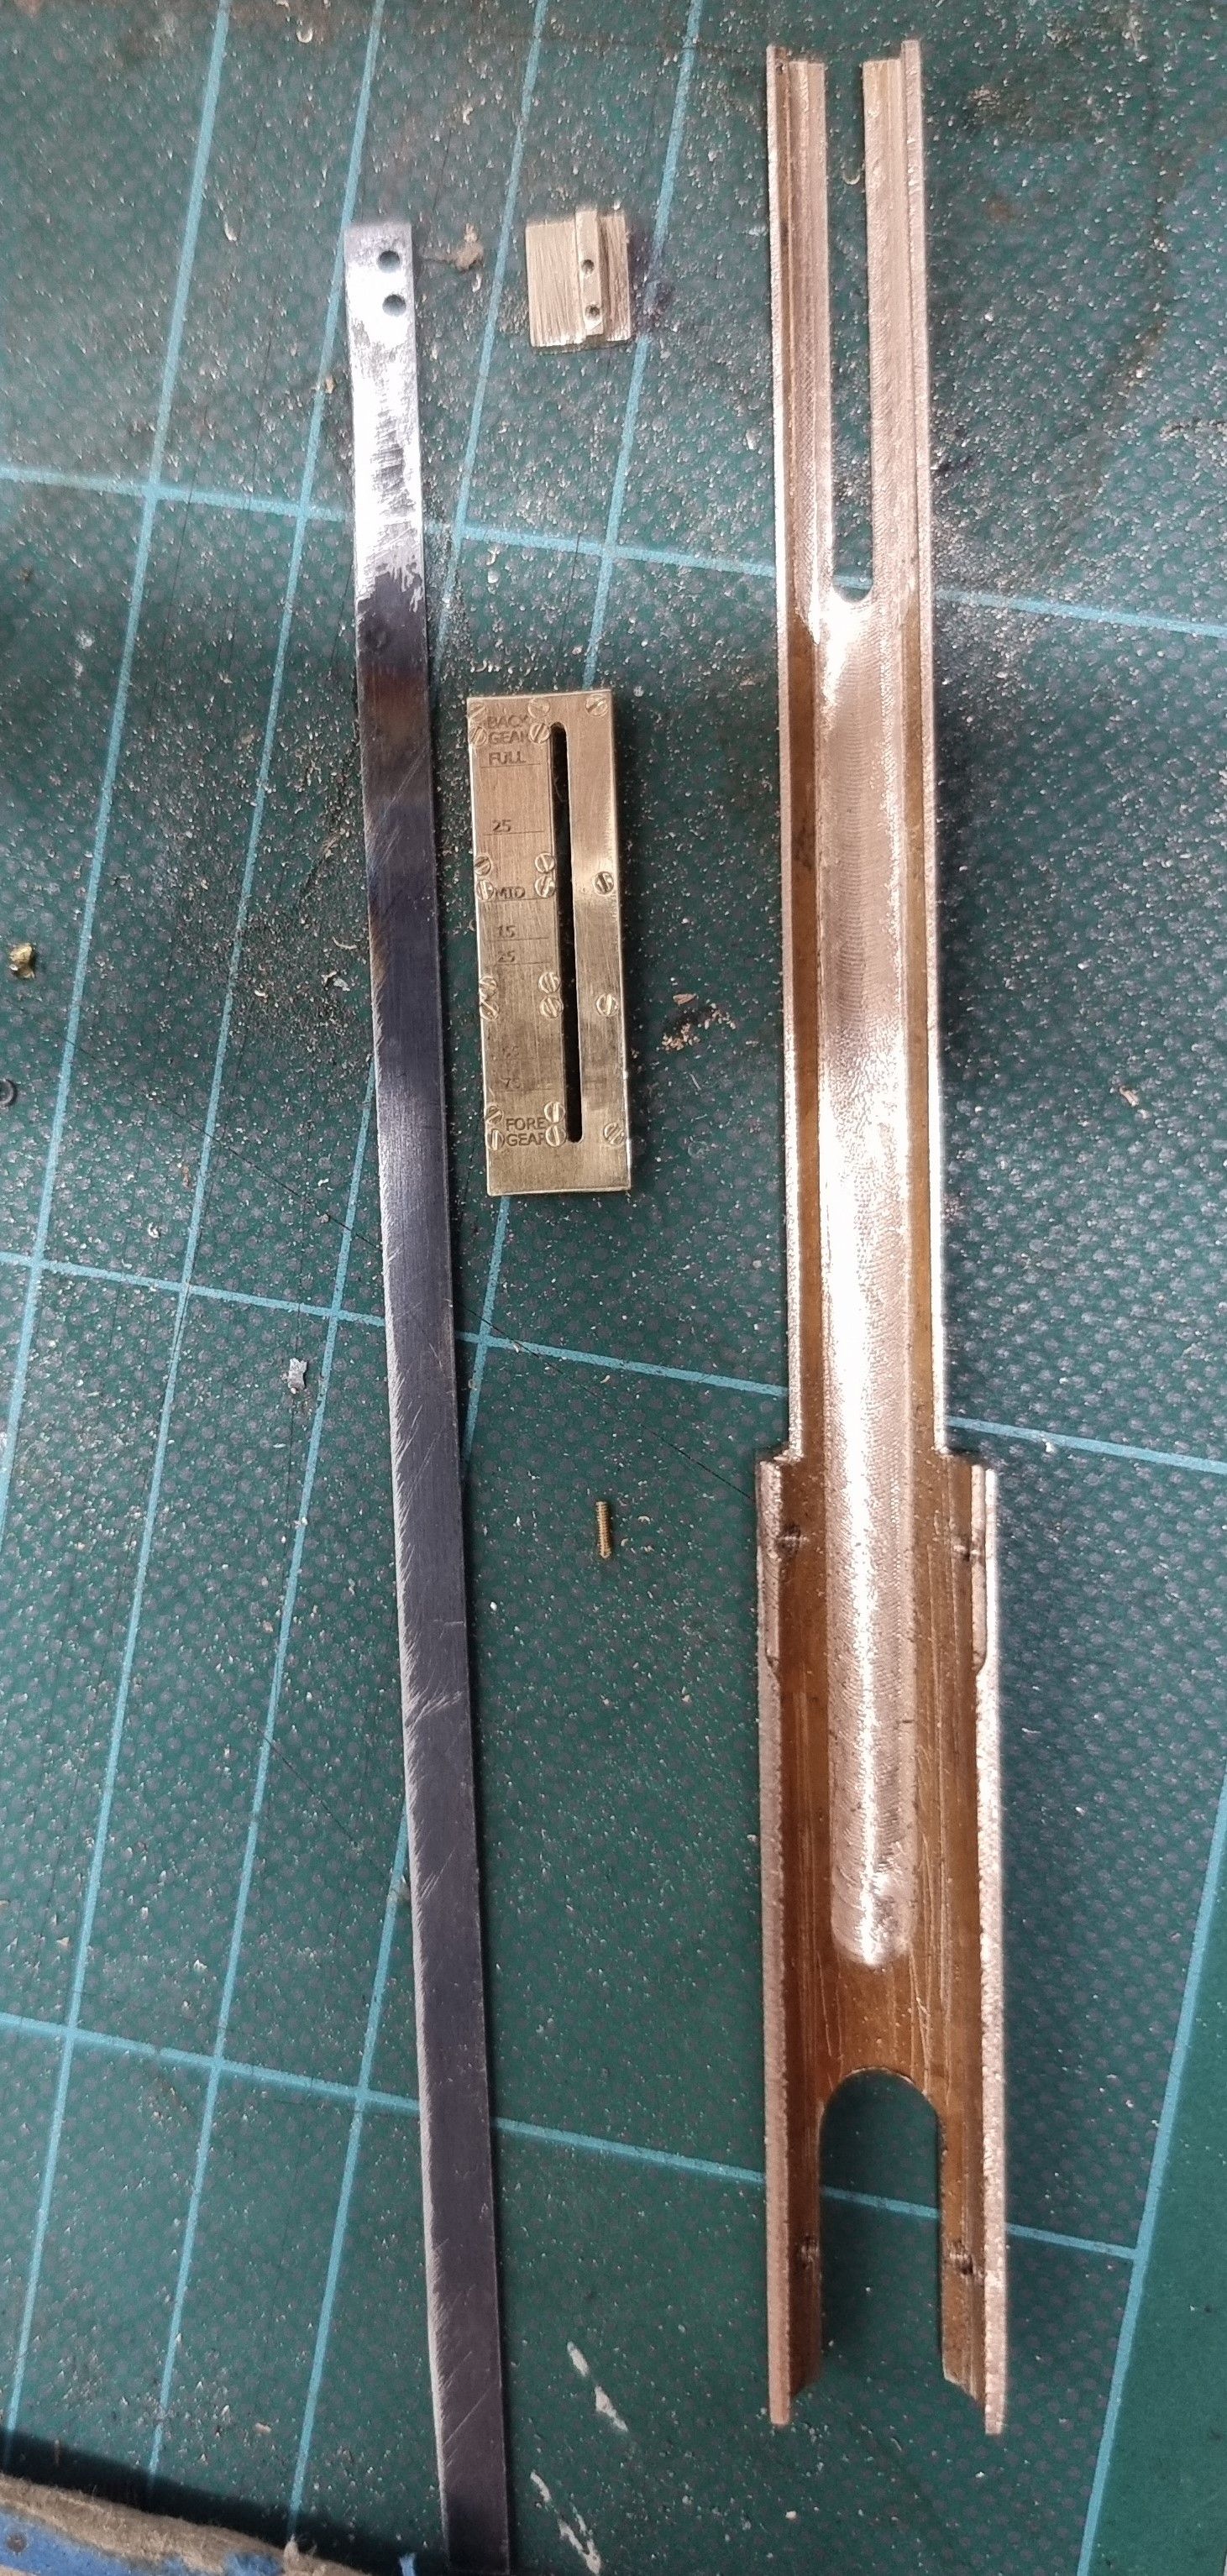
Here we see the components so far, the housing has been further worked on with the top part that the dial sits on machined to support the indicator marker which will be sandwiched between the housing and dial. The slot machined away at the bottom is to allow access for fitting the marker strip to the reverser screw. For the strip, I have chosen to use a metal strip, the sprung type found wrapped around pallets, I cut the width down using tin snips. For the dial itself, we can see that all of the screws have now been fitted.
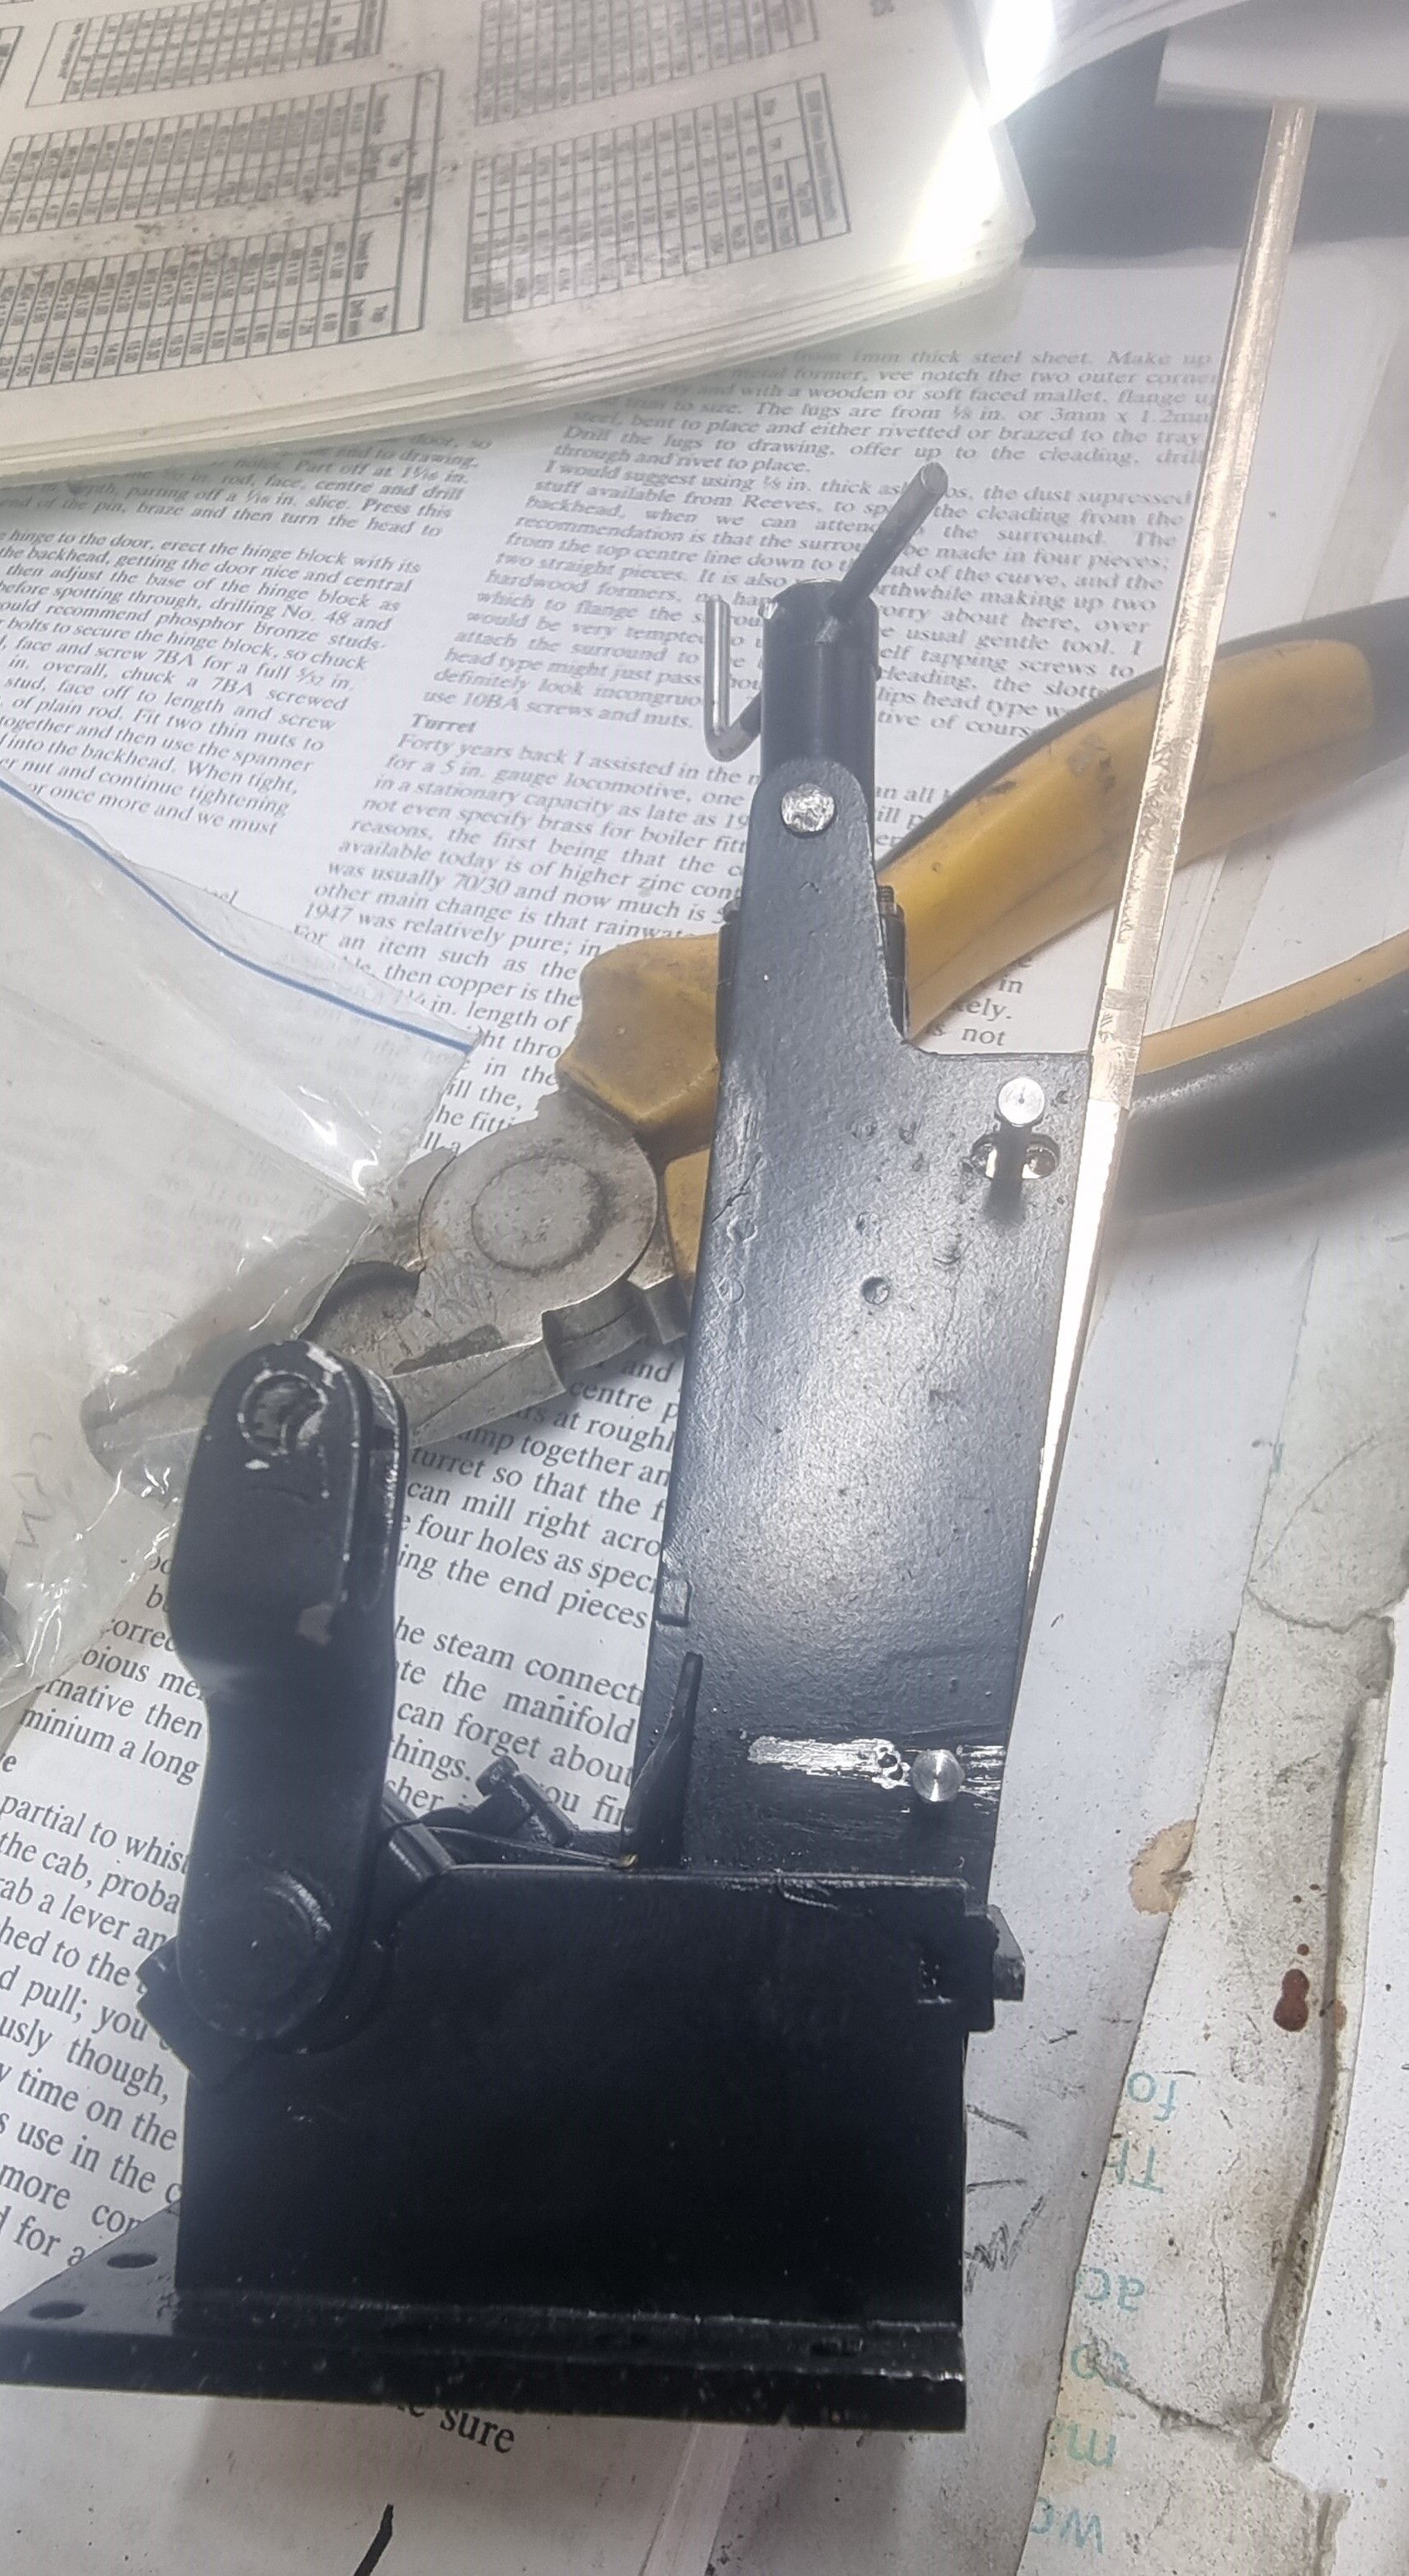
This side image of the stand with housing in place should help explain what I'm up too.
I then test-fitted the reverser with housing track attached to the cab. A few things to point out here, this is as close to the prototype as I can get with the various boiler bushes for the steam fittings. When looking at the prototype the top of the dial sits about a 3rd up the steam valves, I can't do this with the blower bush being so close and of such a large size so will fit the dial position as shown below, but it still looks close to the prototype, close enough for me.
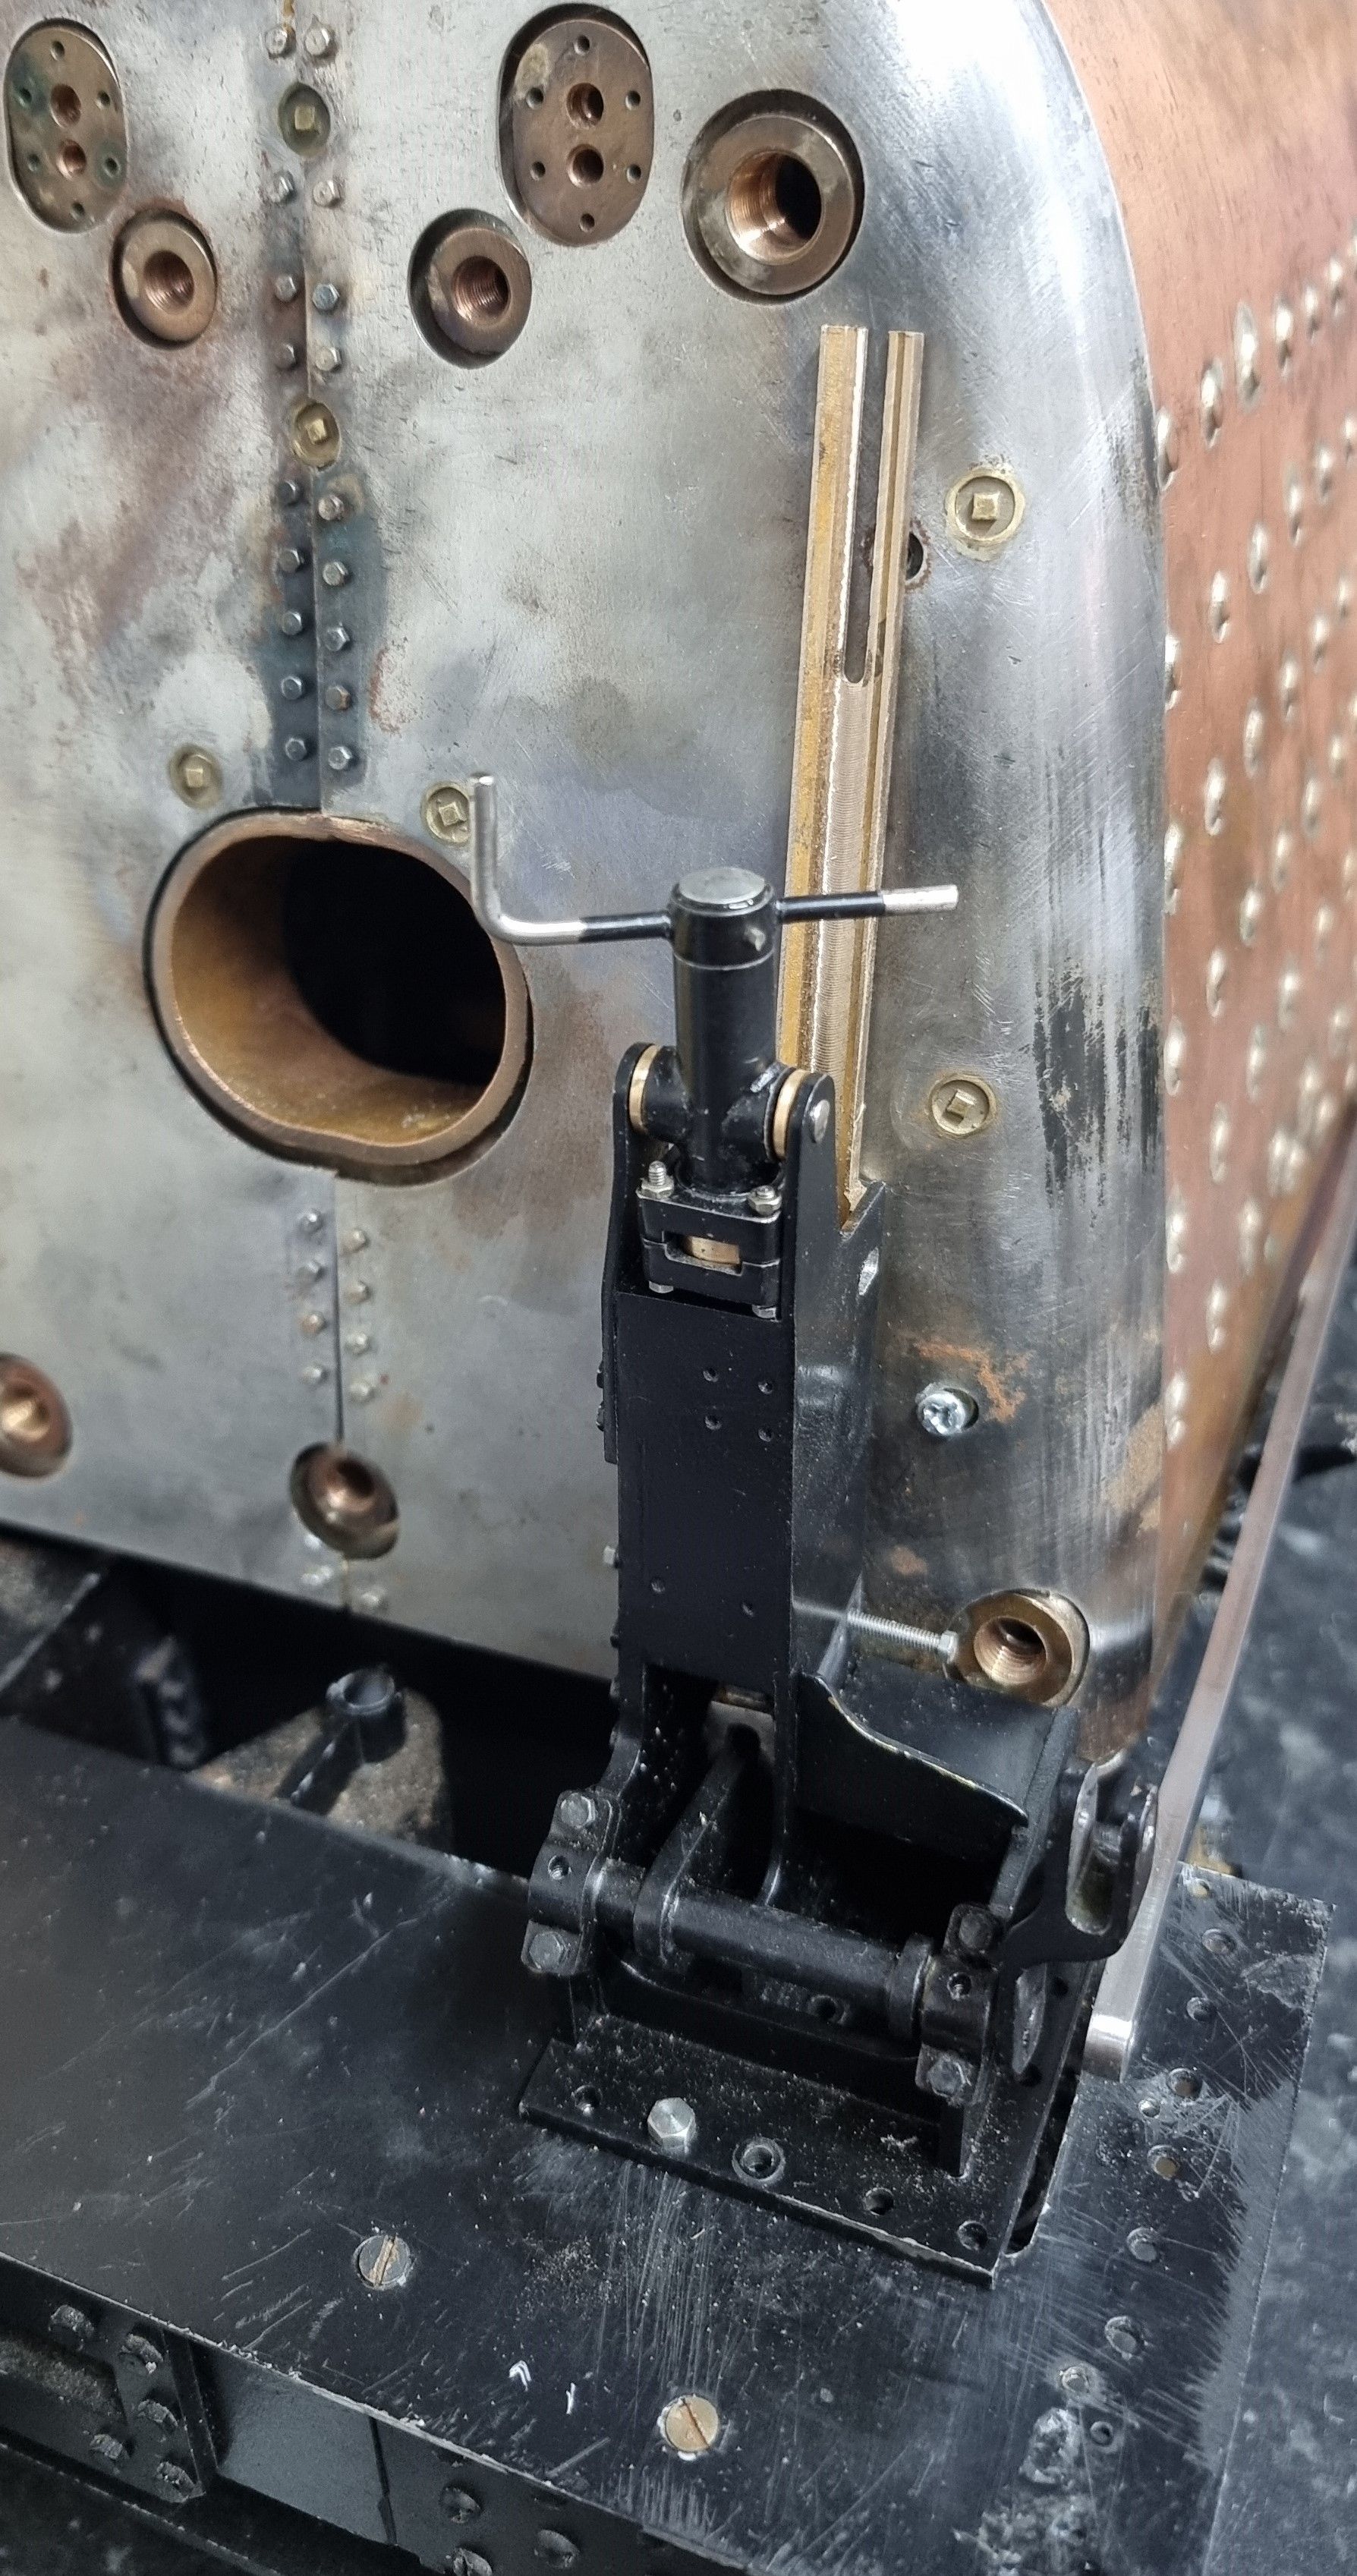
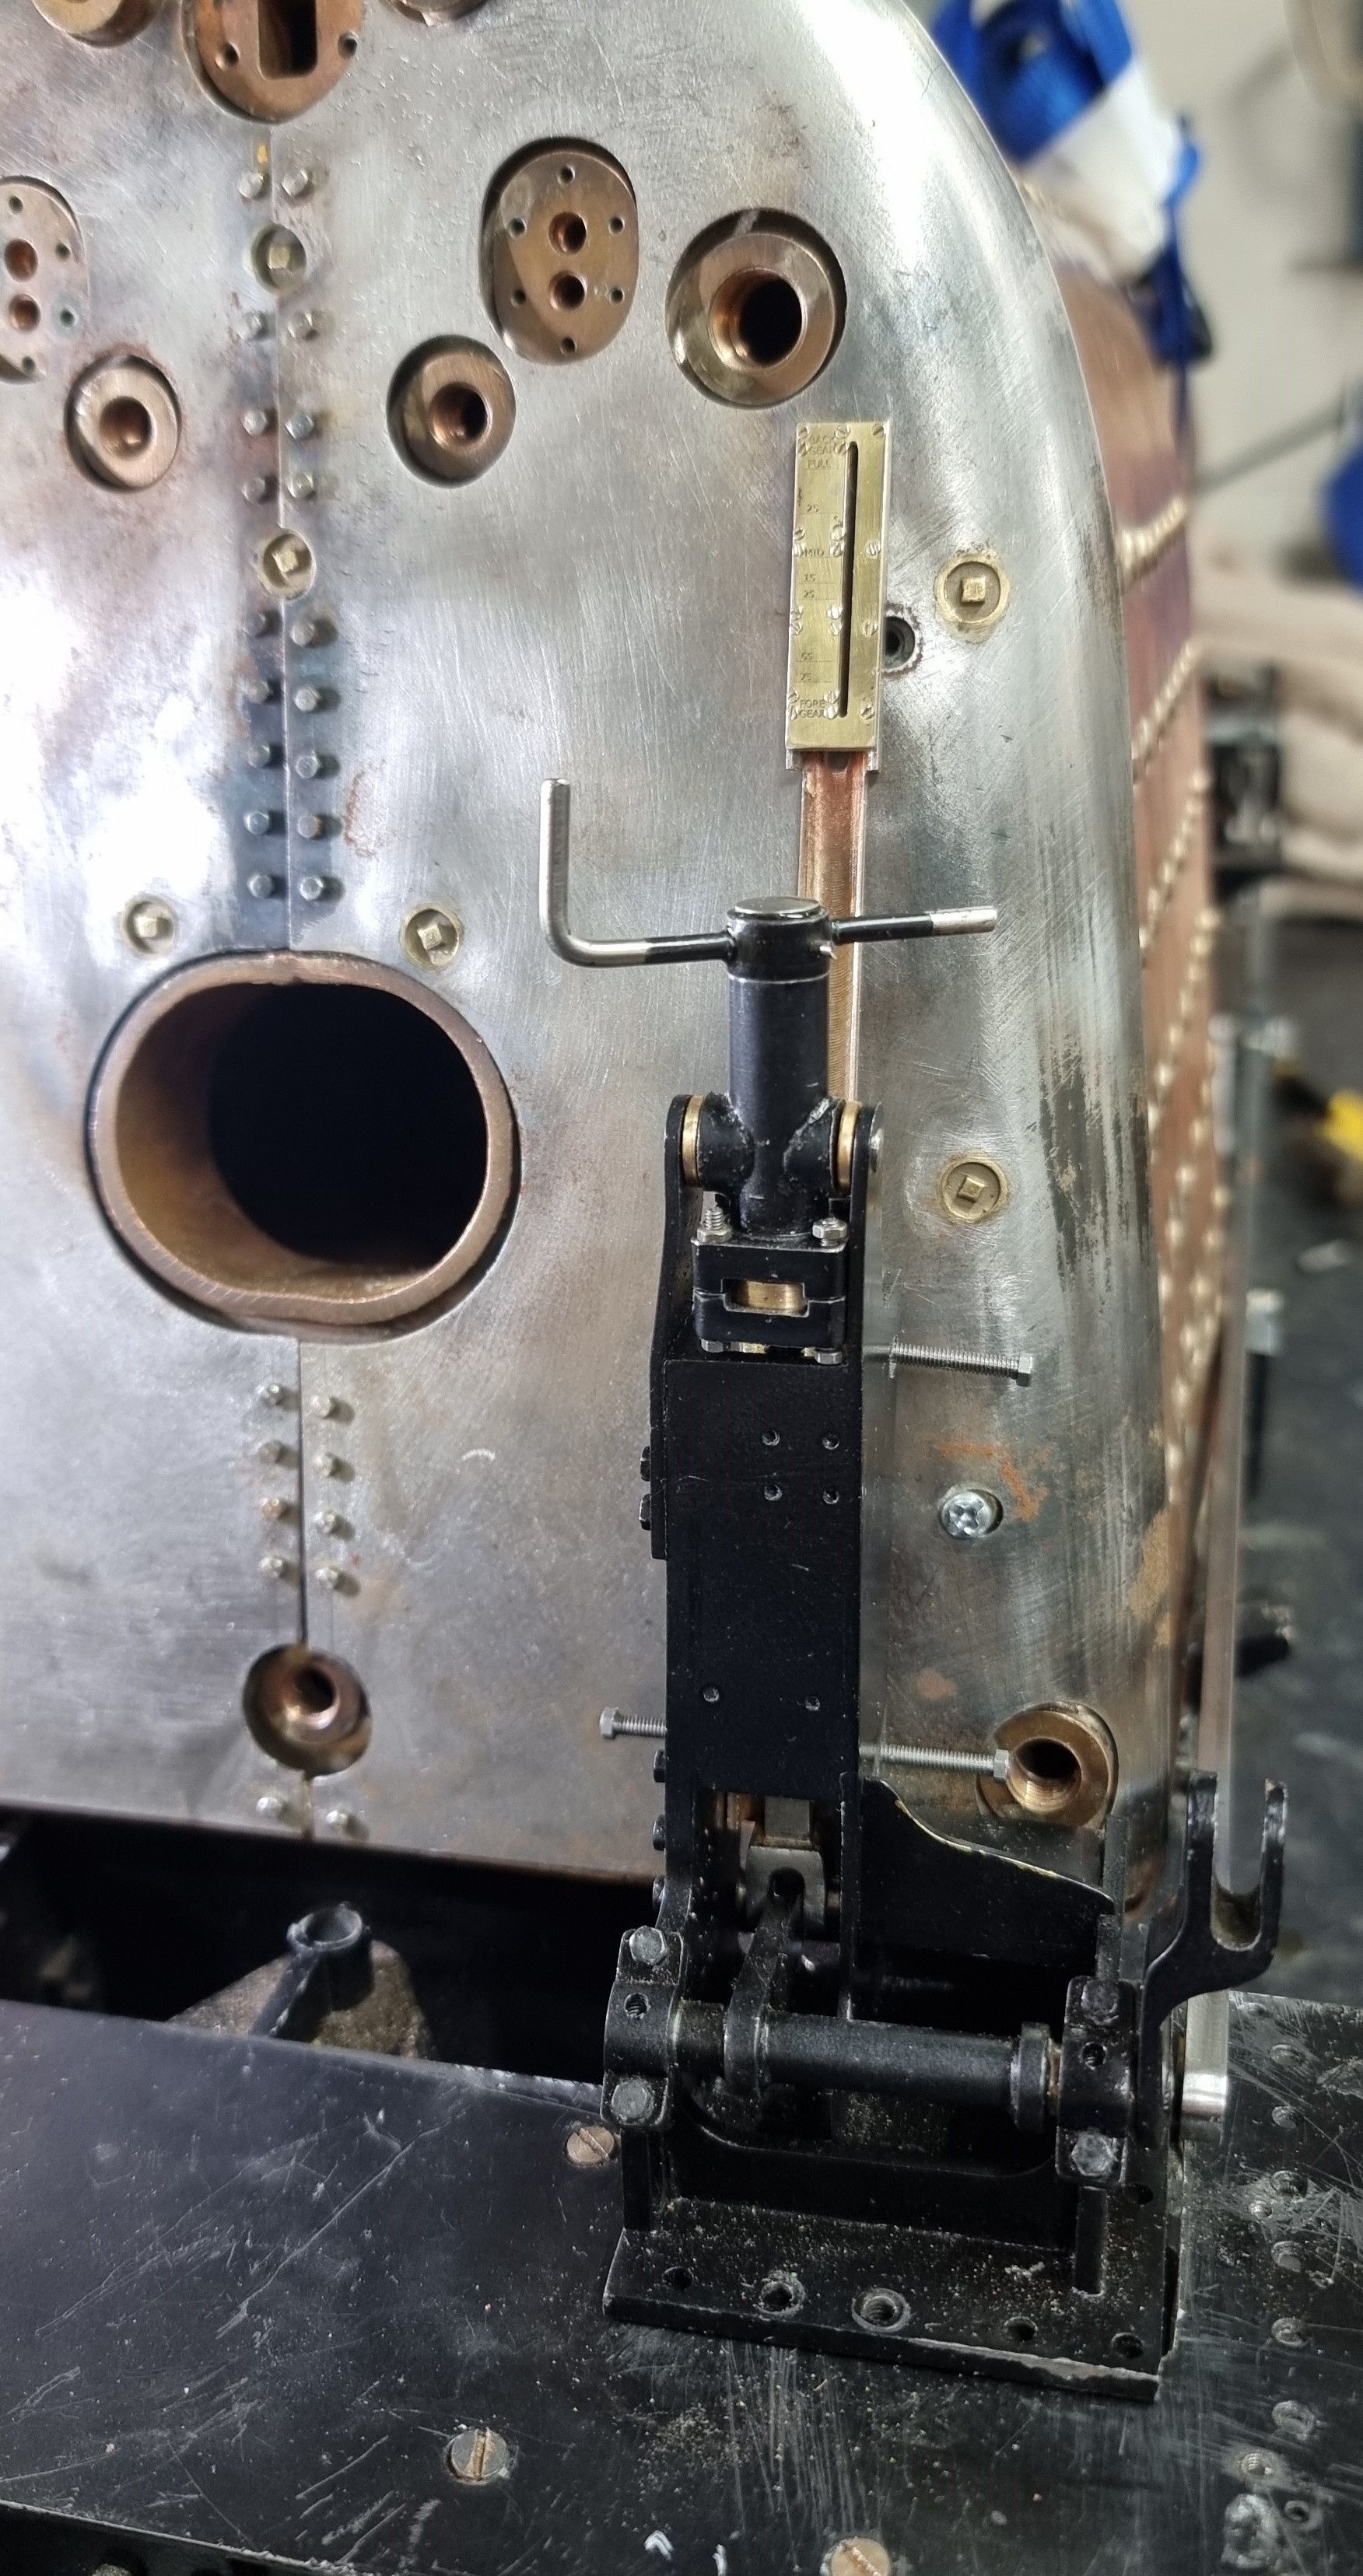
And now with the finalised machining of the housing and the dial gauge fitted
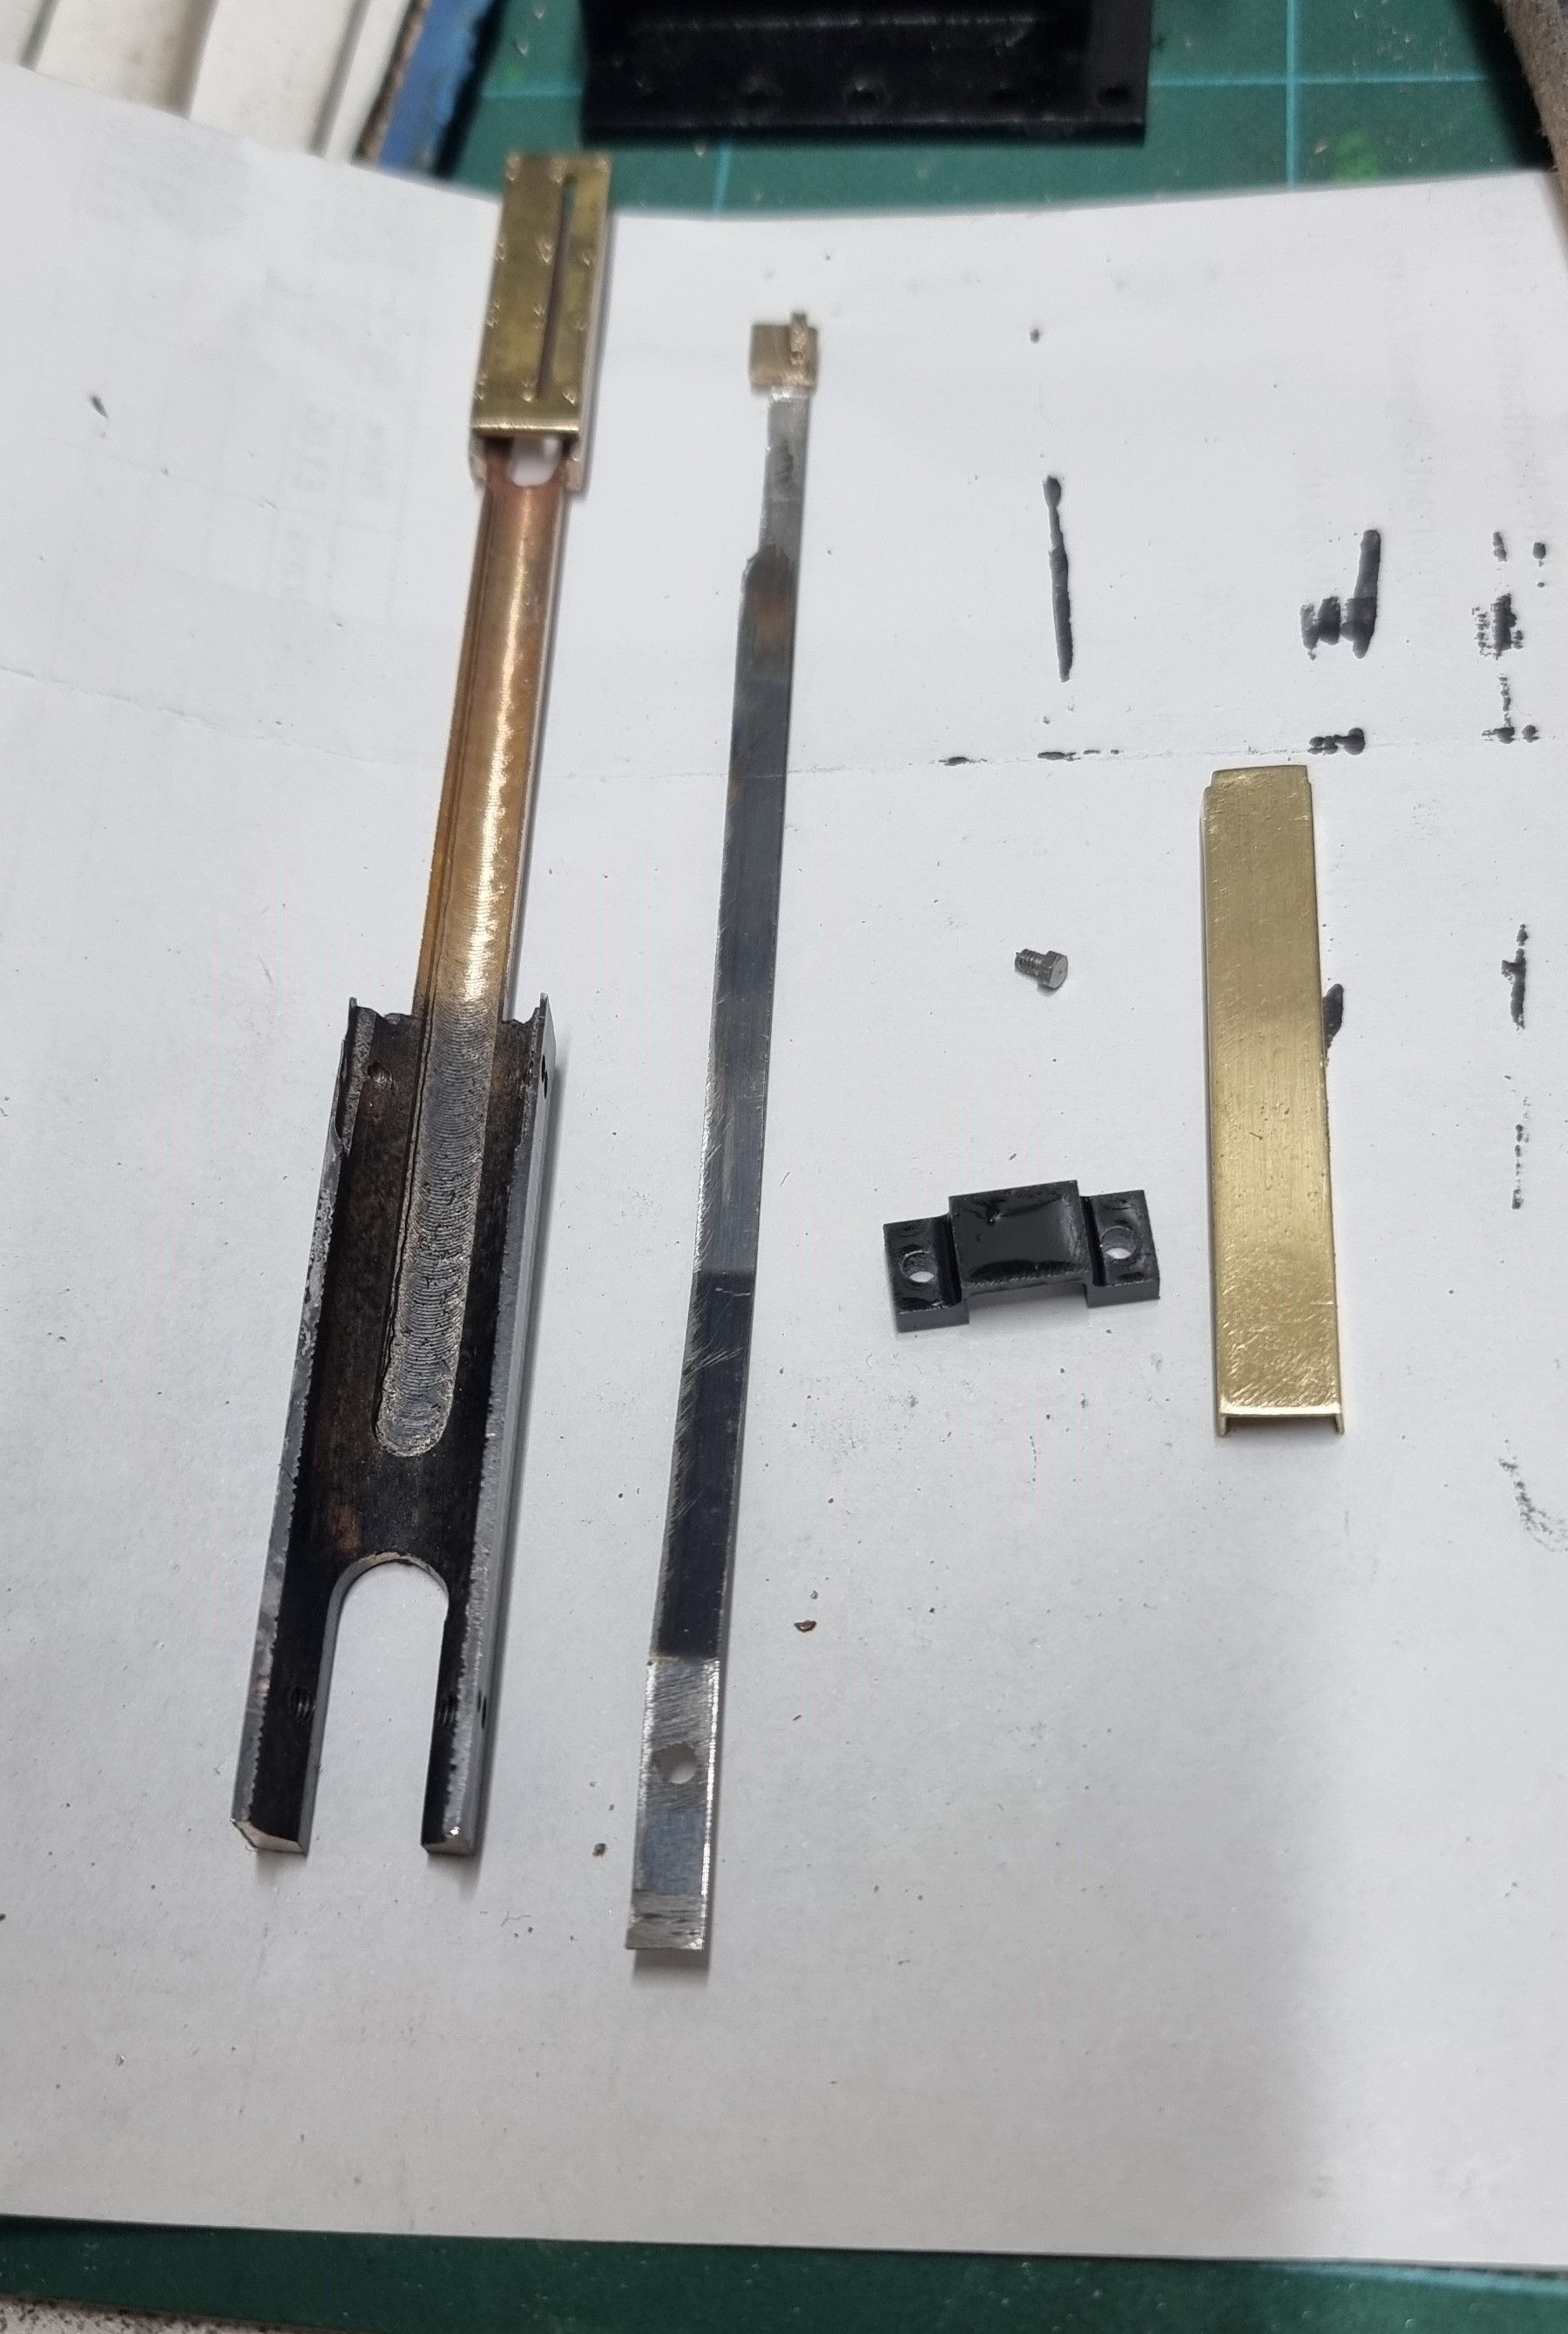
I then turned my attention back to finishing the internal workings for the dial gauge marker. Here, going left to right, we can see the housing, which now has its lower section painted. Today on FS, this looks completely black except for the gauge itself, but early pictures show this to be polished metal, as seen in preservation with Mallard. Next, we have the marker strip which has been profiled a little to give a smoother action and we now also have the hole drilled for attaching to the reverser arm. We then have the clip and shield, added to hide the strip. The prototype looks to have just the strip sliding through the clip bolted to the backhead cleading. However, that would require everything to be fixed directly to the cleading, not so easy when trying to assemble and perhaps giving different readings as the boiler expands. My idea of adding a housing to keep the whole assembly independent from the boiler should keep the readings more consistent and easier to maintain. One note, the strip has been filed at the bottom, this was me drilling the hole in the wrong place the first time around. I had forgotten to set the housing at its correct angle before marking the hole position. Once noticed I filled the hole with silver solder, filed flat, marked its position with the housing set at the correct angle and redrilled for 10BA clearance.
This is the finished reverser except for its final trimmings, such as the oil pipes, reservoirs and the sand steam valve. The shield has been fitted for this last photo but not its clip, I'll do that when back working on the leading. The dial works nicely although I won't know how accurate it is in relation to the ports for a while yet, trusting in Don's calcuations here.
