
Last update I said that the sleeve would be my next job (I have made a start) but forgot to mention that the backhead still needed some details so will cover those now.
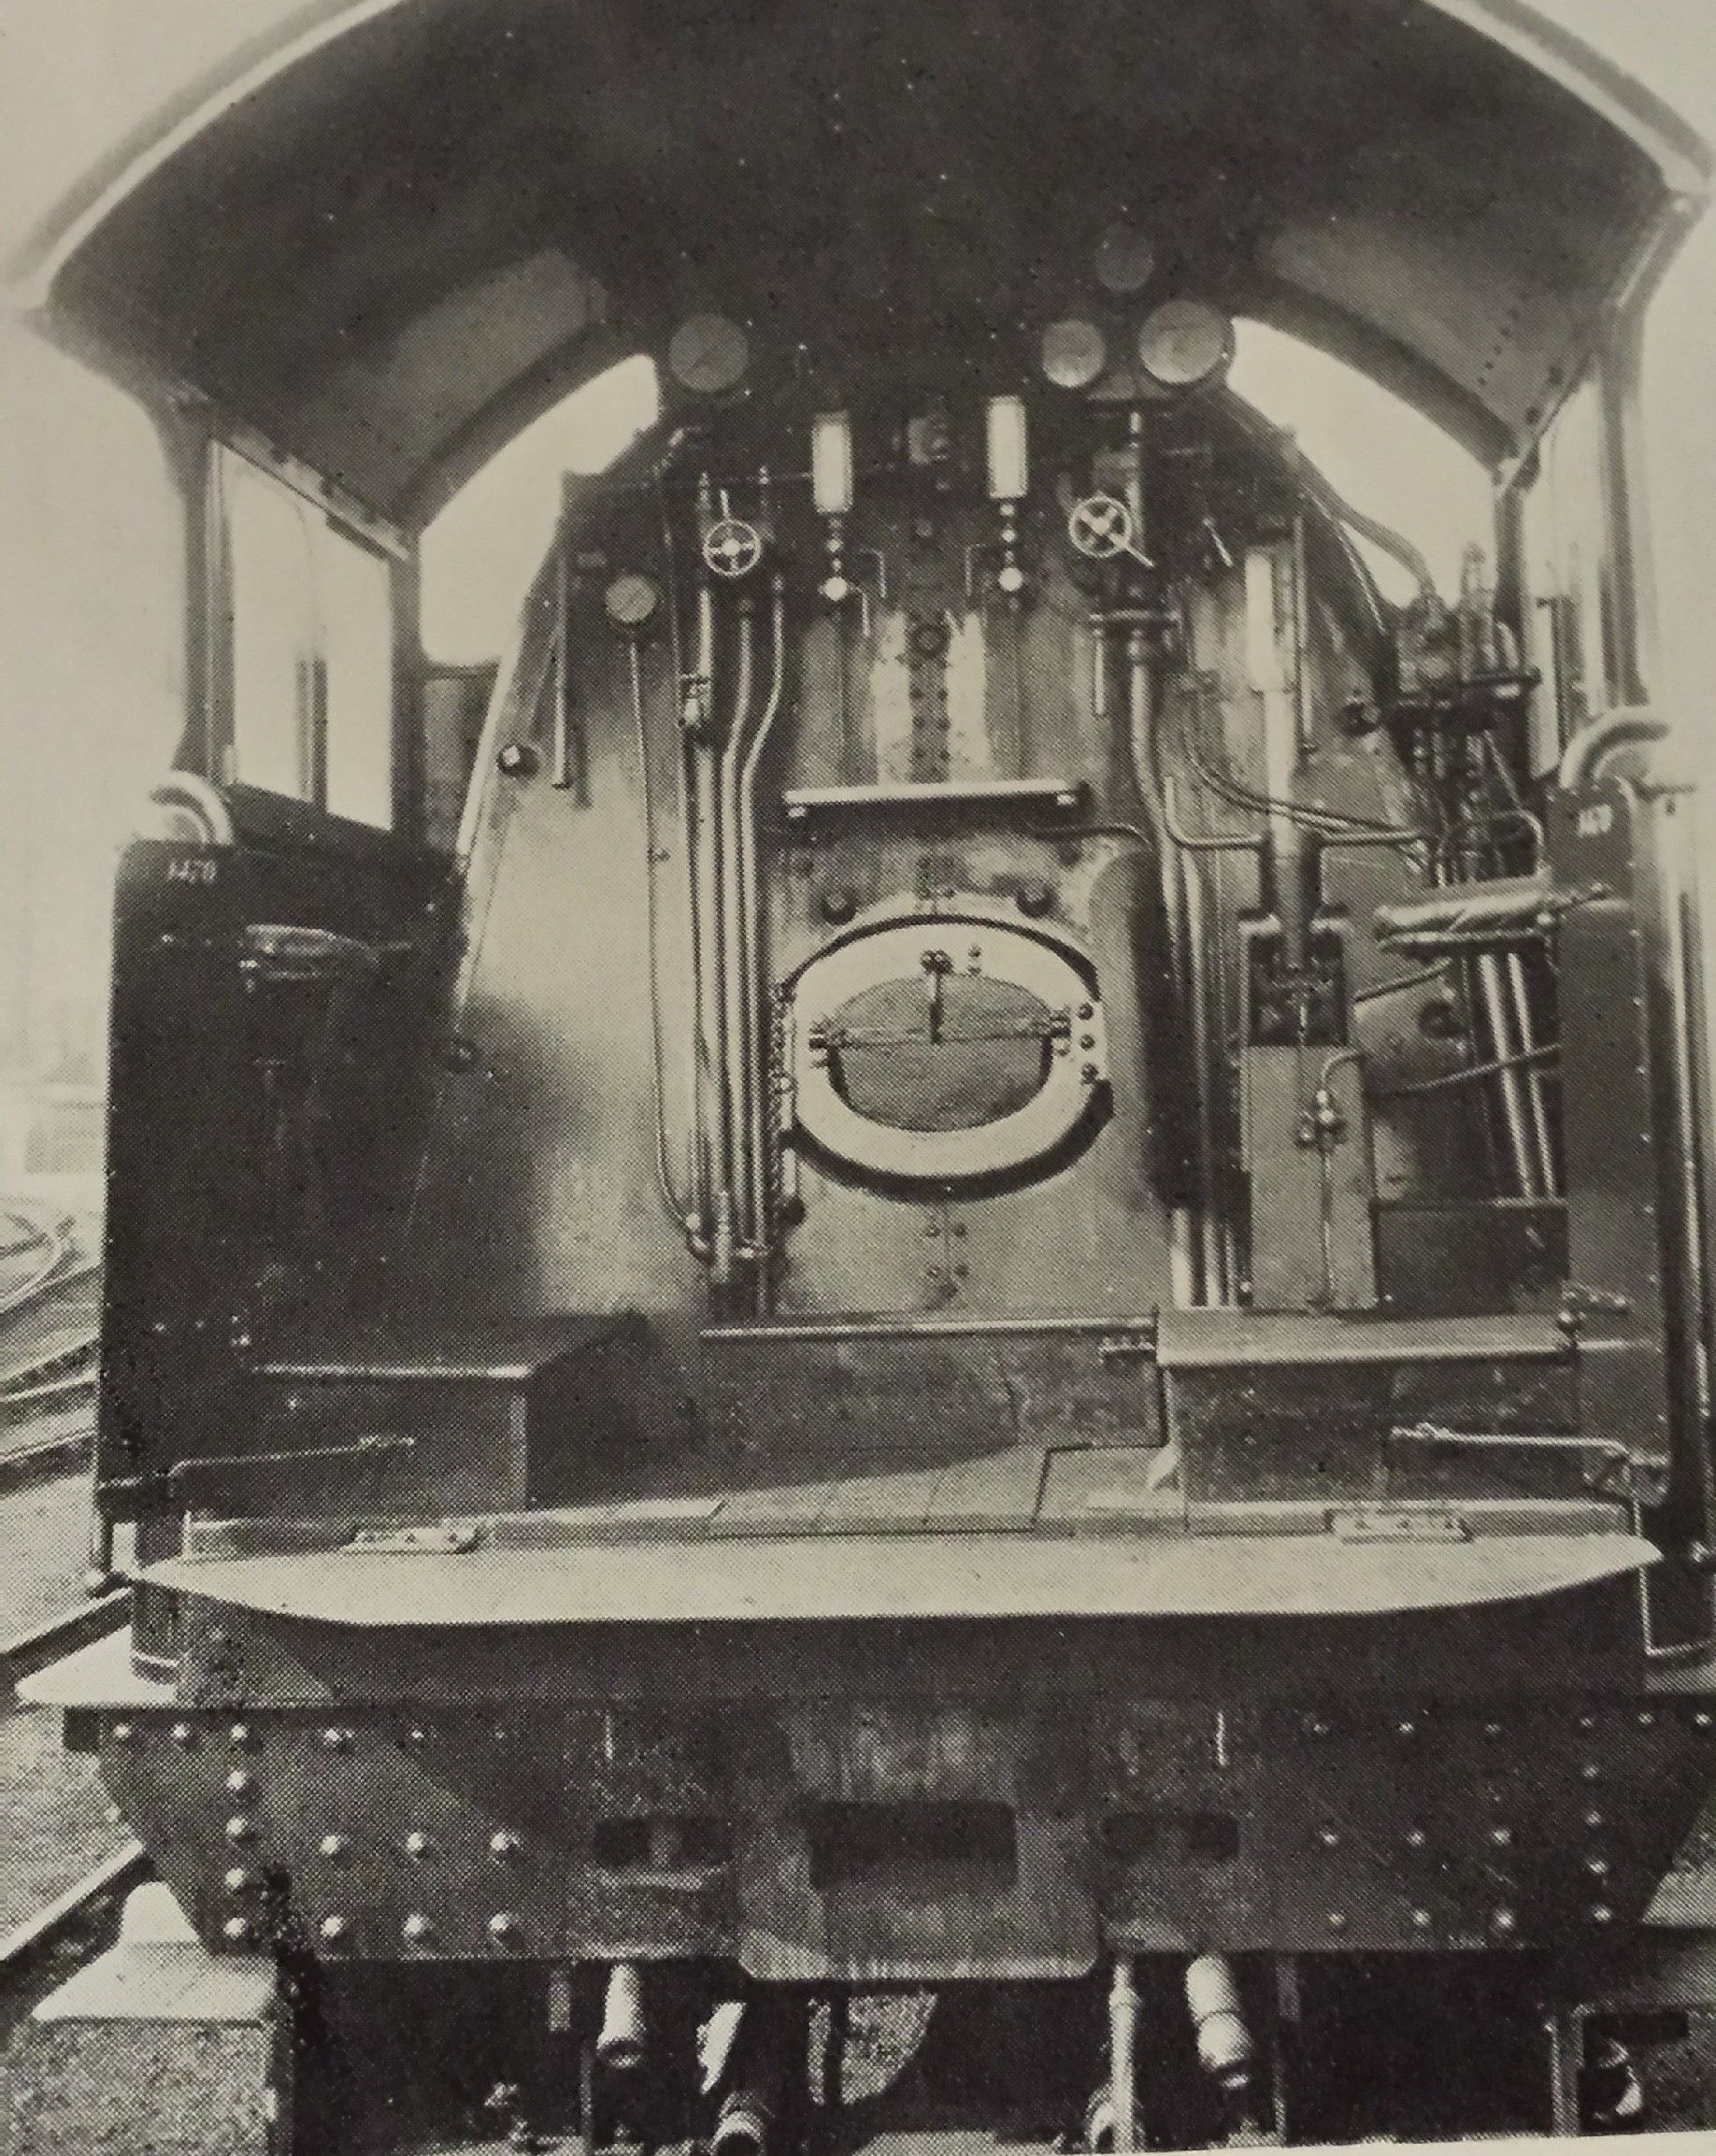
First a picture of the first A1 1470's (later 4470 Great Northern) backhead from soon after her completion, this is basically the look that I'm trying to achieve. Flying Scotsman looked similar to this in her role for the film 'Flying Scotsman 1929' and I would think that she hadn't changed that much by my chosen era of late 30's. Things that had changed I will address during construction, one obvious change here being the lack of bucket seats and higher cab side (already covered) sheets and, of course, this picture shows the much more generous loading gauge for the north. The cab was reduced in height for the first non-stop London to Edinburgh run in 1928.

Before tackling the finer detail I finished shaping the cleading edges using a file, which looks much more even now.
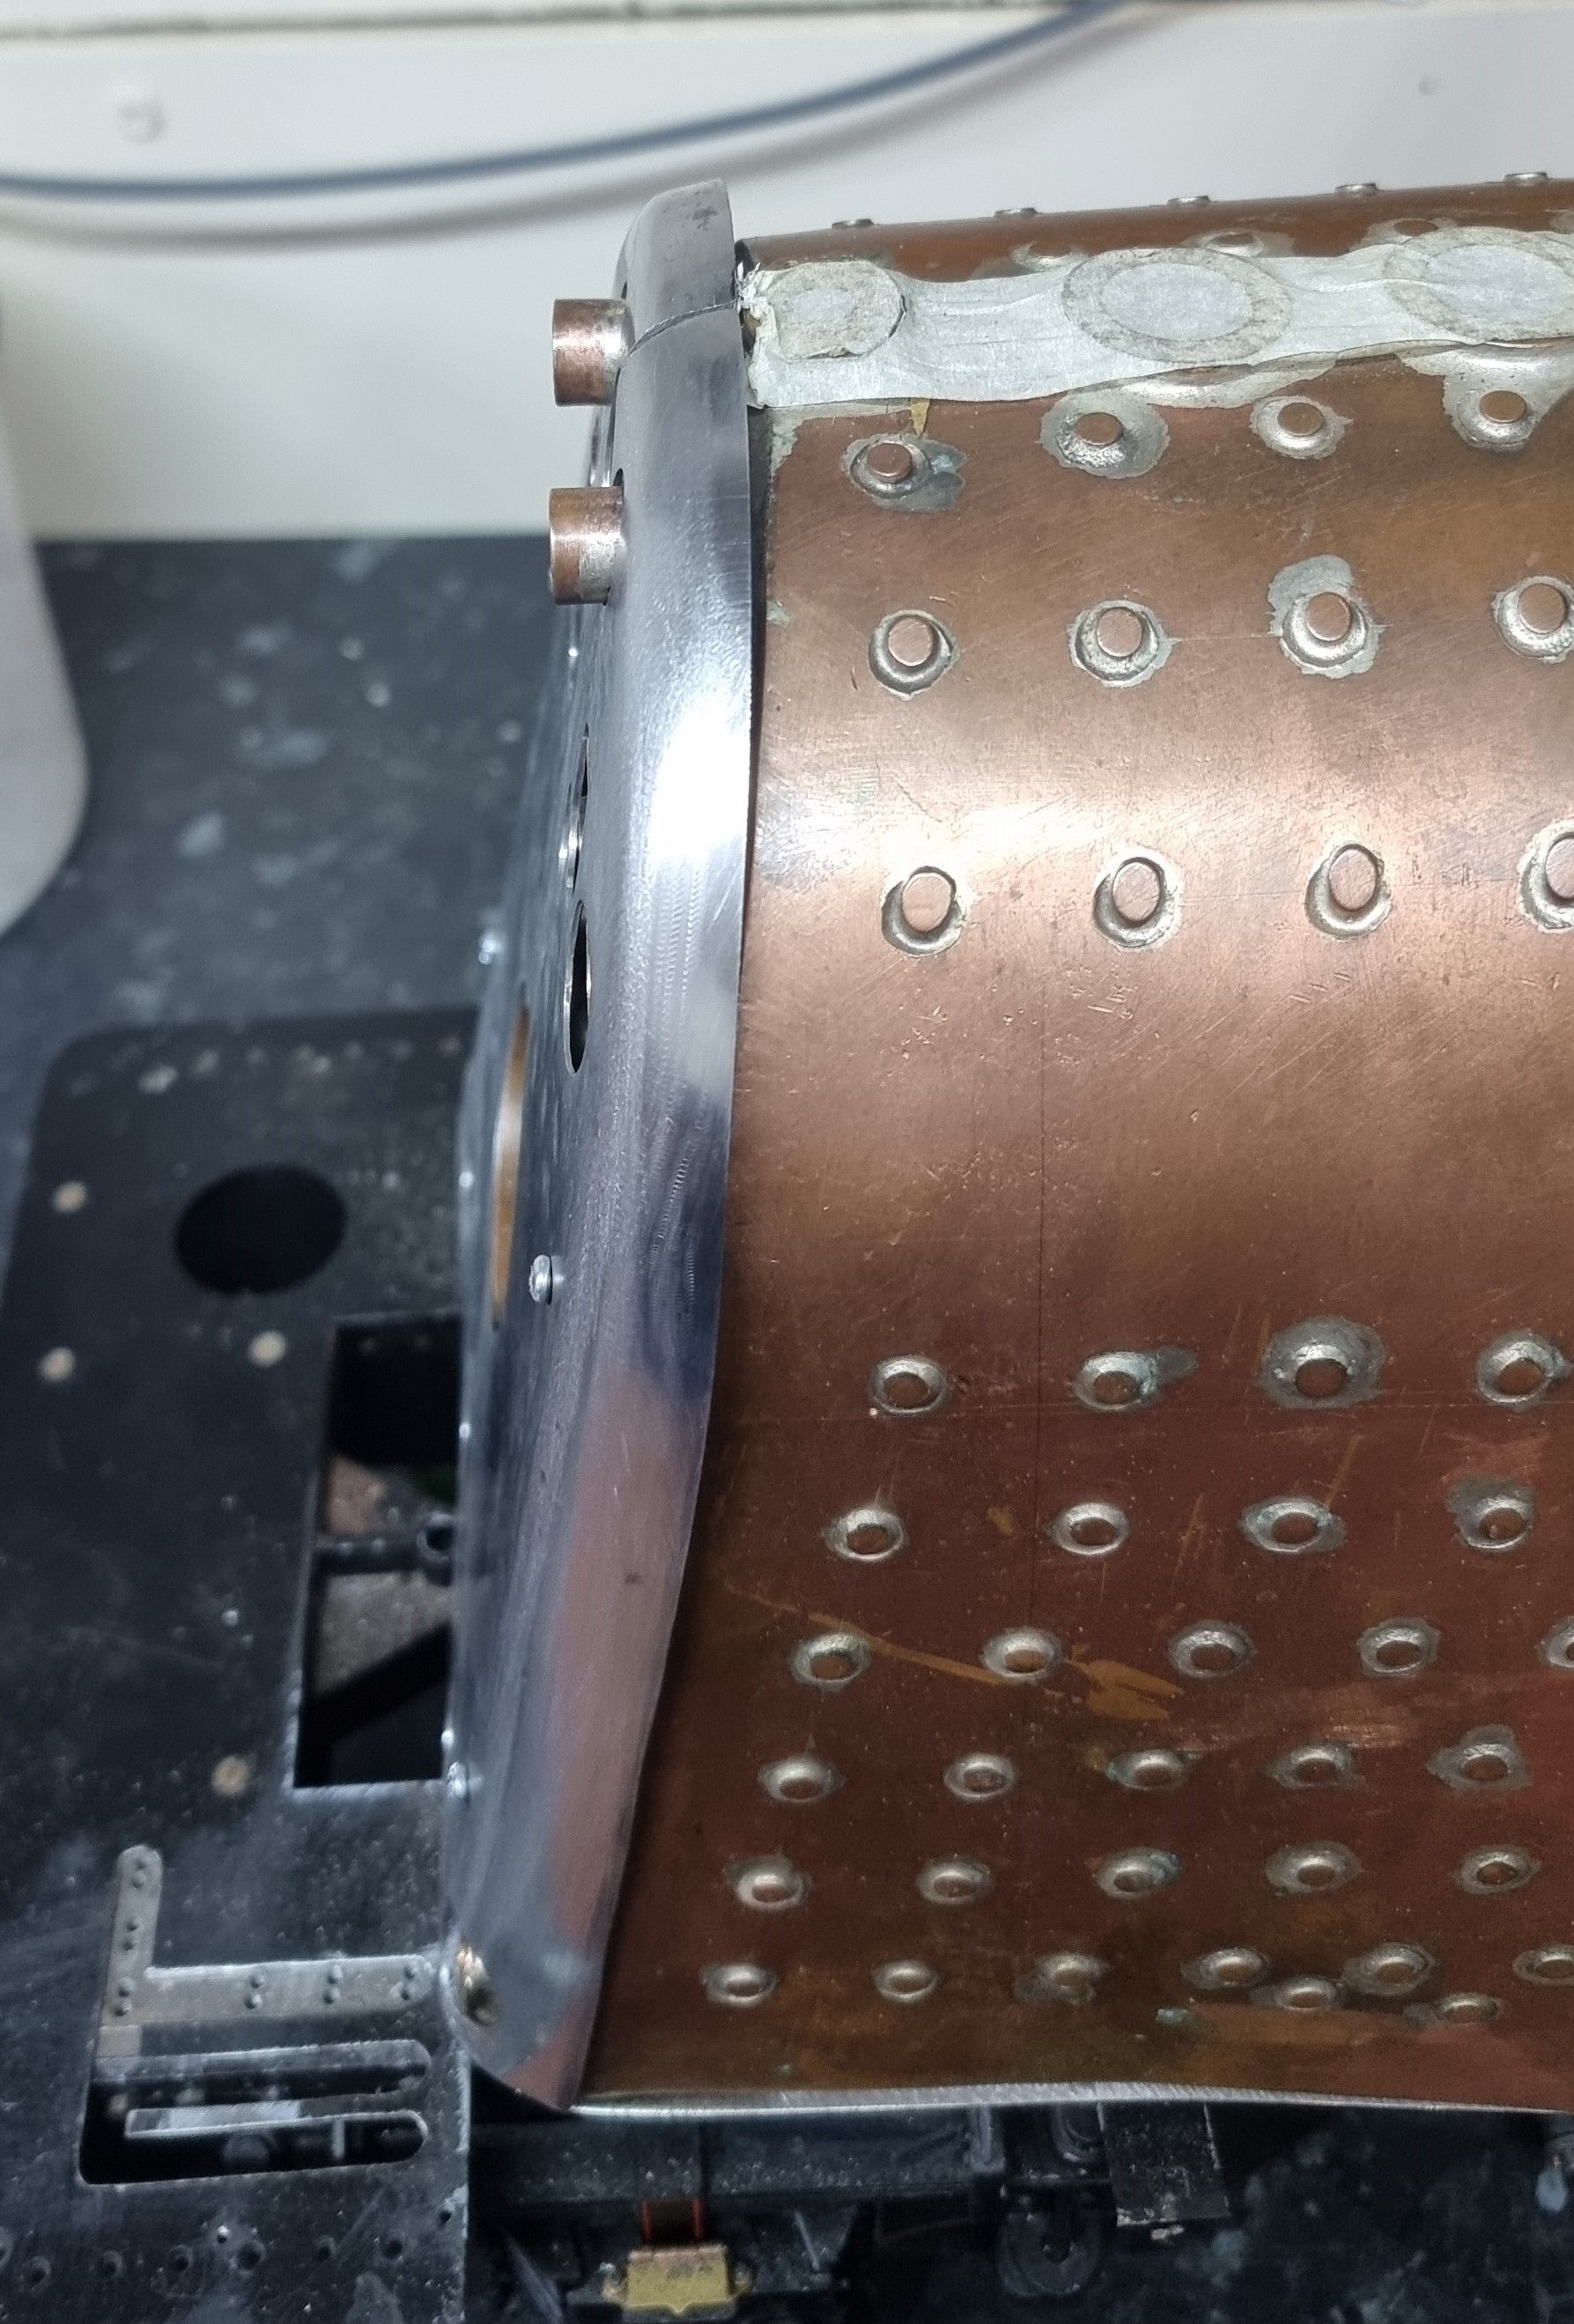
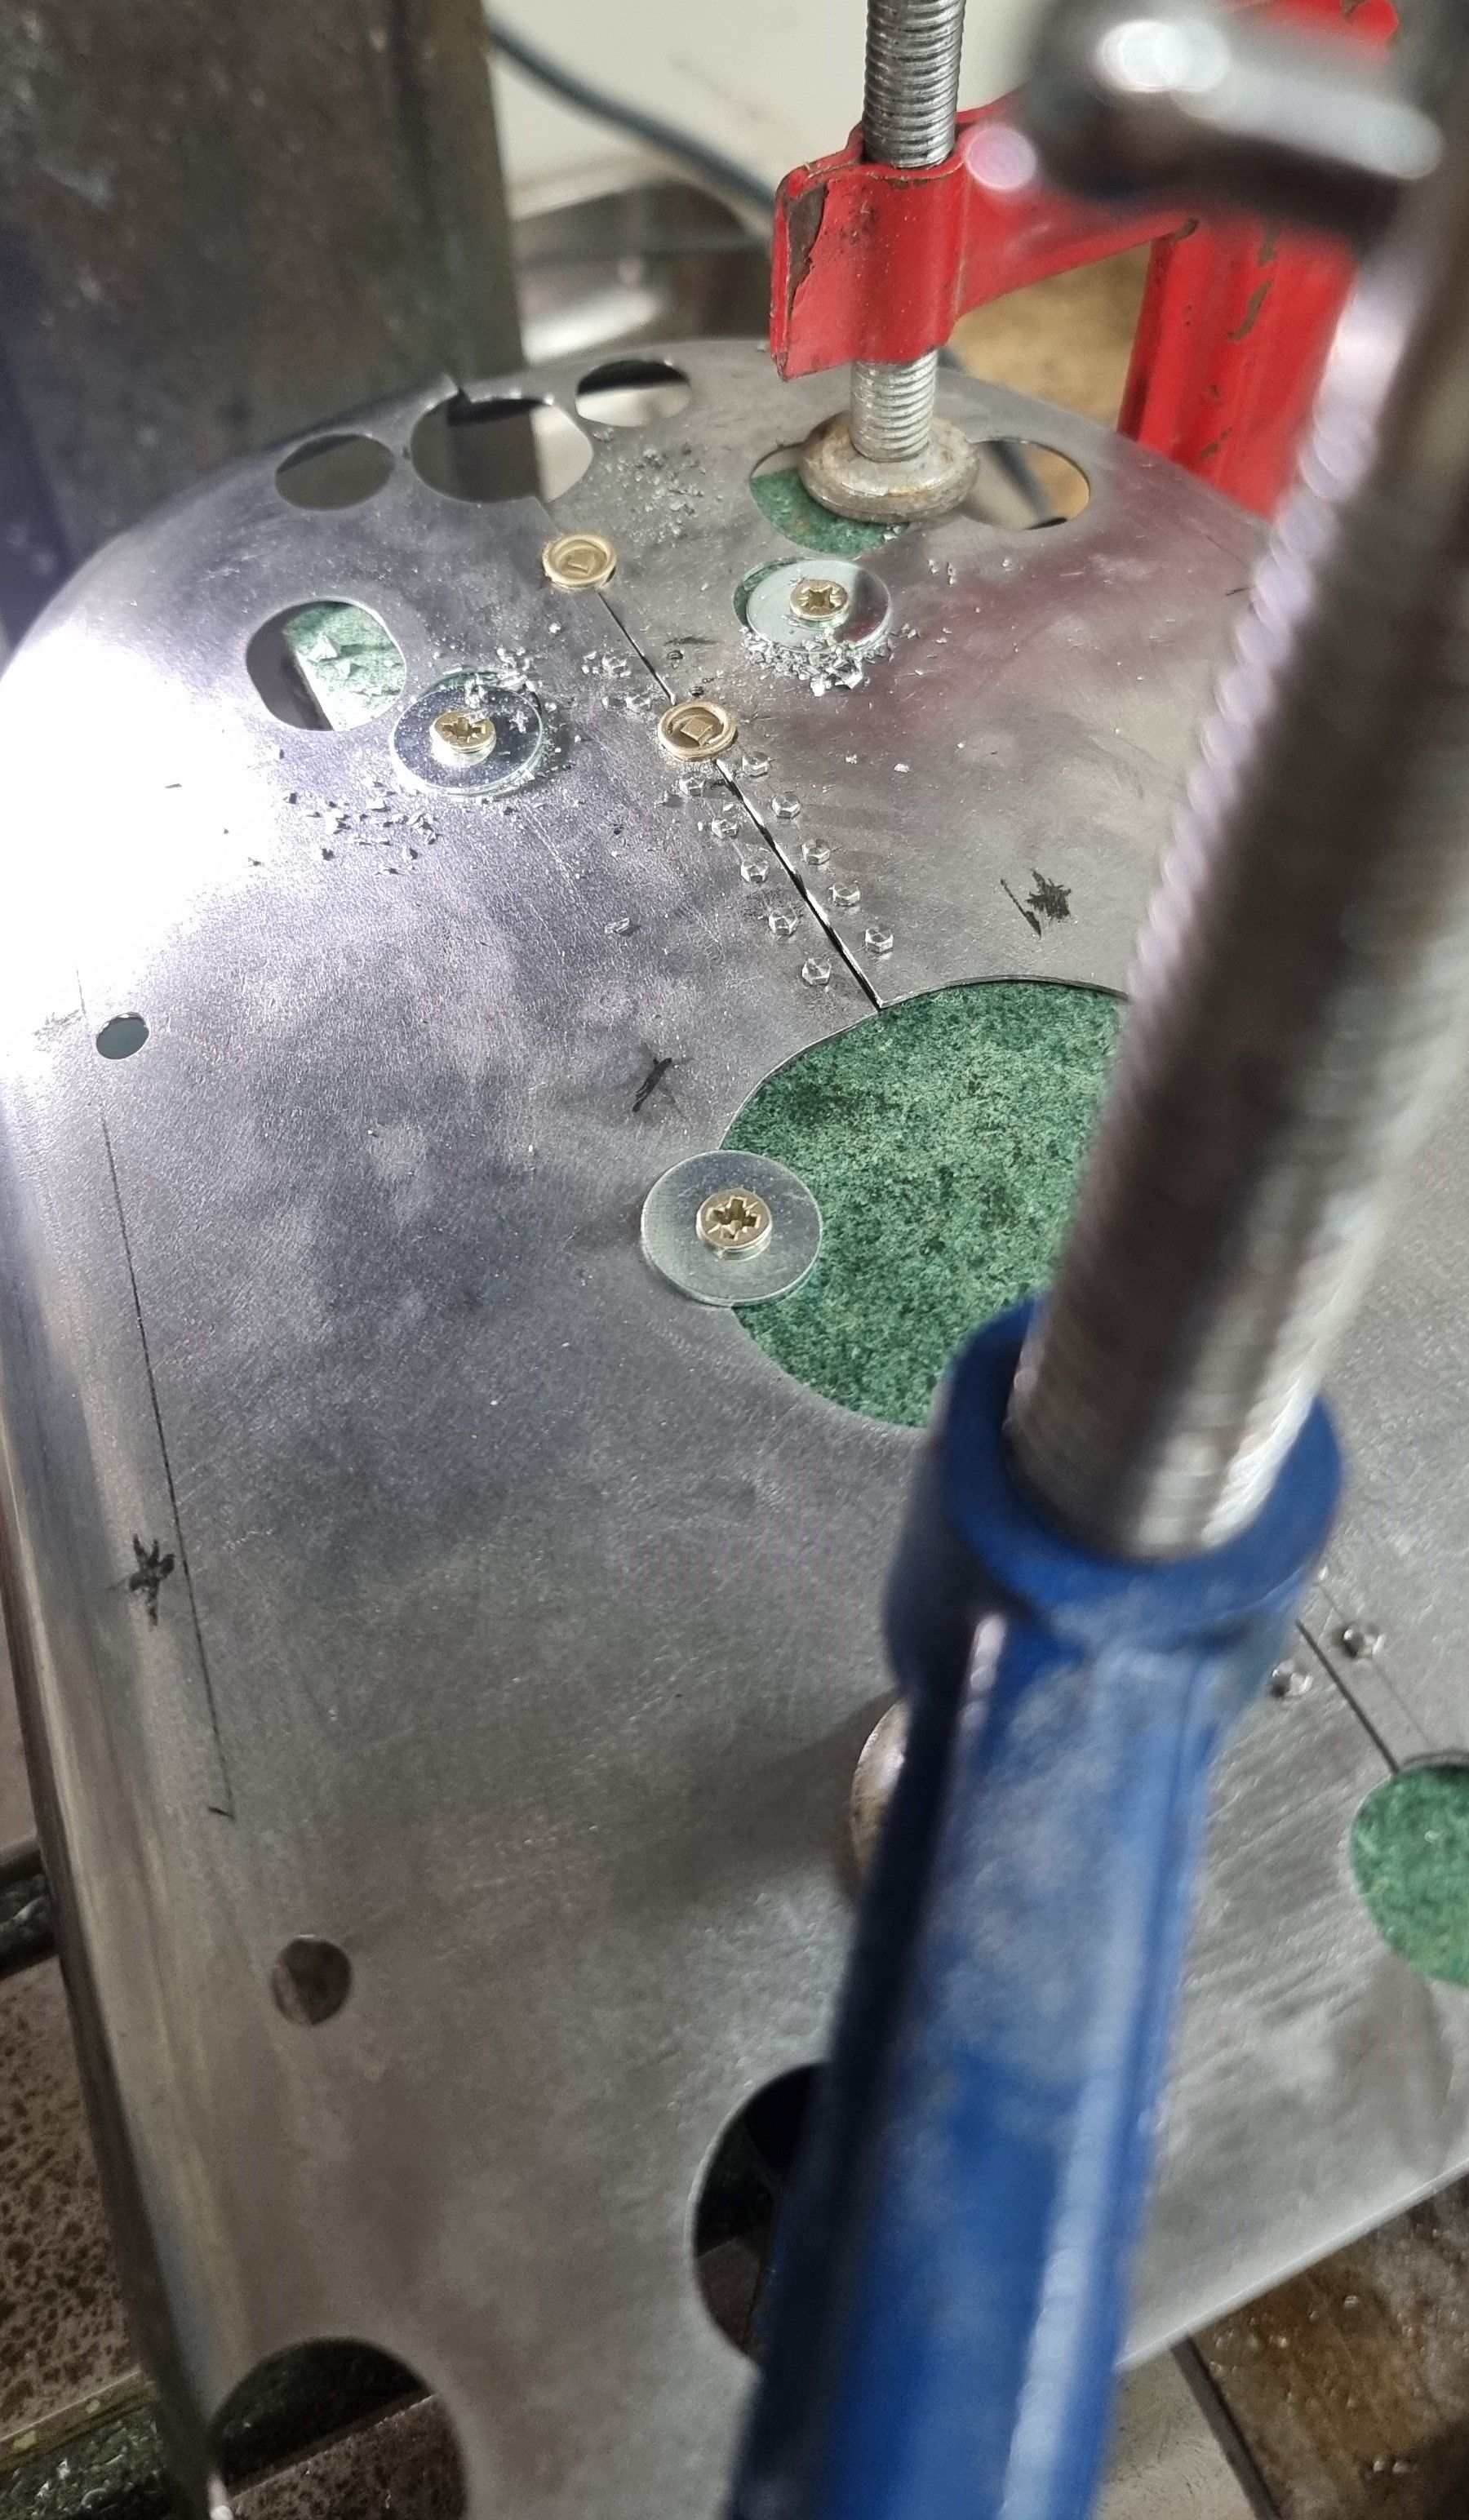
Next was the fastening 10BA hex bolts and then washout plugs, I have a picture missing showing the bolts being drilled/tapped but they can be seen here while later working on the middle washout plugs. The two cleading halves were screwed down to a piece of board using the bottom edge to keep things square. The bolt holes were set approx 3mm in from the edge and marked by hand for their position along that line. I did this rather than using the DRO as looking at the reference these did not look very symmetrical, perhaps an apprentice job, well the same apprentice did mine..:)
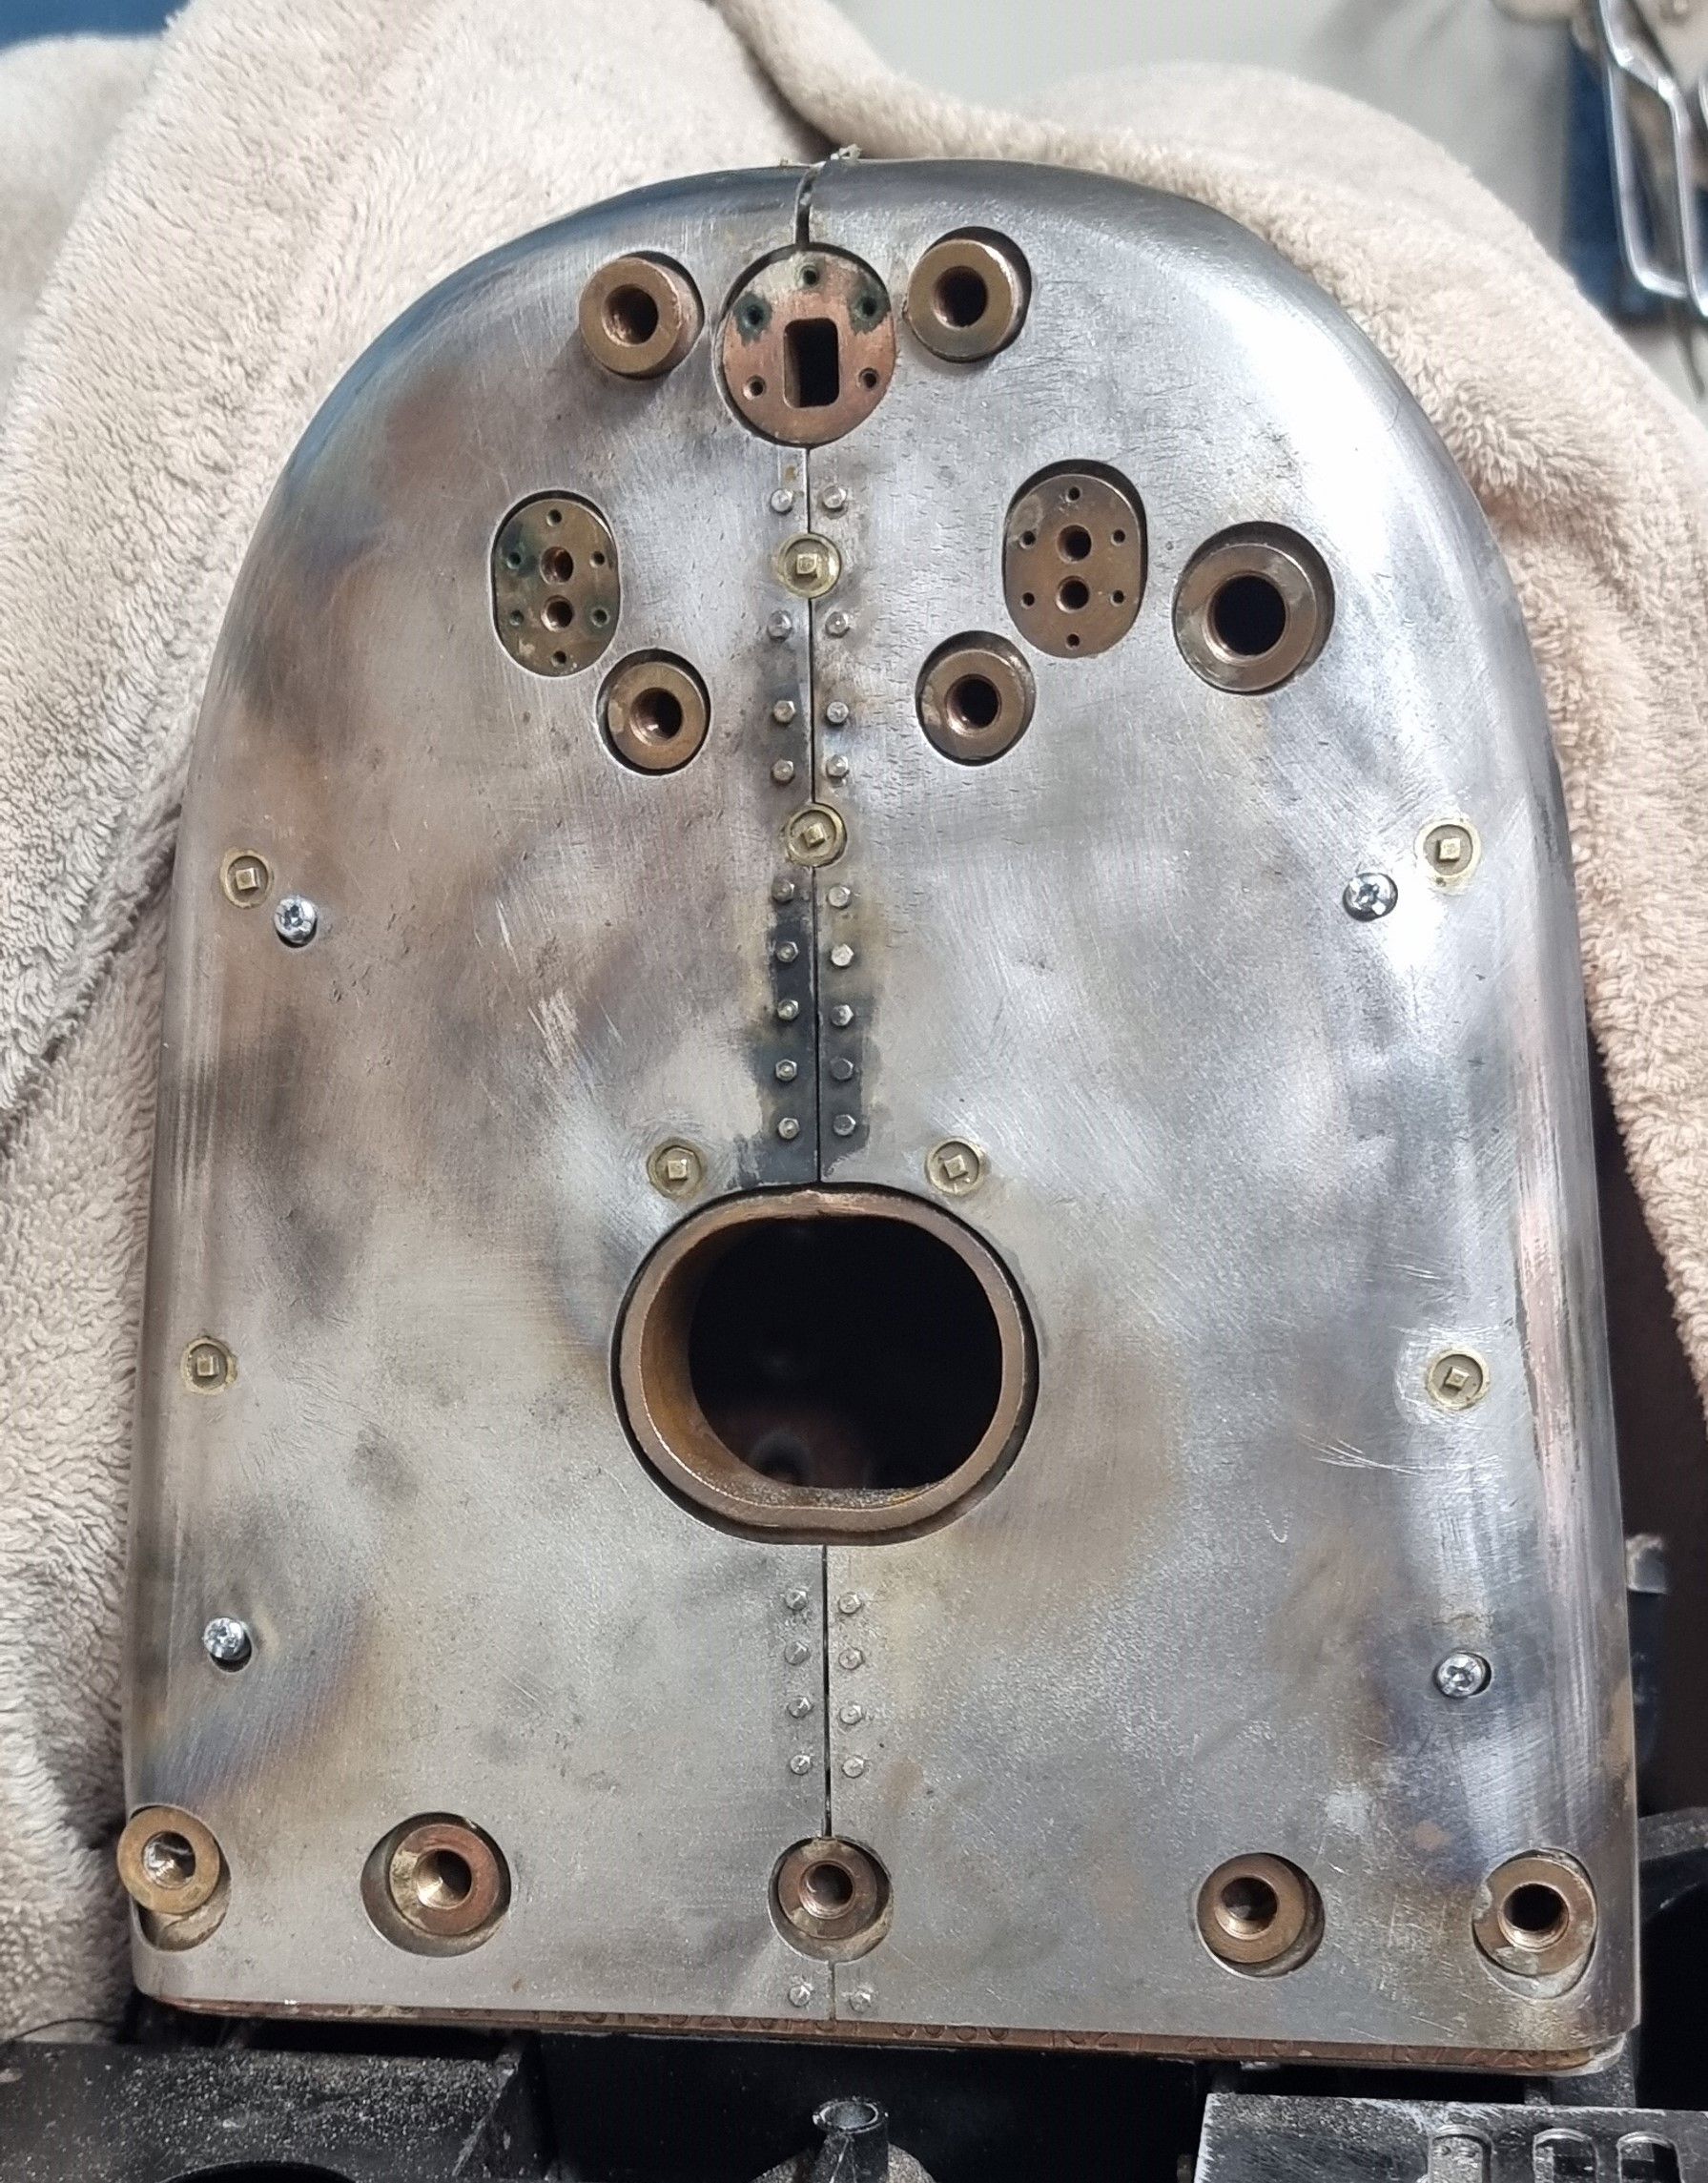
You can see that I have already drilled most of the holes for the washout plugs and have two castings sitting in situ. These lovely bronze castings left over from another project are from JCT fittings and although slightly smaller than required do the job well enough for me. Note that due to the cleading being in two halves and that said plugs seen, live on the centreline I can only silver-solder them to one side, here I have chosen to fix them to the left-hand side but could be either.
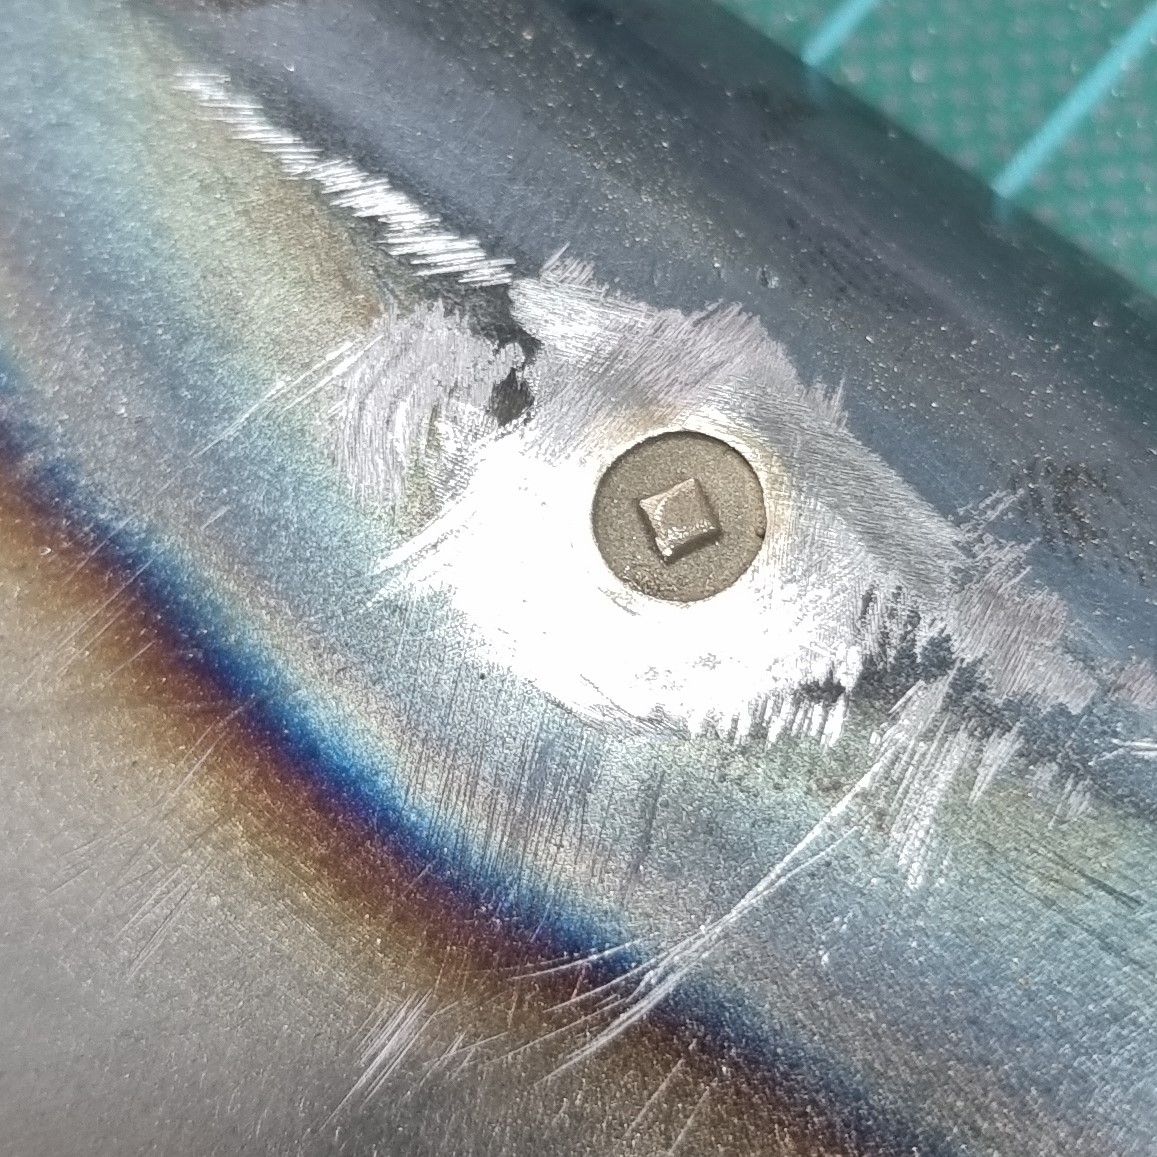
A close-up of one of the castings sitting in it's (7mm) hole, this particular plug is close to one of the cleading mounting holes which luckily doesn't impede the job. Here we can see the plug has already been silver-soldered in place awaiting final filing.
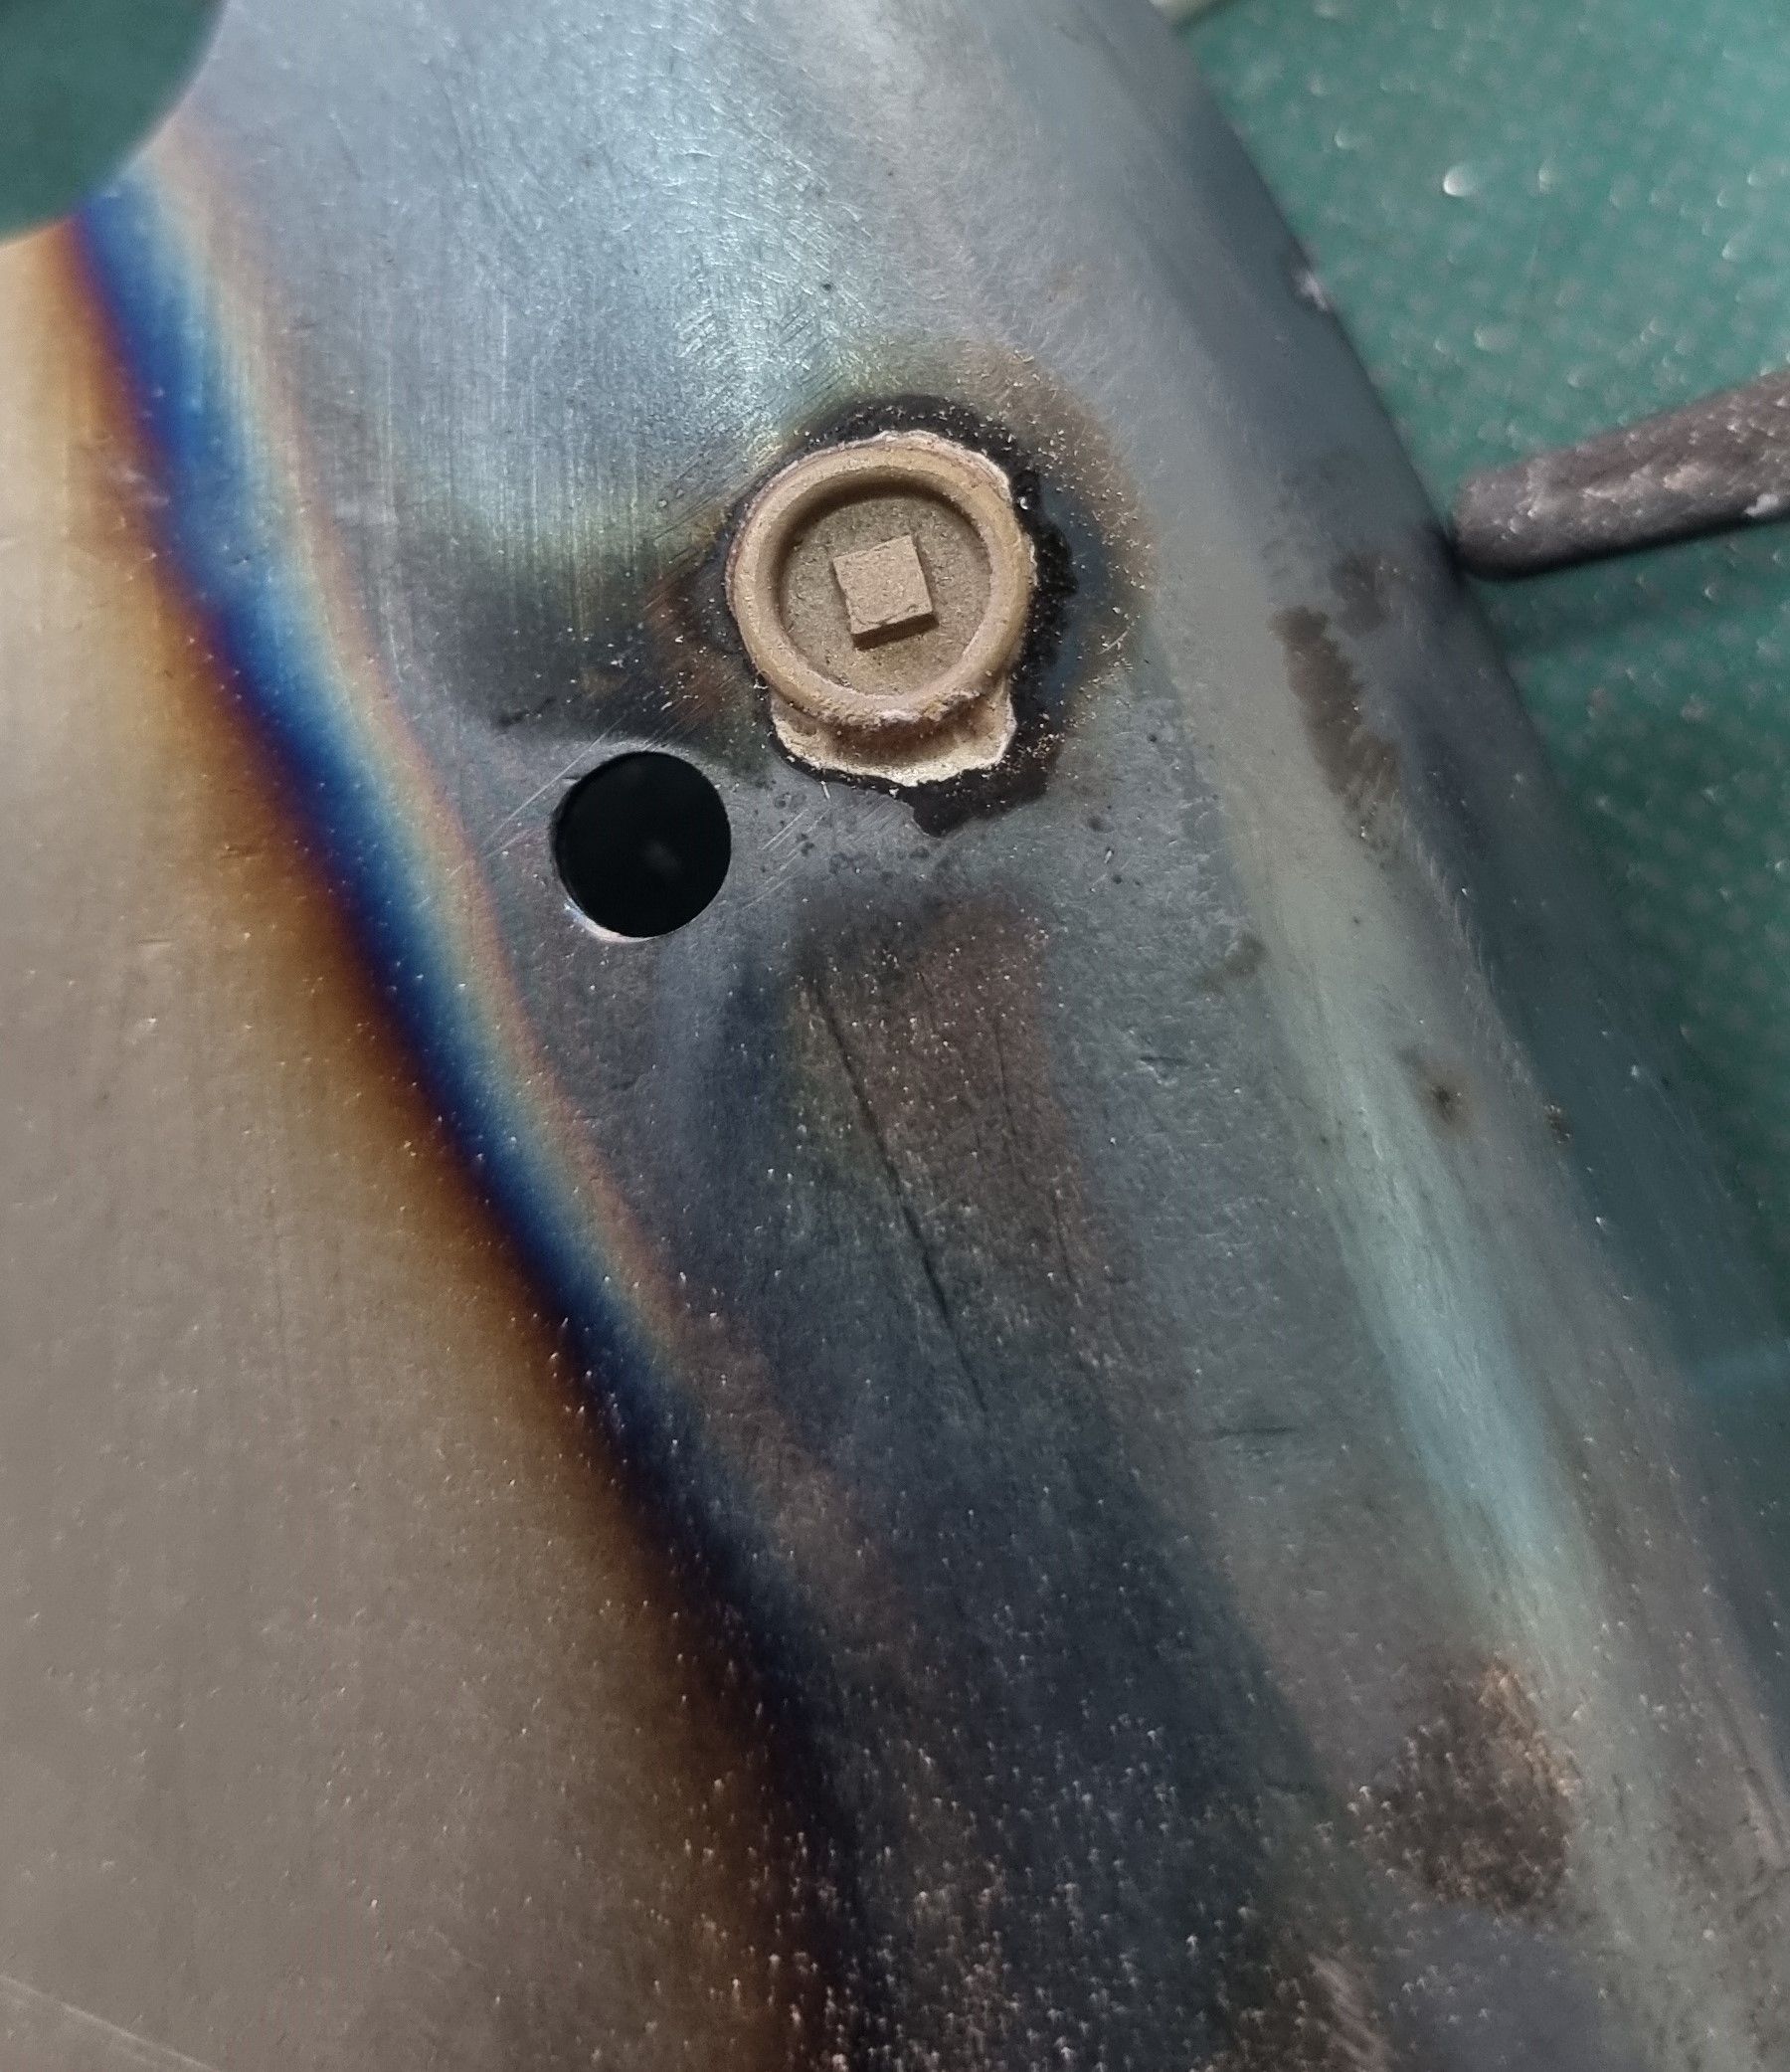
and another of the plugs now having had its lip filed down to match the prototype
This gets us to the stage shown below, still lots to do such as the fire-hole door and tea shelf but those will be for after I have completed the reverser. Once the cab floor has been made which covers all of the bottom openings we should be getting much closer to the finished look.
So, next time, we will indeed, cover the reverser's internal workings, which I have to say I am currently very much enjoying making.