

This is one of those 'interdependent' parts that need to be taken care of when building the reverser, or to be more precise for working out the brass indicator plate position. I have previously shown the laser cut plates as kindly supplied by Ed of Model Engineers Laser bolted to the boiler, a little fettling soon got them sitting as required. It was now time to curve the edges around the firebox crown and for this job, I have chosen a traditional tool not seen much these days. We are, of course, talking of the good old English wheel. Today's first picture shows a relatively cheap bench-mounted type that is perfect for a typical workshop environment with limited floor space, this is a Metz make.
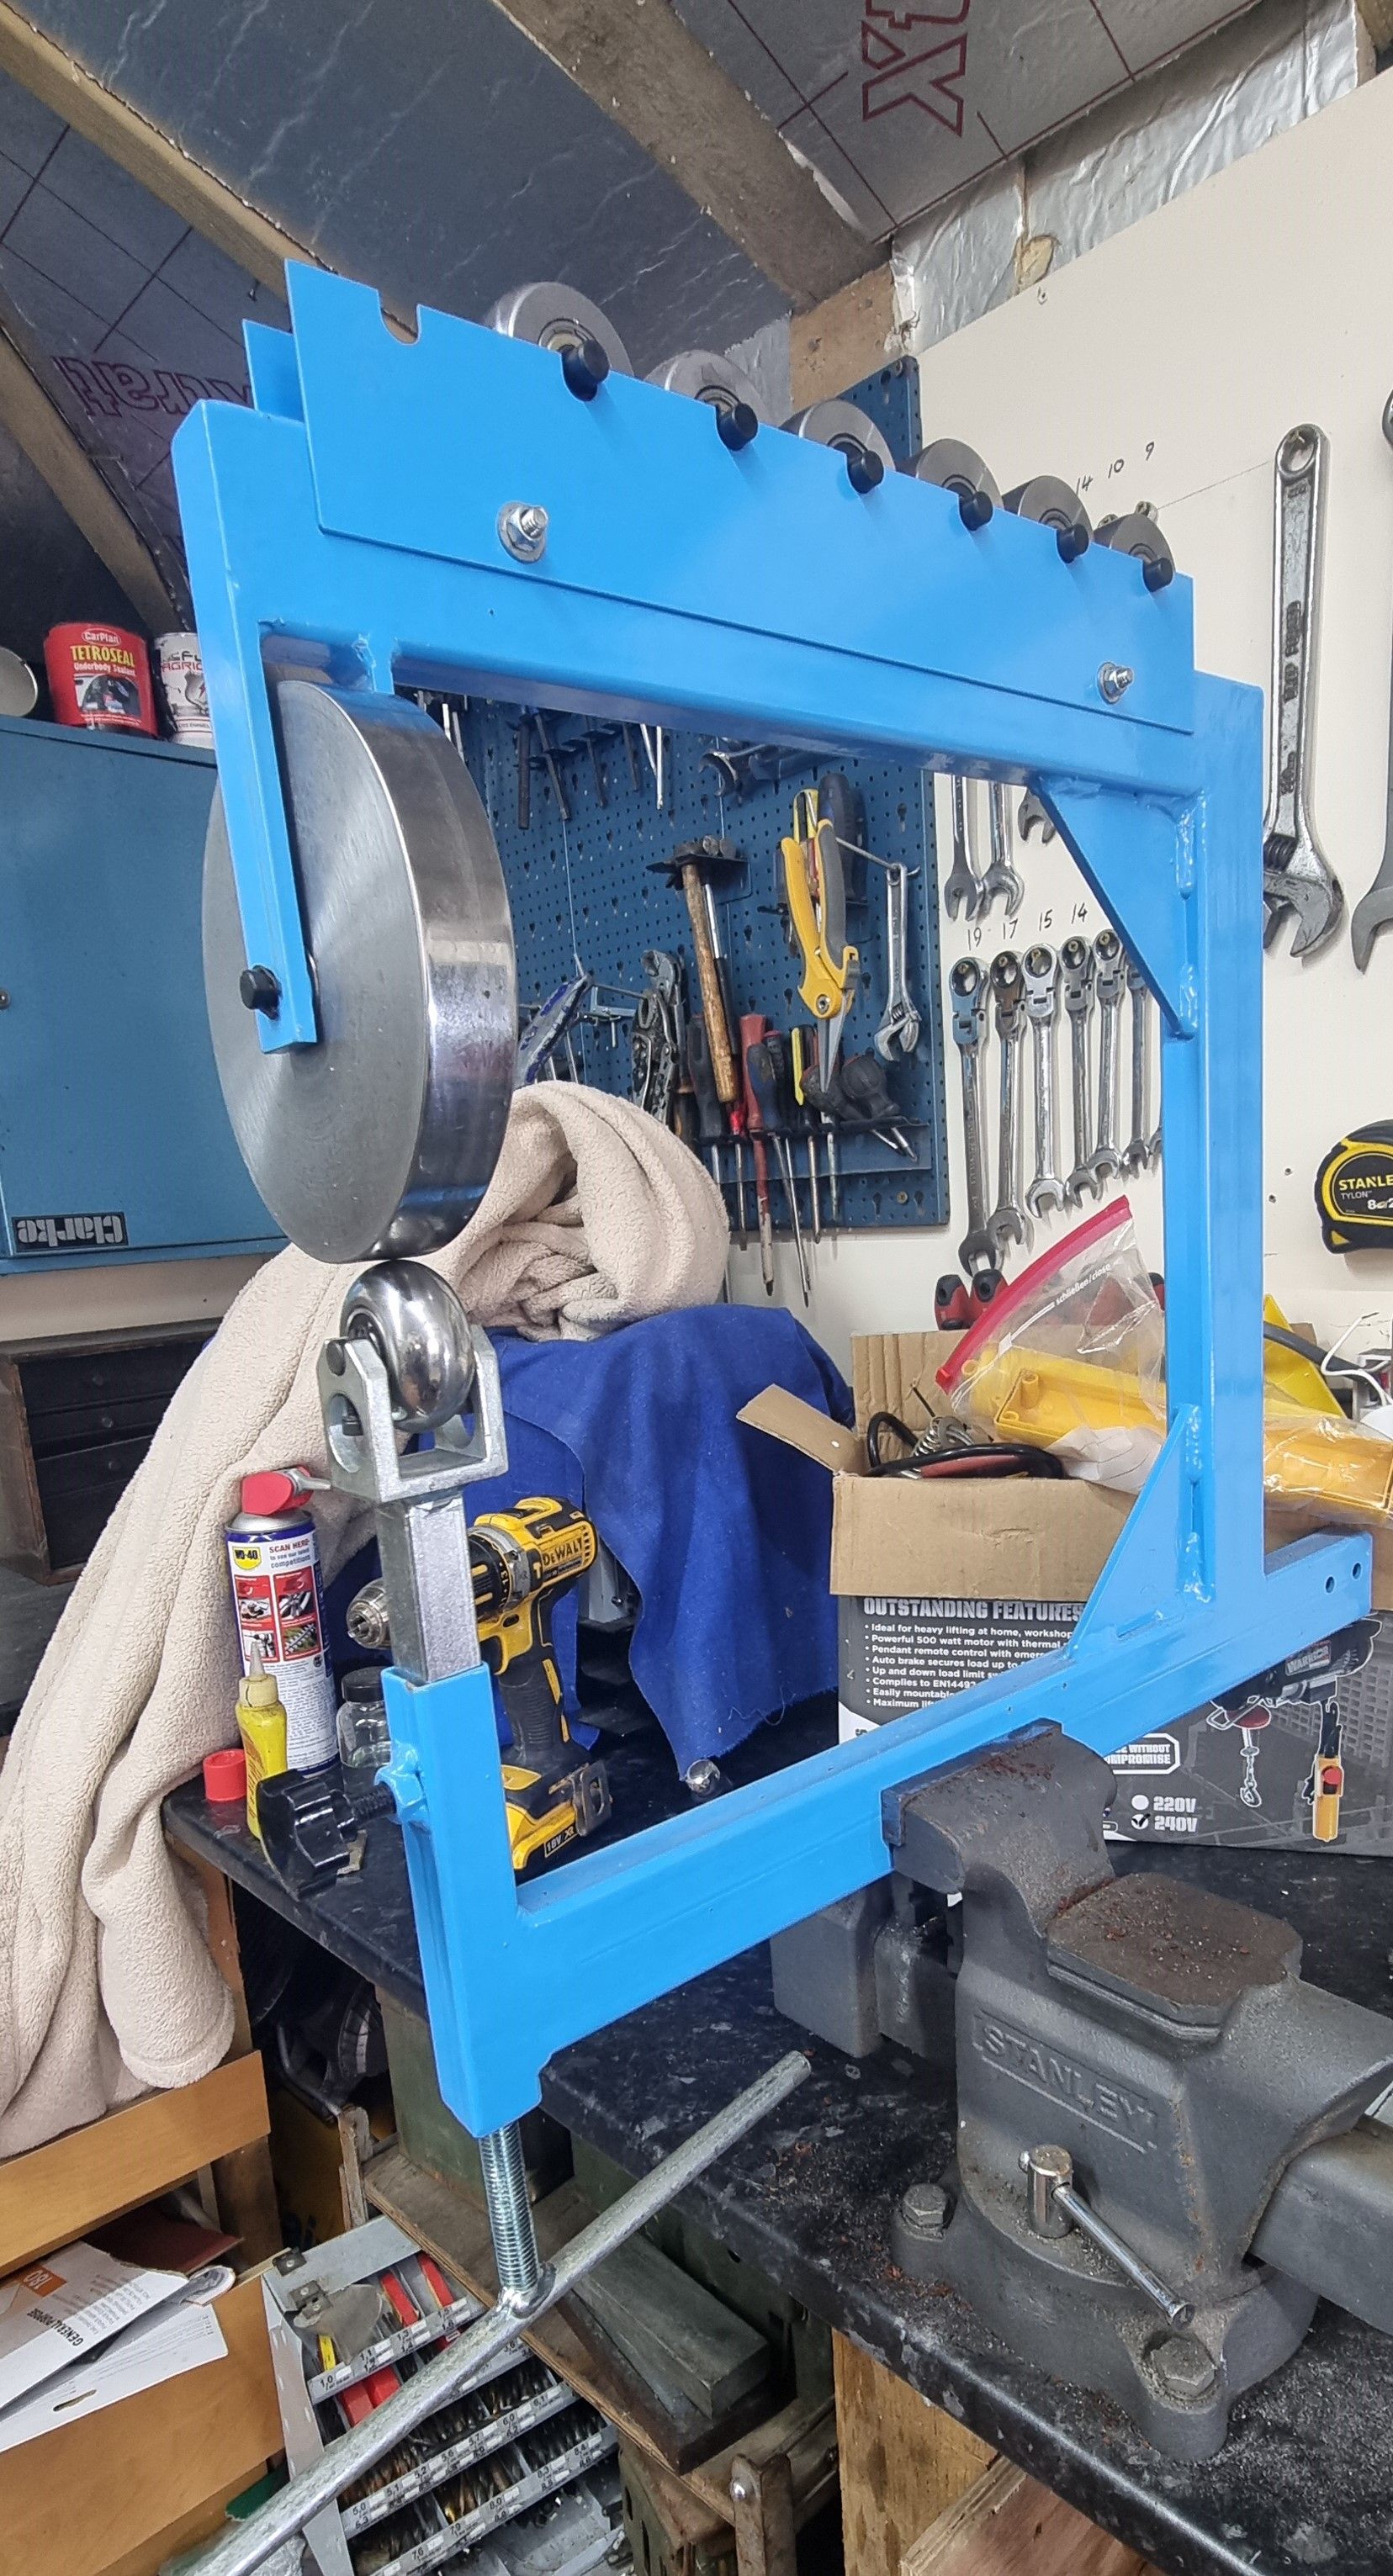
This is a first for me, I've always wanted to play with one of these tools, and now I had the perfect excuse for purchasing one. They are cheaper than one may think. So, what do I think and what did I learn? Well, this is a pretty easy tool to use, take your time and let the wheel work the metal, don't try to go too quickly, increase the pressure a little and then work back and forward along the wheel. It's amazing how well this works as it forms the metal to your will. The metal naturally thins as it's worked, more than one might expect for such little effort, or at least it seemed so to me.
Ok so on with the job to hand, I soon discovered that I needed a smaller bottom die to achieve the final radius, I'll touch more on that below but for now this picture shows how far I got using the smallest die in the kit, one word, this took 'time'. here we see one half formed while the other is still flat, just to give an idea of how much you need to work the steel. This is only halfway there for the curve, it needs a much smaller rad.
Another picture from head on

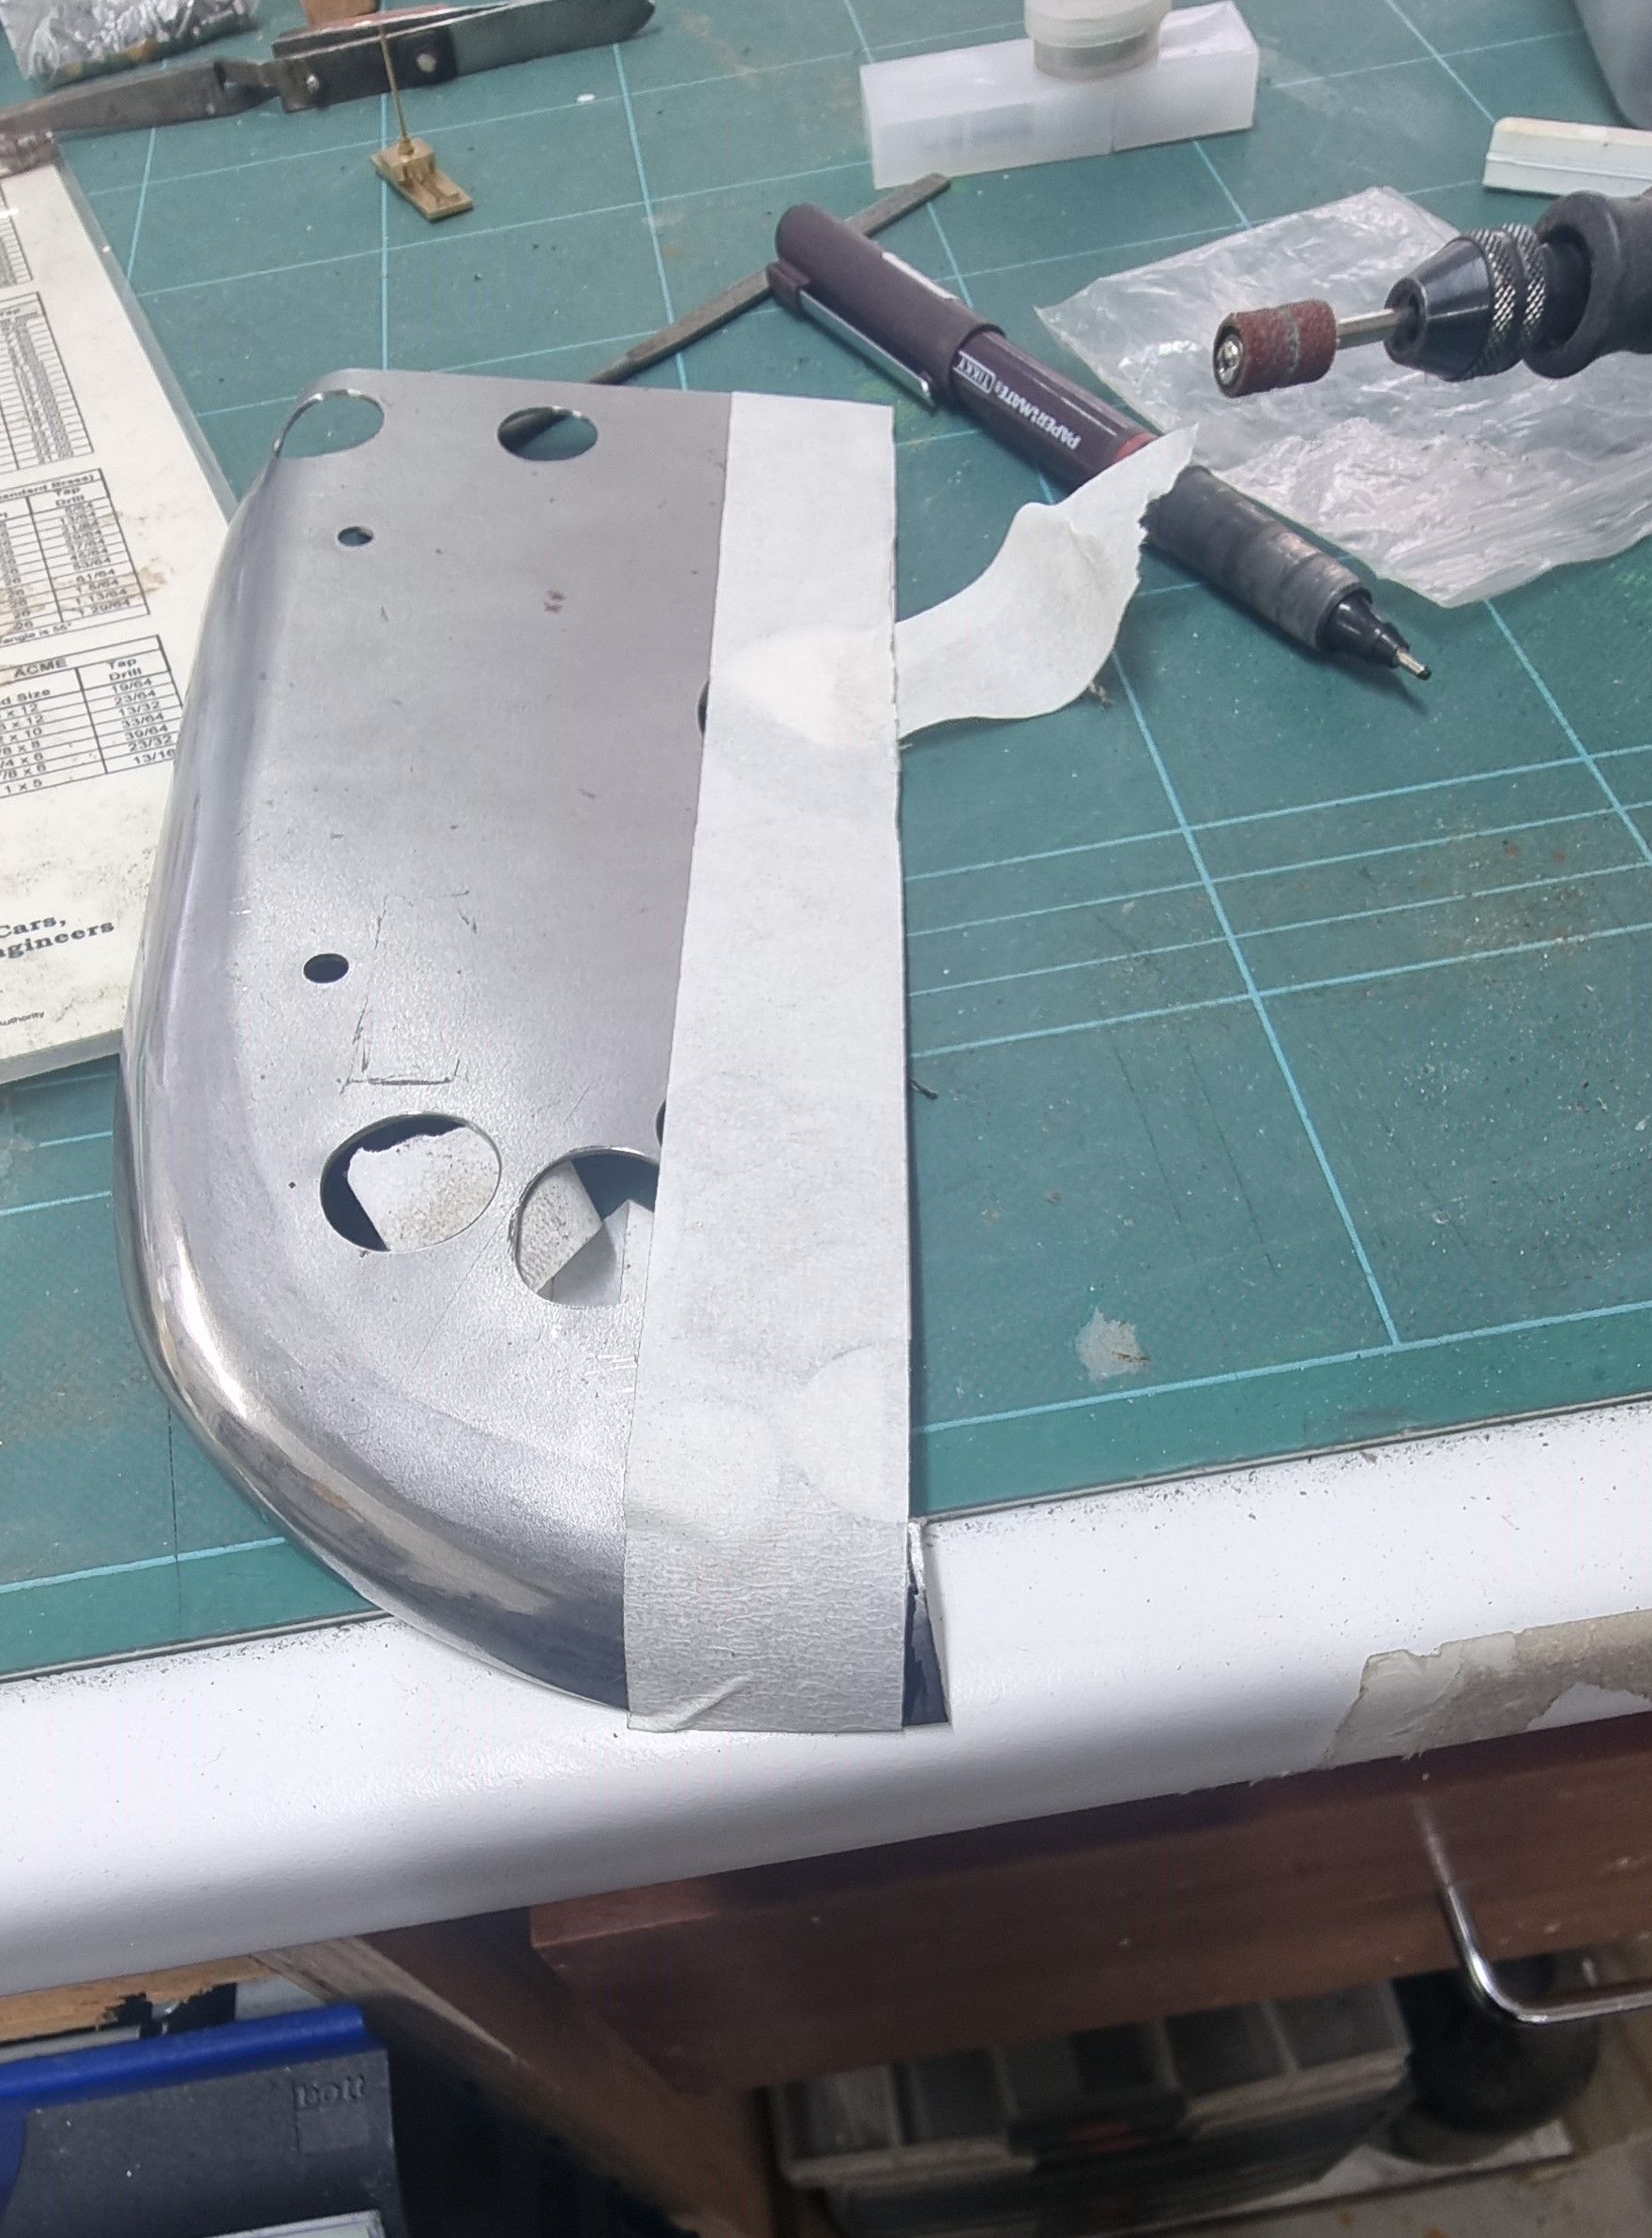
As you form the metal it gets thinner and thus expands, easy to control, the only part needing special attention being the top inner edge where the various holes for fittings are closely positioned. An added consideration is the fact, that the top 3 bushes are in the actual curve itself and thus care needs to be taken while using the wheel here, I guess you could form the cleading first before cutting the holes but I think that may be more problematic later. Once happy with the basic shape I used some tape along the joint edge to mark where to cut away (file) the now expanded metal.
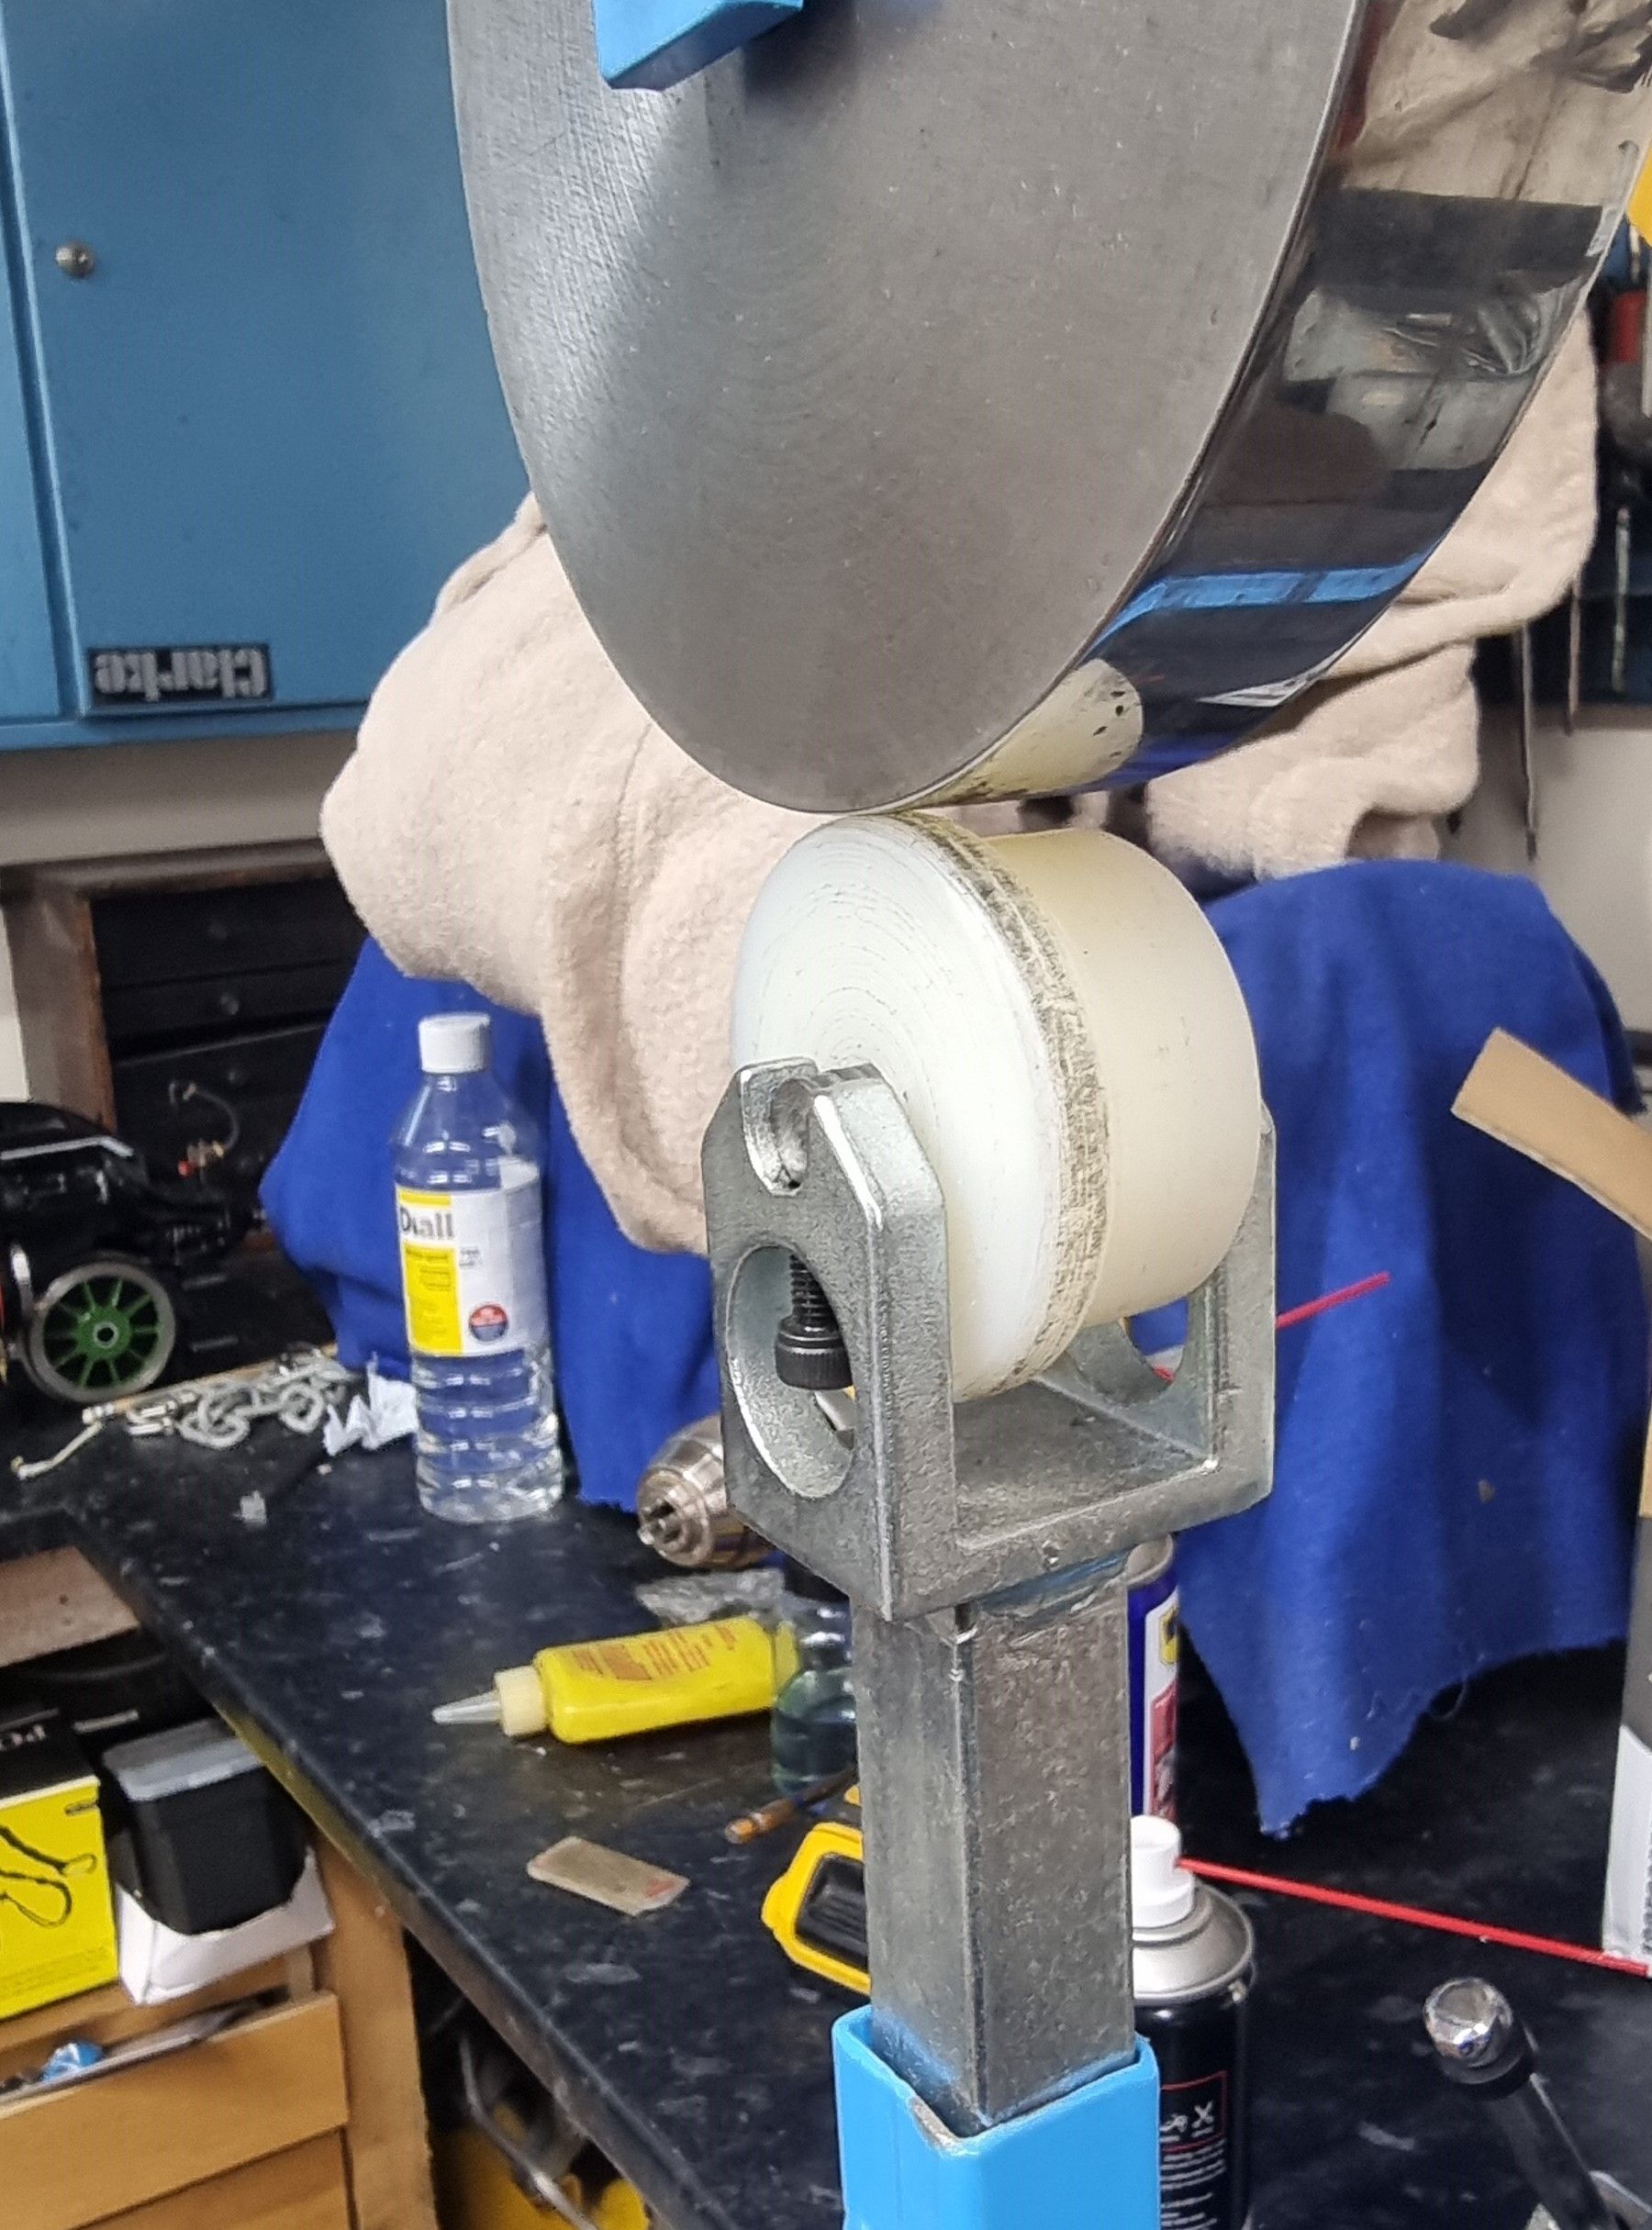
Above I stated that a smaller die was required for this particular job, I began by searching the web for a smaller die and found that 1/4" was available but rather than order one I also found that some dies are only made from Nylon. I hadn't considered this before but it gave me a plan/idea to make use of some 2-inch nylon rod given to me by my son-in-law when his firm closed down and had a big clearout some years back. All I needed to do was to turn this up following one of the two designs seen online and bore it out for a drift fit with some 3/8 th steel bar to fit the wheel bracket. Here is the new die fitted, note the 1/4" is to the outside edge, the other design found had it in the middle, I made this type as it suited the curve being so close to the edge of the work. I have to say it worked very well...
Here we see the result of using the smaller die, the metal now curves closely around the bushes and edge of the firebox sides and crown. A little more fettling with the holes and that will be it other than final trimming of the outer edges. One thing to point out here is the position of the indicator plate. If you compare this with the image from the real A1 shown in the last update you'll note that I will have to lower the plate a little as the oversize blowdown bush is in the way, I suspect the plate will be sitting over the screw that holds the cleading on, (not a problem as the final screws will be CSK) and just below the bush itself. This will be another of those jobs to keep a close eye on being interdependent on others.

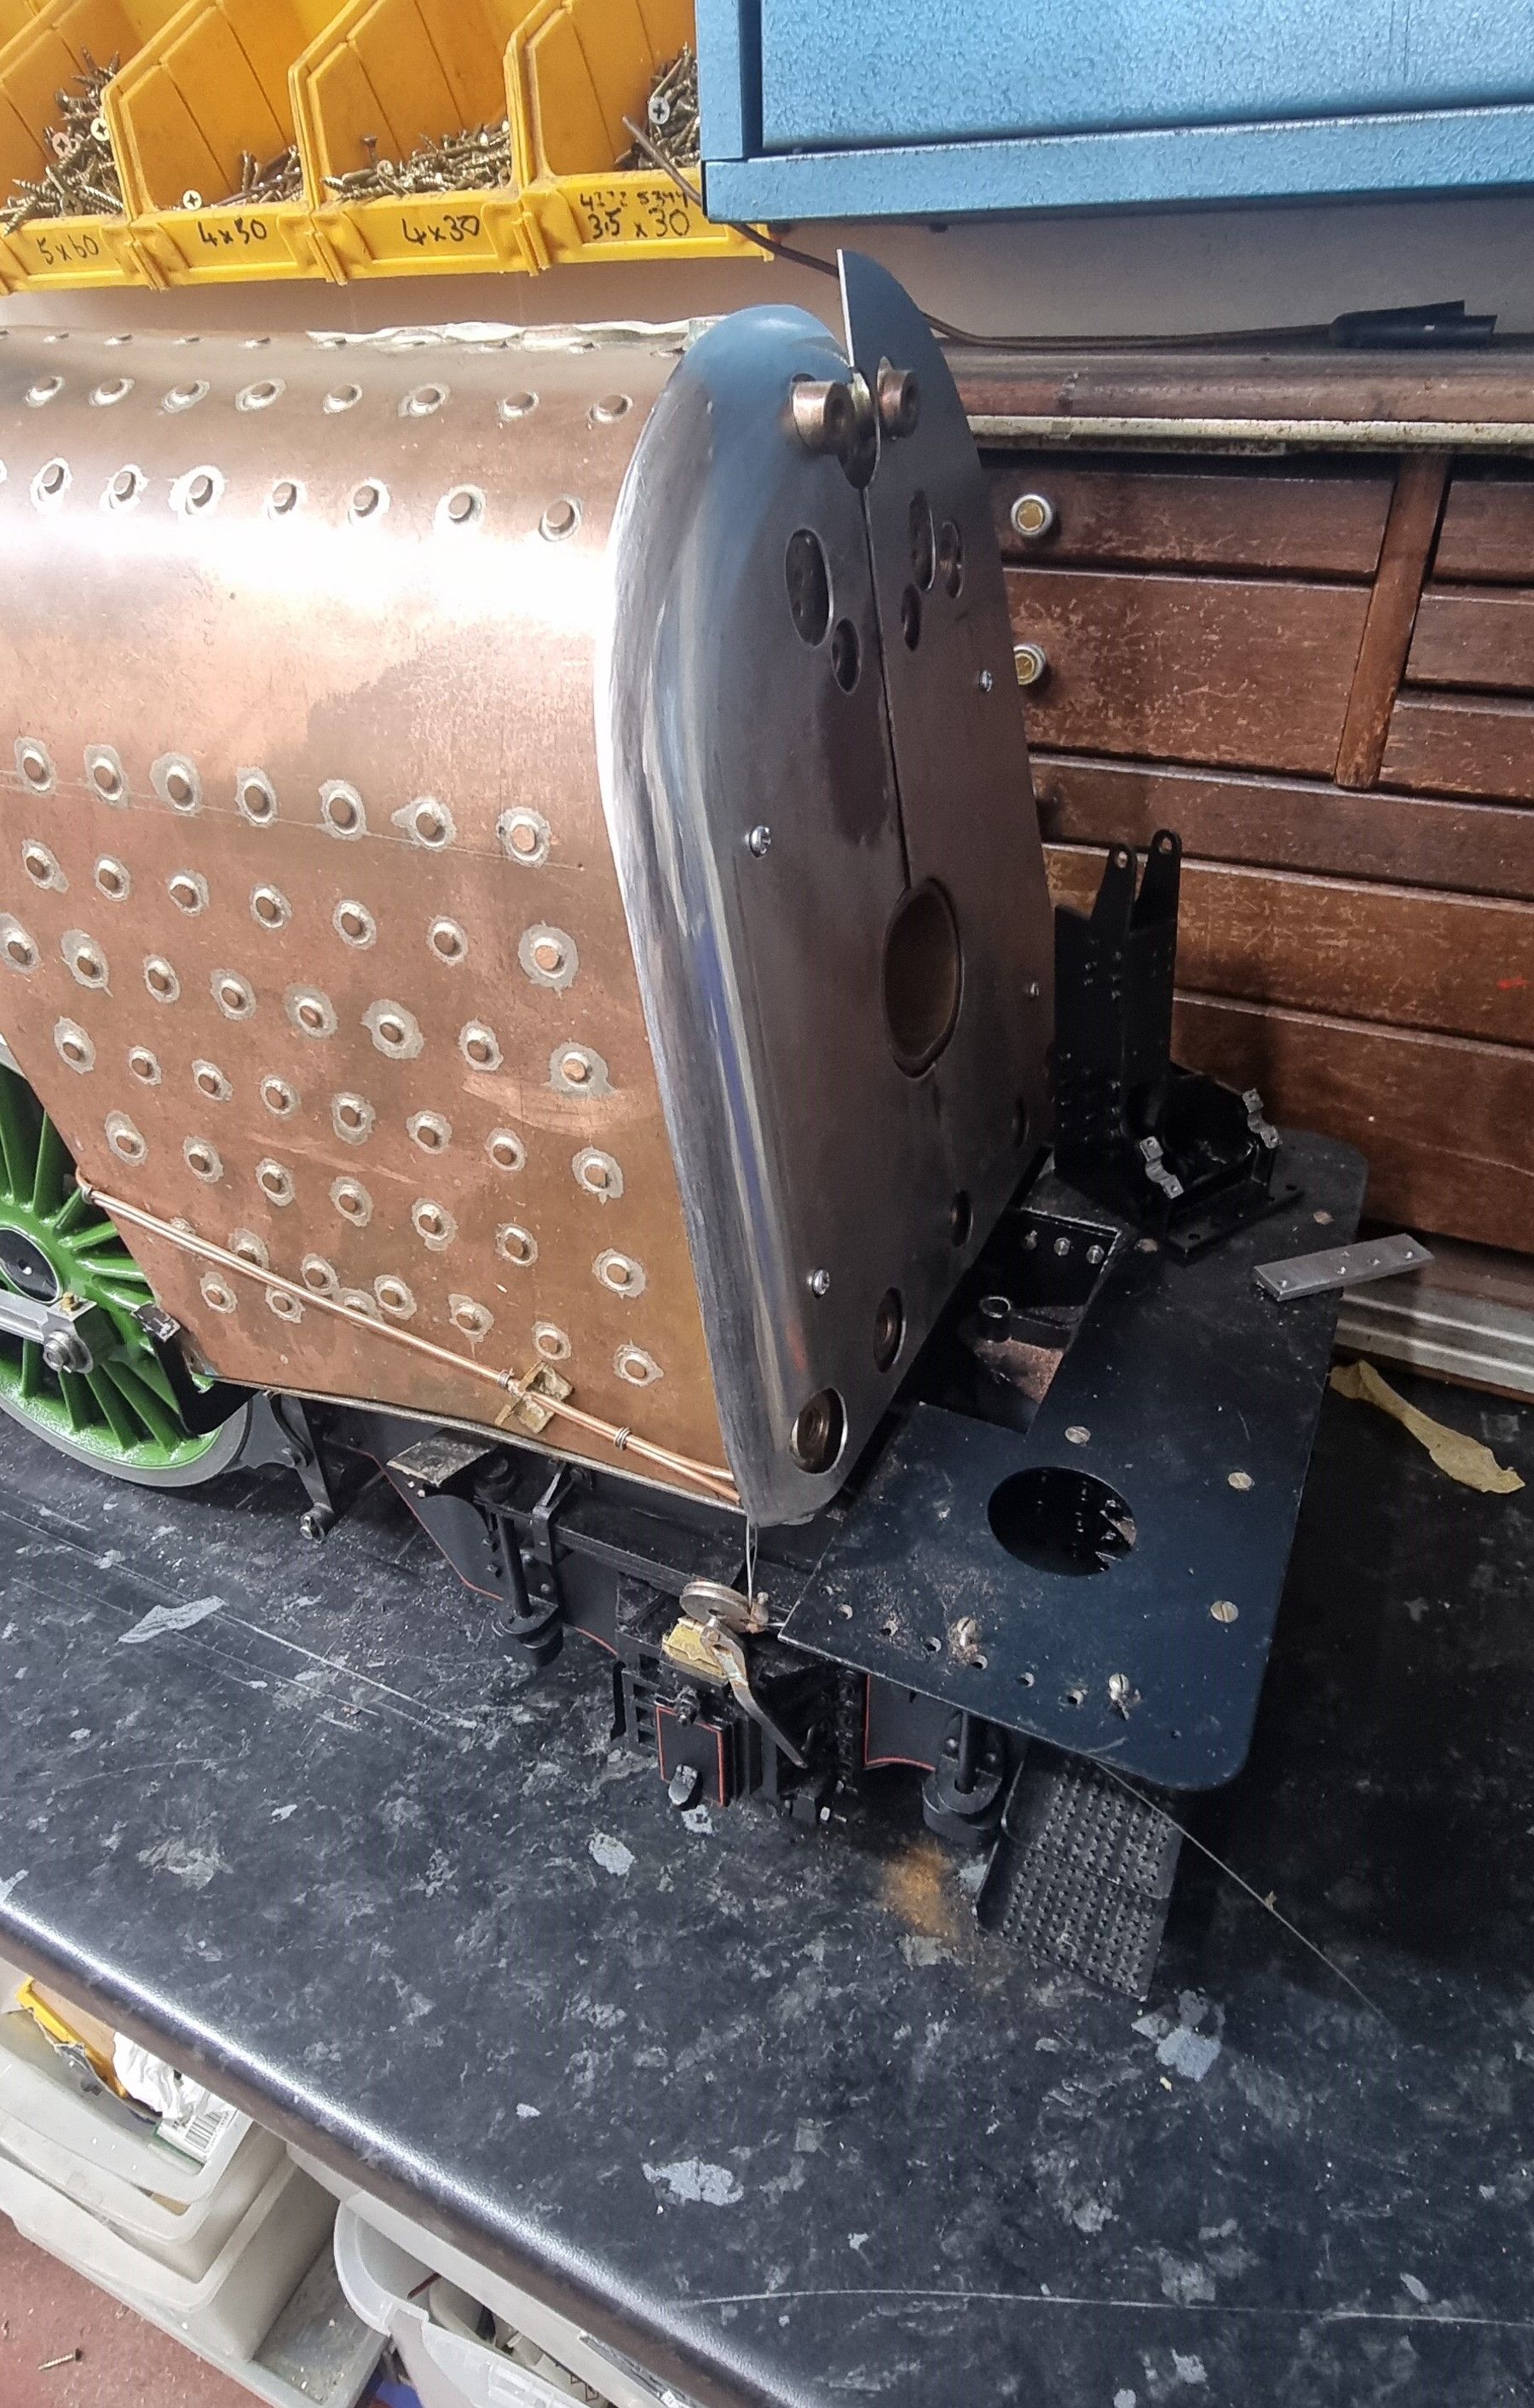
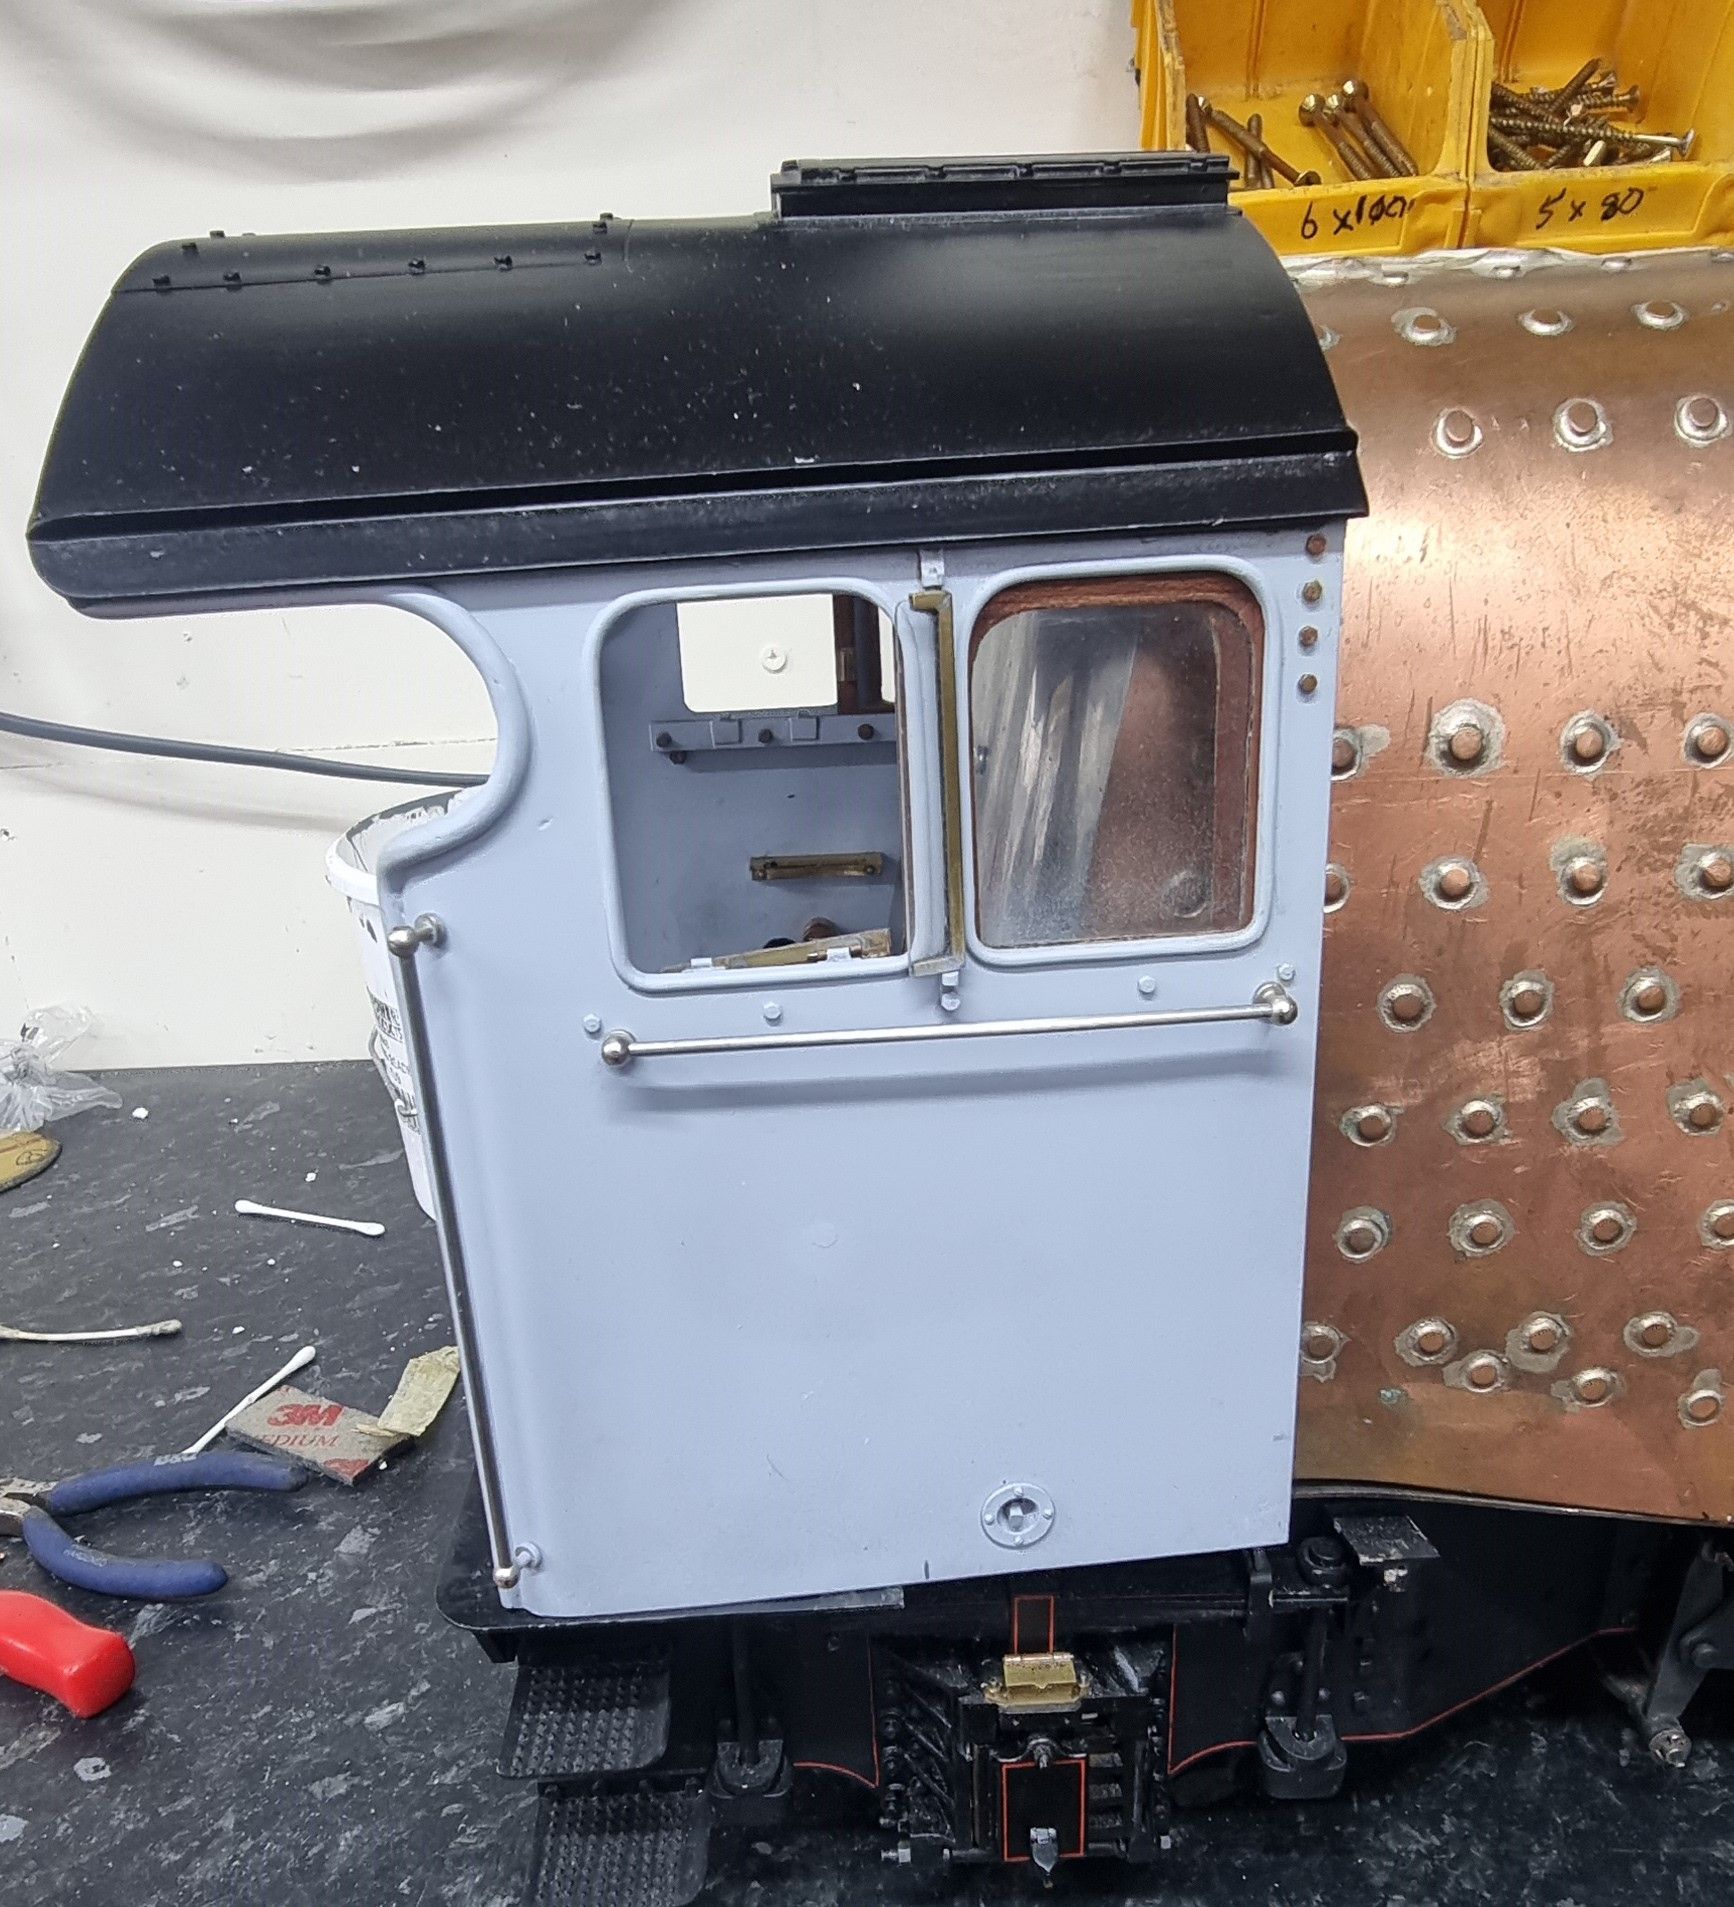
I then checked the progress to date with other components, in this case, the cab and the reverser, it's all getting very tight around here but nothing of concern.

This last picture for now hopefully shows how far the cleading has been able to curve around the side of the firebox, this may possibly need trimming once I know how any crinolines sit here.
next time I'll make a start on the reverser sleeve to fit the screw.